Anything about clocks.

Home Model Engine Machinist Forum

Help Support Home Model Engine Machinist Forum:

This site may earn a commission from merchant affiliate links, including eBay, Amazon, and others.
Hey JL,

Welcome! I am gearing up to make a bracket clock with a strike train.....trying to get the lathe set up for it currently.

Dave
 
Has anyone cut a fusee for a clock? The only thing I have been able to find is in John Wildings books and I am interested in other methods. Cheers, JL
 
I hae only made one removed the lead screw form the cross slide , started at the small end pushed in the cross slide , with a short parting tool to act as a built in depth stop pulled round the spindle by hand , used a cardboard template and an old file ground and sharpened to a radius for the curve and a hand rest .
 
I thought about taking up horology but never seem to find the time for it.


Seriously though clock making is a part of Home shop engineering . especially when one makes a scale model of a tower clock. Good to have you aboard.
Tin
 
Chipenter. That is similar to the way that Wilding does it but I have not heard about the depth stop. Can you explain a little more about how you set it up? I think that is a new idea. Cheers,, JL
 
just ground the cutter with a shoulder and no sharp corners , so that it stopped the cutter going in to far , I knew when it worked as it took out any chatter marks in the bottom of the groove .
 
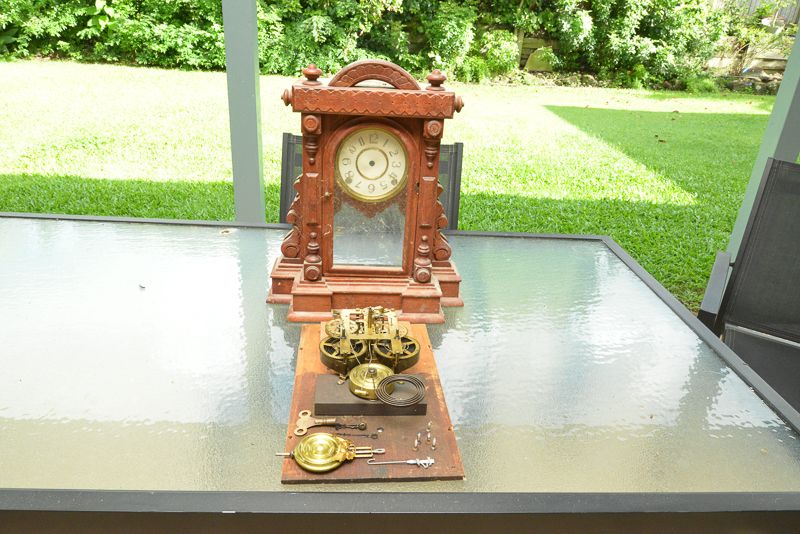
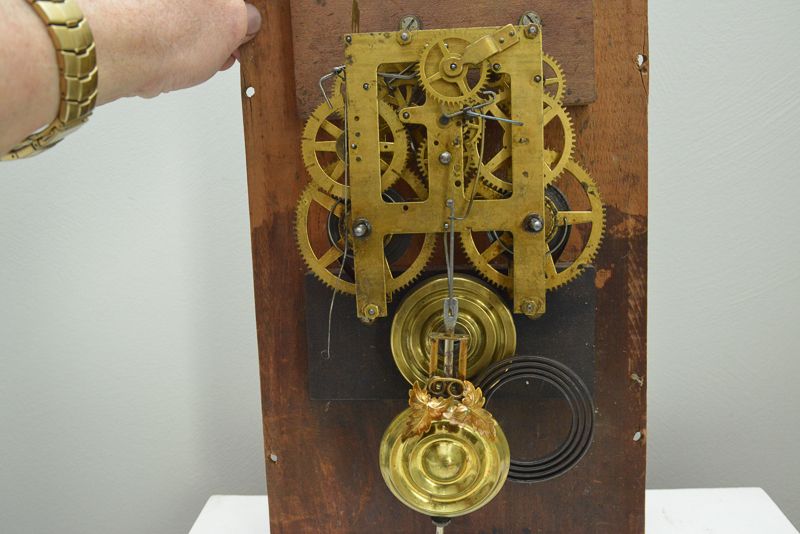
Maybe you guys can help. I have had an E Ingram clock my mother gave me back in the 70's which I had repaired by my welding instructor. It never missed a beat and as I moved all round the state, I learnt to level it to get a nice even tick tock. Sadly the gremlins go to it on my last move about 10 years ago and the part that held the pendulum in disappeared. Anyway, in response to this thread I dug it out of the cupboard. The case is cedar and there was a piece missing from the side and my instructor hand carved a replacement part.

DSC_2510_zps2cf882e9.jpg


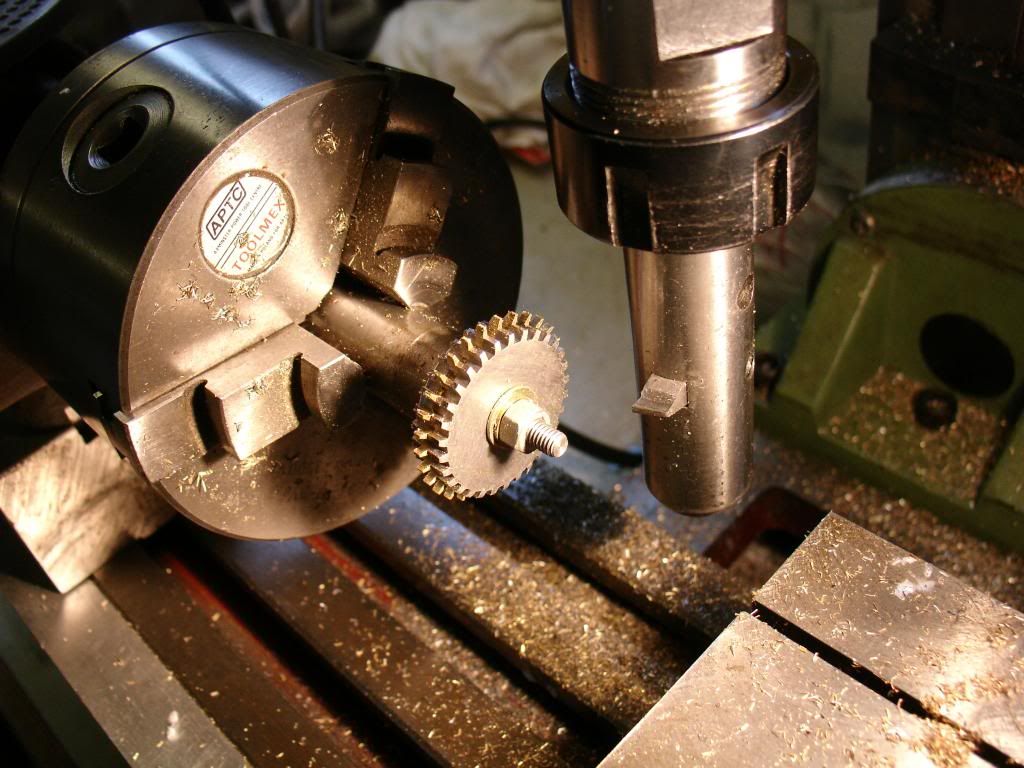
Now that I have a mill, I'd like to repair it by making the missing part.

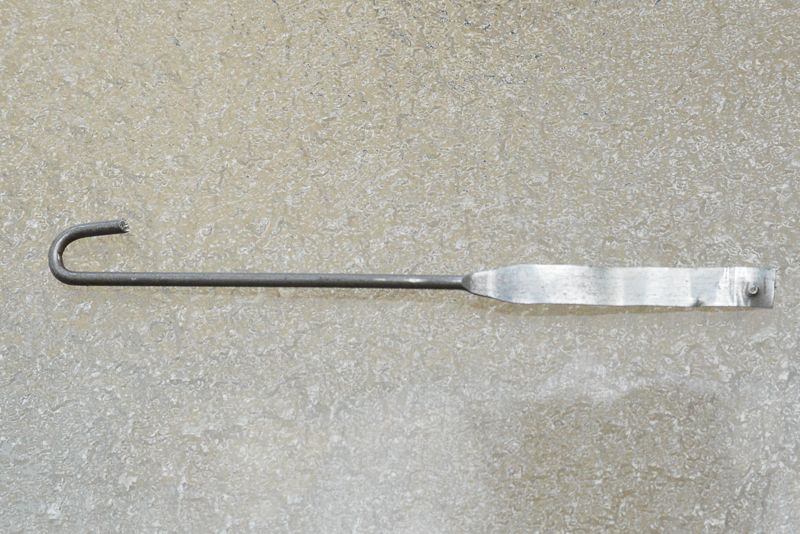
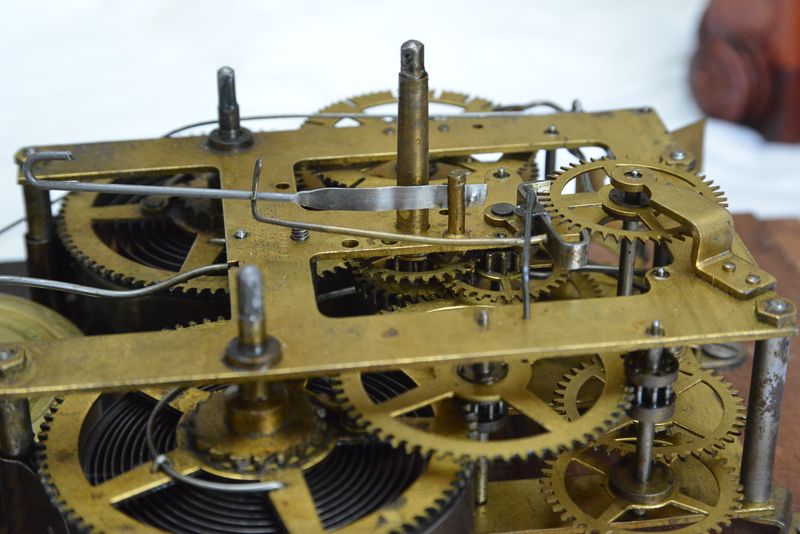
Here is what holds the pendulum in

DSC_2513_zps081d46fb.jpg


and what is missing is the part that clamps to this blade and rests on the wire hook in this pic (ignore the hook to the side which I use to stop it ticking while I took the photo.

DSC_2514_zps16144c8e.jpg


I am sure if I can mount the pendulum it will just keep ticking away as it was a goer when it went into storage.

From memory, it was a triangular shaped pivot but sadly the memory is not good enough to remember the detail. If anybody had some pics to share and/or some dimensions, it would be most appreciated.

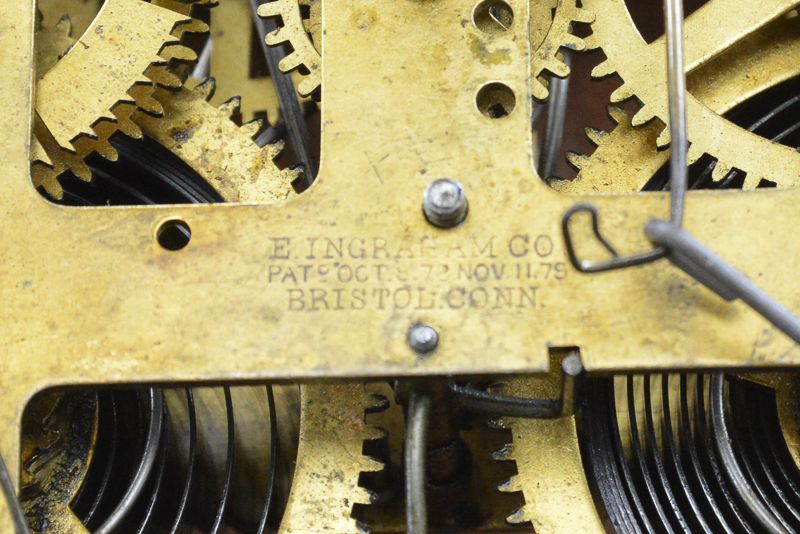
Finally, How old is it? The patent date are a bit hard to read but it Says "Oct 8.78 Nov.11.79". I read that "E Ingraham Co" was founded in 1885 and they stopped putting the patent on in 1897 so does that mean it was built between 1885 and 1897?
 
Rod. Sounds like you are missing the cock which is the part that the suspension spring/bob hangs from. I'll try to take a picture of one tomorrow and get back to you. Cheers, JL
 
Rod. Sounds like you are missing the cock which is the part that the suspension spring/bob hangs from. I'll try to take a picture of one tomorrow and get back to you. Cheers, JL

Thanks James, that's exactly what is missing. A pic would be great when you get the time.
 
Thanks James, that's exactly what is missing. A pic would be great when you get the time.

Well talk about feeling like a fool, My poor old clock has being lying dormant in the Harry Potter cupboard under the stairs for 10 years with me thinking it was missing a part and then I found it was there all of the time!

DSC_2525_zpsdb072da6.jpg


In this photo, I have the pendulum hook facing the wrong way, (I eventualy remembered that the hook always faced backwards). I found the arm on the escape was bent and it would not run with the clock level, but was OK with the back board tilted so I bent it a bit until I got that nice even tick tock sound.

DSC_2526_zpsd7ab7891.jpg


So far so good, it seems to be working now.

James, thanks for naming the problem part, you have no idea what shows up when you Google "clock cock":eek: but eventually I read something on topic that said the cock should be securely fastened to the frame and then I found it right where it was meant to be all along! :hDe::hDe:

Anyway, it is striking six as I make this post. I always like the nice soft tone of this clock, it sets it apart from so many that just go CLANG!
 
There are several books on gear cutting but I like the way John Wilding explains the process best. If you have a milling attachment on your lathe it's not hard. He also explains how to make the fly cutters to cut the teeth. Try to find a copy of "How to make an eight day clock" Cheers, JL
 
This is one way,cheap and cheerfull,but worked a treat
Don
Escape2.jpg
 
There are several books on gear cutting but I like the way John Wilding explains the process best. If you have a milling attachment on your lathe it's not hard. He also explains how to make the fly cutters to cut the teeth. Try to find a copy of "How to make an eight day clock" Cheers, JL

Thanks JL.

Built some drives with spur gears from Japan and they cost a bomb.
My gear cutting experience was one spur gear milled during Trade School.
I got no half tooth.:):)
Some of my classmates did.:wall::wall:


Gus Teng.
 
Larry and I cut the radius in the fusee yesterday using his home made ball turner. Next is to cut the thread. Yes i had a live center on the out board end of the arbor but removed it before I took the picture, Cheers, JL

IMG_20130306_144017_938.jpg
 
I made several different tools to cut the grove and this is the one that worked the best. Wilding's tool cuts from the top and as the diameter of the work increases the angle of the cutter face (front rake) changes and you get a lot of chatter and it eventually stops cutting. This tool cuts from the side the same as if you took the screw out of the cross slide. I just didn't want to do that. Cheers, JL

[ame]http://www.youtube.com/watch?v=UvQAovuRfL4[/ame]
 

Latest posts

Back
Top