Adding a QCTP

Home Model Engine Machinist Forum

Help Support Home Model Engine Machinist Forum:

This site may earn a commission from merchant affiliate links, including eBay, Amazon, and others.

Teza

Well-Known Member
Joined
Nov 11, 2011
Messages
48
Reaction score
2
Hi Guys,
I bought a QCTP on eBay for my lathe, some small mods to the "T" nut saw it fitted.
LatheWork011.jpg

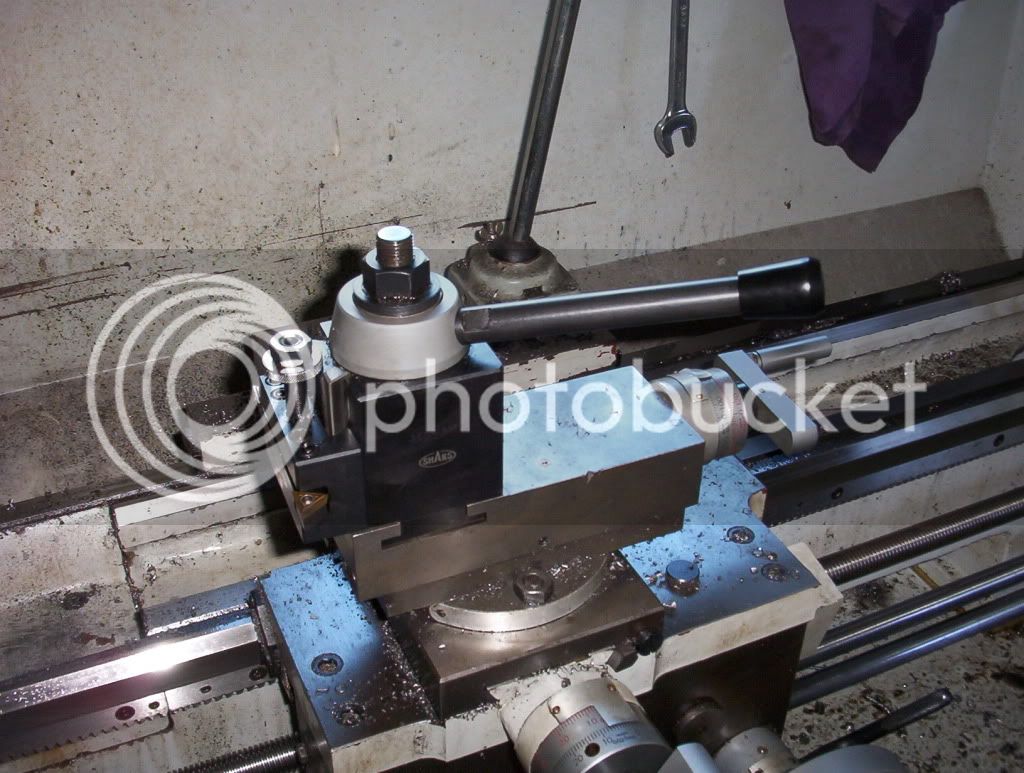
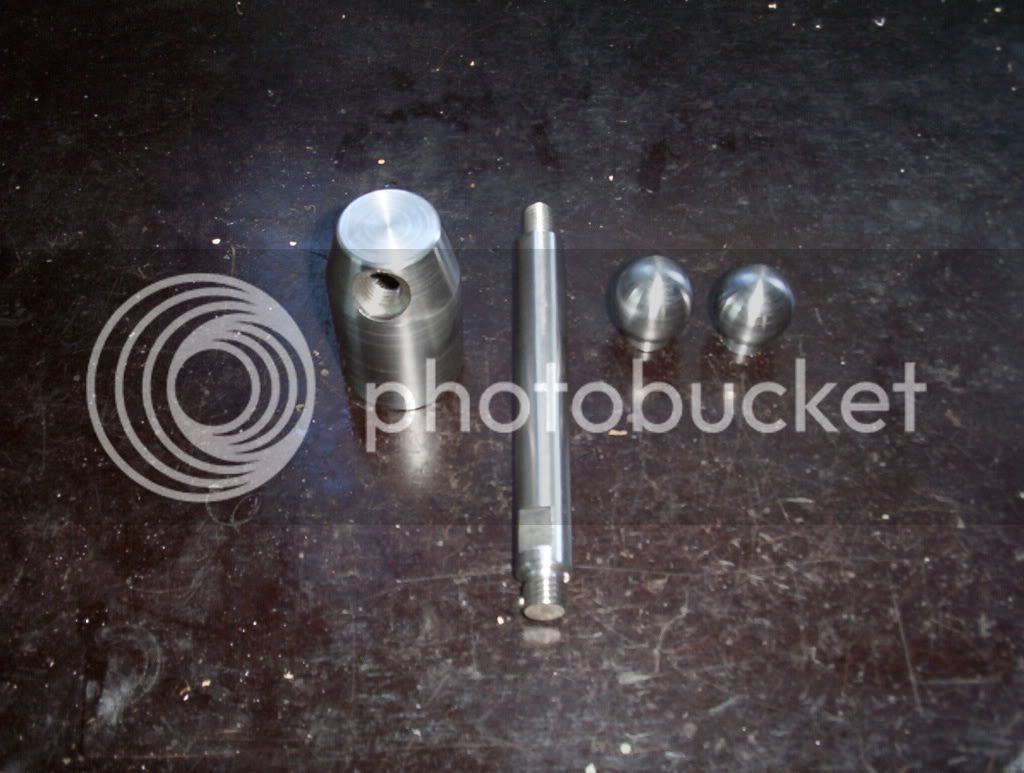
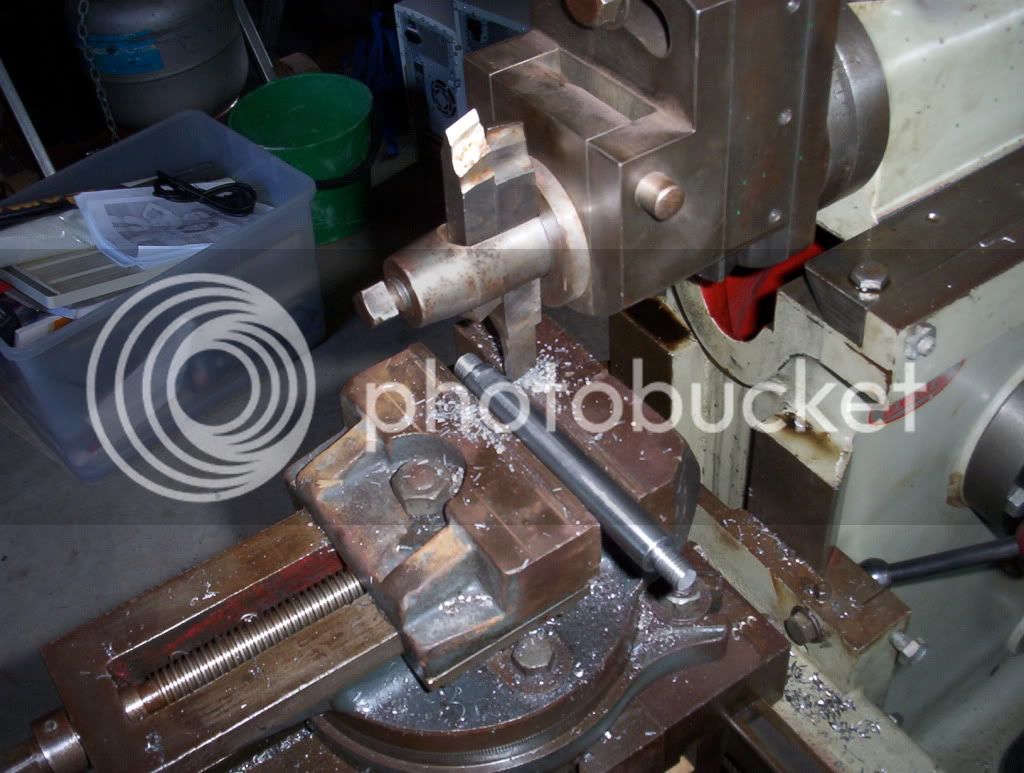
Decided I needed a better way change the angle instead of a shifter on the large hex nut, turned and threaded a some 5/8" round for a handle then onto the shaper to cut some flats for a spanner
LatheWork010.jpg

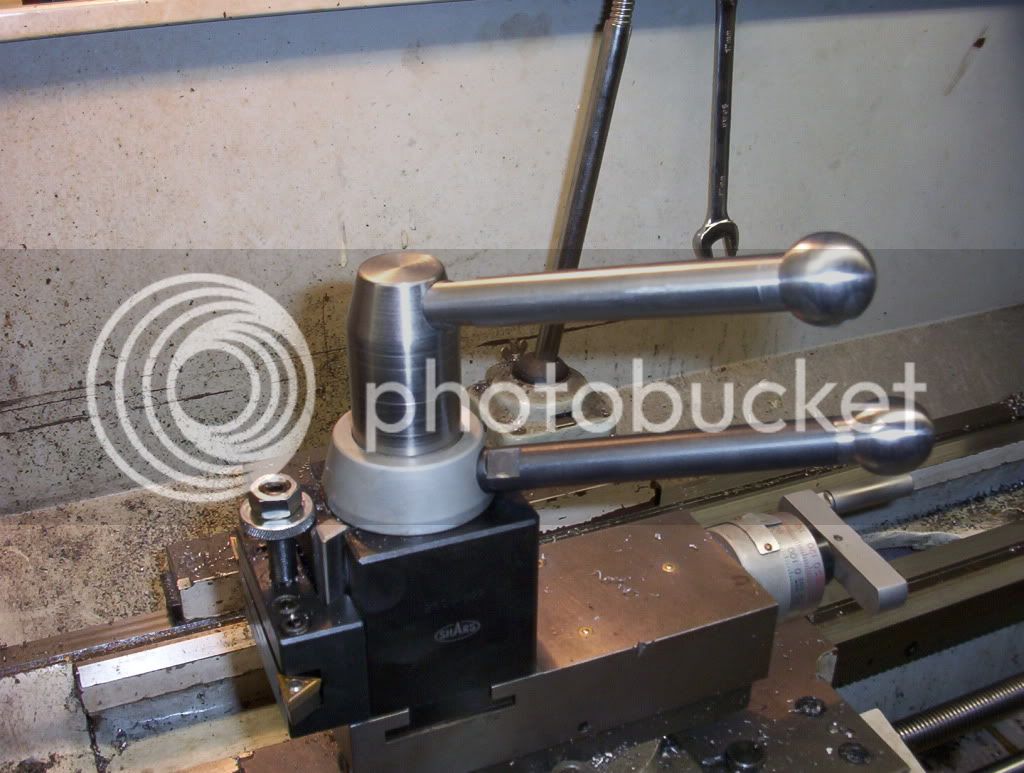
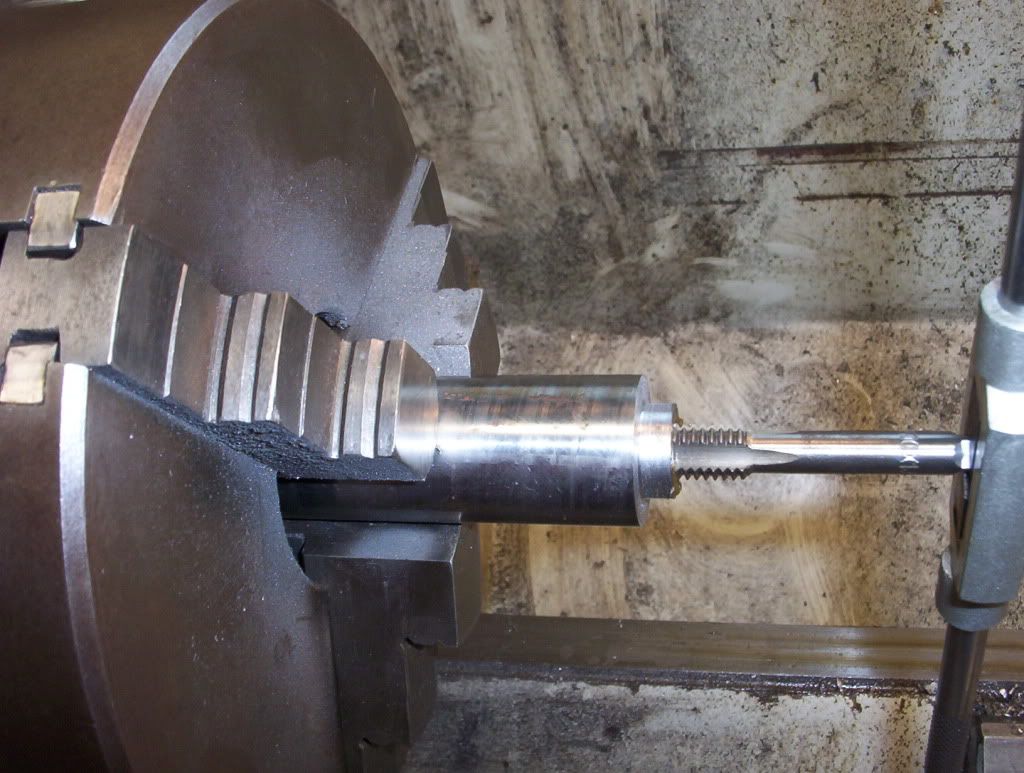
Some 1" bored and threaded for the ball handles
LatheWork001.jpg

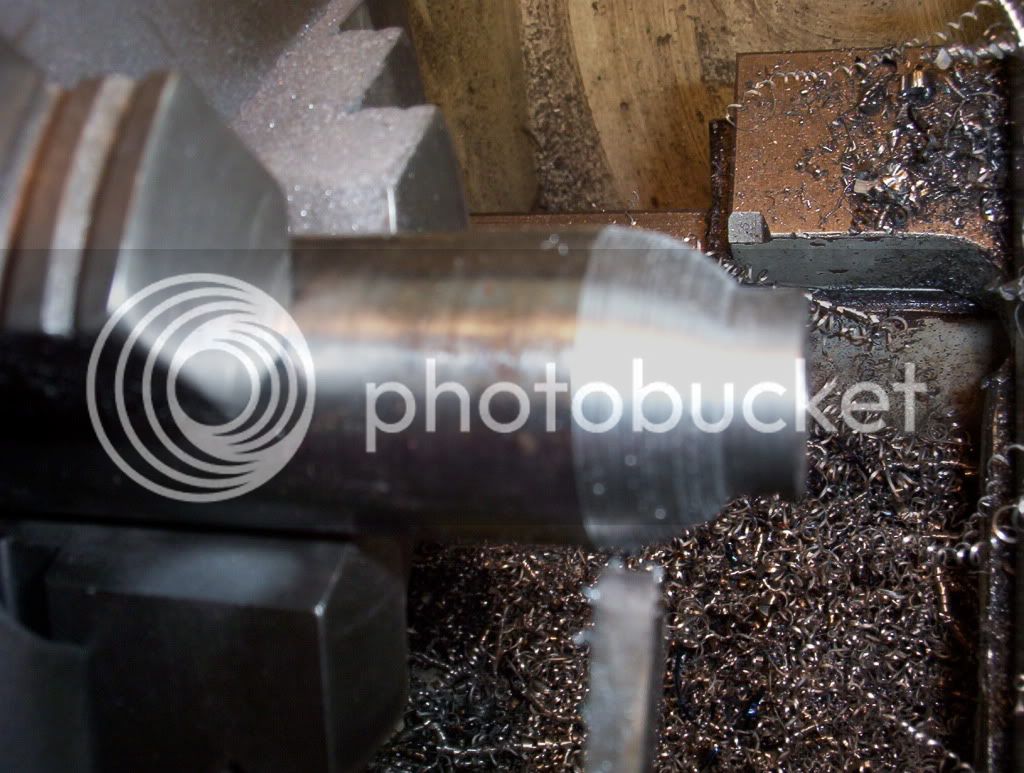
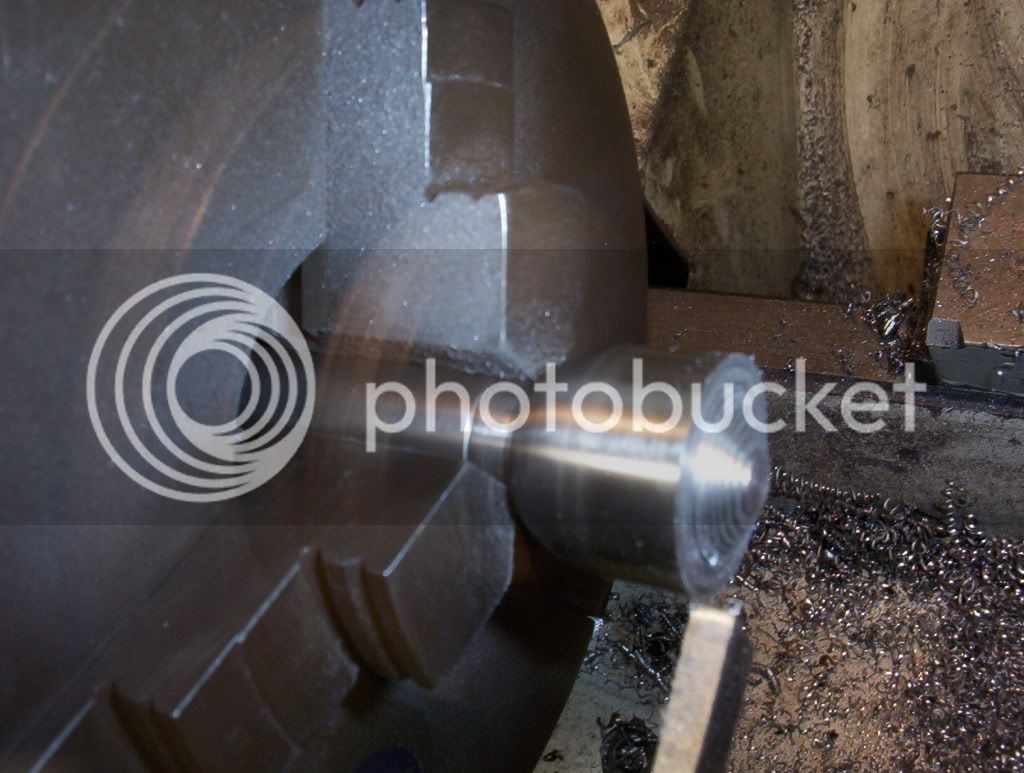
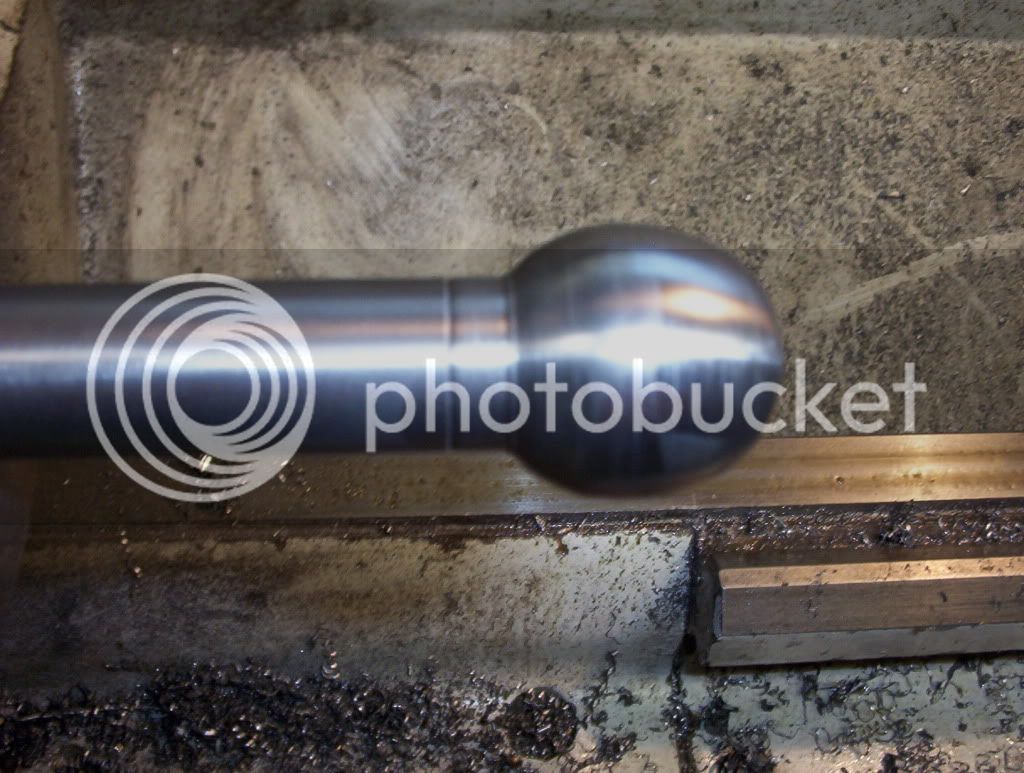
Generated co-ordinates to incremental cut the balls
LatheWork002.jpg
 
Start the incremental cut
LatheWork003.jpg

Then the other half
LatheWork004.jpg

Cleaned up and ready to go
LatheWork006.jpg

All the bits together
LatheWork012.jpg

Done, MUCH better Thm:
LatheWork008.jpg

Cheers Terry
 
Nice balls :big:
 
Gee, that incremental cut sheet looks very familiar.

It's nice to see someone using the program.
 
Nice work on the QCTP!

Marv, do you have a link to that program? I have one that works similarly, but the output from the one in the picture looks better than mine.

For those who hesitate to use that method - it DOES work, and works very well, for making decorative balls like this. One technique I like is to ink or dykem up the ball after the roughing op, and then, when you file it out, the ink at the bottom of the grooves stands out well and in the end, makes up for a more accurate ball.
 
Swede said:
Marv, do you have a link to that program? I have one that works similarly, but the output from the one in the picture looks better than mine.

The URL for my page is in my sig. The name of the program is BALLCUT. Click on the name to download.
 
Nice work!

I'll be doing the T nut thing shortly....probably changes the handles too......but perhaps I'll make two sets for both lathes

Dave
 
I have the same looking QCTP and machined down the thickness of the plate to get it to fit in the thin hafco slot but it ended up bending. I machined the QCTP body and also some off the hafco post and made them fit. It was much strong and got rid of a intermittent chatter issue. Your balls look great, now you have to make them for the rest of the lathe.

Brock
 
mklotz said:
Gee, that incremental cut sheet looks very familiar.

It's nice to see someone using the program.

Marv, I don't want to hijack this thread, but I am going to take this opportunity to thank you for creating the ballcut program as well as the others that you have written and so generously shared. I have used the ballcut program several times for ball shaped knobs, and once to fashion a very special ball and socket joint for a tractor part that was no longer available. I have used some of your other programs as well, and find them to be quite useful. Once again, THANK YOU!!
 
Thanks for the kind words, Terry. It's really nice to know that the programs are reaching the people to whom they were directed.
 
I know this is a slightly old thread (2months) but it's recent enough. How do you go about making the Lock for the tool post? i.e the top threaded cylinder that locks the tool post from rotating; do you wait to tighten the post before you drill and tap the blind hole for the handle?

I'm planning on making my own QCTP and i don't want the handle to end up over the work piece when tightened. This may be obvious, but i haven't seen any specifics on it.

Thanks,

Ian
 
Either just that, or drill and tap the hole rougly in position and then take light skims off the bottom of the nut until the handle comes to where you want it.
 
Hi Ian,
With this one I took the handle back out and turned a few thou off the bottom ( trial and error scratch.gif ) till it tightened where I was happy with it ;D

Cheers
Terry
 
Tighten the handle, decide how many more degrees you want the handle to rotate - let say the handle is pointing to 12 O'clock straight over the bed - and you want it at 4 O'clock - thats a further 120° (30° per hour for estimating purposes).

Now multiply your thread pitch by 120/360 x 1.5mm pitch (say) = 0.5mm

That's how much you have to machine off the bottom or the washer.

In the above example - if you were at 6 O'clock and wanted to get to 4 O'clock then either you have to make a new washer 0.25mm thicker or reduce by 1.25mm .... and so on...

Sorry if I'm stating the obvious.

Ken
 
Wow; never thought of that. I guess the only concern then is to make sure the tapped hole is deep enough, and that there is enough material to be able to shave off without going too thin.

The "bottom" is the part of the cylinder that touches the TOP of the dove tailed block.
_
//
________ //
/_________\'/
| | ^_____Here right?
| |
-------
_________________
| | | |
| | | |
| | | |
| | | |
|_____|____|_____|

Thanks,

Ian
 
Correct - sometimes there is a washer and you can (optionally) play with that instead.

Ken
 
Back
Top