This is just a few pictures and text to show how easy some things are to make or purchase at very low cost that make your machining a lot easier.
As you know, I use interchangeable tooling between my lathe and other machinery.
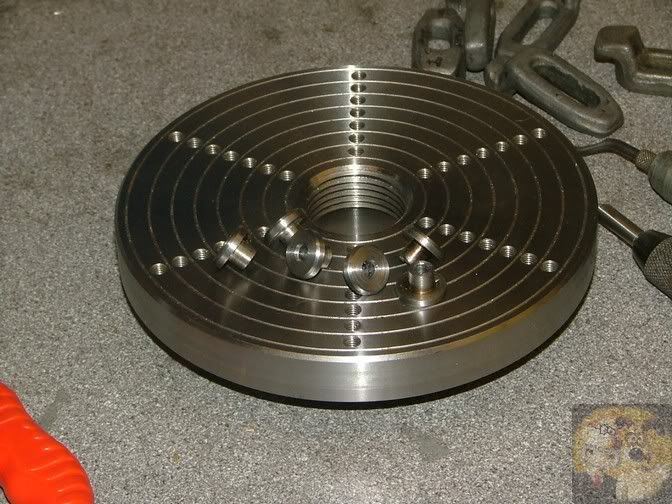
This is where I bought a cheap Myford backplate (about 15 pounds), Mounted it up onto my RT and drilled (using mill) and tapped (using a battery operated drill) a load of 6mm holes in it, then refitted to the lathe to face it off and put the aligning rings on.
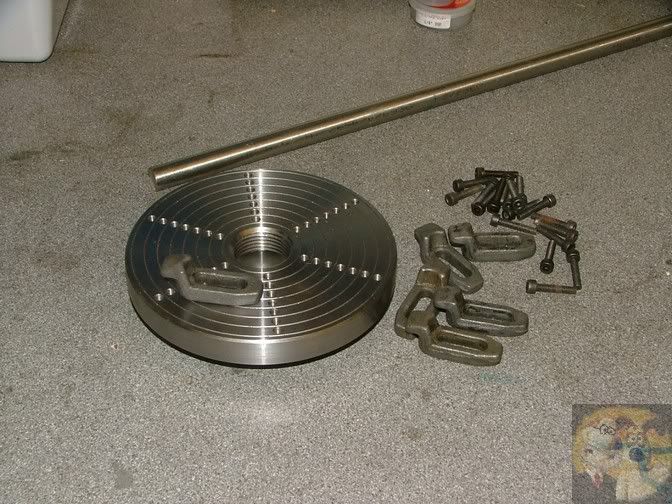
Bought a few swan neck clamps (they fit both ways up so can clamp both thick and thin material) and made some top hat spacers for them so that they would fit the 6mm holes I had drilled in the faceplate.
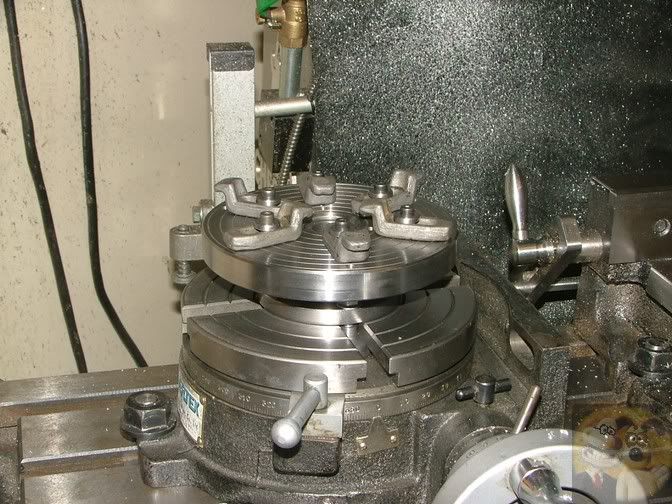
Full Monty mounted up onto the RT, ready to clamp almost anything down to it, in almost any position.
+++++++++++++++++++++++++++++++++++++++++++++++++++++++
How often have you needed to cut a load of fins, all the same thickness and distance apart.
I now do most of that on my mill or RT, as it is much easier.
Over the years, I have amassed large quantities of slitting saws, mainly from large tool suppliers who are getting rid of old stock at ridiculous prices.
So then it is easy to buy cheap precision spacers to go between the saws.
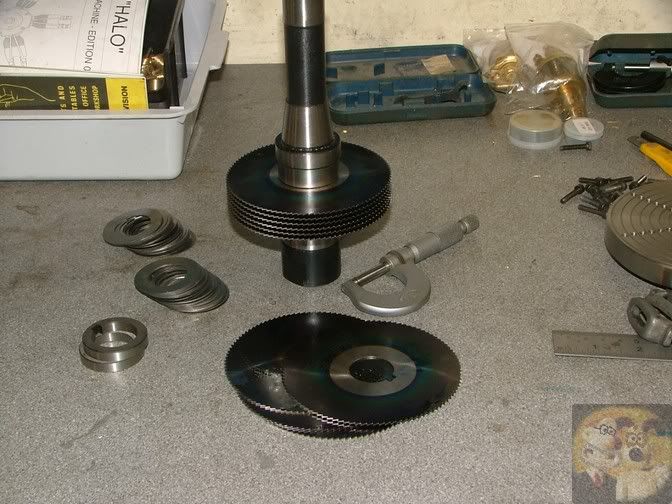
If you take things steady, a round or square cylinder can easily be mounted onto your RT, and just by turning, all fins can be cut in one go.
Or if you want to cut fins along say a head or crankcase, this would be the way to do it.
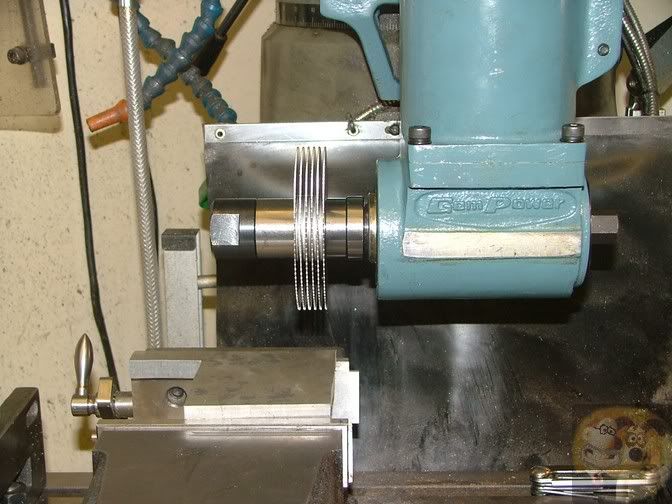
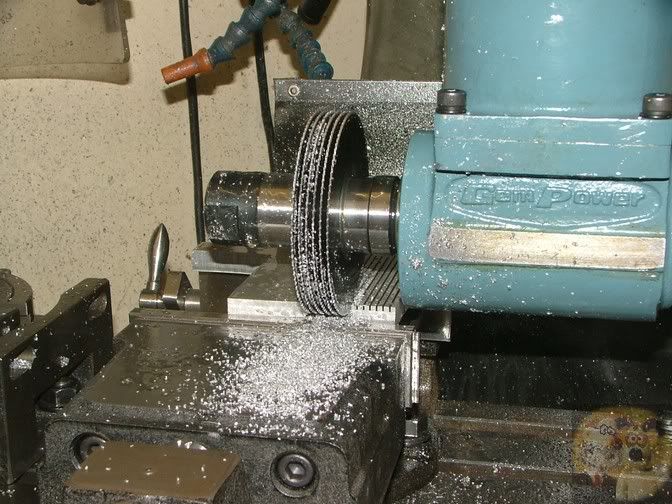
To make wider gaps or fins, you can gang up the spacers or cutters to whatever you need.
+++++++++++++++++++++++++++++++++++++++++++++++++++++++
If ever you are going to do tapered turning on a lathe, where the piece part is held between centres, then you must invest in a couple of these.

Unless you have ball nosed centres, your centres will never sit correctly into the ends of your piece part. You have to visualise this, these cut a curved sided centre hole, allowing your normal straight nosed centres to be supported all the way around, which they won't do if normal centre holes are used, they will be at the wrong angle.
If you want any more, just let me know.
John
As you know, I use interchangeable tooling between my lathe and other machinery.
This is where I bought a cheap Myford backplate (about 15 pounds), Mounted it up onto my RT and drilled (using mill) and tapped (using a battery operated drill) a load of 6mm holes in it, then refitted to the lathe to face it off and put the aligning rings on.
Bought a few swan neck clamps (they fit both ways up so can clamp both thick and thin material) and made some top hat spacers for them so that they would fit the 6mm holes I had drilled in the faceplate.
Full Monty mounted up onto the RT, ready to clamp almost anything down to it, in almost any position.
+++++++++++++++++++++++++++++++++++++++++++++++++++++++
How often have you needed to cut a load of fins, all the same thickness and distance apart.
I now do most of that on my mill or RT, as it is much easier.
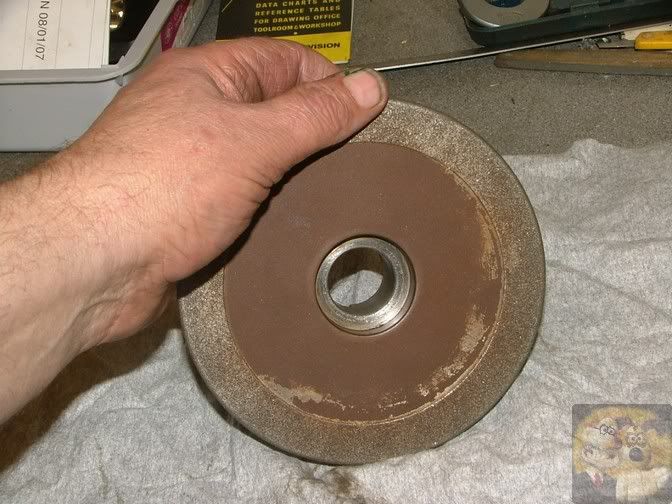
Over the years, I have amassed large quantities of slitting saws, mainly from large tool suppliers who are getting rid of old stock at ridiculous prices.
So then it is easy to buy cheap precision spacers to go between the saws.
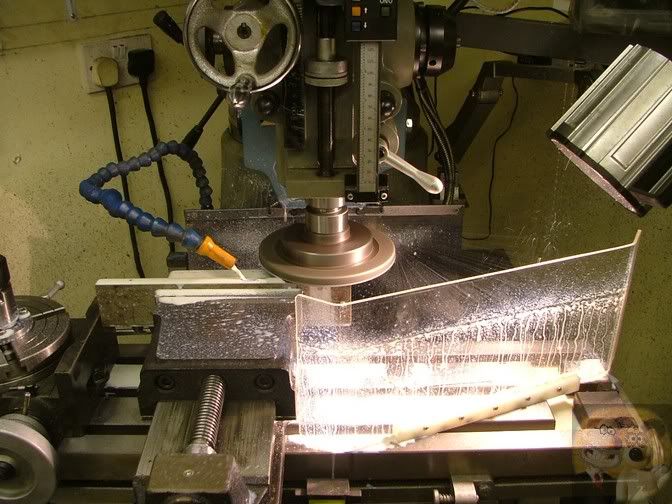
If you take things steady, a round or square cylinder can easily be mounted onto your RT, and just by turning, all fins can be cut in one go.
Or if you want to cut fins along say a head or crankcase, this would be the way to do it.
To make wider gaps or fins, you can gang up the spacers or cutters to whatever you need.
+++++++++++++++++++++++++++++++++++++++++++++++++++++++
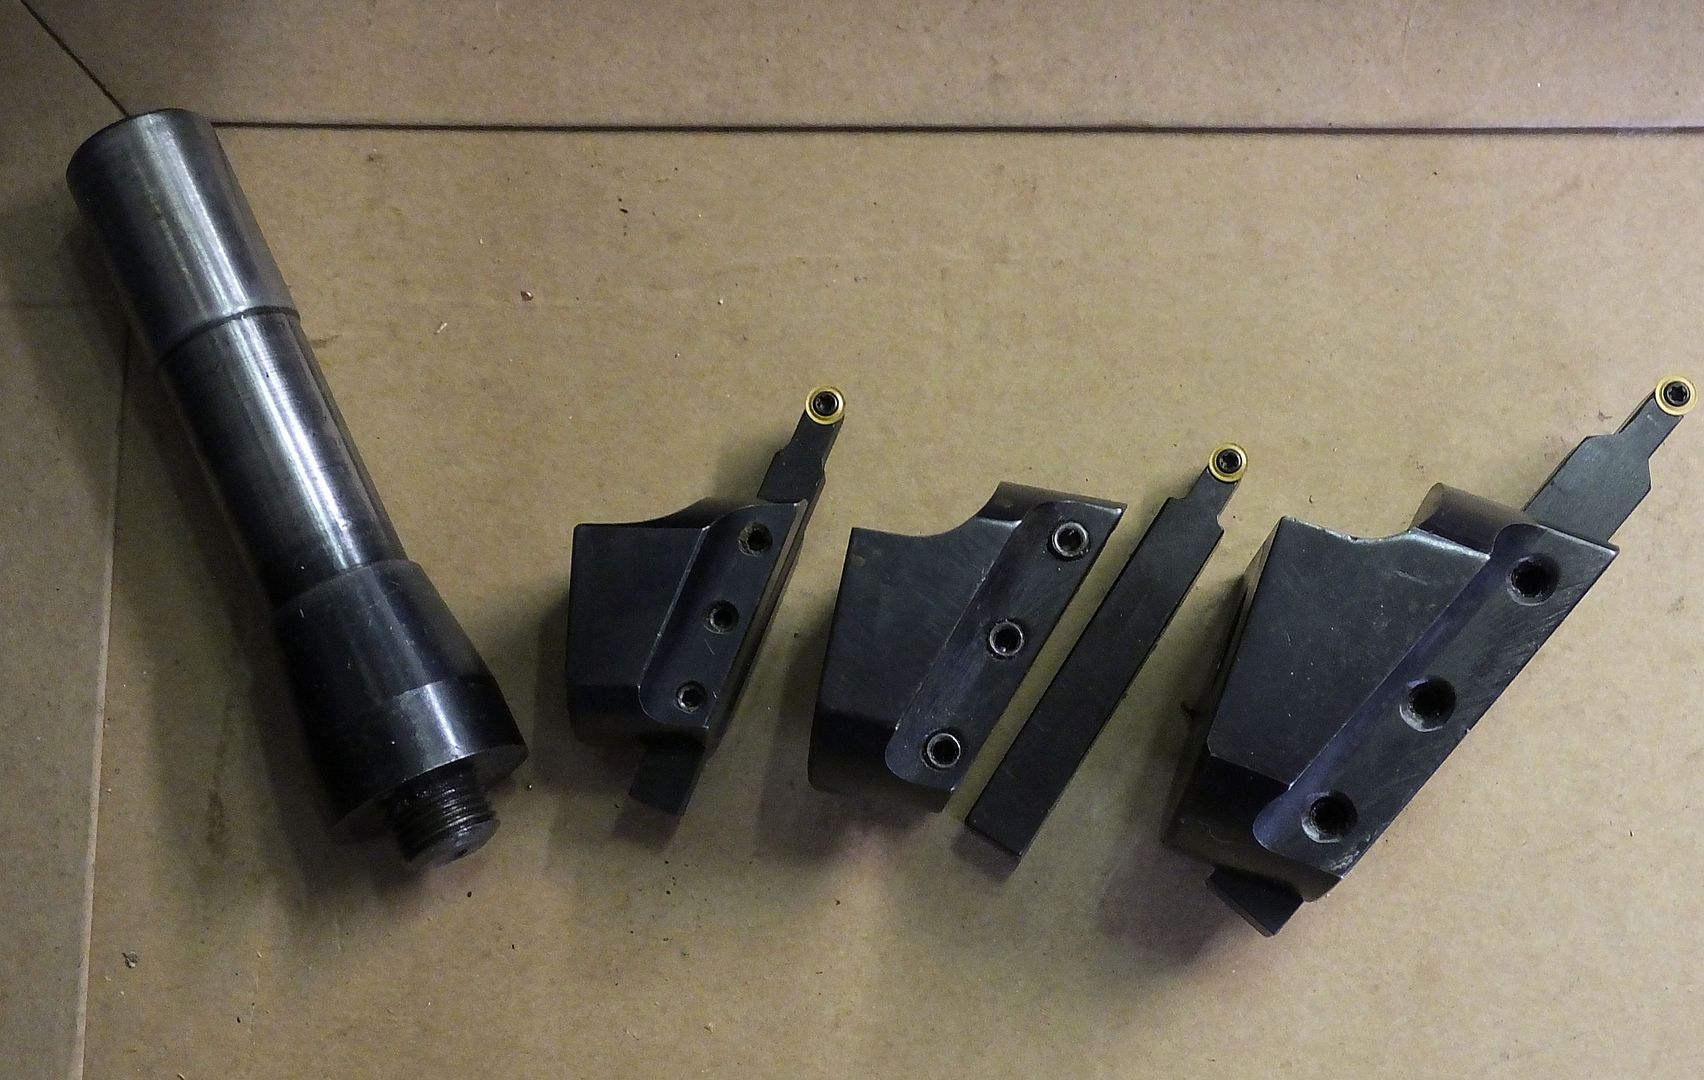
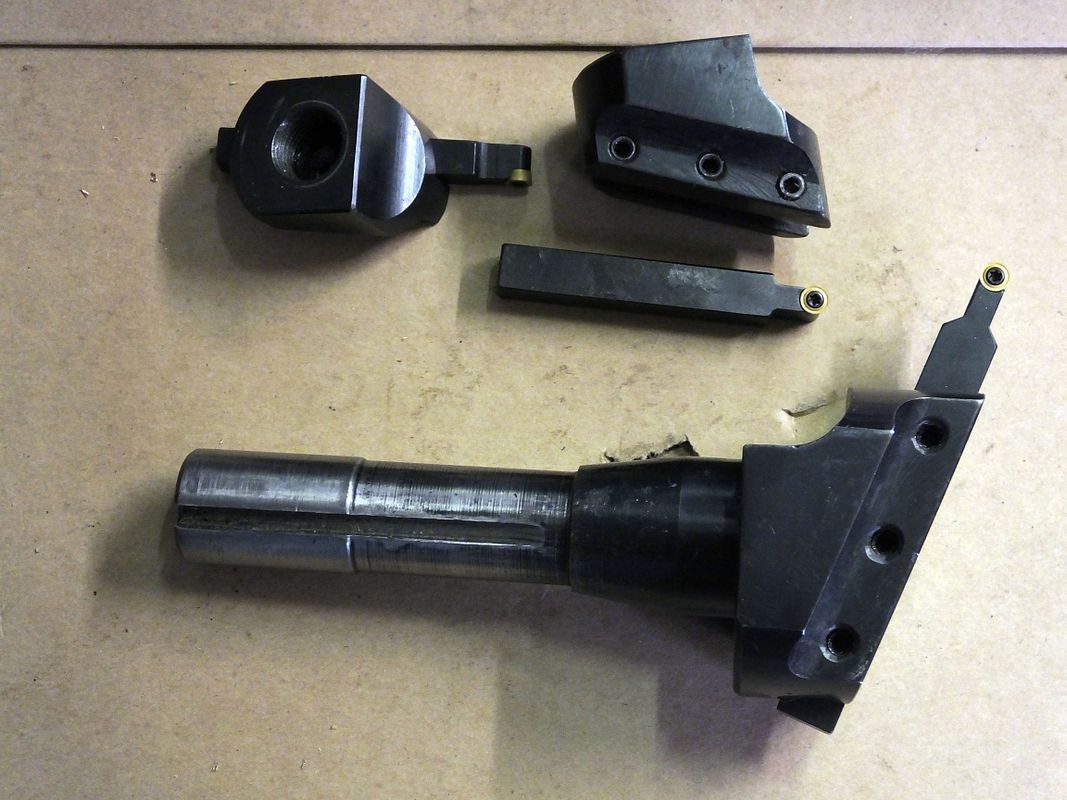
If ever you are going to do tapered turning on a lathe, where the piece part is held between centres, then you must invest in a couple of these.
Unless you have ball nosed centres, your centres will never sit correctly into the ends of your piece part. You have to visualise this, these cut a curved sided centre hole, allowing your normal straight nosed centres to be supported all the way around, which they won't do if normal centre holes are used, they will be at the wrong angle.
If you want any more, just let me know.
John