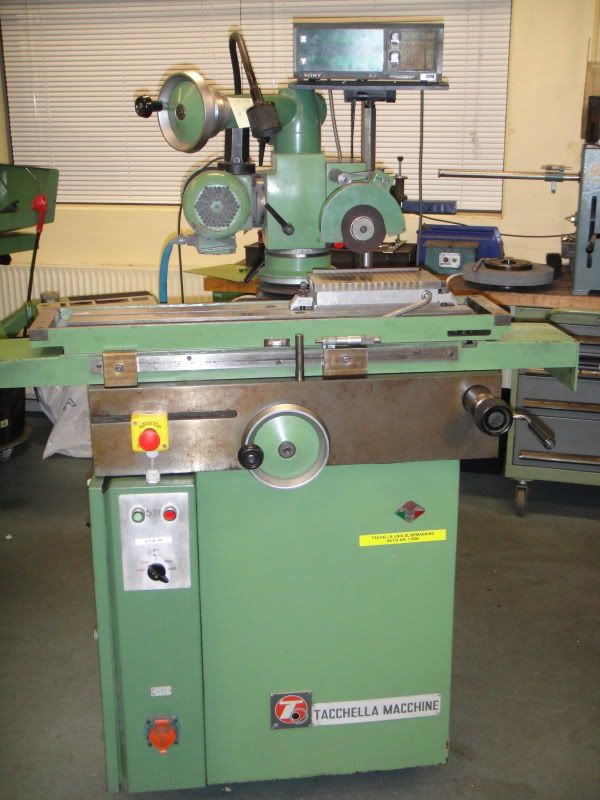
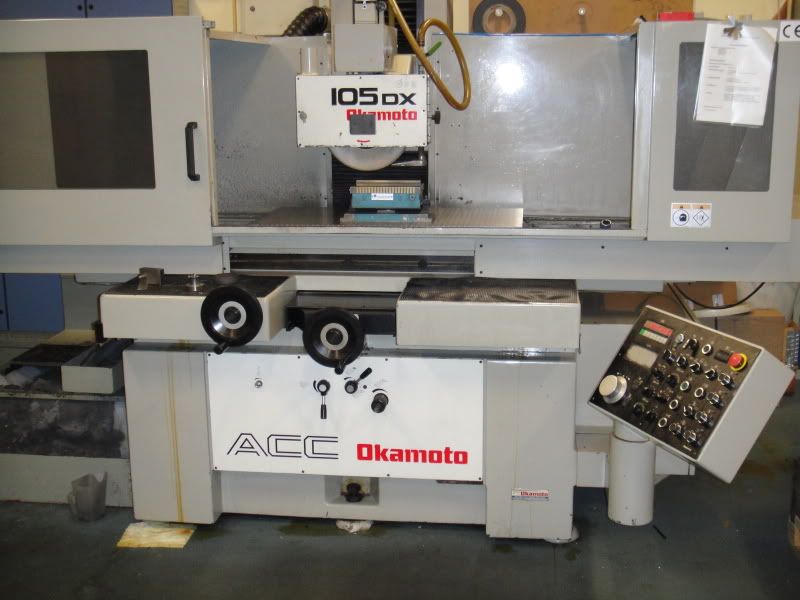
Tacchella AU300 universal tool grinder

Home Model Engine Machinist Forum

Help Support Home Model Engine Machinist Forum:

This site may earn a commission from merchant affiliate links, including eBay, Amazon, and others.
cfellows said:
So, are those ball bearing races or just simple rollers on an axle?

Chuck

:) I know exactly what you're thinking Chuck :LOL:

"Can I add that to my tool grinder?"

Bill
 
Thanks for the explanation Holt, Dave and Florian! Thats why I like this site so much, so much knowledge available (and shared), I am learning every time I log on!

Chuck, with your machining capabilities it should be piece of cake to have the roller bearing construction in your grinder. And it would be a fun project too in my opinion....

I am missing 2 rollers (on the outher end of the table), will it be ok if I make then out of normal steel without hardening? I think it will not hurt and the machine will not be used intensively. I do not feel like buying 100 pieces if I need 2 :-\

Regards Jeroen
 
steamer said:
You are correct Florian....hence my comment about friction and high cycles on a recip....

Dave

Oh aehm.. .

Didn't even read that... :-X

Cheers Florian ;D
 
BillTodd said:
:) I know exactly what you're thinking Chuck :LOL:

"Can I add that to my tool grinder?"

Bill

You're on to me, Bill. I sure do like the looks of that. However, after thinking about it, I'm not sure it's practical for a table as small as mine. Seems like I'd need some way to hold the table down, onto the rollers. Now I'm thinking some kind of slide with linear bearings might be better.
 
If you look closely to picture below you will see a roller bearing in the middle of the base (in the back side near the back side rollers). On the bottom of the table there is a L-shaped piece of metal. The roller bearing can be lowered by means of a set screw holding the table to the rollers.

DSC_0940.jpg


For sure the linear guide solution is much more easy and quicker to make and will have the same end result.

Regards Jeroen
 
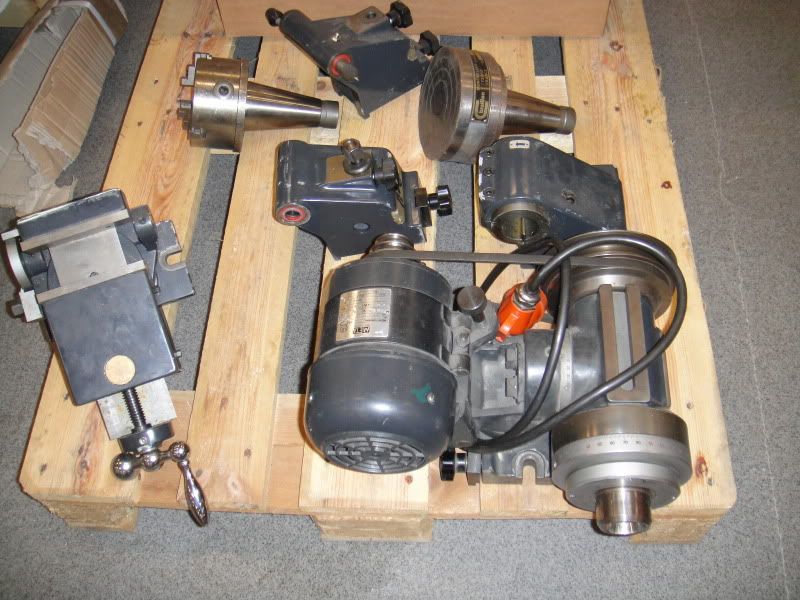
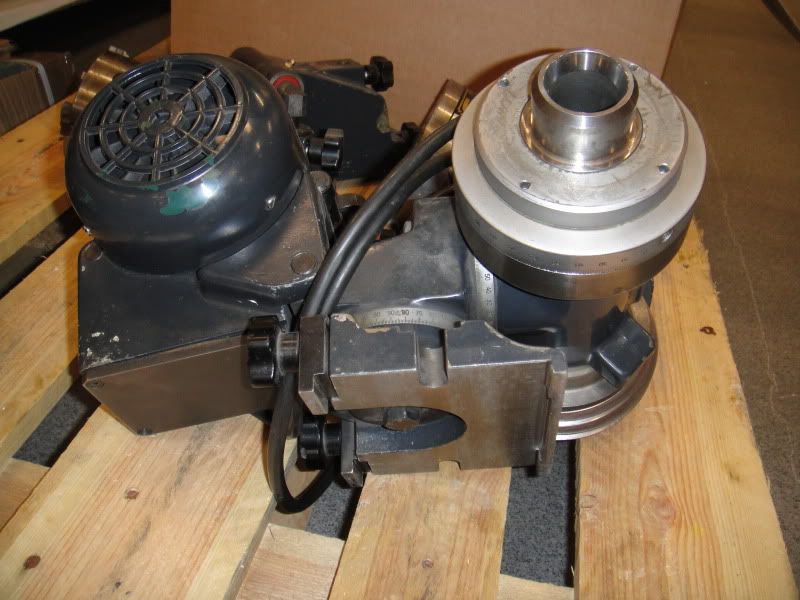
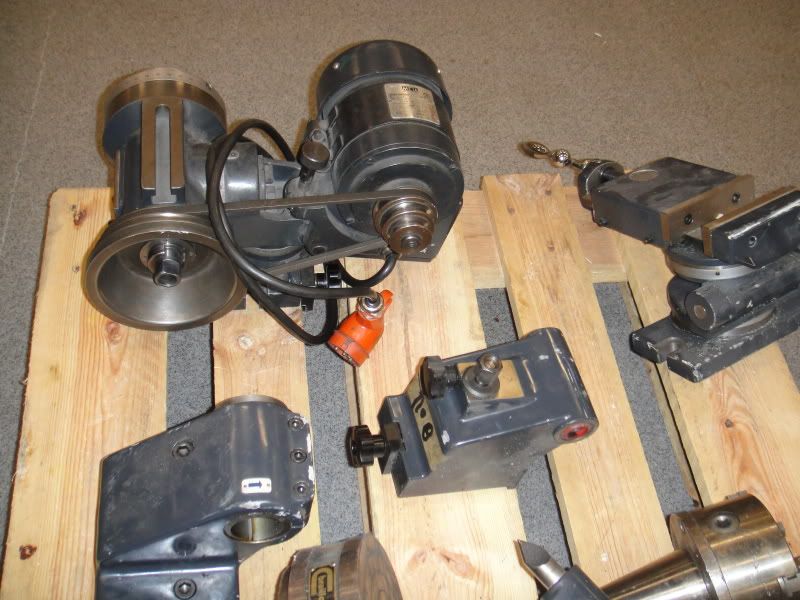
As promised some pics of the rotary attachment

DSC01464.jpg


DSC01465.jpg


DSC01466.jpg


I haven't used it yet, so don't ask me how it works, we bought it just before Christmas, and i have concentrated on the main machine

DSC01468.jpg


With one of these it's quite easy to grind the table on the Tacchella, it travels 0.5 X 1 meter


DSC01469.jpg


Thank you so much Holt! It helps a lot. Consider yourself lucky with all the additional equipment, they are hard to find and normally pricey! Thats a very nice (and big!!!) grinder you have there. Must be very comfortable to have these kind of machines in reach...

I see that the motor is attached to the dividing attachment, that also clarifies the mounting hole on front of the unit. Put the workpiece in a collet or mount a MK4 center to work between the centers.

I do not want to be a pain in the ..s, but do you have any idea of the final rotation speeds. Judging from the pictures I assume that the motor is a 1500 rpm type and the gearing of the pulleys seem minimum 1 to 10. I searched on the inet but there is not much information available about Tacchella. Since I am a complete novice in grinding your info is very valuable!

Regards Jeroen
 
Florian said:
Oh aehm.. .

Didn't even read that... :-X

Cheers Florian ;D


Hard to if I didn't type it huh..... ;D No worries Florian....

Dave
 
Now i'm confused!?

I meant your statement about friction and high cycles...
(Could have referred to it...)

Cheers Florian ;)
 
Holt, you are too generous! Sacrificing yourself to help me create space, its almost too much ;D The chassis is a Innocenti Cooper 1300 from 1975. Body welding is almost finished, just at the moment I do not have the motivation (and space) to continue with it. If I want to get rid off it I let you know. Very nice engine work you have done :bow: :bow: :bow: I will keep mine 8 valves, but will put some upgrade parts in it. My aim is about 85 - 90HP.

Is there any change you could have a look at the speed of the motor on the Tacchella attachment and a rough indication on the pully gearing? It would help me a lot with selecting the type of motor and speed regulator.

Have a good weekend, regards Jeroen
 
I have been looking at the motor, but there is no rpm written on it. i might be able to take a look at it next friday, while my son is practicing the saxophone ;D (not that i dont want to listen to him, but because he practise close to my work)
 
I have measured the rpm on the rotary attachment (well, i could infact count the lowest speed ;D) Lowest speed is 200 rpm, and highest speed is app 300 rpm, the motor is only 680 rpm and of course right and left switch Thm:
 
Thanks Holt! Appriciate a lot your efforts to get the information. I got a small 12V motor that is used to run a fan of a car. The rpm seems quite high, but with a mechanical resuction to increase torqe and anaddotional electronic pwm controller I should be able to reach the mentioned rpms. Lets see if the power is enough to rotate a workpiece in counter direction of the spinning grinding wheel. I fly home tomorrow, hope the groundlayer has dryed a little, it was extremely cold in Europe as I have seen on the news. I am in Brasil right now, 36 degrees in the shadow.....

Thanks agian for the info!

Regards Jeroen
 
Just a small update here, unfortunately its to cold in the shop to paint the machine. My wife stayed in Brazil for 2 more weeks, so i took my change and brought the small parts inside and put them on the dinning table. They were already painted in ground layer, just needed a finish layer RAL 7003.

Before

DSC_1017.jpg


And after

DSC_1018.jpg


If time allows I will make some grinding stone adapters soon.

Regards Jeroen
 
I hope your wife doesn't see your last two photos. Mine for sure would go ballistic. :hDe:

Vince
 
Yes...the old saying....."Don't poke the bear!" comes to mind ::)
 
Lets hope she says "what papa does is always right" :bow:

Who am i kidding? Rof} Rof} Rof} Rof} Rof}
 
I would say..."No risk, no fun!" When I stop replaying in about one week the risk was too big.... ;D
 
Finally the temperature has gone up and in my shop its between 15 and 20 degrees celsius, nice temperature to finish the painting of the Tacchella base this saturday!

DSC_1072.jpg


When the paint was dry enough to not make stains I started assembling the machine. This is the best part for me, after many hours of dirty work of degreasing, sanding and painting its so nice to put all parts back and see the machine come together again. Below the electrical panel, made a small modification for the LED lamp (if you have Ikea go check it out, its a 3W LED lamp on a flexible arm for 6,99 euro!!)

DSC_1080.jpg


Here is the result of the work. Mechanically the machine was just perfect, just cleaning and oiling was enough. The rest was optical work.

DSC_1081.jpg


DSC_1082.jpg


DSC_1083.jpg


DSC_1084.jpg


DSC_1085.jpg


DSC_1086.jpg


I am pleased with the result, now find some time to start to play with it. I am afraid it will take some time, i have a big honey do list waiting for me and cannot post phone things anymore with the excuse its too cold…

Have fun, regards Jeroen
 
Back
Top