
You are using an out of date browser. It may not display this or other websites correctly.
You should upgrade or use an alternative browser.
You should upgrade or use an alternative browser.
Whittle Aero V8 WIP
- Thread starter cobra428
- Start date


Help Support Home Model Engine Machinist Forum:
This site may earn a commission from merchant affiliate
links, including eBay, Amazon, and others.
NOI53Y, GailInNM, wmf138,
Thanks Guys :bow:
I've been :wall: :shrug: scratch.gif on how to do the front large radius that in the side view tappers. Rotor table angled and part standing on end. Or good ole mister file :shrug:
Tony
Thanks Guys :bow:
I've been :wall: :shrug: scratch.gif on how to do the front large radius that in the side view tappers. Rotor table angled and part standing on end. Or good ole mister file :shrug:
Tony

R
RobWilson
Guest
very nice Tony :bow: :bow: :bow:
Regards Rob
Regards Rob
Thanks Rob :bow:
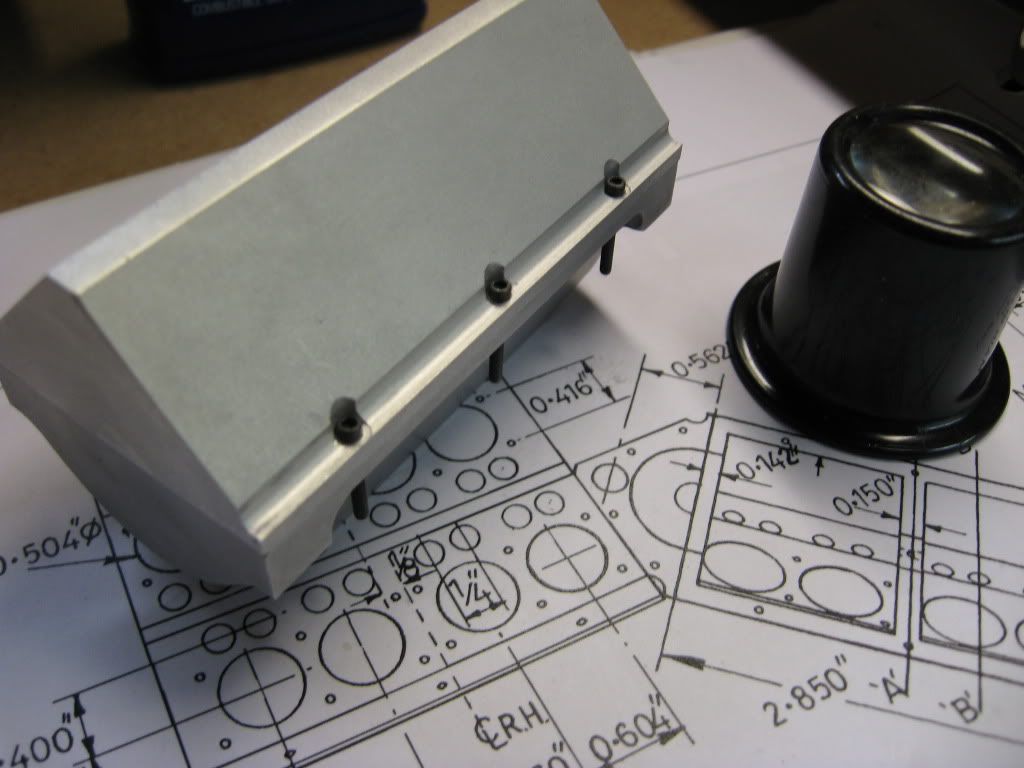
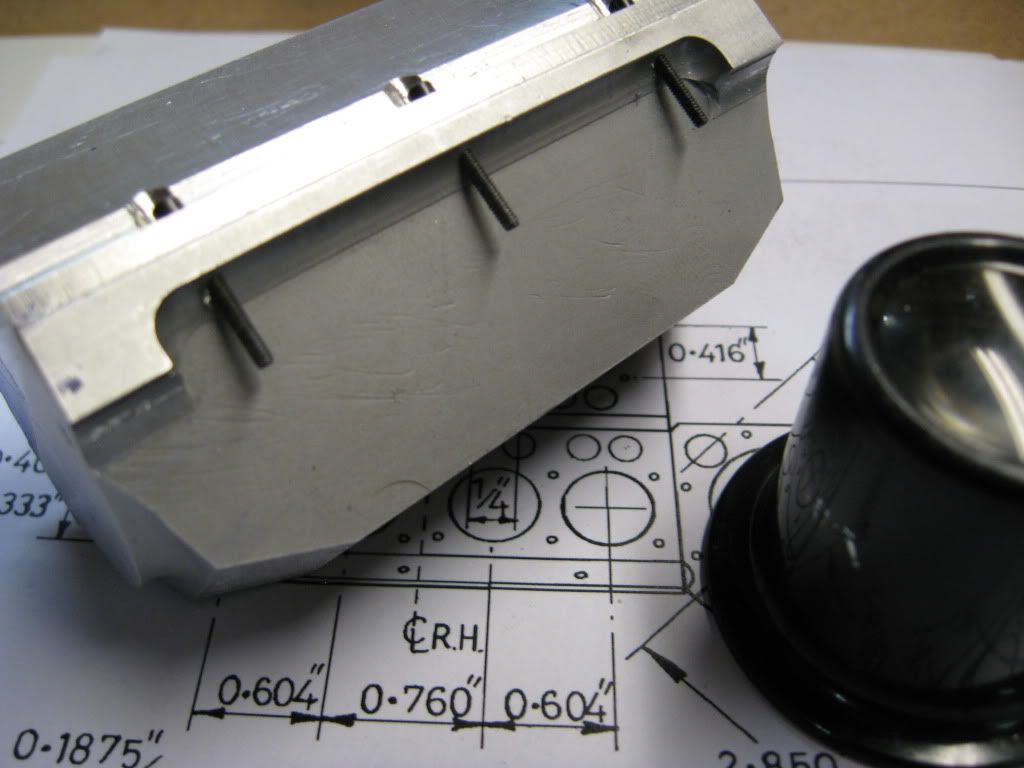
Well another installment of the lower crankcase
The Set up......2 hours....I knew I wasn't crazy for buying that vise
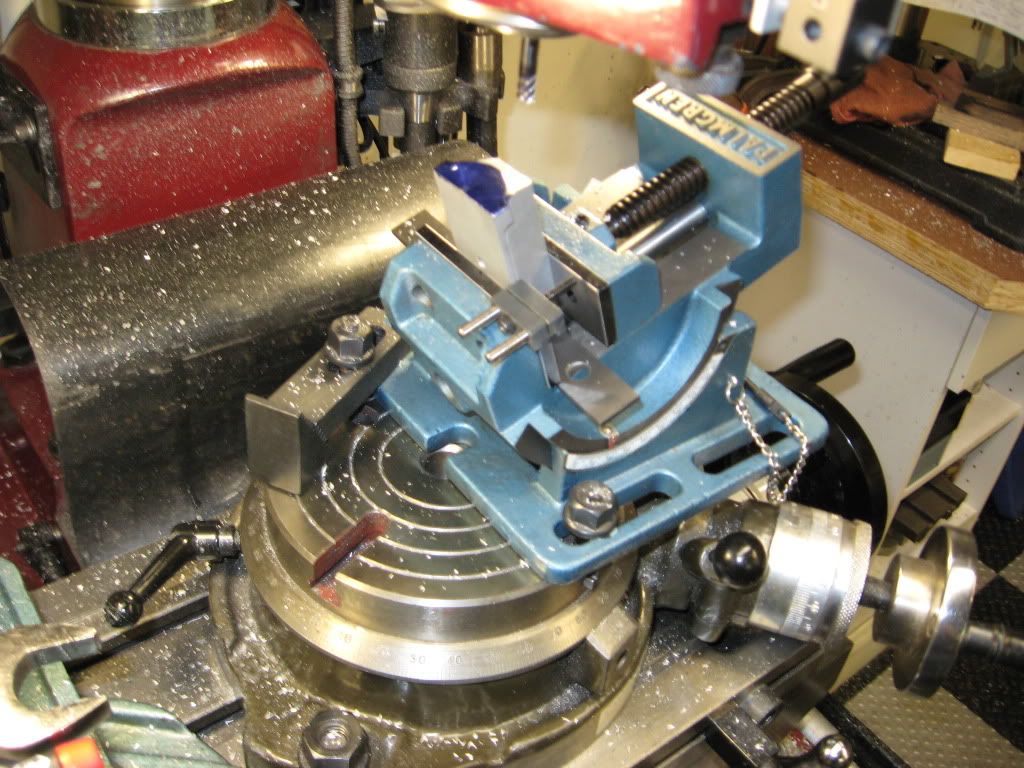
The cut.....2 min
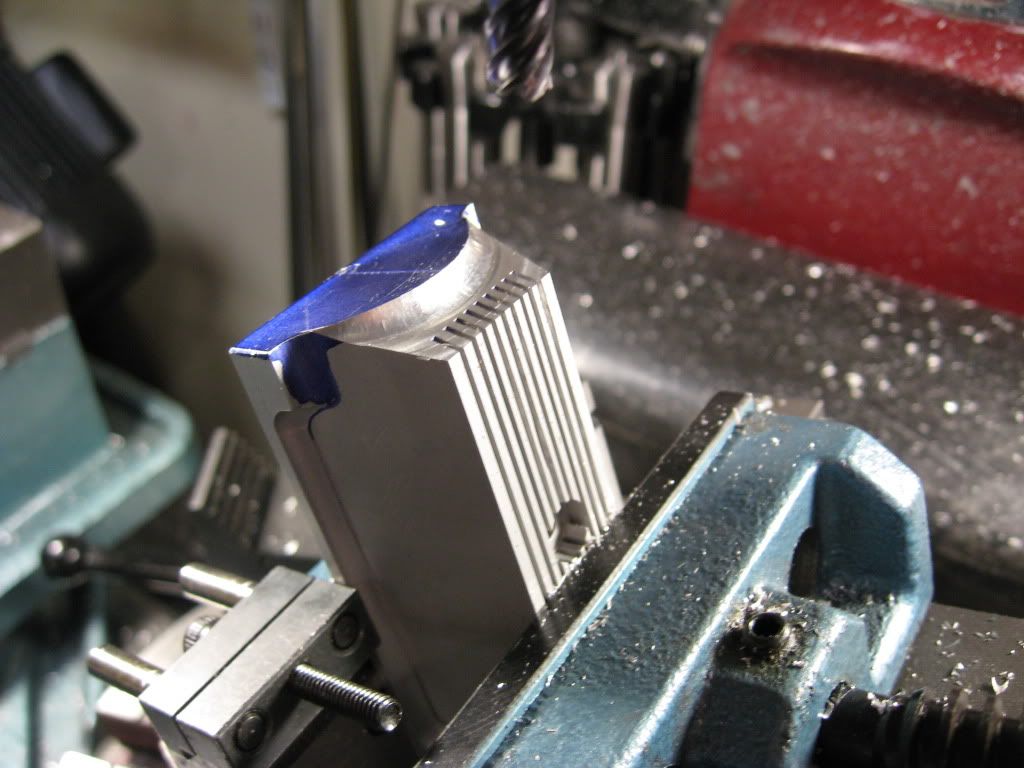
Oh man...I actually did it
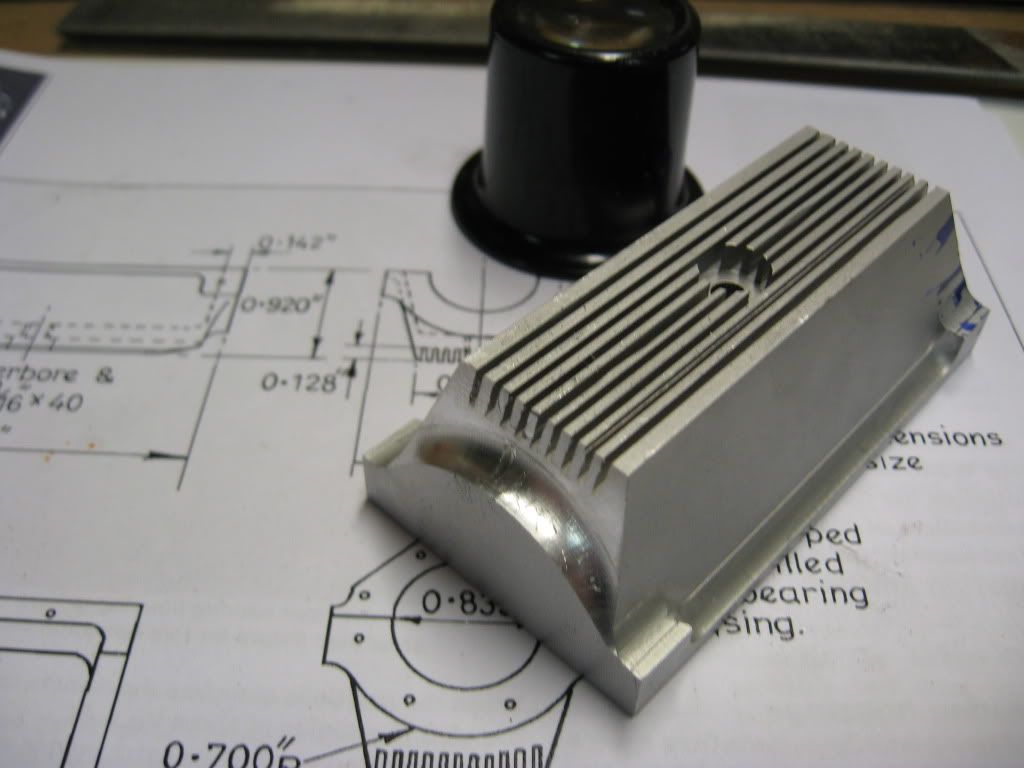
Outside Done....just some filing of the sharp edges
I might actually build this engine....the fun stuff is yet to come ...crank and camshaft scratch.gif
Tony
Well another installment of the lower crankcase
The Set up......2 hours....I knew I wasn't crazy for buying that vise
The cut.....2 min
Oh man...I actually did it
Outside Done....just some filing of the sharp edges
I might actually build this engine....the fun stuff is yet to come ...crank and camshaft scratch.gif
Tony
rake60
Well-Known Member
- Joined
- Jul 8, 2007
- Messages
- 4,756
- Reaction score
- 124
cobra428 said:The Set up......2 hours....I knew I wasn't crazy for buying that vise
Looking GREAT Tony!
On your "set up" time....
Machining is 80% Set Up - 10% Cutting - 6% Machine Maintenance
and 4% Clean Up.
I'd say you are right on schedule.
")
Rick
Thanks NOI53Y :bow:,
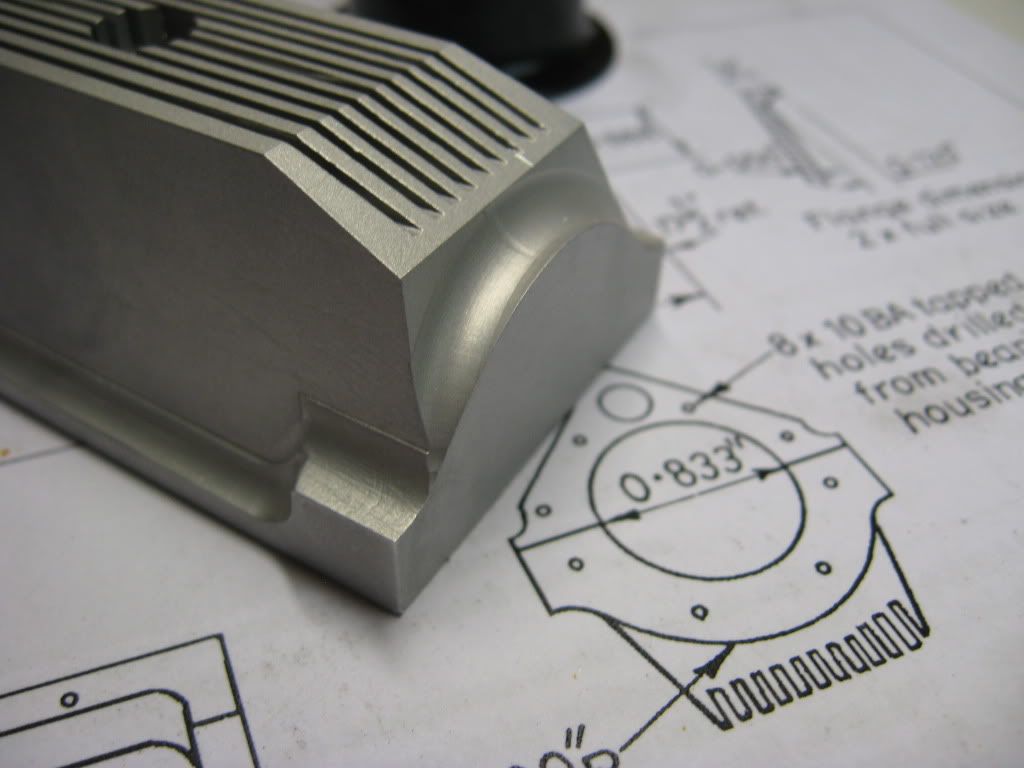
I don't know about the bevel thing to give you an honest answer. It's on the drawing so I put it in. I did find a place that had pics of the real engine.....know what.... in the 5 pics ....there is no view of that. And EW took some "artistic license" with his model.
Tony
I don't know about the bevel thing to give you an honest answer. It's on the drawing so I put it in. I did find a place that had pics of the real engine.....know what.... in the 5 pics ....there is no view of that. And EW took some "artistic license" with his model.
Tony
zeeprogrammer
Well-Known Member
- Joined
- Mar 14, 2009
- Messages
- 3,362
- Reaction score
- 13
Wow. Got caught here and had to read the entire thread.
Darn it. Another great thread taking away from my machining time.
Really beautiful work Tony. I hope it's less than 6 months though...for my sake.
Darn it. Another great thread taking away from my machining time.
Really beautiful work Tony. I hope it's less than 6 months though...for my sake.
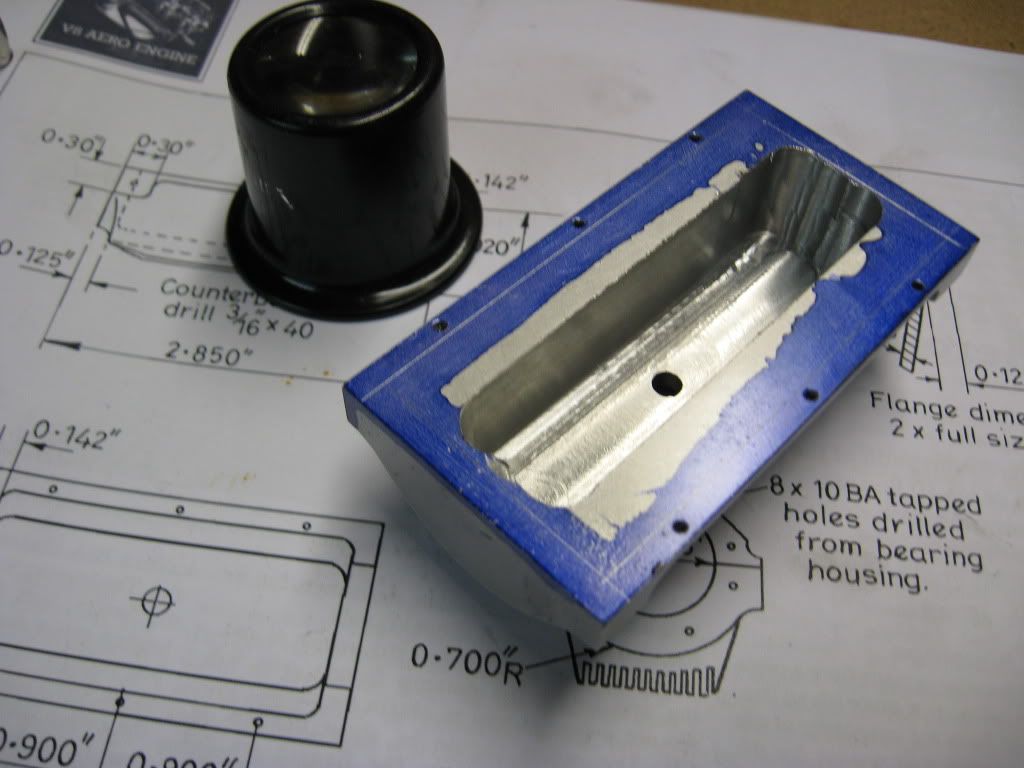
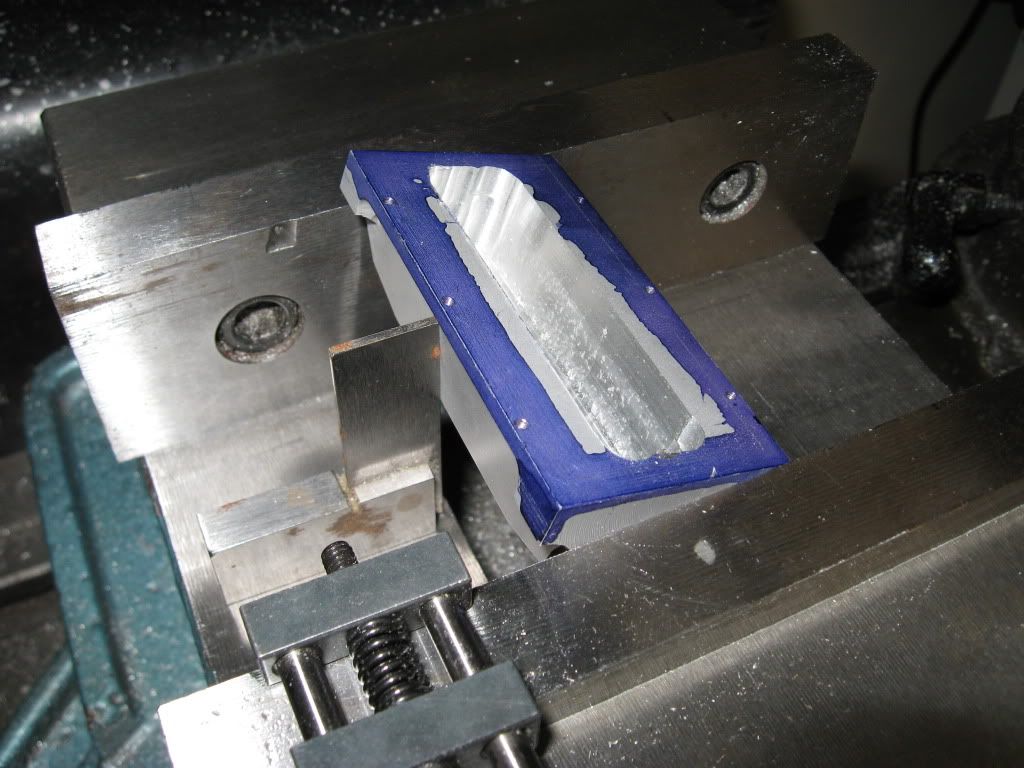
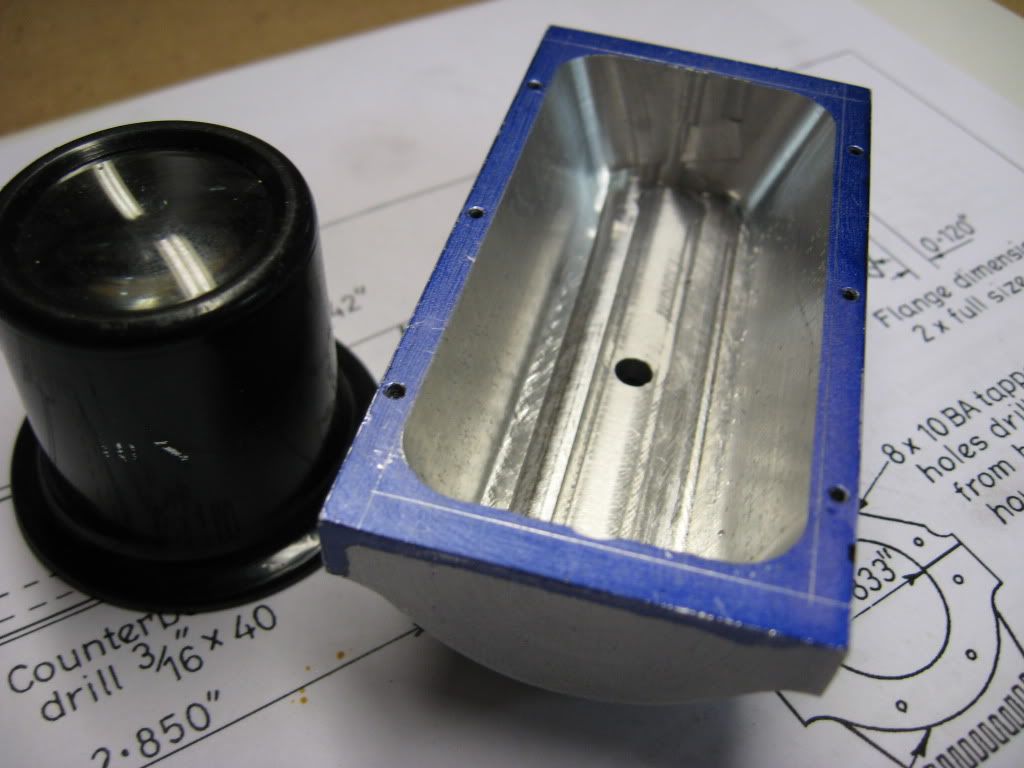
Well this mornings effort
Top crankcase flanges cut drill and c'bore bottom crankcase drilled and taped
Let me tell you I was sweat-in taping those 0-80's...love to get hex head in there...we'll see
I will cut those screws down! next step cut out the insides of both
Tony
Top crankcase flanges cut drill and c'bore bottom crankcase drilled and taped
Let me tell you I was sweat-in taping those 0-80's...love to get hex head in there...we'll see
I will cut those screws down! next step cut out the insides of both
Tony
deere_x475guy
Well-Known Member
Cobra, very interesting project and a great read so far. I am looking forward to seeing more as I am sure the rest are.
vlmarshall
Well-Known Member
- Joined
- Dec 28, 2008
- Messages
- 1,138
- Reaction score
- 1
Jones said:That's a nice sump you made there
See? I'm not the only one!
(not mentioning who I'm talking to here... he knows who he is. ;D )