SBWHART,
The way I drop parts with my fat fingers....they just might. scratch.gif where the heck could it have gone :shrug:
solver
Ahhhh it's calling your name to, I see.
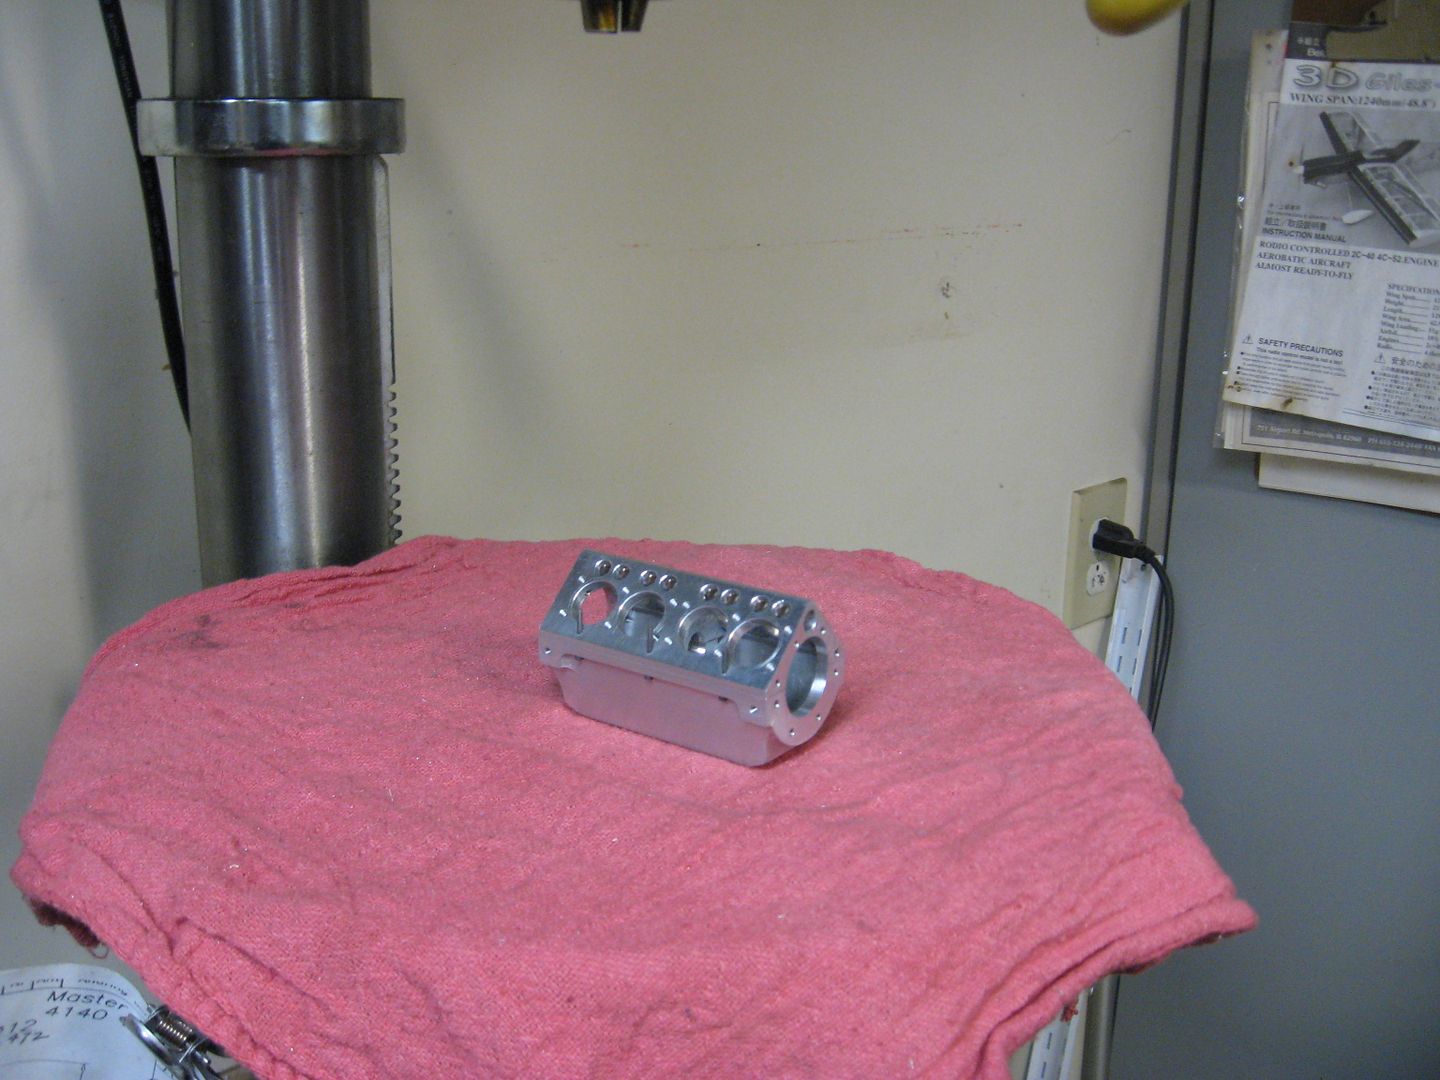
Well this is it for today. It was so nice to spend the whole day in the shop.
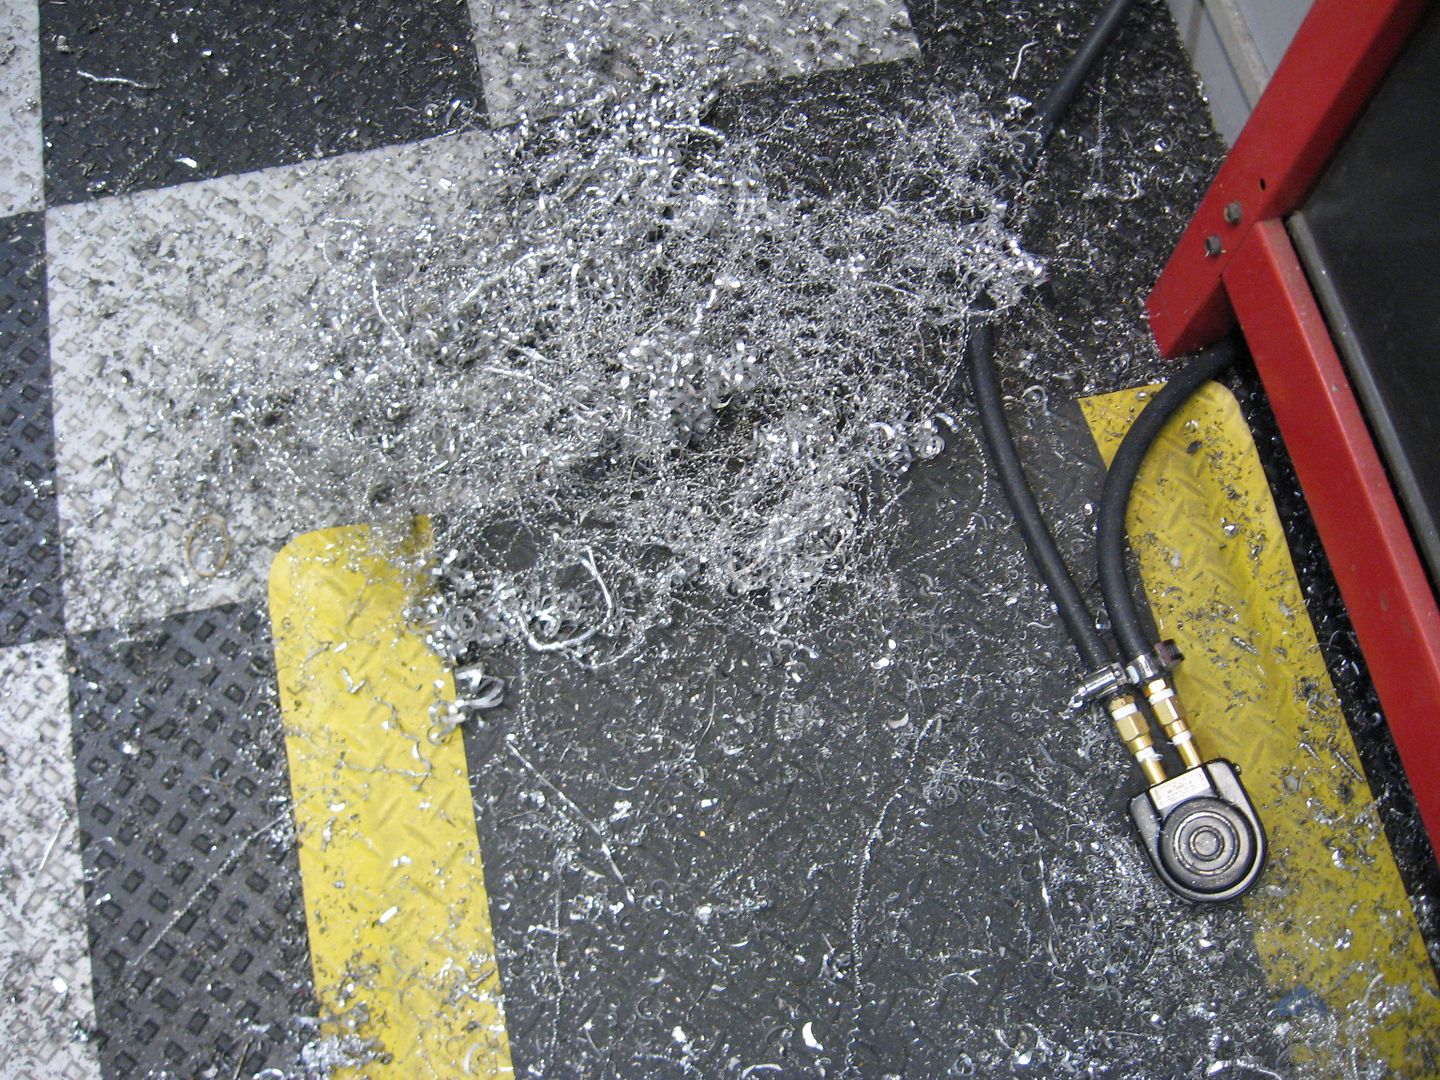
I bet you guys where saying Tony will be sweating bullets on this cut. Well you where wrong...I wasn't sweating bullets.......I was sweating canon shells :big:
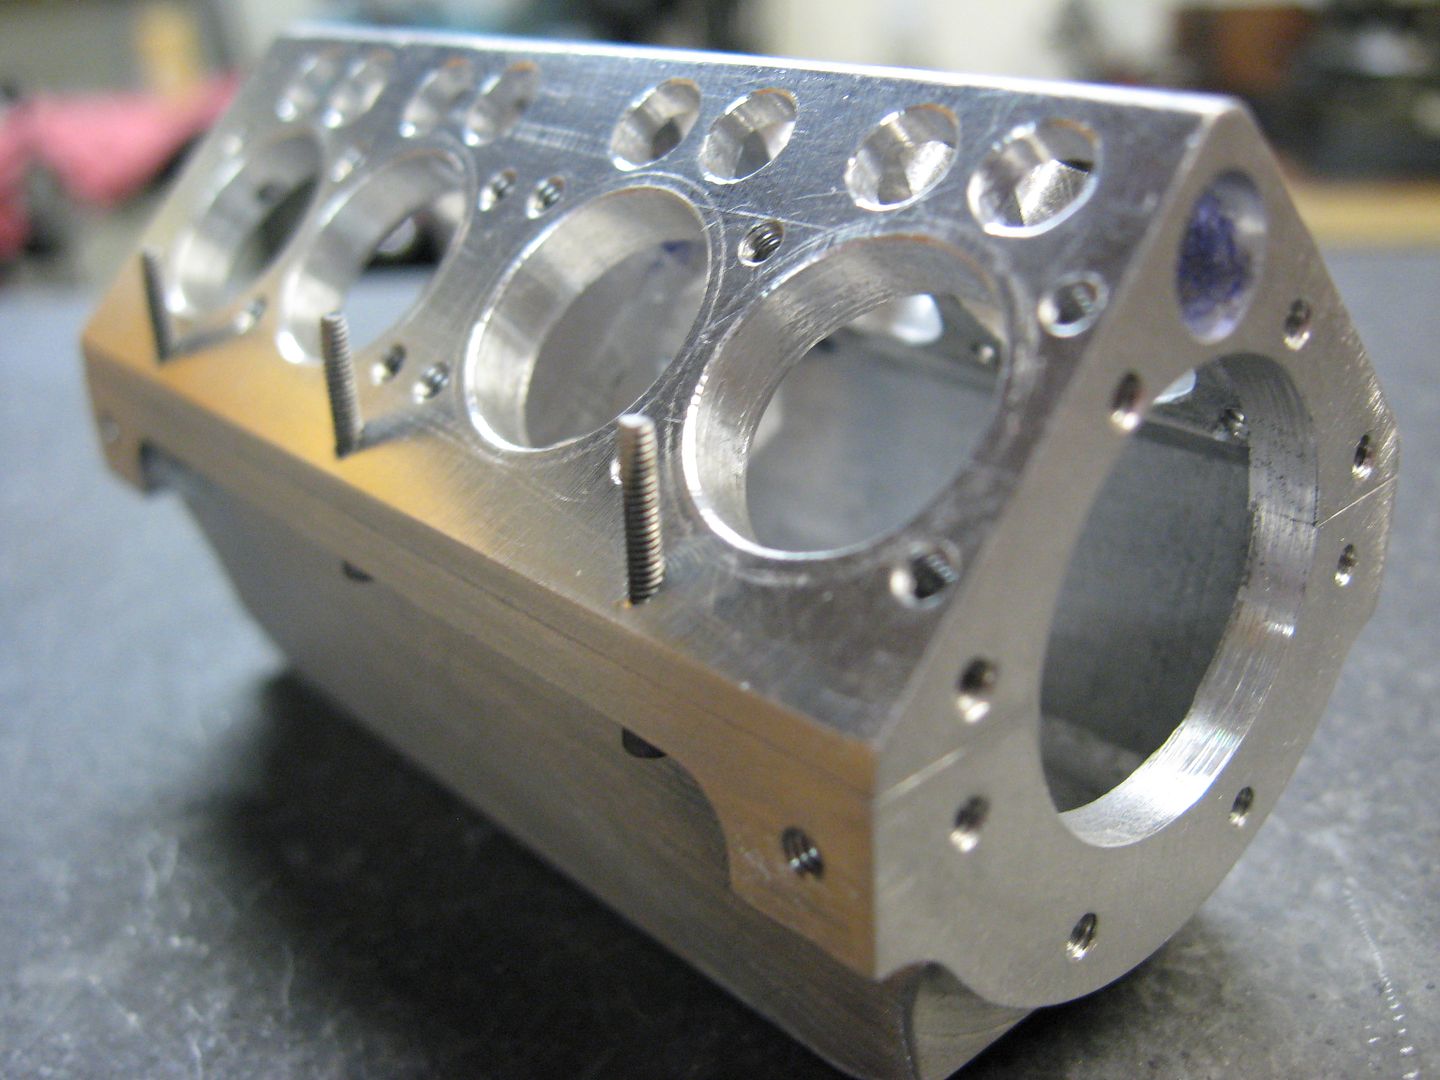
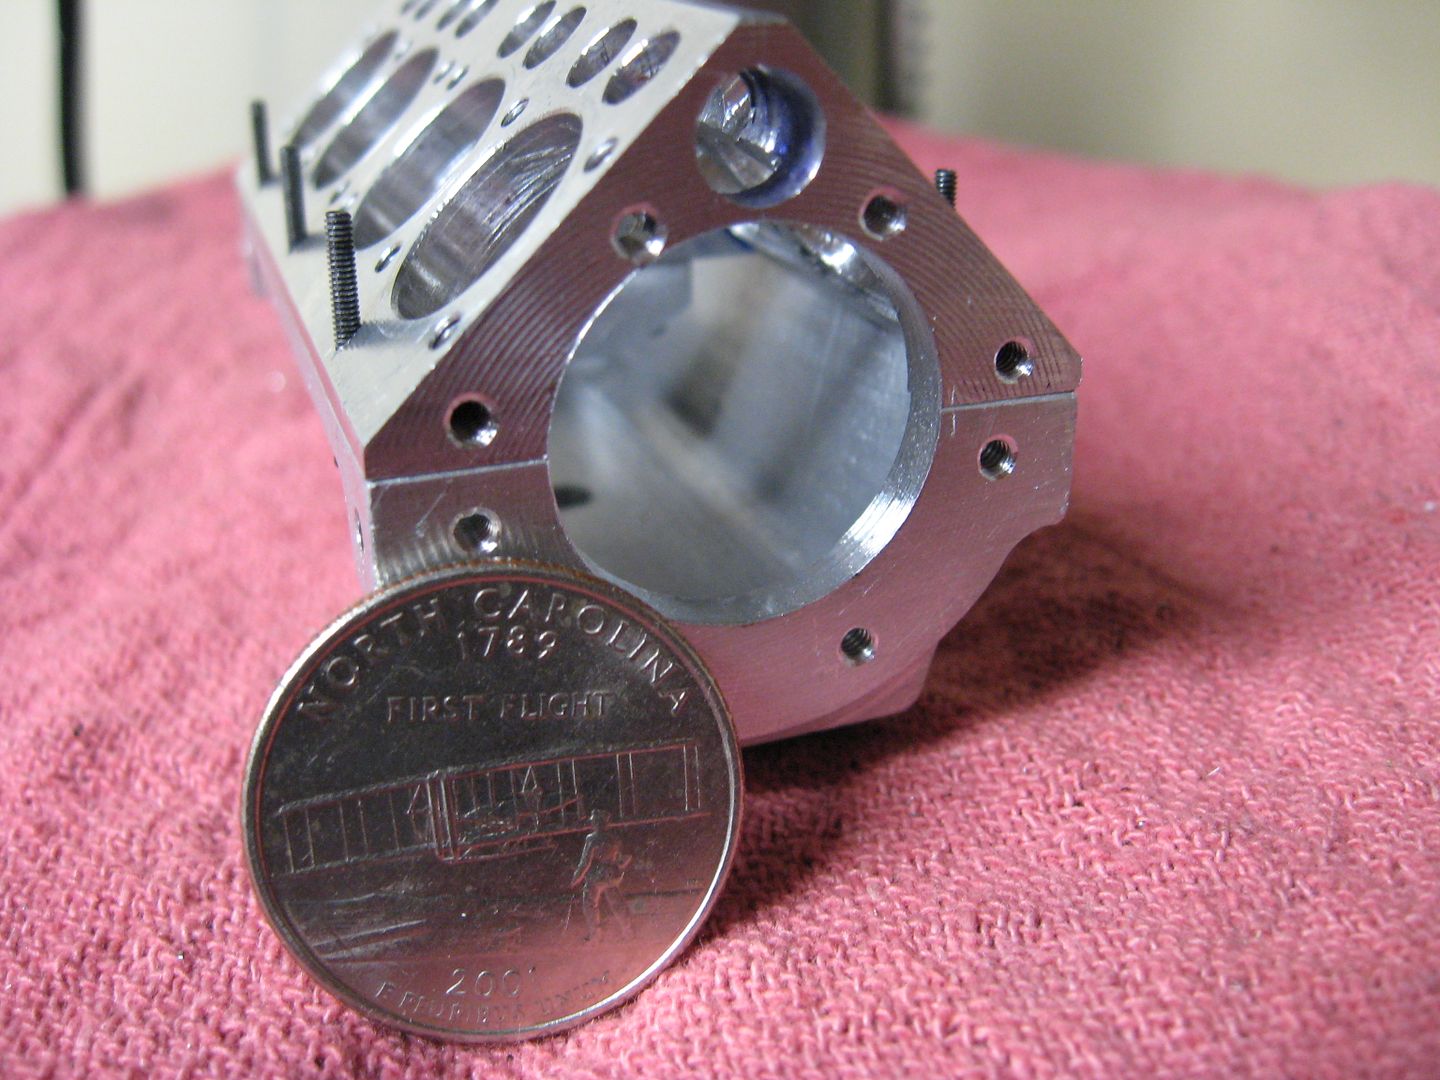
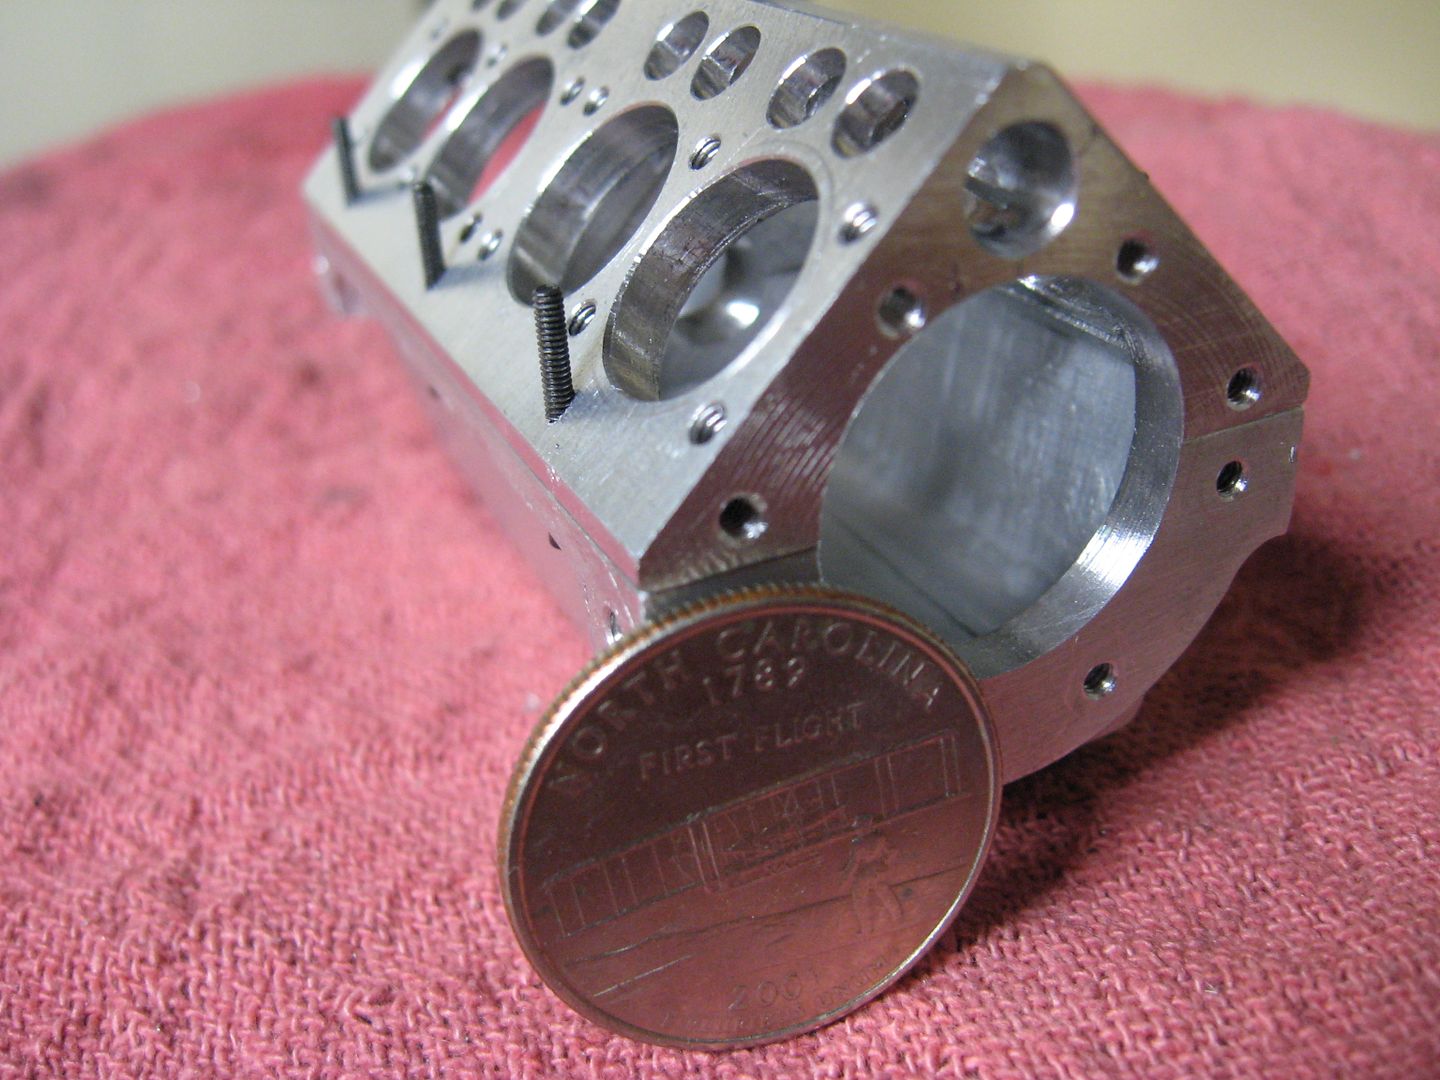
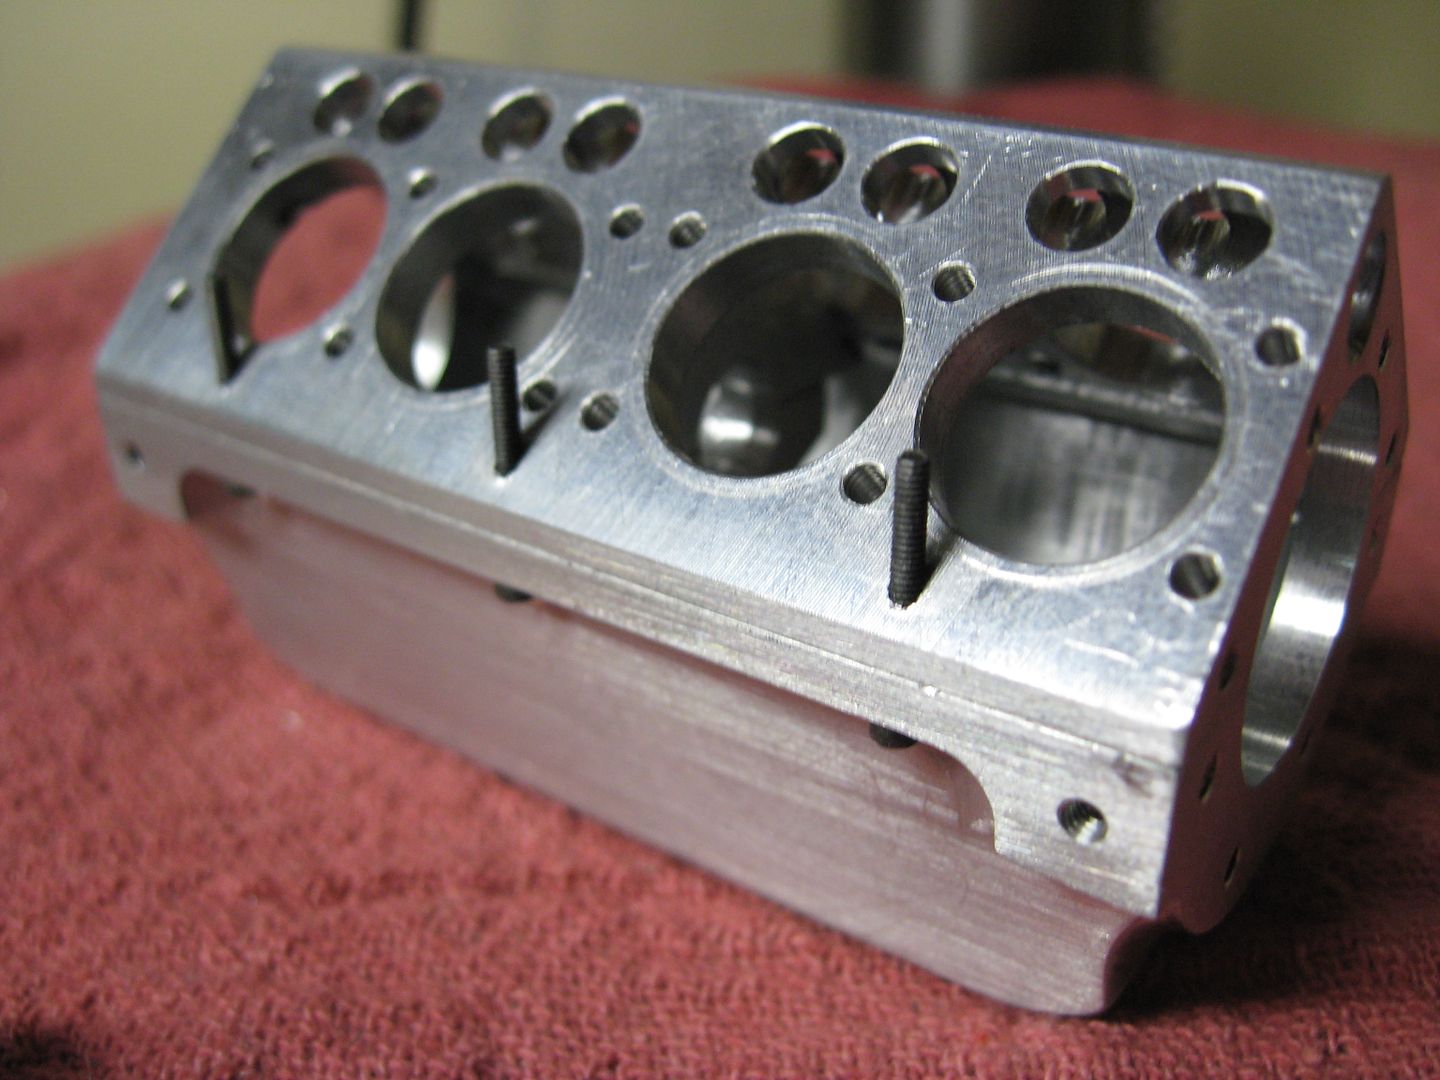
So far all looks good. I messaged the hole side to side with progressively larger end mills,
measuring and adjusting. All measures out within .0005
Fingers crossed for tomorrow when I turn it over.
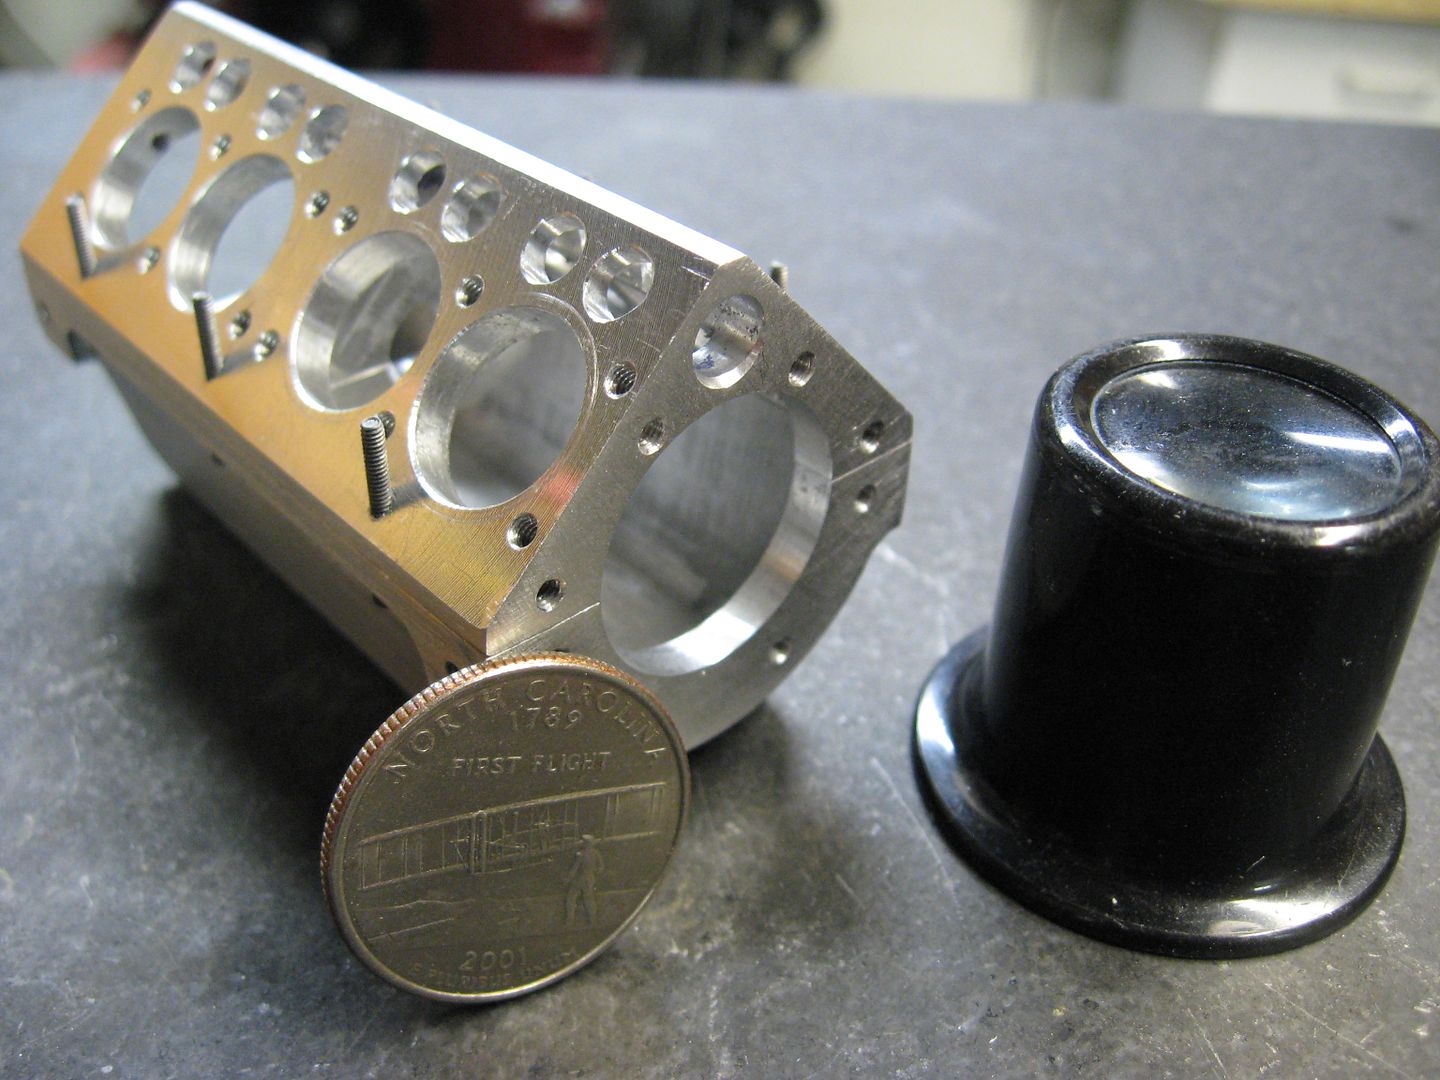
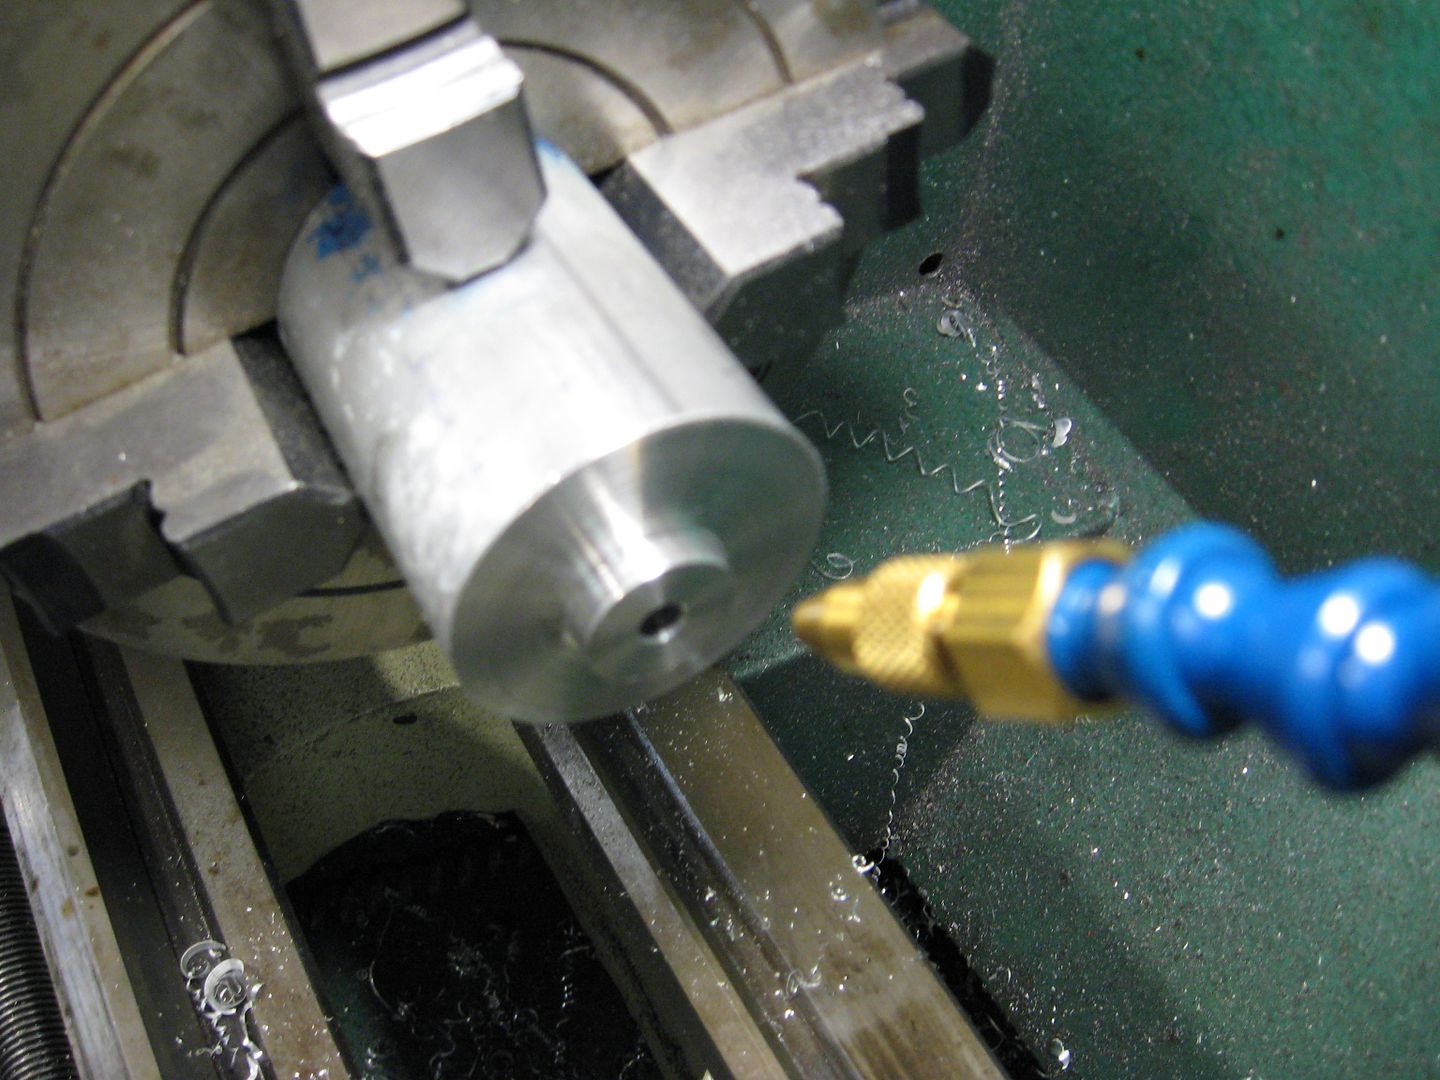
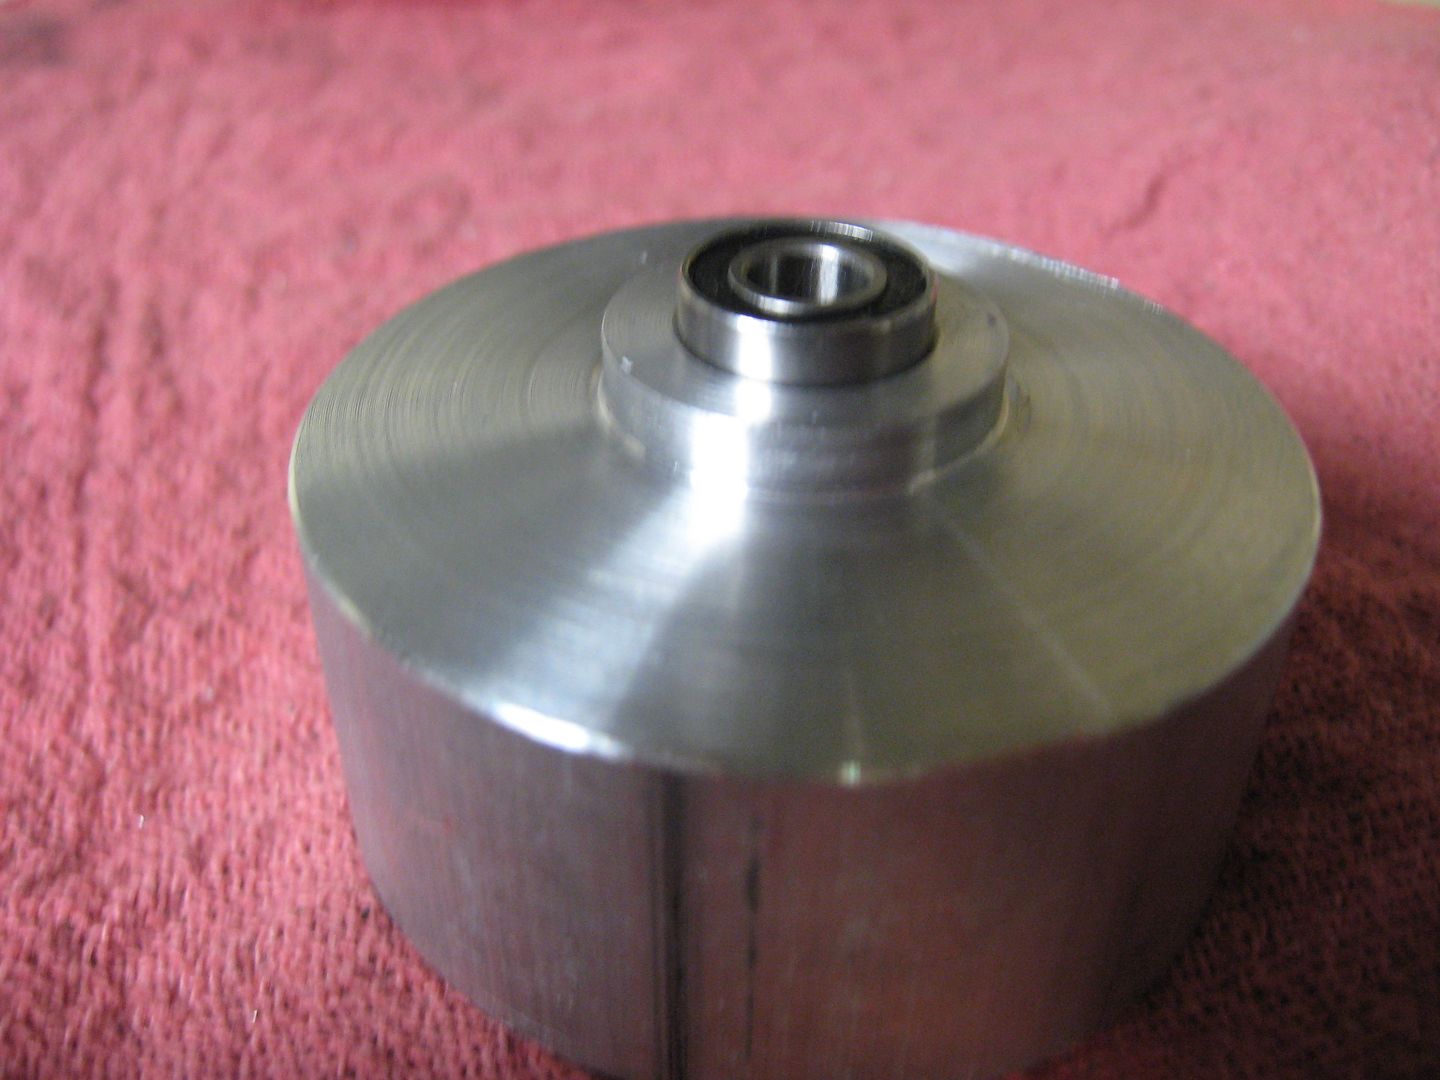
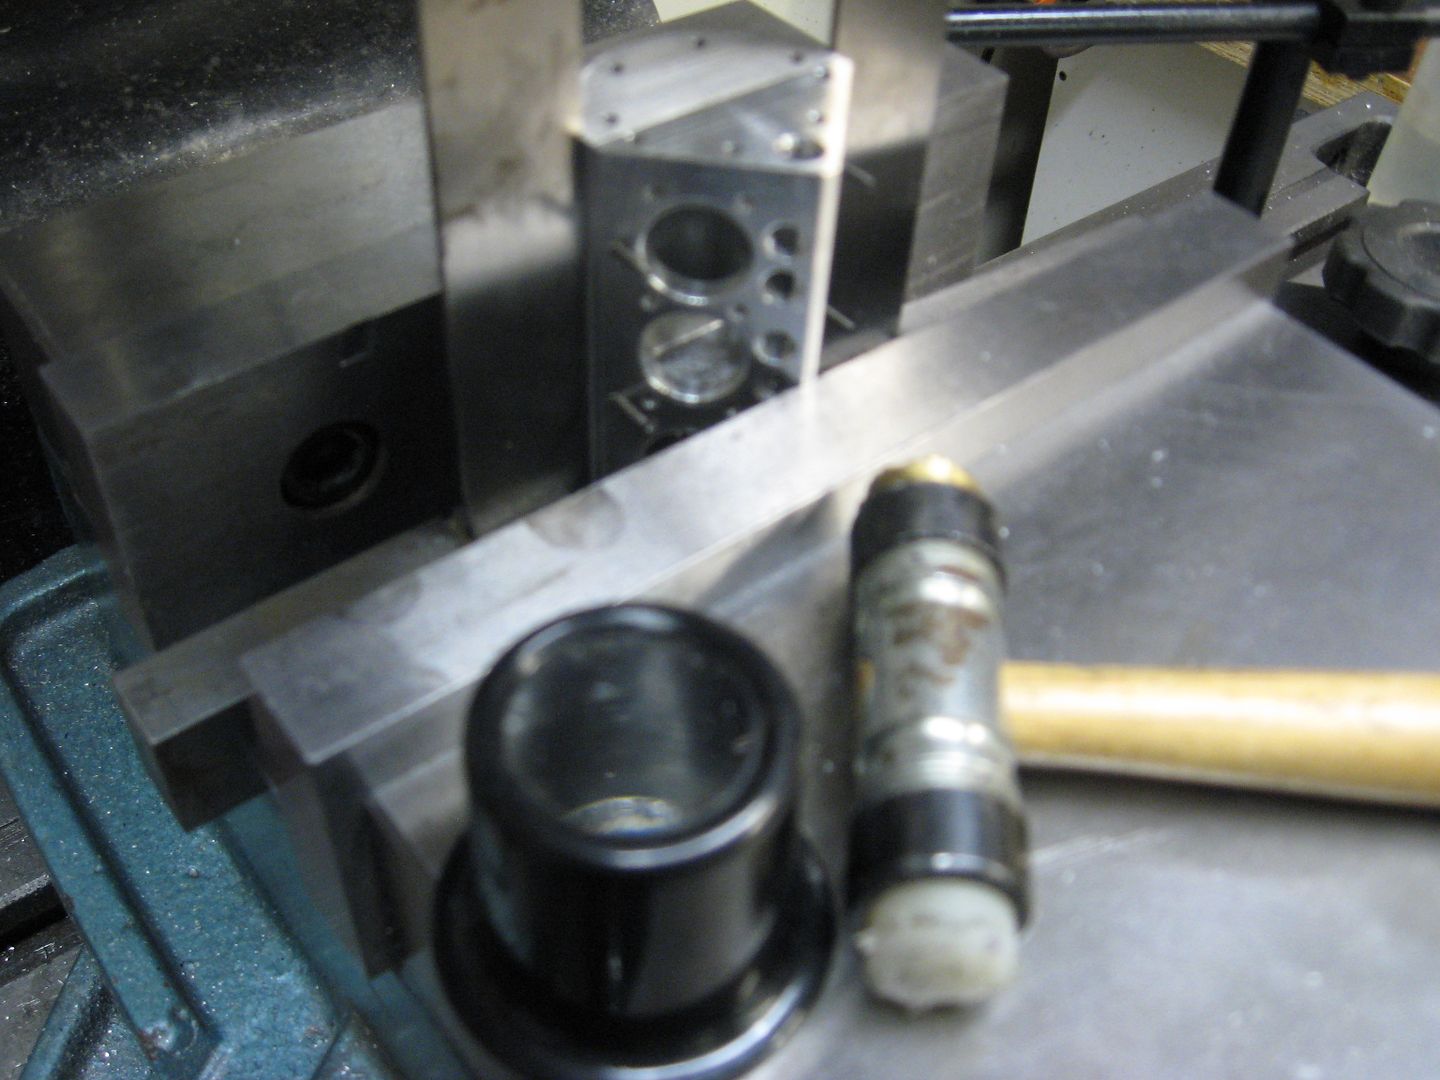
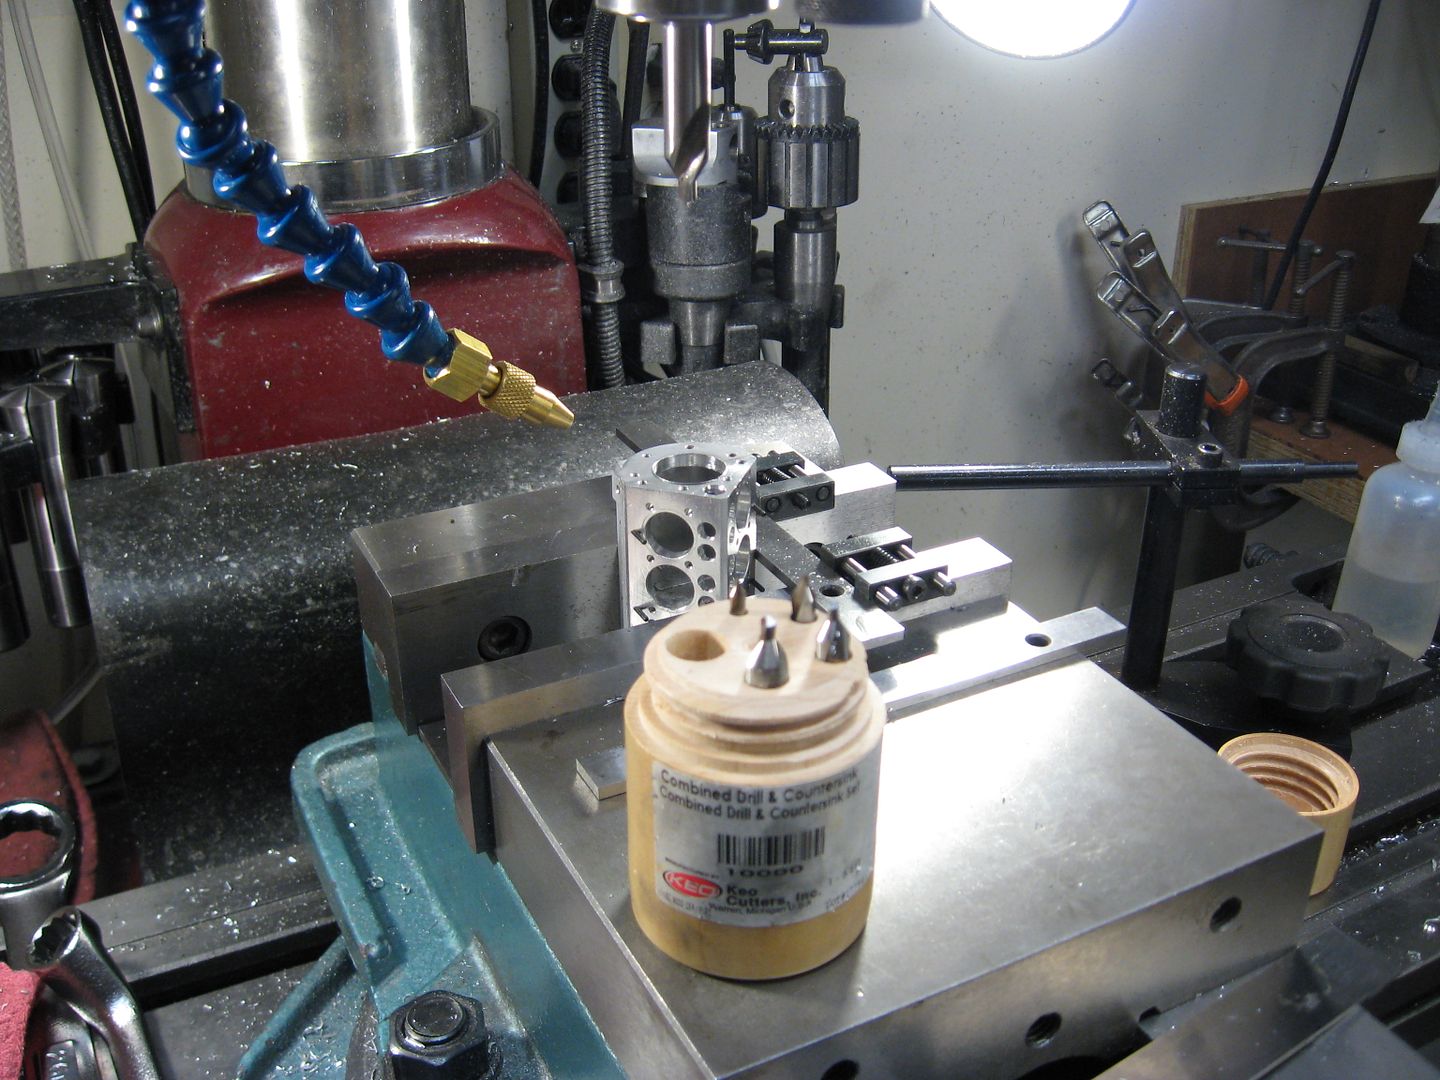
Set up...fine adjustment tool used to bring it home
I touched off to get me in the ball park
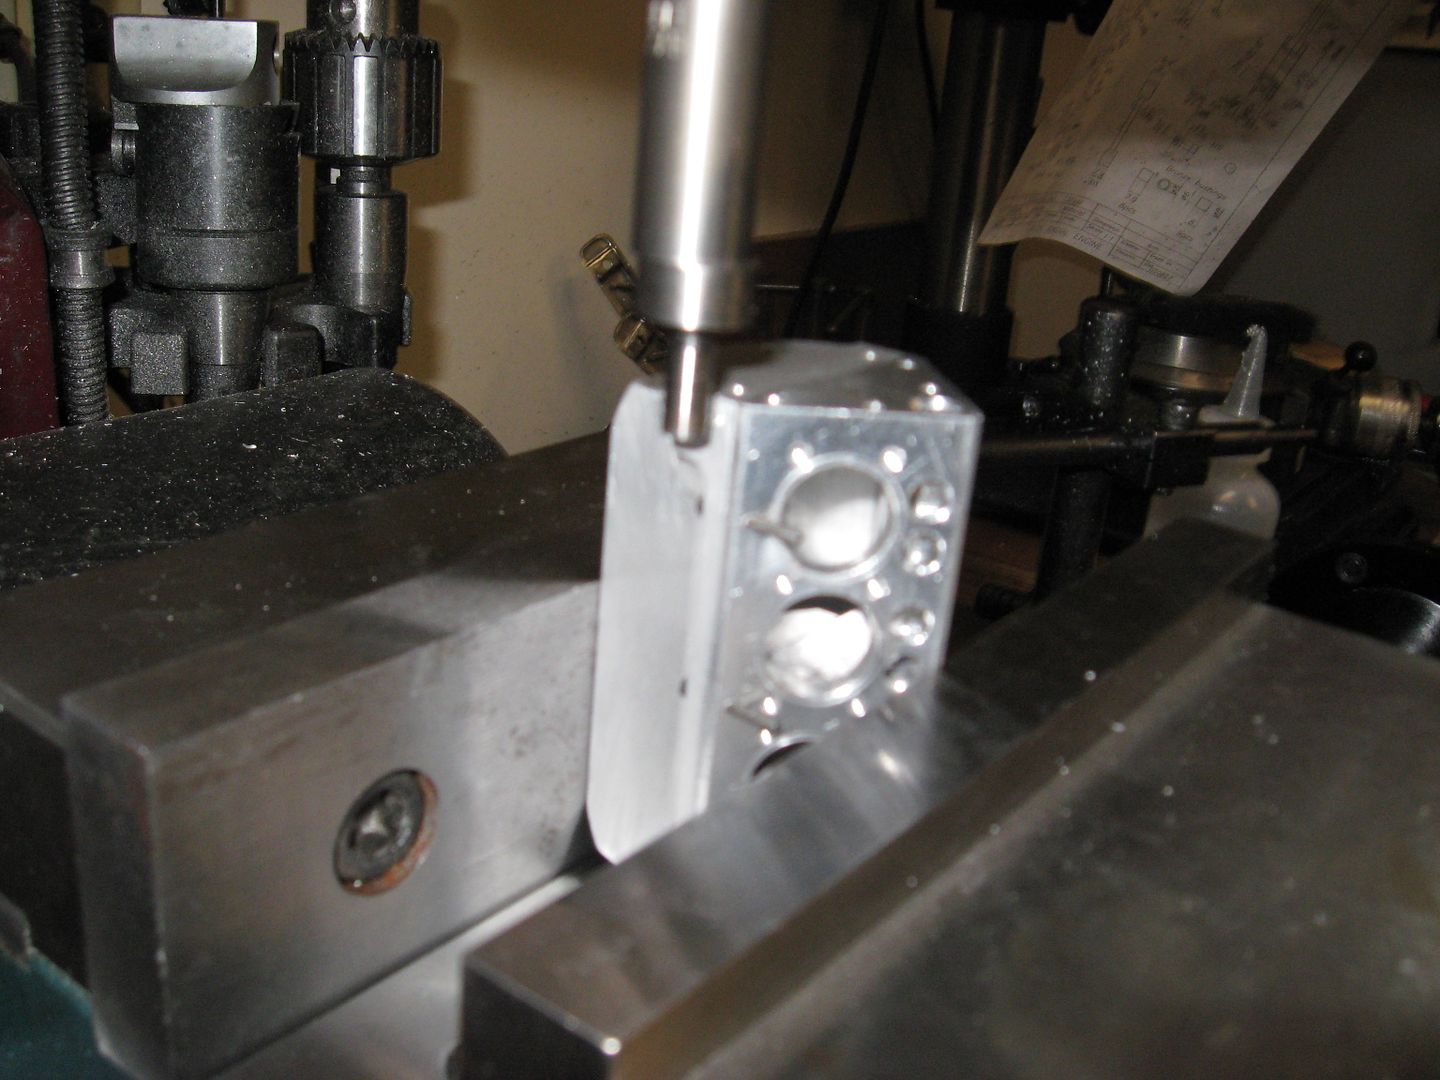
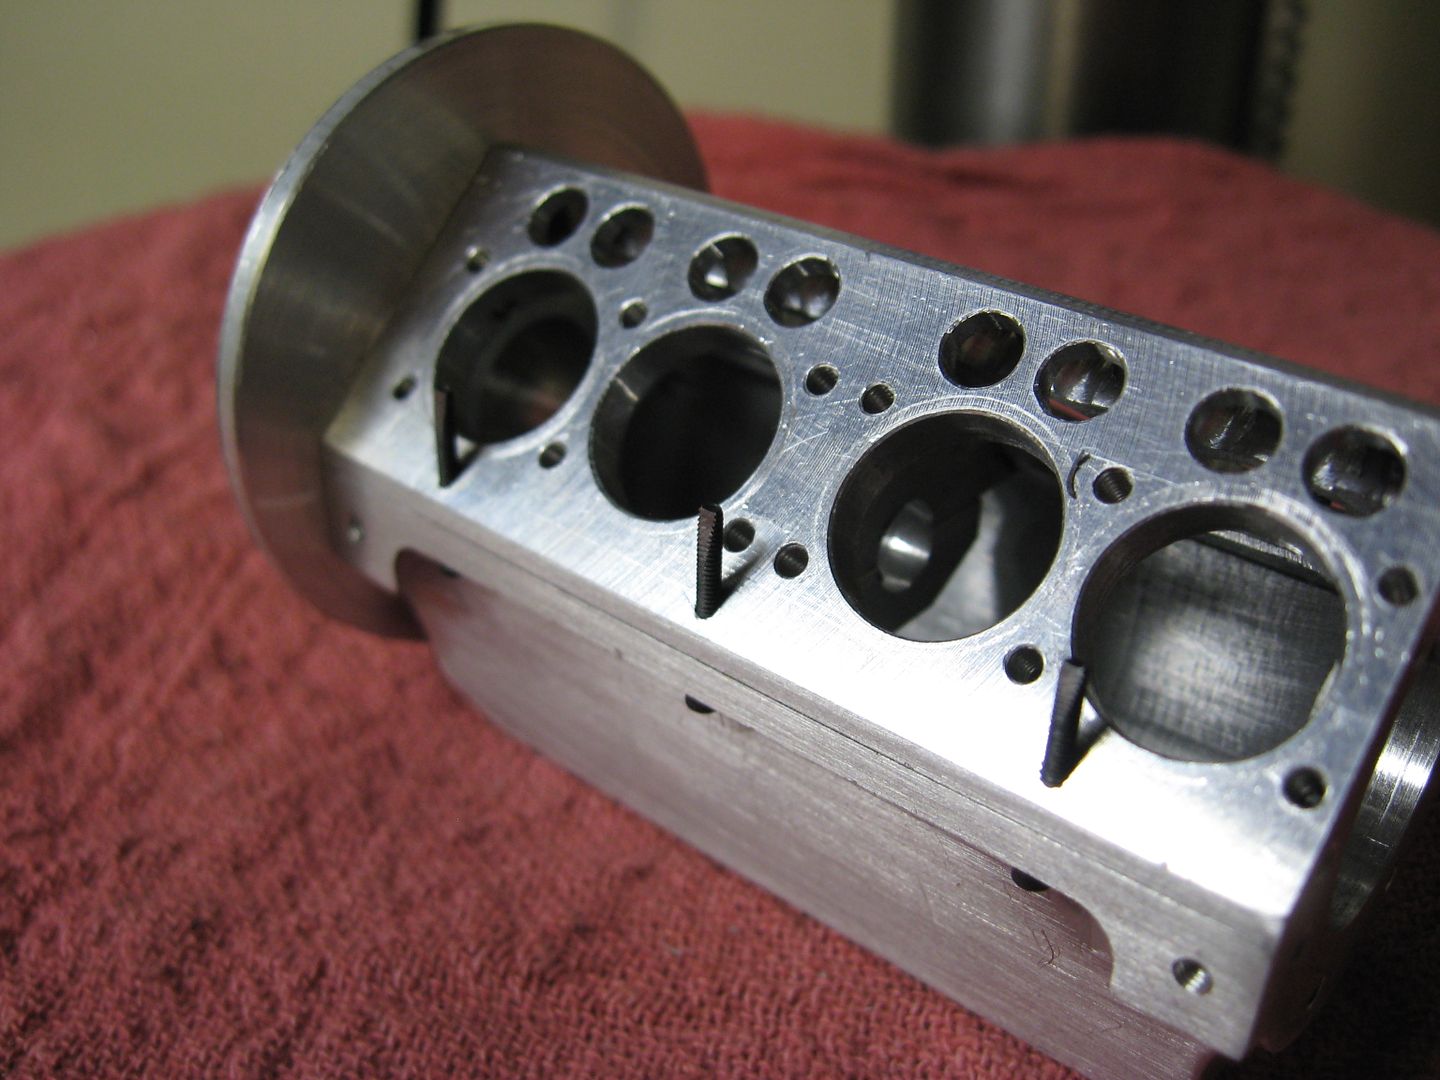
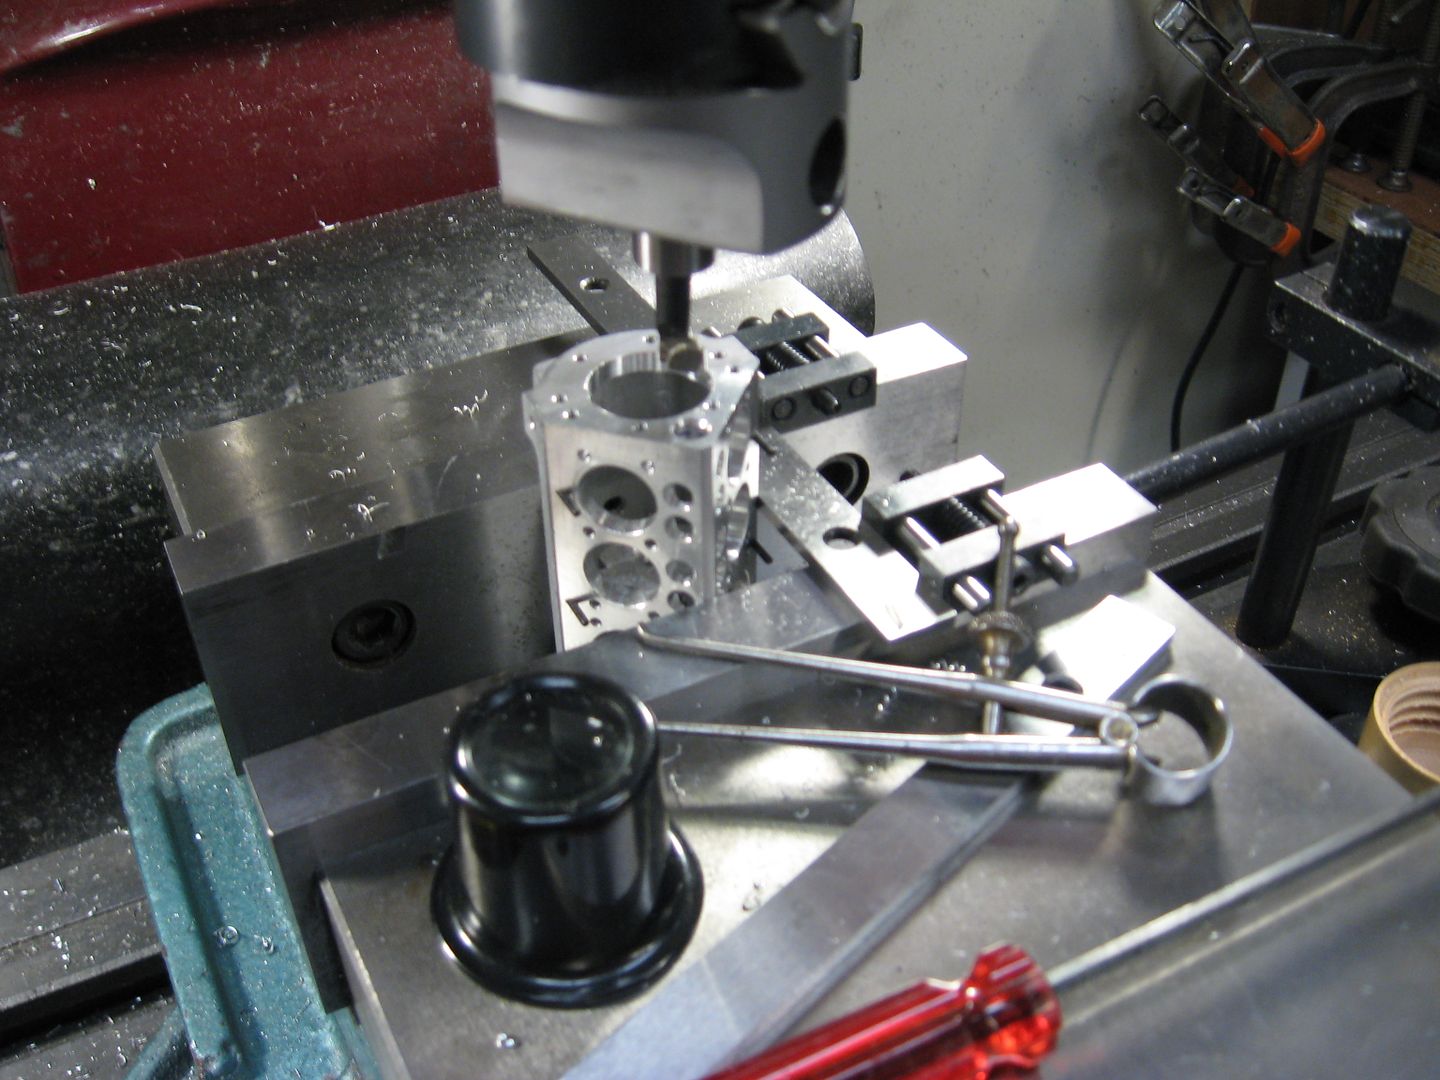
I kept measuring side to side to get it centered
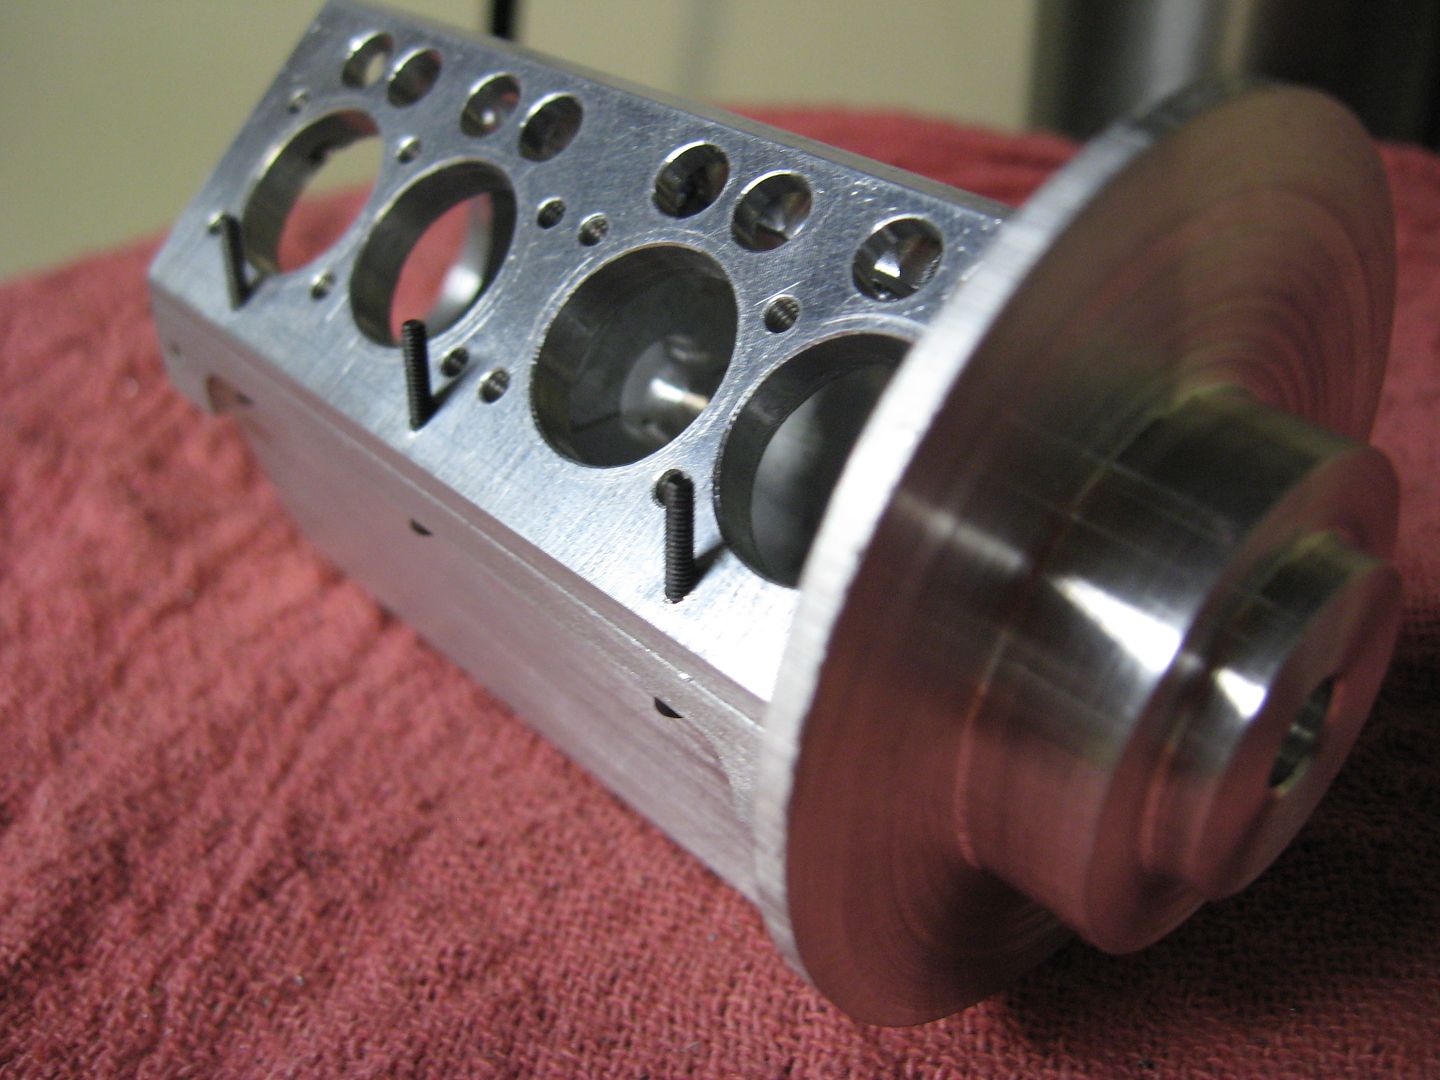
Centered drilled to the cap
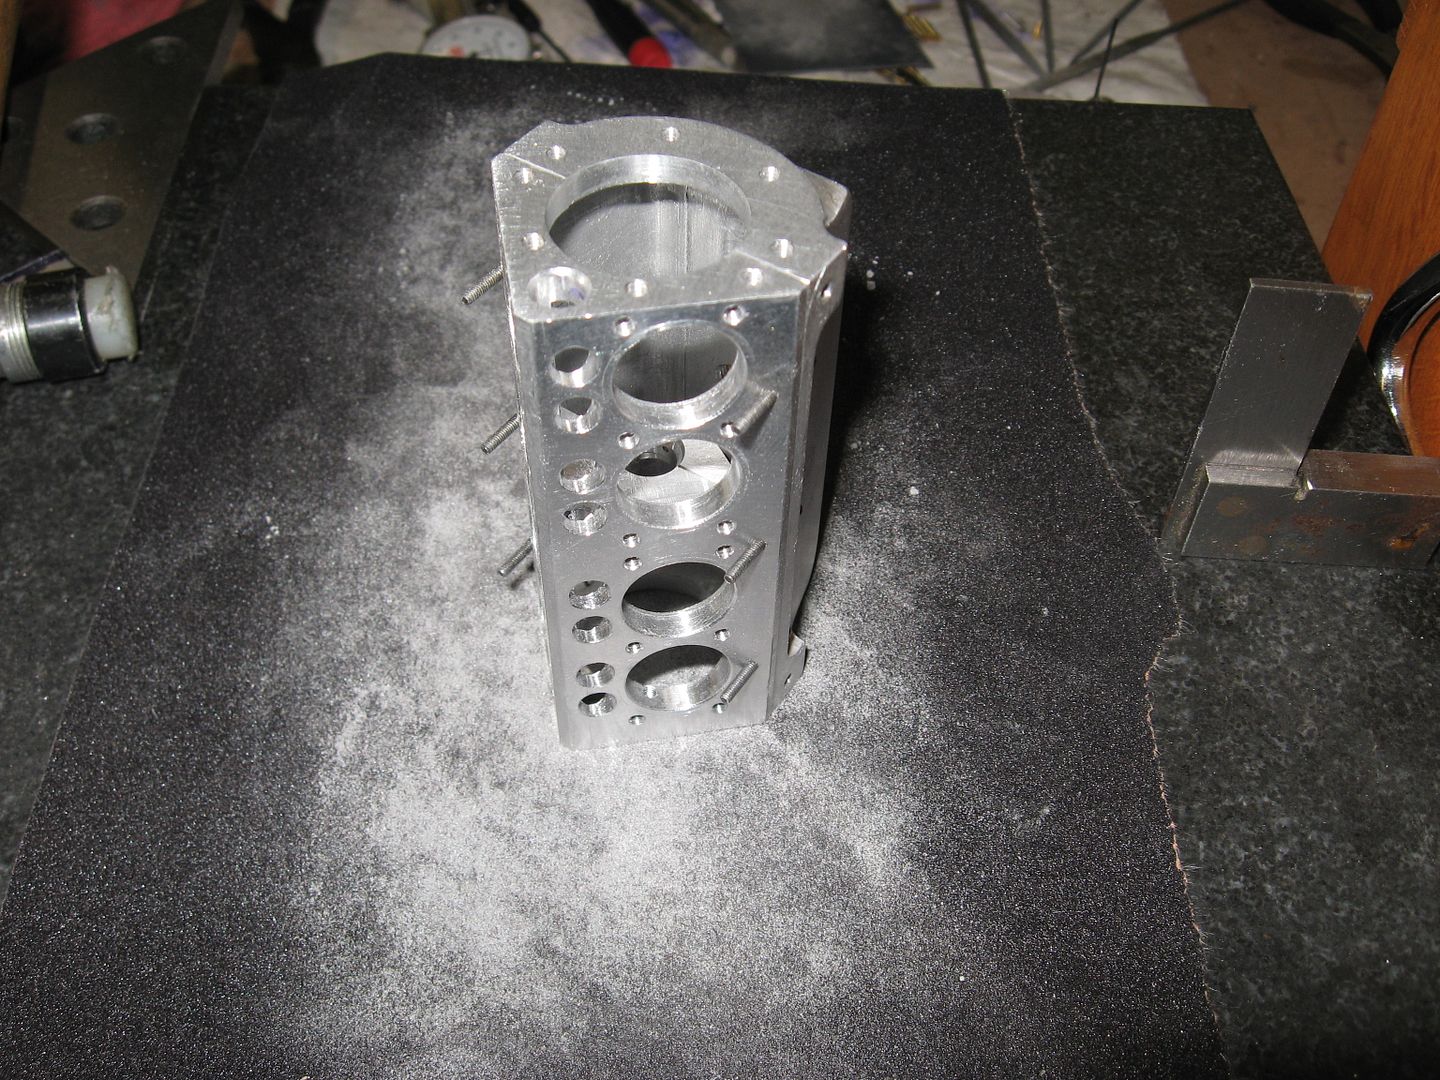
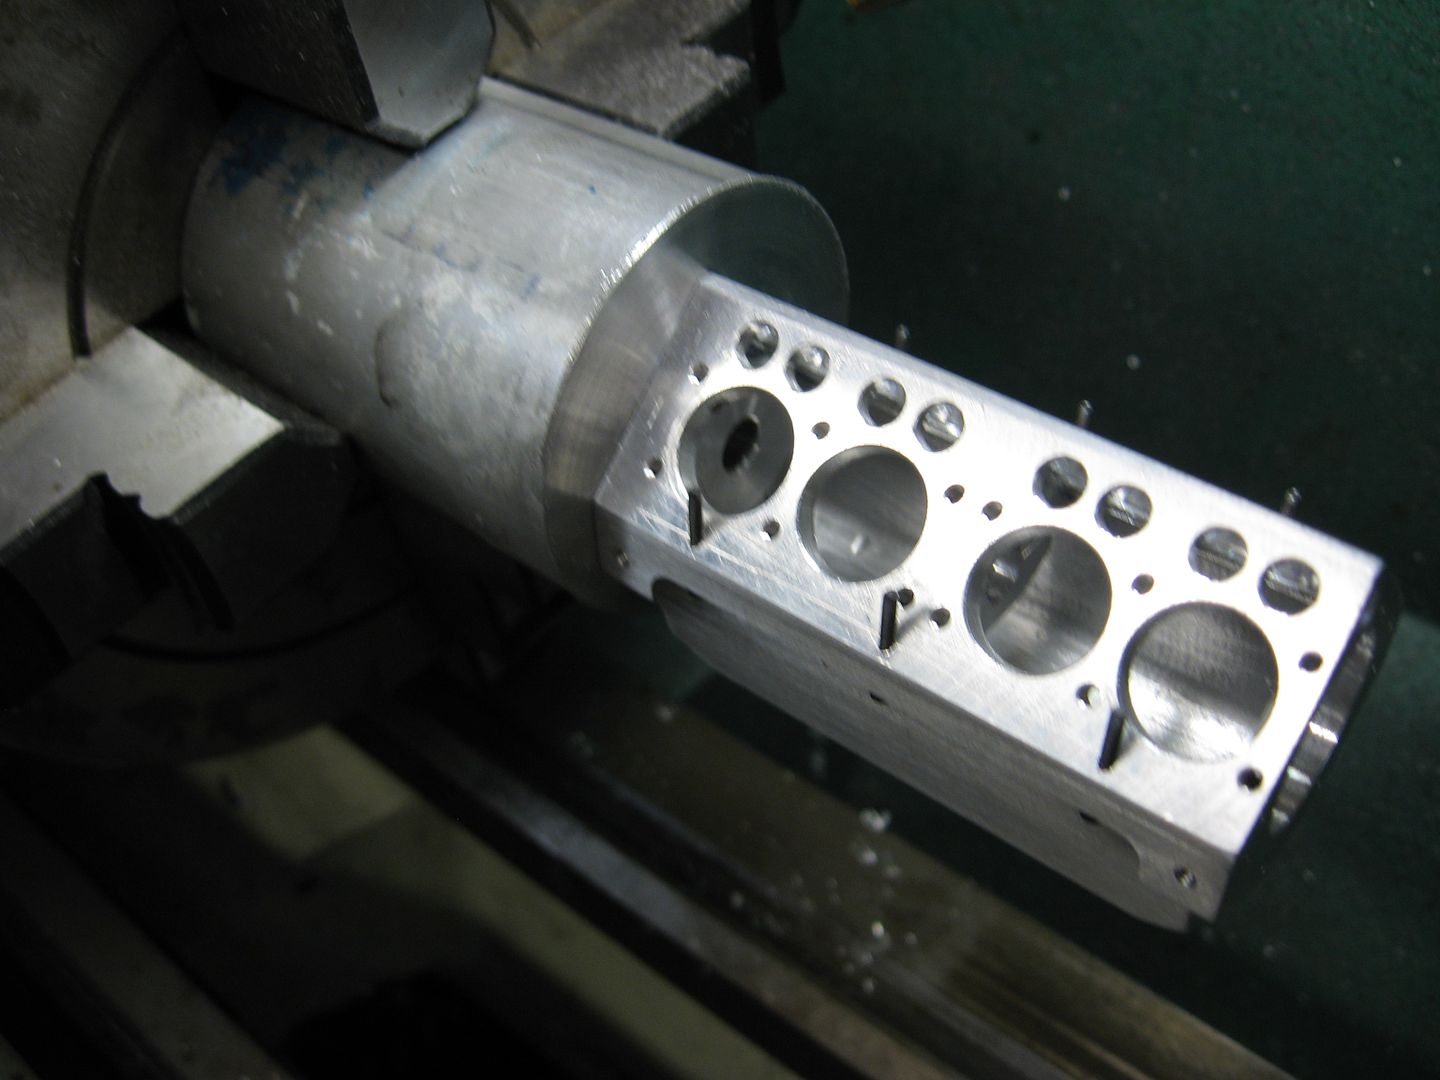
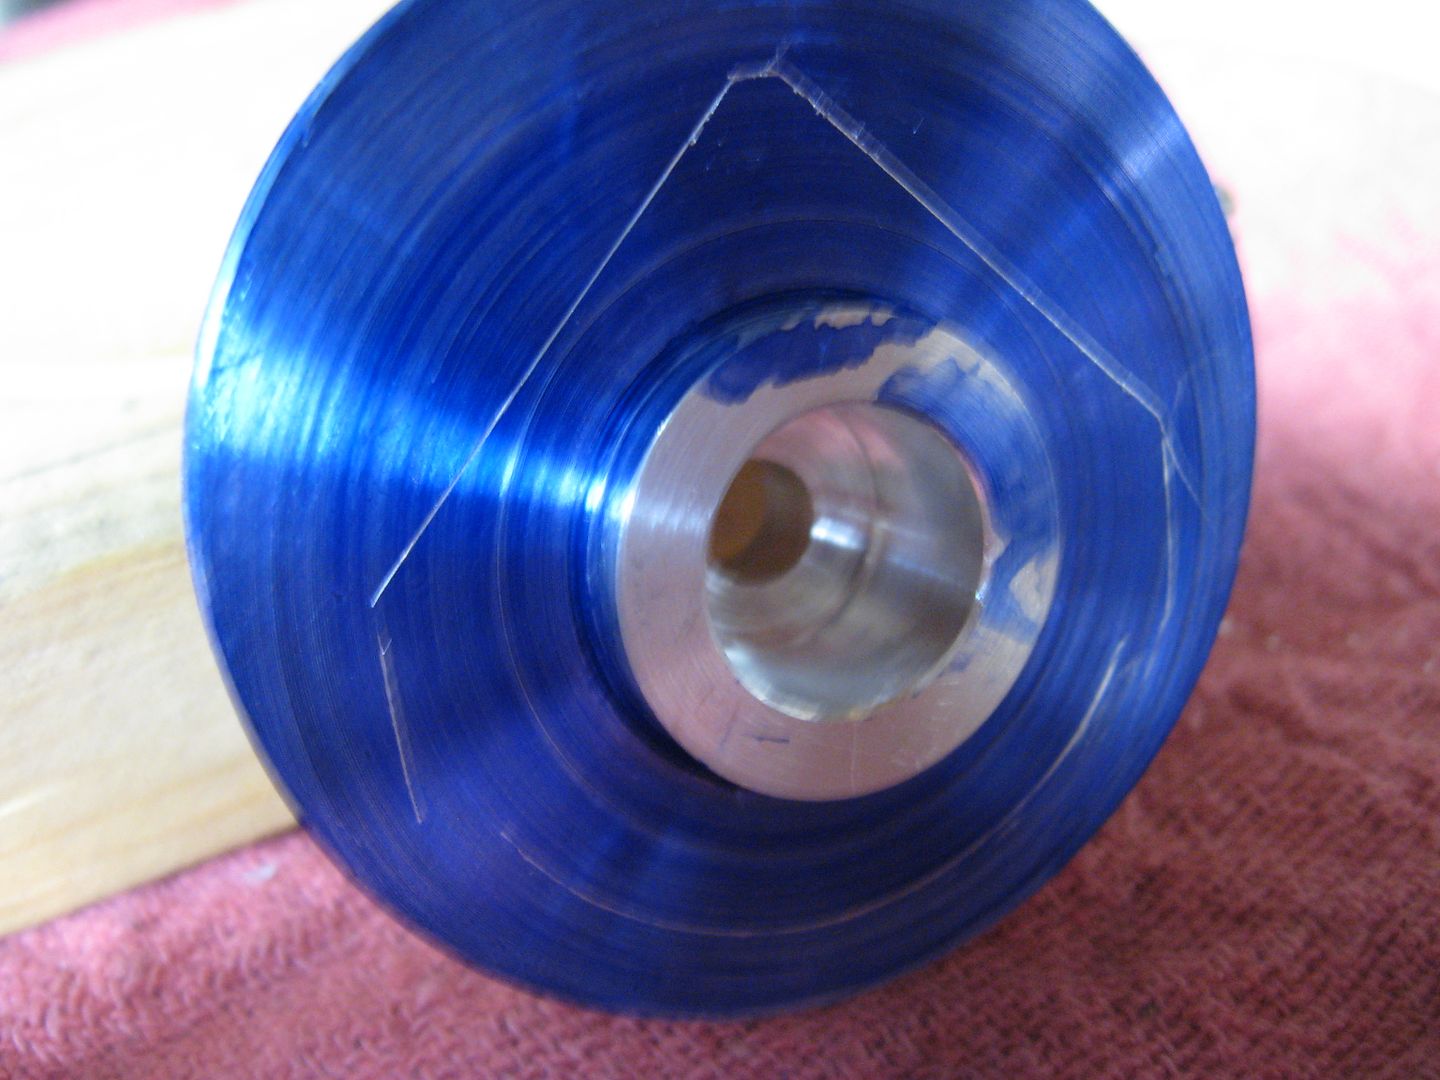
Time for the bore
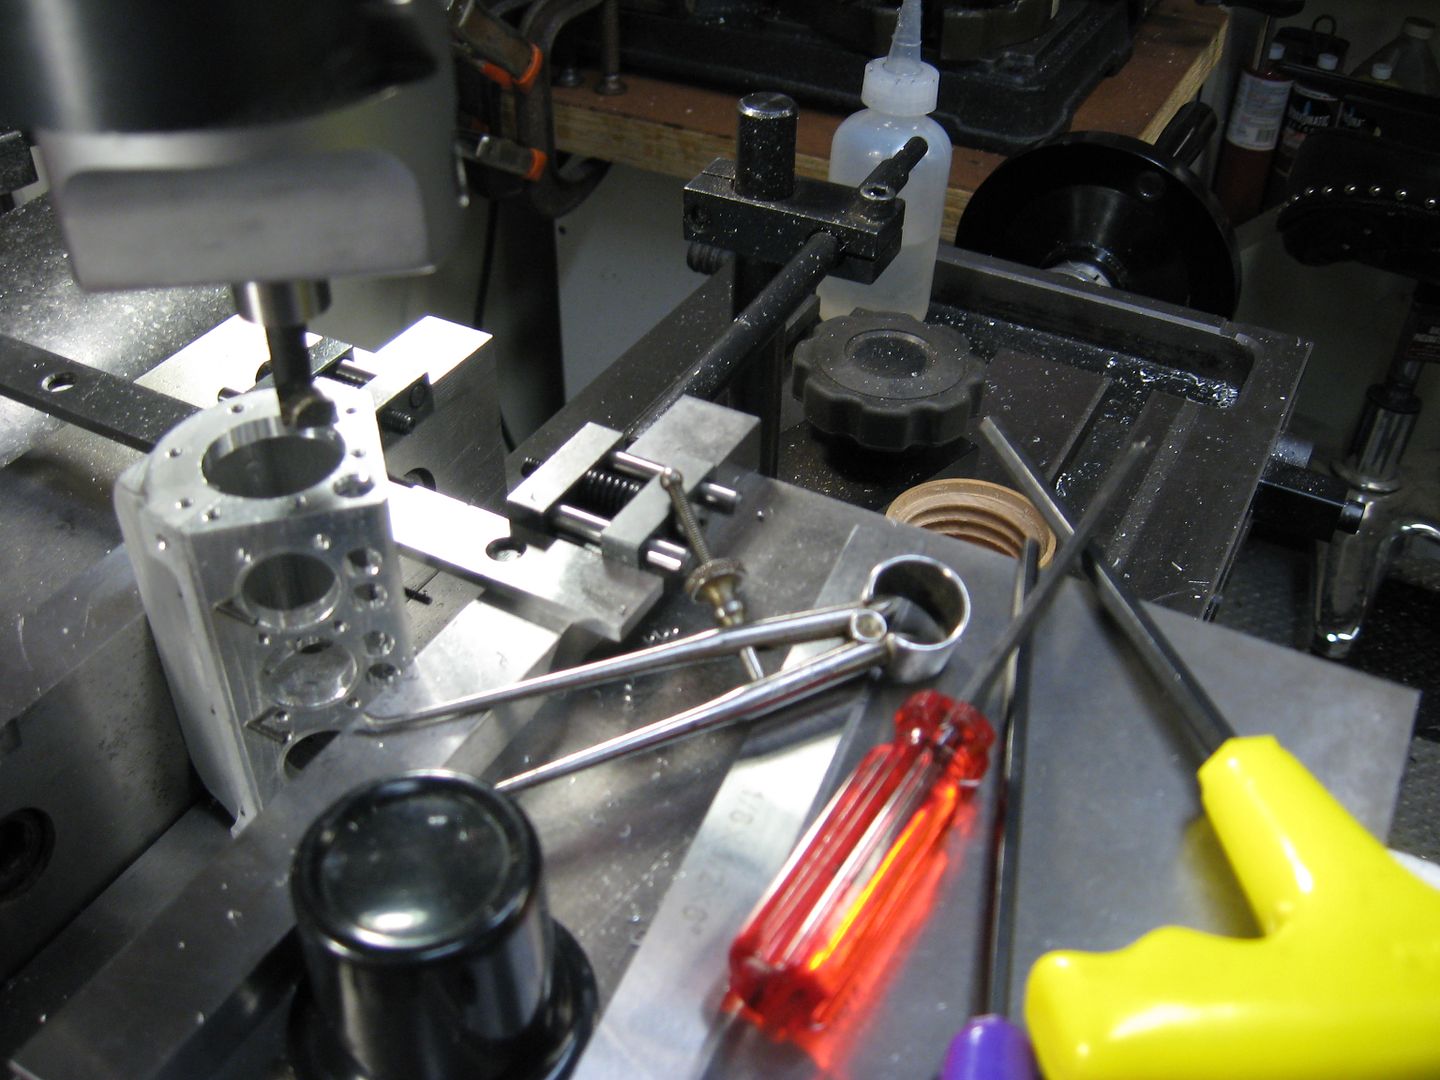
A boring job done!

Tomorrow the other side.
Thanks for the peek
Tony
The way I drop parts with my fat fingers....they just might. scratch.gif where the heck could it have gone :shrug:
solver
Ahhhh it's calling your name to, I see.
Well this is it for today. It was so nice to spend the whole day in the shop.
I bet you guys where saying Tony will be sweating bullets on this cut. Well you where wrong...I wasn't sweating bullets.......I was sweating canon shells :big:
So far all looks good. I messaged the hole side to side with progressively larger end mills,
measuring and adjusting. All measures out within .0005
Fingers crossed for tomorrow when I turn it over.
Set up...fine adjustment tool used to bring it home
I touched off to get me in the ball park
I kept measuring side to side to get it centered
Centered drilled to the cap
Time for the bore
A boring job done!
Tomorrow the other side.
Thanks for the peek
Tony