Where to place your lathe and mill?

Home Model Engine Machinist Forum

Help Support Home Model Engine Machinist Forum:

This site may earn a commission from merchant affiliate links, including eBay, Amazon, and others.

multihobbyguy

Active Member
Joined
Jul 26, 2009
Messages
44
Reaction score
0
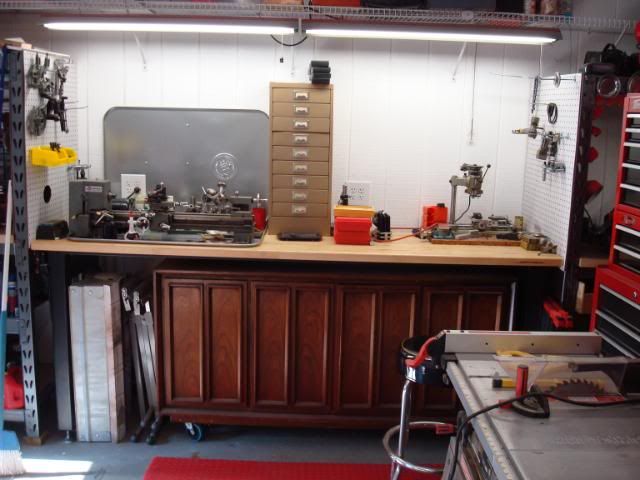
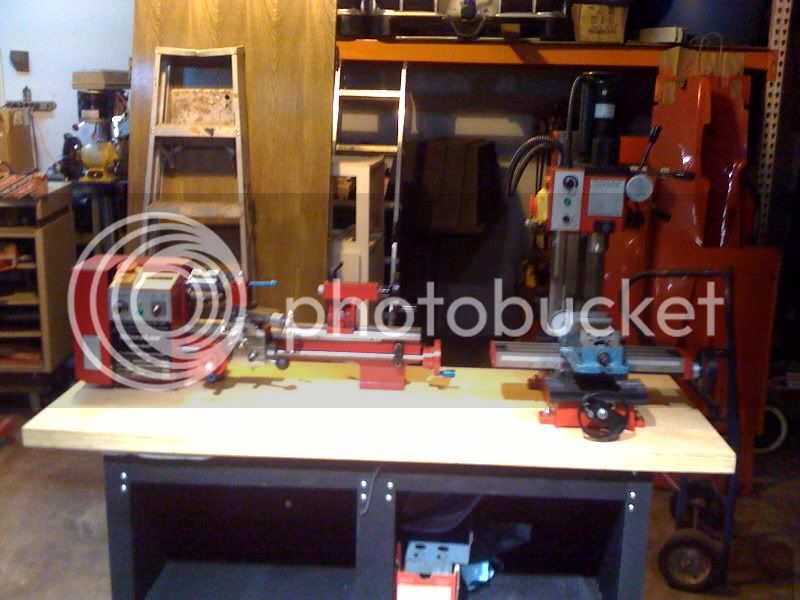
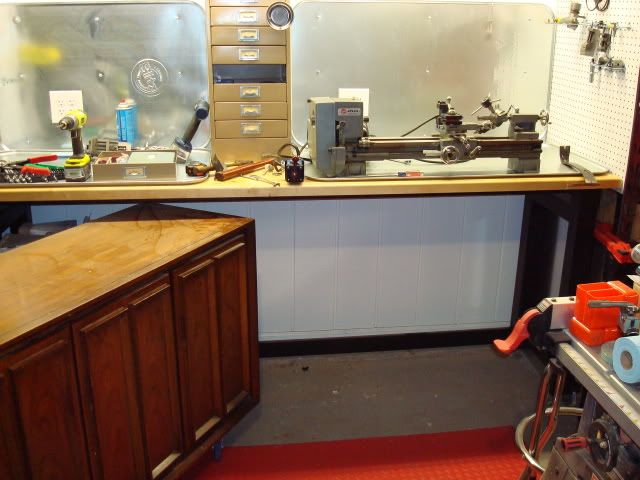
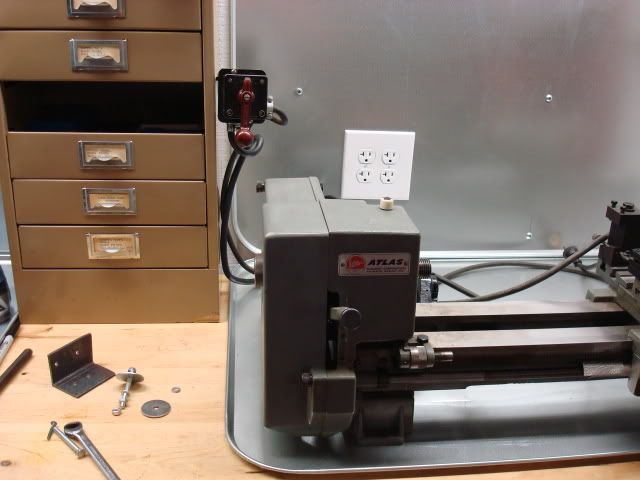
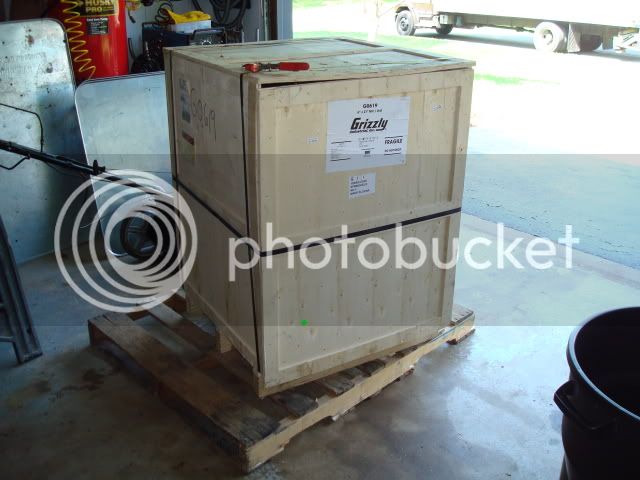
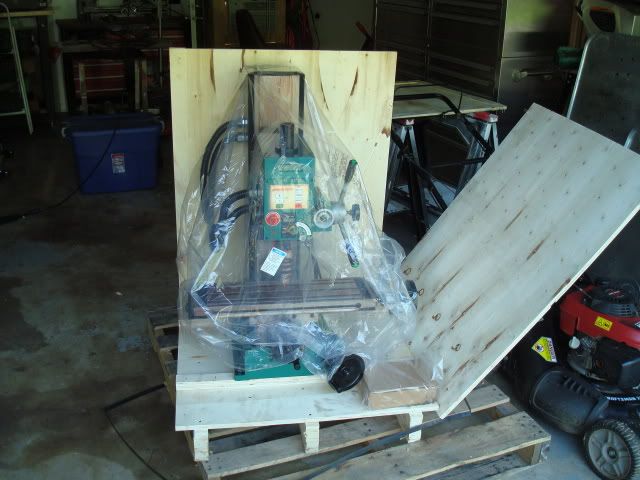
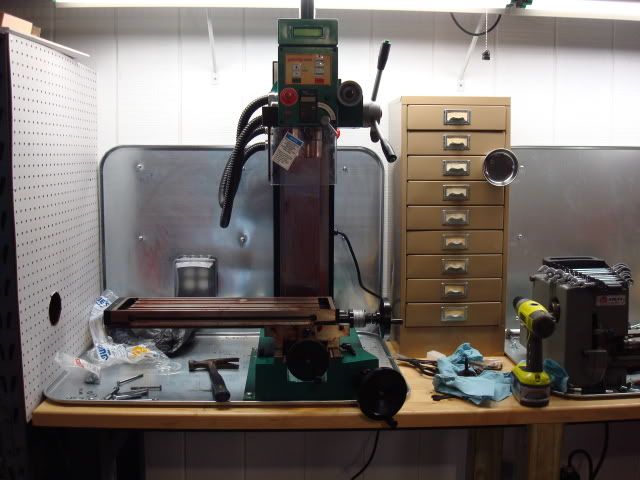
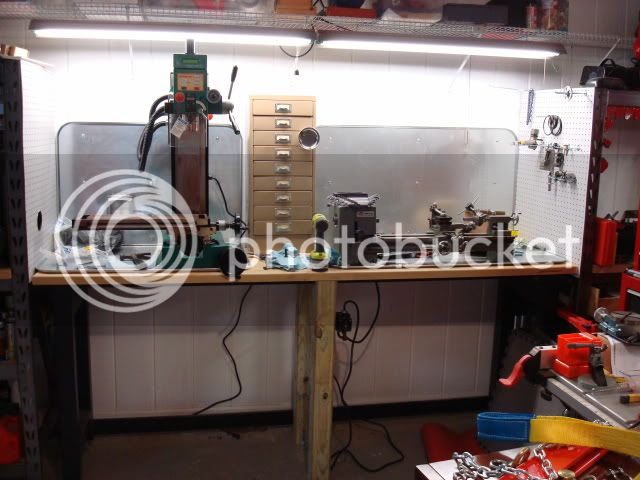
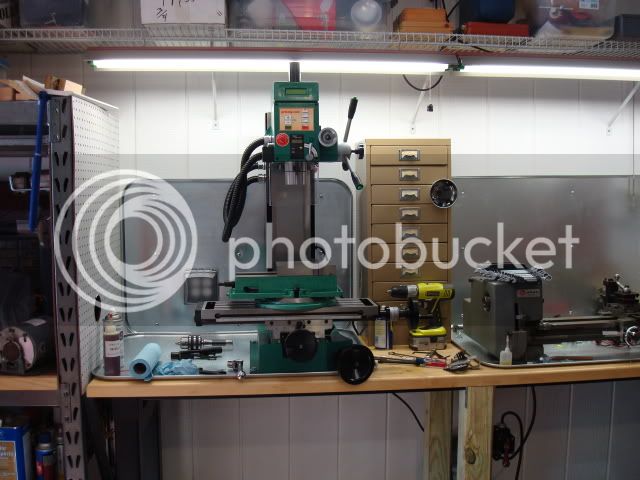
Hello, my new mill is due in a couple of days and I am playing with the idea of moving my lathe. Currently the lathe is on the left side of the bench but I have been thinking about moving it to the right side. That would give me better access to gears under the cover. My other thought is that the new mill will have the cranks on the right side so if I set it on the right side I would possibly have less space. What I am looking for is any insight on what people have experienced in their own shop. Here is a picture to give you a idea of the layout. Once again thanks for any advice you may have, Chris.
Lathes06022010007.jpg
 
Chris, my mill is mounted to the left side of my lathe, far enough away to allow easy access to the
gearing but still very close.

That positioning allows me to mount a steady rest to the mill table to support any long pieces that
are protruding through the back of the lathe spindle. I can adjust for height with shims, forward and
back with the mill table.

I have only really needed that configuration a few times, but it sure was convenient in those few times.

Rick
 
Thanks for the reply, I am pretty sure I will move the lathe. I will have to have people help me lift the milling machine so I want to make sure that I only have them help me move once. Thanks again, Chris.
 
My minimill and minilathe are one a single 60" x 24" benchtop, lathe on the left.
The lathe is toward the back of the surface, the mill toward the front.
The bench is on casters so I can move it out for access as needed.
Poor picture, sorry

mountedbench2.jpg
 
I worked on moving the lathe today and I got a call from UPS to set up a appointment for tomorrow to drop off the new mill. So I think I am just ahead of the curve. I still haven't figured out how to get around 500lbs up about 4' to get it on the bench. I do have to find a new place for my drum switch on my lathe do you think this location will work or would it be considered unsafe?

015.jpg


018-1.jpg
 
Chris,
Just an opinion, and not to scare you, I prefer to have the switch within handy reach so that if you have a bad situation occurring you can get to the switch without having to reach over the lathe. When things start to go wrong you want that switch real close by. Maybe up front under the front edge of the bench, if you don't want to bolt onto the gear cover on your lathe itself.
Lifting machinery is always a challenge, bracing up ceiling joists so that you can use a chain hoist is one option.
Regards and all the best with the new machine.
Ernie J
 
I know US regs are different but as a UK Sparks I would NOT have the power outlets in that position

1 they will soon be full of turnings ,and graphite dust if you use cast iron , both of which are as you know conductive ( bang and the release of magic smoke )

2 when all else fails in a hobby/domestic environment to be able to pull the plug with out reaching over the machine is a distinct advantage this safety


as to the drum switch, low and on the left where your hand falls is a good starting place

as another safety thing both machines and the metal back panels should be earth bonded to each other ( not need to take it to an earth point ) so that all metal that can be touched is at the same potential , ie if one machine faulted and the earth was broken, then you touched that one and one that was earthed you would have the full volts across your heart

Have fun but keep safe

Stuart
 
Thanks for taking the time to notice my problem with where my outlets are located as I have never noticed the problem before. I guess I have 2 options, #1 I can use the current boxes as junction boxes and drop 2 new boxes below. #2 would be to get water proof covers. I think first I will try the covers. I will be at the home improvement store before I fire them up. They have covers I can purchase to make them safer. As for the drum switch I will have to find a new place for my storage chest but probably can be done to put the switch where my left hand will be, thanks to both of you for the suggestion. That is how I had it originally but in moving it I need a new location. So would I put it under the bench directly below the spindle? Here is a picture of the water proof box I am thinking might work. Let me know what else you might see, Thanks Chris.

ideaforlatheandmill.jpg
 
Chris

With delivery imminent I don't want to spoil the moment as I recall what I went through when my mill was on its way, six weeks ago. But, will your bench take 500lbs?

Take the time now and get it right. I made a few wrong decisions on my installation that I wasn't happy with until I sorted them.

Your last post arrived as I was typing this but those boxes look great and would fix a problem I still have with outlets.

Pete
 
boxes will be OK for swarf

but think how you could disconnect the power in an emergency ,by you or another sorry for being a bit doom and gloom but these things happen

Stuart


doubletop and lordedmond thank you for looking out for me, I do appreciate it very much. I am still a little embarrassed about the outlets, I am normally pretty quick to see mistakes like that. doubletop this is the link to my workbench ( http://www.whalenstorage.com/products/workbench.html ) it says up to 1500lbs and the mill weighs a little less than 500lbs and the lathe weighs a fraction of that so I think I am doing ok on weight, but I do have a idea or two that may give both of you less concern. I will play with some ideas about what I want to do for sure this weekend and then if a plan comes together I will post about it here. As always if you see something let me know now before everything is setup, because it would be much easier to fix now instead of later, Thanks again, Chris.
 
Chris

Apologies; that bench looks great, looking back at your pics I can now see the framing on the bench.

Enjoy your delivery

Pete
 
Thanks doubletop, the mill came in and is sitting in the garage now, it is bigger than I thought it would be. I am doing some mods to make it safer for me and others and hopefully more user friendly. Here a couple of pictures for now.

mill001.jpg


mill004.jpg
 
Chris

I recognize that! I've got it in red though.

As you will have realized its mighty heavy. I had to resort to a complete strip down to be able to manhandle mine into place. If you haven't got it already this guide is will be of help to you.

http://www.arceurotrade.co.uk/projects/prepguides/X3%20Mill%20Preparation%20Guide.pdf

I can't see if yours is a super or not, I can see the reverse buttons on the capstan but not the swiveling head. The guide is for a slightly different version. For instance the newer ones don't have the air strut in the column now, they've just changed the gearing.

You'll need to take the tables off to give them a thorough clean and set up anyway. The gunk they are covered in has to go otherwise swarf just gets embedded in it and that then becomes wear.

Pete
 
Thank you doubletop for the link I had not found that one yet. I broke down today and bought a cherry picker or some call it a shop crane to help get the mill up there. I may still have to do it in pieces as I am not sure that I will have enough height to clear the table all together. Hopefully I will have significant updates by tomorrow and can post some pictures. Chris.
 
Chris

I had an anxious time doing this wanting to get it right and not stuff up a major expenditure within days of its arrival. Having the right equipment to do the lifts will help lots.

I'm looking forward to your strip down pics but on a second viewing the Grizzly machines look a bit better prepared than the 'red' Siegs, yours seems to be light on the gunk mine had all over it.

Your thread has spurred me into checking out the quill on my machine. I didn't do it at the time as the ArcEuro guide has a much simpler capstan and I couldn't see how to get mine apart. I tried again today and now have the quill out on the bench. I may write it up.

Pete
 
Doubletop, I am ready to get started on something, but I am still a long ways away from making chips but I have made some progress. Here are some pictures of the progress. I ended up moving one of the outlets under the table and put a waterproof cover on it. I also put a waterproof cover on the on the other outlet but left it where it was. That outlet won't be used for now so there is not holes in it's water proof cover. I also put support under the bench which gave me a place to attach the drum switch. The support I believe was a good idea as even with the support you could still see the weight set in as I sat it down on the bench. I left a spot above the drum switch for an emergency stop when I find one. Hopefully tomorrow I can keep looking for a e-stop and I can continue to clean the red waxy grease off the machine. I am not real sure what else I need to do before I do the break in on the spindle in the coming days but I am sure quite a bit. Thanks for looking, Chris.

004.jpg


006.jpg


008.jpg
 
Chris

You've got the hardest bit done, having the right equipment helps. My hire shops didn't have anything suitable so I had to take it apart. The next hard one is all that gunk. And I see you have seen the need for additional supports.

just about to post some pics of the spindle removal for these machines

Pete
 
Today I went to work on cleaning up the red stuff. I have a feeling that I will find that red stuff for years to come. I also adjusted the gibs and oiled the flat surfaces with way oil. I also broke in the spindle. While the spindle was breaking in I unpacked some of the boxes of stuff I purchased for the milling machine. Just like the mill the 5" vise was larger than I thought it would be. Now I need to read about mounting the vise. There were no mounting instructions in the box. I do have a question, do you tram the mill before you mount the vise? From what I have read online I would think that I would do it without the vise attached. The only problems I seemed to run into today was that the t-nuts that came with my hold down clamp set and the little nubs that go on the bottom of the vise are both just a fraction to big to fit. Here are some pics, it looks about the same as yesterday, thanks again, Chris.

025.jpg


022.jpg


017-2.jpg


019.jpg


020.jpg
 
Hi Chris
u are getting a nice little shop there.
About the T nuts I have heard some people try inserting from the end of the table,but dont know if its true or not lol.
cheers Pete.
 

Latest posts

Back
Top