What Are You Up To Today?

Home Model Engine Machinist Forum

Help Support Home Model Engine Machinist Forum:

This site may earn a commission from merchant affiliate links, including eBay, Amazon, and others.
B

Bogstandard

Guest
Rick started a post with exactly the same heading as this last year, but it has fell by the wayside thru time.

Now I think is the time to resurrect it.

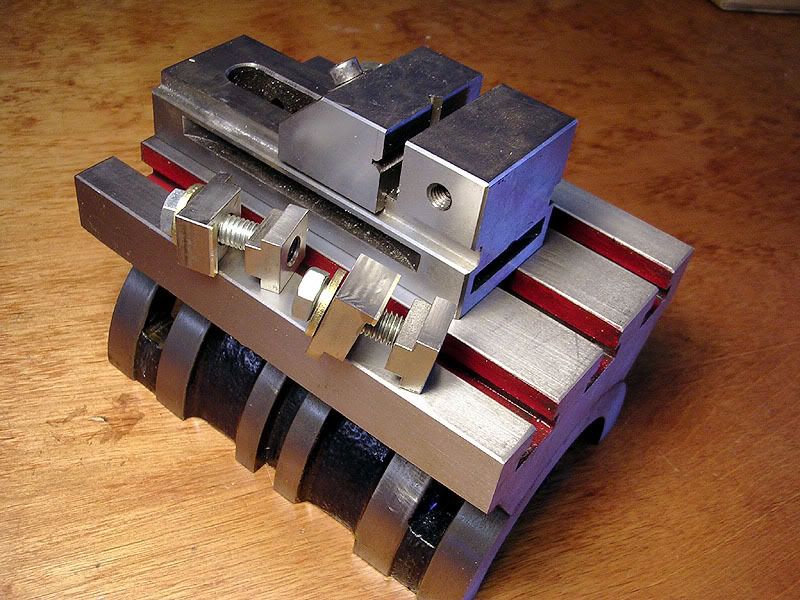
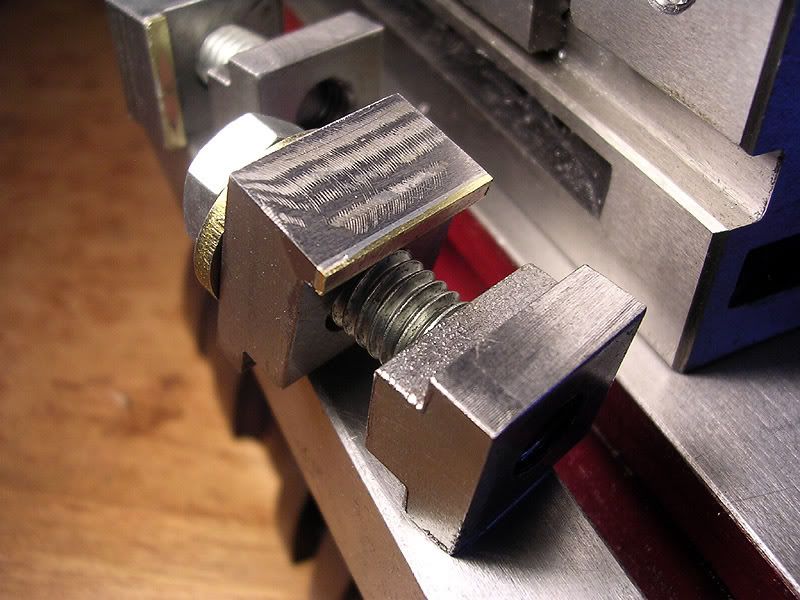
SHOW US WHAT YOU ARE UP TO AT THIS POINT IN TIME.

What are your planned projects for this year?

Grab the cam and take a piccy.

Drag yourself away from the box, come out of hibernation, spring is here, find that old project and get moving on it again.

Got anything under the bench you just couldn't get running, drag it out and see if all the stuff you have learned over the winter can get a bit of life into it.

There were dozens on the go before winter started, where have they all gone?

Lets get making little engines again.

John
 
Hi John, good post. I've noticed a drop-off in activity over the past week or so. I'm thinking the activity is a little low in the shops over here in the colonies due to several factors.

Big college basketball tournaments going on now....spring is rearing it's ugly chore-laden head in the lower half of the country....fish are biting in many areas....Formula 1 starting up....Sebring 12 hr....NASCAR, blah, blah, blah. Lotsa stuff to pull us out of the workshop.

Me? I got my new Enco angle table in a few days ago and needed some clamps to mount my little screwless machinist's vice and some tee-nuts to go along with the clamps. The factory made nuts I ordered were too big. The only stock I had was too big and had to gnaw it down to size this morning. Took 2 pots of coffee and seemed to take way too long! Maybe I need a shaper.

AngleTable.jpg


Notice how I cleverly silver-soldered on some .032" brass to keep from marring the cast iron table? Yeah, right. I miscalculated the offset and had to add a piece to make it work. Nice save eh?

AngleTableClamp.jpg


It worked out OK and I didn't feel so bad about committing monkey-grass murder and leaf raking this afternoon. It's so much easier to do the things I need to do if I finish something I want to do first. A man has to have his priorities straight. ;D

Be well,
Milton
 
Today, Finally got the tranny out of my truck. For the year, help in the HMEM team build, get two of my bike motors running, shingle the house, paint around the house, plant a vegtable garden, build tools for the shop, go camping with the family, and scouting with the son.
Tim
 
Time to tune up this old beast... After I get it behaving the plan is to try a little aero engine.


L341.JPG
 
DB, good save and a lovely job, and a great excuse for the modification.

Zeus, drop the chores and get onto something you enjoy. But in all honesty you will eventually find time to get into the shop.

Shred, lovely old bit of kit there, cherish and coddle it along and it will give you years of faithful service. A few days spent getting it up to scratch will be rewarded many times over.
Mine is showing its old age now(over 70 years), the tailstock is starting to 'droop', but with a little bit of time and attention it will be brought back to like new, to go on for another 70.

These are just the sort of things that are needed on this post, not full builds, but a little insight into what we are getting up to.

John
 
No workshop fun today - got to replace the thermostat on my VW T4 :(
Mark
 
Mark,

Some of you have all the fun.

I am just about to stroll out to the shop, and force myself to do a bit more on my turbine (sigh).

No rest for the wicked. Looking at it that way, I must be downright evil.

John

 
Sorry about the bad picture but this is my attempt at Jan Ridders flame licker, it nearly runs but I need to make a little burner to get the flame in the right position I think!.The cast iron for the cylinder was given to me by a friend in the UK (I was nearly arrested at the airport with it!)and he told me that one side of it was very hard where they left it to cool down and this explains my slight variation with the fins! at the first cut my parting tool broke off and managed to chew a chunk out so rather than bin it ,I did it like this, I'm sure it won't affect the cooling.
l1000314sf4.jpg

I'll post some more pics when it's done.

P.S. I saw somewhere here one of Boggies posts where he talks about the flame position but I couldn't find it again, anyone know where it is?.

Giles
 
Boggie to the rescue,
Must put my knickers on the outside and get myself a cape.

Try down the page a bit.

http://www.homemodelenginemachinist.com/index.php?topic=350.0

A few tips.
Warm it up a bit on the outside first with a gas torch, about 20-30 seconds
Don't let oil get anywhere near the cylinder bore or either piston. Just a pin end drop onto the rod as it runs thru the cylinder fins, the little end wrist pin and where the operating pin goes thru the contra piston.
2mm out of position on the burner is a lot, and it might stop it running, but it just might fire for a few beats when you start to get close.
I found on both cylinders that the adjustable piston kick pin needed only about 0.1mm clearance when the main piston was at BDC.
The main tip is time, I spent ages getting it running, but once the burner position was found, the engine can be started with ease at any time.

Nice build by the way, and hope you have success.

John
 
First full week back in the shop, after some seriously heavy spring cleaning, has been spent upgrading and tweaking the machines. Revamped the scales on the mini lathe, eliminating the faithful but increasingly finicky caliper scale and moved the reader head to a less chip rich environment. Basically cleaning up the original install for a better fit. Photos coming soon after I test the connections and route the cables.

Added the DRO scales to the new SX3 mill, fitted the expensive power feed and promptly shorted out the DC output side of power feed circuit board. Luckily, Uncle Rabid, up in Missouri says he can fix it cheaply. He'll be my new best friend if he can salvage it. Don't ask... just watch where you drop small clamps while smoke testing new mods and yeah... my stomach finally stopped churning over the weekend.

The mill should have its new collets sometime this week, courtesy of Ebay's 800Watt. Definitely not a machine that likes milling with a drill chuck. Already got the first engine project in my head and most of the materials on hand. Spring is almost here and I'm finanlly coming out of my winter hibernation once again.

Steve
 
I am wanting to tear down my garage and set up a nice steel building. 14' X 20' or 16' X 24'

So I am shopping around to see what I can find.

My old shack has no power,leaning walls, comming apart in places, needs a new roof, the doors are all messed up. By the time I fix all that I could just build new.
 
Milling the I beams which will become the standards for my triple:

Image039.jpg

Image040.jpg


Didn't like the setup after I took the pics so redid it with some parallels behind.

Best Always
 
Not much being done in my the shop lately.
Too many irons in the fire at once.

When I do get a chance to get back at it, the first job will be making repair parts
for one of the mower blade spindles of my tractor.
(A cast iron access cover in high grass does NOT cut as nicely with a mower blade as
it may on a lathe...)

hide.gif


THEN I'll be back to the model building!

Rick
 
tattoomike68 said:
I am wanting to tear down my garage and set up a nice steel building. 14' X 20' or 16' X 24'

So I am shopping around to see what I can find.

My old shack has no power,leaning walls, comming apart in places, needs a new roof, the doors are all messed up. By the time I fix all that I could just build new.

Me too. My garage is little more than a leaning and leaking shack on a concrete block with no power as well.

Anyway, today I am doing some work on a marble engine:

Lamina%201.JPG


Eric
 
Dick D,

It is great you showing the use of a vertical slide, it is such a shame this method is going into decline. I remember when it was all I could afford to make my little engines, and really allowed me to do some nice stuff just using a lathe.

Everyone else.

I am really glad that I resurrected Ricks' post. It has got everyone out of bed and talking again. Please keep it up. No need for just one post, use it like a quickie diary so everyone can see how you are getting on.

Maybe it should be done every few months when it gets forgotten about.

But rather than choking up the work in progress, could one of the team please move it to the Break Room.

Thanks

John
 
Brass_Machine said:
Me too. My garage is little more than a leaning and leaking shack on a concrete block with no power as well.

I got a quote of $8,334.19 for a 25" X 25" X 12' with a 10' X 10 ' hole no door and a walk through door.

I think I can find a better deal.

He is pictures of what I have now... :big:

Im sick of looking at it.

shop2-1.jpg


shop1-1.jpg
 
Mike,
When I built mine, I actually bought a concrete sectional garage, and swapped the garage door with the manufacturers for two metal walk in doors, and assembled it as I wanted it. Because the doors are 4ft wide, and the concrete slats are the same, they could be fitted anywhere in the walls of the building. Uk cost, just over £1,000 ($2,000).
Best of luck, before yours actually falls down.
Or maybe move into Snoop's pad.

John
 
I didn't do a lot of shop work today. Rather I started looking at my plans for a mill steam engine that I completed. I think I want to scale it up by a factor of 1.5 and I'm sort of calculating whether my existing machines will be up to the task. I'm thinking this scaleup will be as challenging as making a new engine. I'm open to suggestions about scaling up an engine. ???

Cheers,
Phil
 
Phil,

You are right when it comes to scaling up an engine, it isn't just a matter of multiplying by the correct amount. Every small item has to be looked at, and guesstimations made.

With regards to your machinery not being up to it. I think it was Rick that said it was not the machinery, but the block we get in our heads about the limitations. Not those exact words, but along those lines. He said it when I posted a picture of a project I had done, and it was of a chopper frame mounted onto my mill/drill, pushing it to its extreme limits.

John

 
Hello All: Last Fall I bought a 3" 4jaw chuck from LMS at the NW GEARS show here in Portland. Finally got around to making a mounting plate to fit on my Atlas 12" lathe. This will give me more room when I do small things and move over to the mill/drill with the part still in the chuck.
S3500001-3.jpg

Disclaimer: I do not do much threading on the lathe because it usually takes a couple of tries to get it correct.
I had a slug of stressproof steel that was short enough to use without much waste. The part was bored out for the threads to mount on the lathe and then I ground a new threading bit short enough to fit in the boring bar and proceeded to start threading. Everything was looking good, nice smooth clean threads, and then it dawned on me I was cutting left hand threads because of the way I had set up for the threading tool with the rake going in the direction for outside threads and thus was cutting away from the headstock. DOH!! Luckily I was only a little way into it and was able to correct and make the right hand threads and only have a little roughness at 2 places on the bore where the threads crossed. The Big Man upstairs was looking out for me, because I tried to quickly correct it and did not watch the threading dial the second cut in the right direction but got it in the right track anyway, Sorry Marv, I did remember your warning to walk away and come back later, but I didn't do it, I will next time I promise.
The chuck is on the lathe now and looks fine (small, but fine) and it even has no runout on the body, all in all I am happy with the outcome and hope I have learned something I will not forget.
Laugh at me and point your fingers, I deserve it!
don
 

Latest posts

Back
Top