Start of my 3rd engine on the 4th

Home Model Engine Machinist Forum

Help Support Home Model Engine Machinist Forum:

This site may earn a commission from merchant affiliate links, including eBay, Amazon, and others.

CallMeAL

Member
Joined
Mar 29, 2008
Messages
118
Reaction score
40
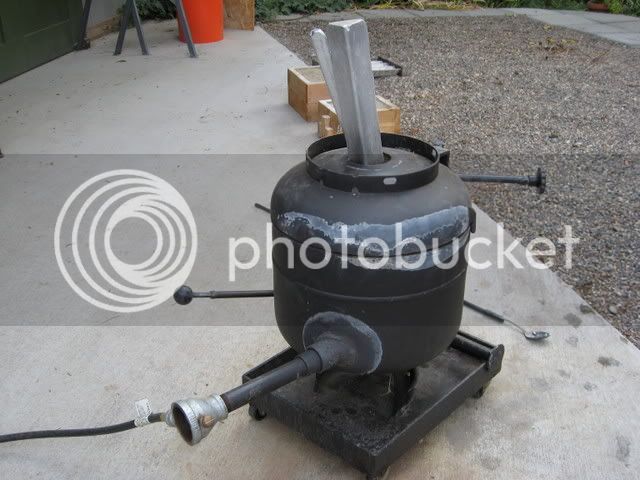
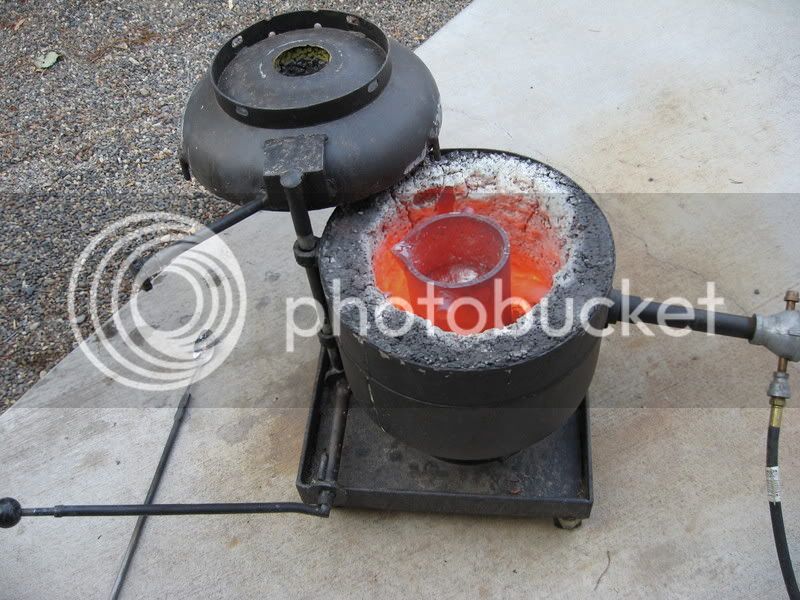
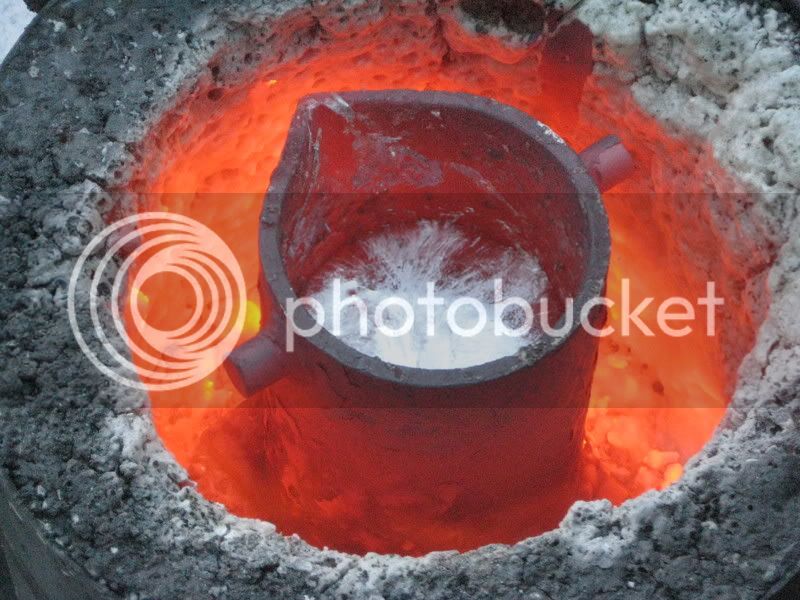
Well to celebrate the 4th, I cranked up the foundry and poured the base for my 3rd engine project (I'm not counting the exploding finger engine for the recent contest). :mad:

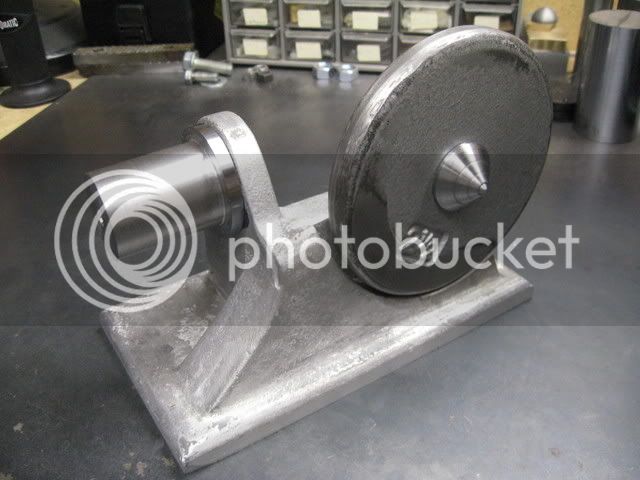
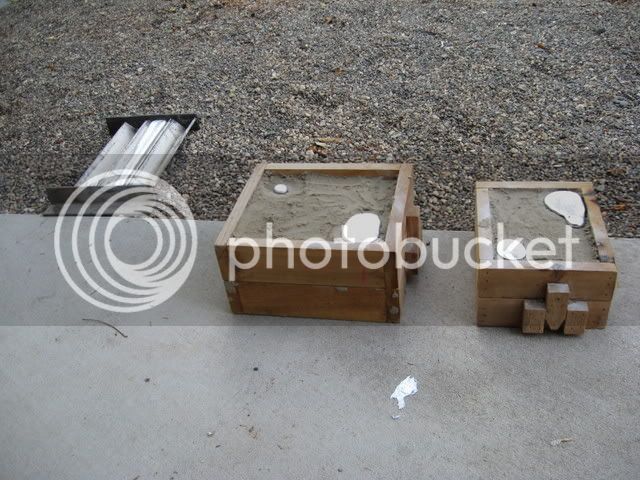
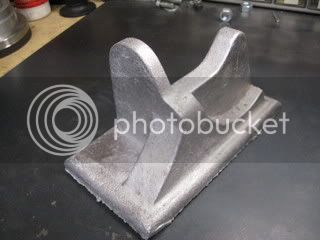
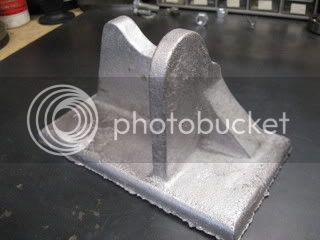
I turned out OK, considering there wasn't much in draft angles in a few places. Also, didn't get much in the way of porosities.

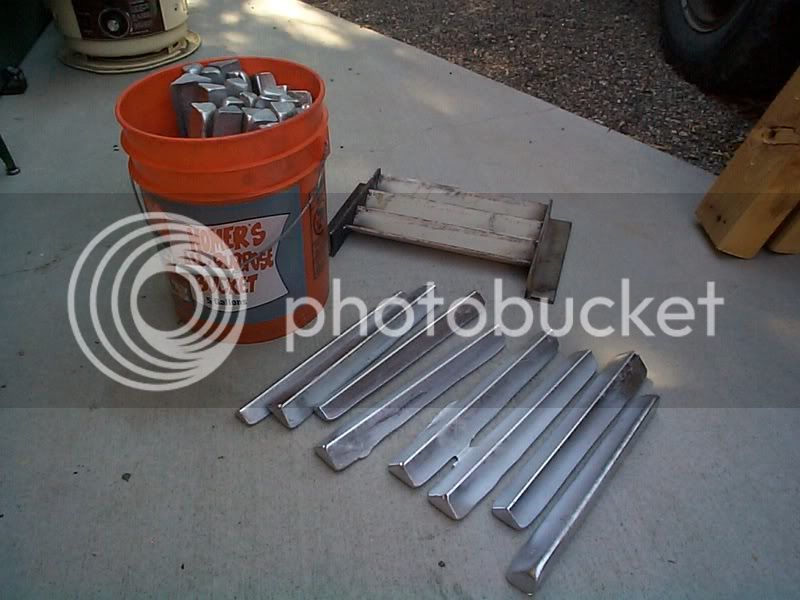
This whole engine being designed around a piece I found at the scrap yard! ::)

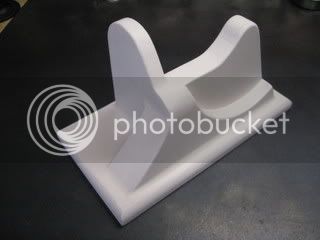
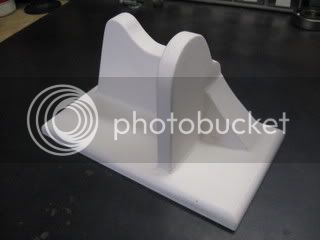
Here is the wood pattern:

IMG_0587.jpg

IMG_0589.jpg


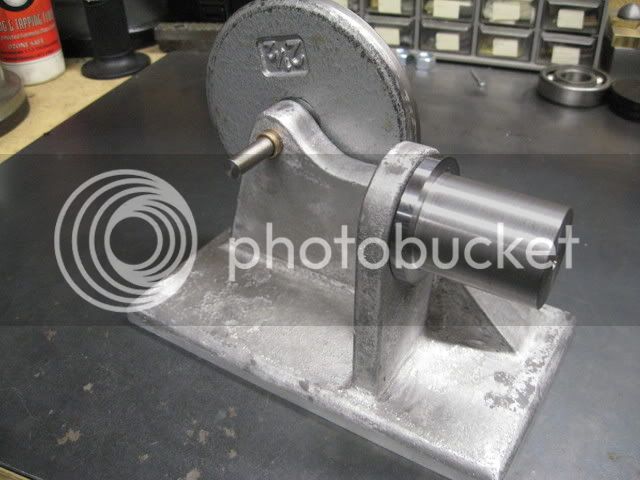
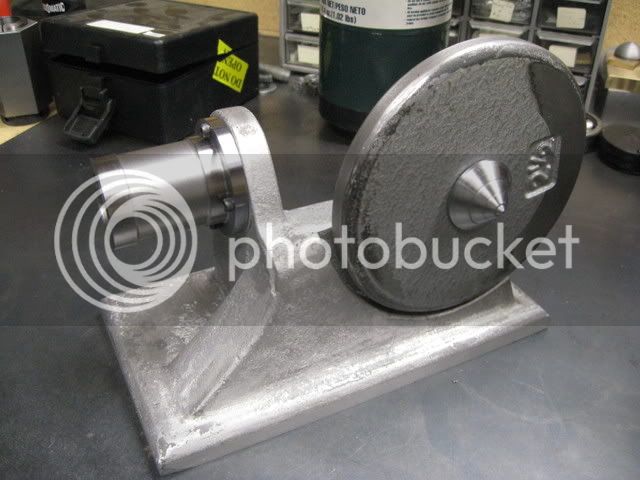
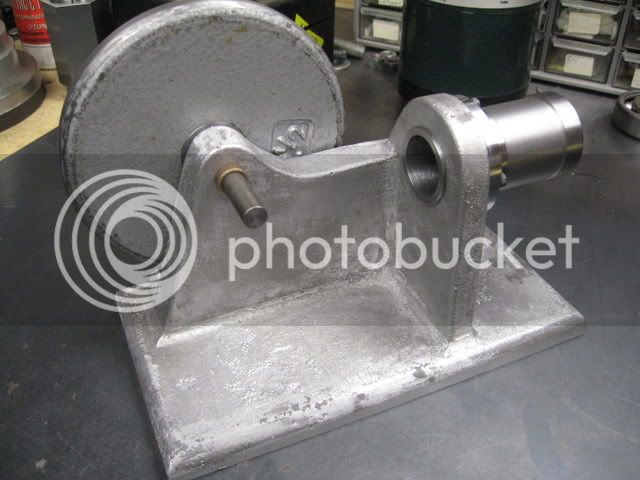
Here is the cast base fresh from the flasks with sprues cut off. Needs a little clean up:

IMG_0591.jpg

IMG_0593.jpg


I should make some progress this 3 day weekend and will post more...

Have a great 4th!!

The other Al
 
looking good al 8) ..............please keep us posted as you go

chuck
 
Looking good:eek:) What did you use to finish the wood?

Wes
 
PK: It is actually MDF and auto body filler, much easier to work with than wood. I use a primer/sealer called KLIZ. It is sold at Home Depot. I then wax the pattern with paste car wax and coat with parting dust. Seems to work well.
 
I like Mdf because you don't get the wood grain showing up when you sand it.
 
You said you based this design on a piece you found in the junkyard. Any idea what the original piece was off of?

Is this going to be a steam (compressed air) engine, flame licker, ???

Chuck
 
Hey Chuck, you'll see by the photo's below what the mystery junk yard piece is. ;D I liked the shape and thought it would be a great flywheel for a little engine. I'm kind of making this up as I go along, no drawings, just whittling metal. I'm going to call it my 2 1/2 engine instead of #3. ;) It is going to be a compressed air engine, but with a twist on the valve actuator, if I can figure it out and make it work!.

The saga continues:

IMG_0599.jpg


IMG_0597.jpg


IMG_0598.jpg


More to come...


Looks good! Not being a nit, but the primer is Kilz, not Kliz (in case someone else goes looking for some). Kilz is an excellent all-purpoise primer, but esp. in kitchens and bathrooms to prevent mold.
 
Some of those surfaces look like there wasn't any draft? Did you have much trouble getting your pattern out of your sand?

Wes
 
Thats a beautiful casting. What a great skill for a model builder to posess. Jealous!!
 
I like the look of your junkyard flywheel Al ;D It oddly lends it'self to your new chosen name for the engine... What are the odds of that??? :big:

The casting seems a great way to make something to hold all the other pieces in one shot.

I will watch your progress with great interest.


Ralph.
 
kvom: Not being a nit, but the primer is Kilz, not Kliz

Your correct!

PK: Yes, the upright for the cylinder and back side on the flywheel had no draft, but believe it or don't after much rapping and wiggling it pull right out! I was surprised as anyone. :eek: I figured I would have to redo the pattern. I guess it is good, smooth finish on the pattern - and luck!

chiliviking, Ralph: Thanks, I get almost as much enjoyment out of making the pattern and casting it as I do the rest the engine building. I also like the look of castings - reminds me of how the old engines look and I don't have polish it! ;D
 
Very cool. Yet another reason for me to start casting. I really like that. Job well done!

Eric
 
Thanks Brass!

I got a little more done today. Fly cut for cylinder base, installed cylinder mounting bolts, initial drilling of cylinder bore ( 1" stroke x 1" bore), and cleaned up cylinder exterior.

IMG_0602.jpg


IMG_0603.jpg


Having fun and learning something everyday!!
 
Hi any chance of seeing some photo's of your casting equipment? Perhaps there could be a topic that experienced people like yourself could show us how you do it?
 
As requested, here are some photo's of my small foundry set up. Total investment to date for everything $250 USD. If you have any questions let me know.

Furnace - Propane bottle, upside down with bottom cut off, built on casters to make it easy to move around.:

IMG_0028.jpg


Burner is made from pipe fittings, run on propane. Crucible is a made from engine cylinder sleeve.

IMG_0033.jpg


Refractory is a mix of furnace cement and perlite.

IMG_0432.jpg


Flasks are made from ceder wood, sand is a mix of fine silica sand and clay and VERY little water

IMG_0036.jpg


Ingot mold is made from angle iron

DCP01019.jpg

 
Brilliant!! I guess you filled the empty cylinder with water and cut with an angle grinder? Also the furnace cement and Perlite, how did you arrange it around the burner at the bottom? How do you get the flask to stand upright? You say the crucible is made form an engine cylinder sleeve, how did you weld the lugs on and what did you seal the bottom with?

I have to say this is the neatest furnace set up I have seen! :bow: Sorry about all the questions....
 
I like your ingot mold, I would have never thought to use angle iron like that. Very clever. I'm learning so much here!
Oh and your base casting looks great. I look forward to more updates. Is your flywheel just a 2 1/2 lb weight from a weight lifting stack?
Thanks
Brian
 
CallMeAL said:
kvom: Not being a nit, but the primer is Kilz, not Kliz


chiliviking, Ralph: Thanks, I get almost as much enjoyment out of making the pattern and casting it as I do the rest the engine building. I also like the look of castings - reminds me of how the old engines look and I don't have polish it! ;D

That is good job casting , talented pattern maker ...and I share your preference for the cast appearance..But I wanted to mention that I like the look of the as cast surface better after I run over it with a wire cup wheel in my angle grinder. It blends the surface just a bit and gives it an even shine.Unfortunately cannot get down into a deep corner by that method but its good where it works........
 
Metal Mickey said:
Brilliant!! I guess you filled the empty cylinder with water and cut with an angle grinder? Also the furnace cement and Perlite, how did you arrange it around the burner at the bottom? How do you get the flask to stand upright? You say the crucible is made form an engine cylinder sleeve, how did you weld the lugs on and what did you seal the bottom with?

I actually pulled the fill valve out a 4 months before I cut it to let it air out real good. I cut it with a Sawsall then straightened up the cut with a grinding disk in the drill press while I slowly rotated it on the table, sort of an abrasive lathe! ;)

The burner fits into a tube that was welded into the bottle. The tube extended in to the inner form which was a galvanized stove pipe section coated with PAM so it wouldn't stick so much when I packed in the mixture. The burner is held in by 3 bolts so I can remove or adjust how far it sticks in to the furnace.

The crucible is steel. The spout is piece of angle iron, the bottom is 3/8" plate, the lugs are cold roll and of it is just MiG welded together and blended together, should last a long time at the rate I use it.

Thanks for nice kind comment.
 

Latest posts

Back
Top