QCTP......

Home Model Engine Machinist Forum

Help Support Home Model Engine Machinist Forum:

This site may earn a commission from merchant affiliate links, including eBay, Amazon, and others.

Artie

Well-Known Member
Joined
Sep 9, 2009
Messages
597
Reaction score
7
I had grand thoughts of making a quick change tool post for the lathe. I sought out any number of build threads, some designs I liked, some not so much. One thought was quickly apparent re the tool post itself, this is a large lump of steel to begin with, it isnt going to be cheap dollar wise nor labour wise.

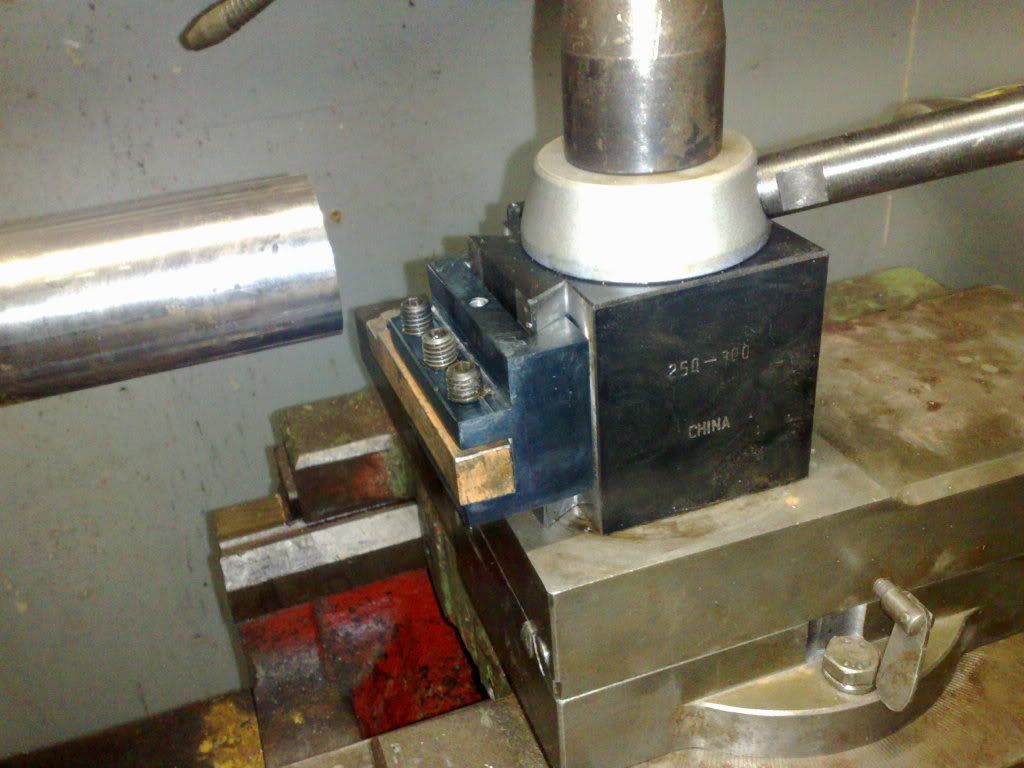
I have a large lathe (12 x 36) and accordingly needed a large qctp, these were damned costly at well over $400 for the set, post and holders. Looking around I found that I could buy the tool post itself delivered for $85 and the much simpler tool holders could be made up over time. The dovetail cutter I already had and lumps of steel size enough for tool holders I have heaps of.

This is certainly the economic way of upgrading and still allows you an element of self achievment, but even further, it allows you to make that tool holder exactly as YOU need it, not as the factory wants you to have it.

I have intentions for several steel tool holders.... and then it all started..... why cant things like the parting off tool holder be a lump of (polished??)brass? Or even the boring bar holders (ill need 2 of these)..... these units are relatively low load holders, I wouldnt consider the standard style cuting tool holders in brass (for this large lathe) but Im pretty certain that it would be strong enough for the boring and parting tools.

Anyone have any experience here? I can cast any sized brass block I need and I have quite a large brass inventory so that cost is minimal and more importantly the manufacture would be much easier milling brass over steel.

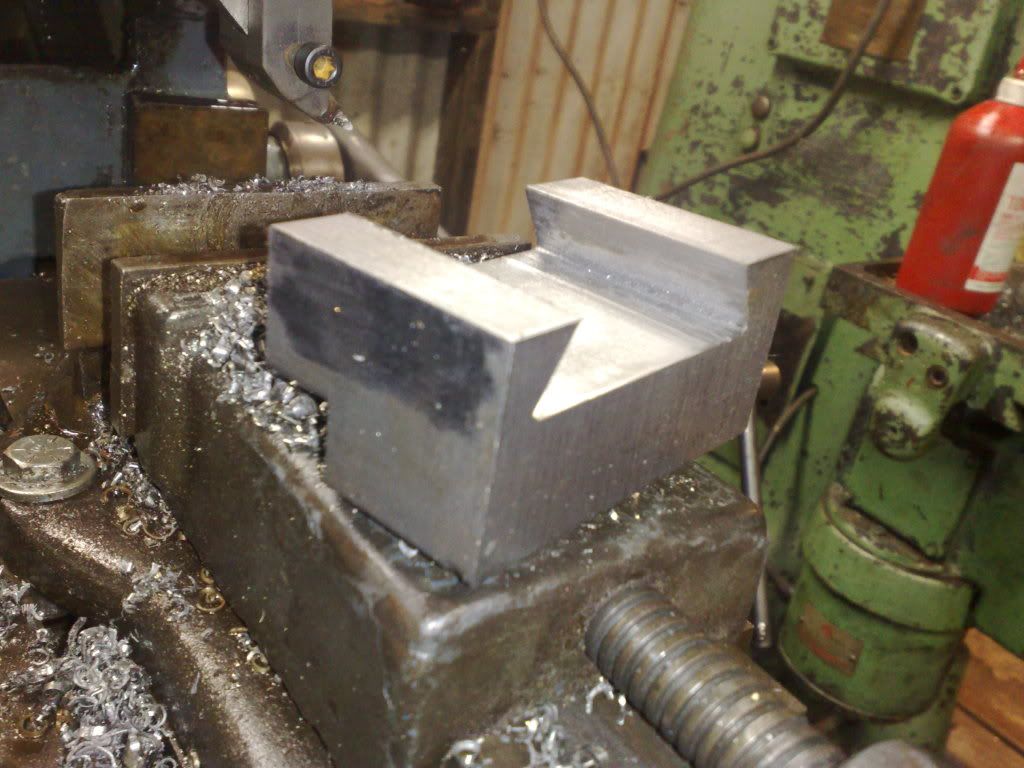
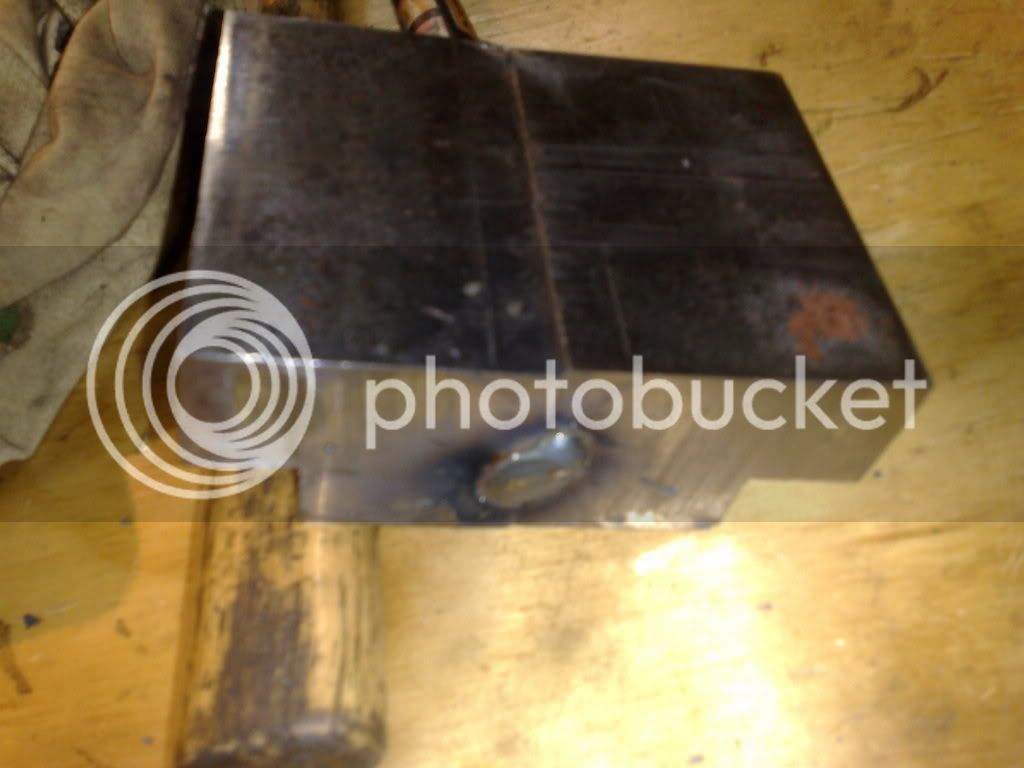
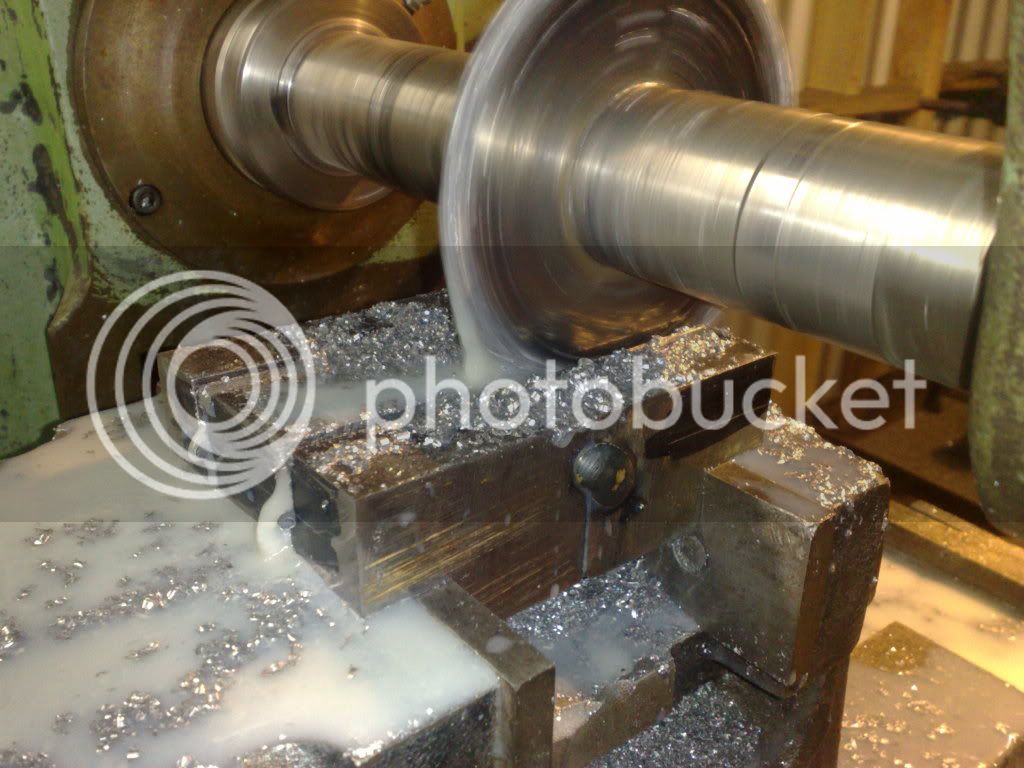
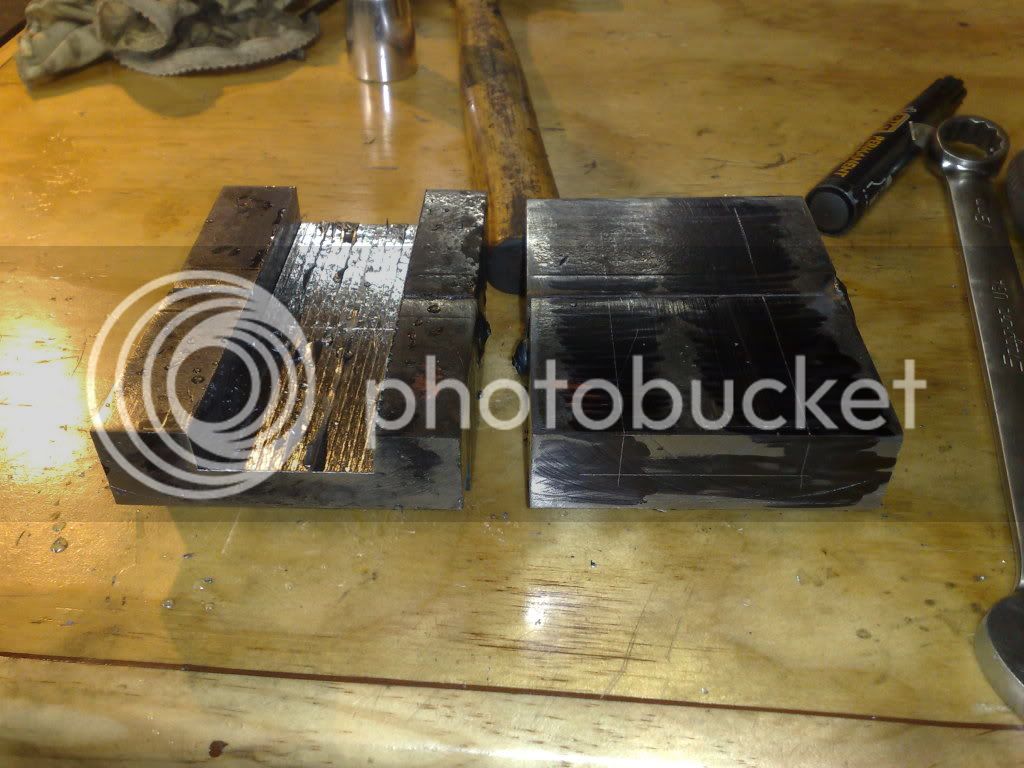
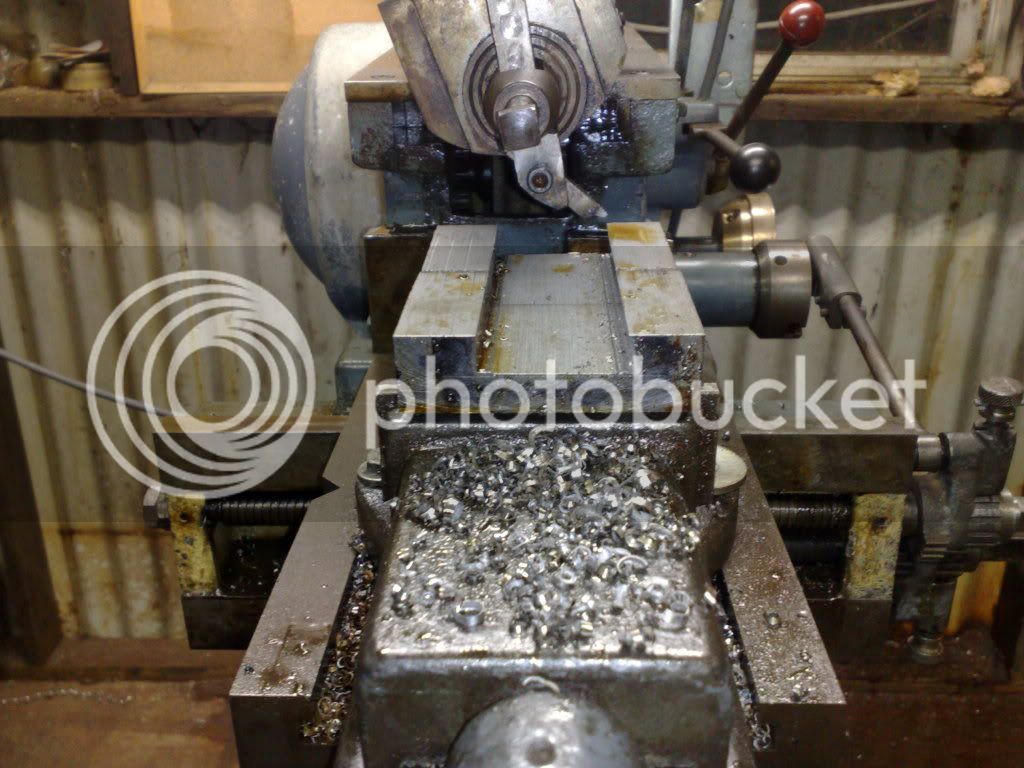
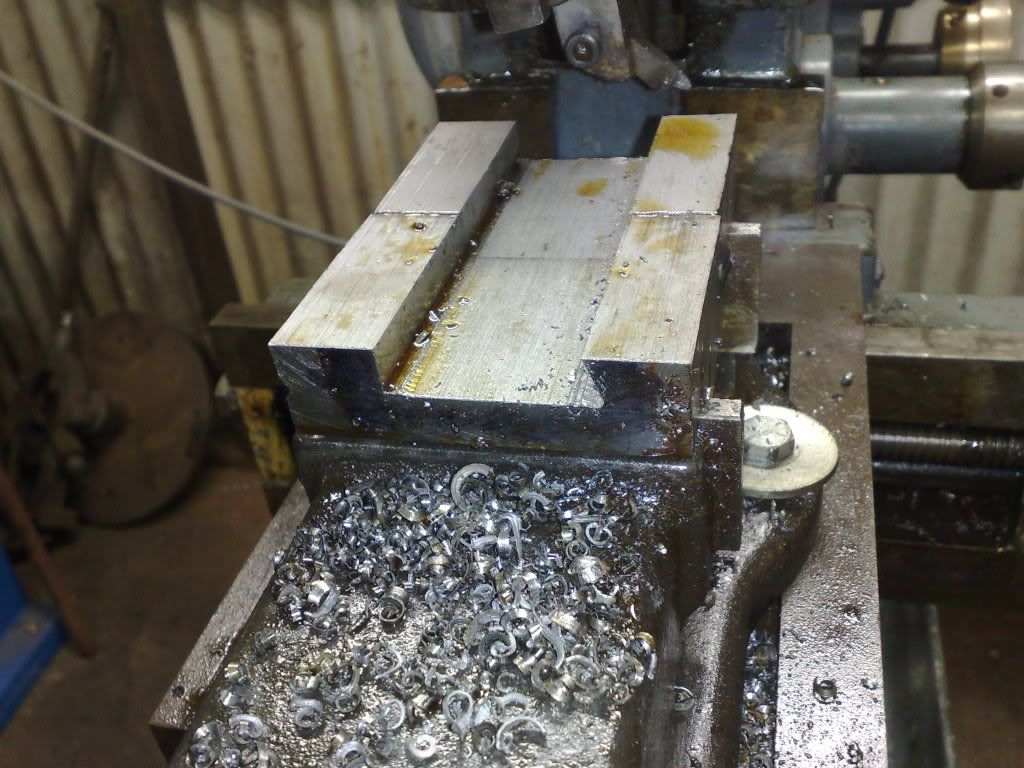
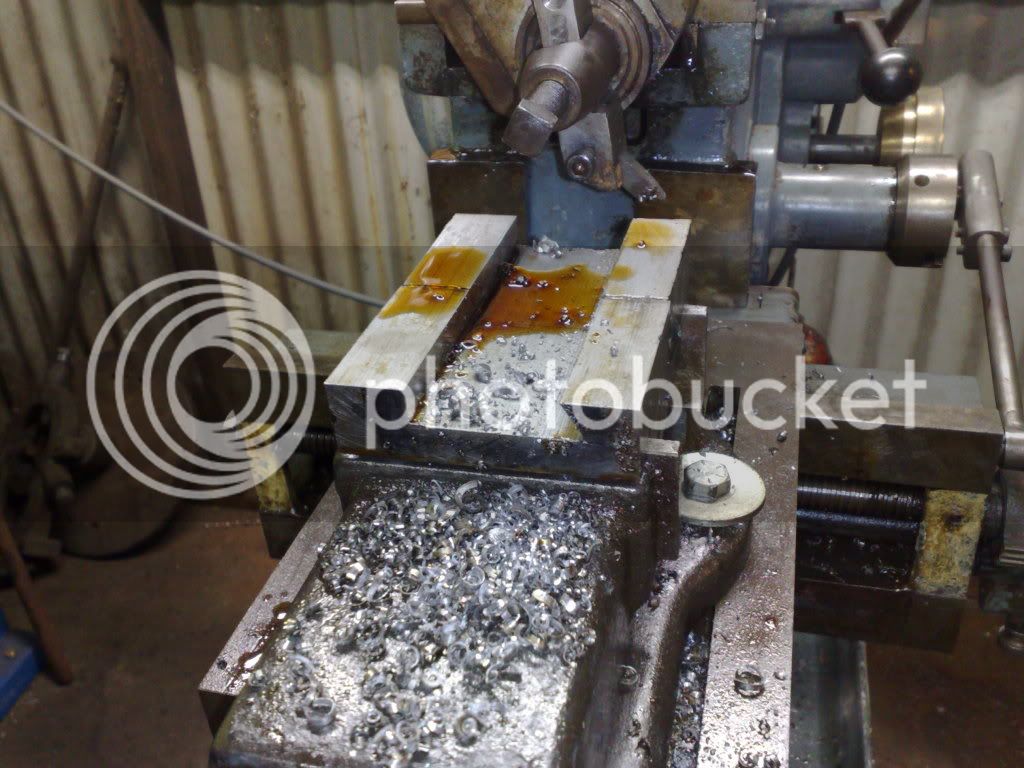
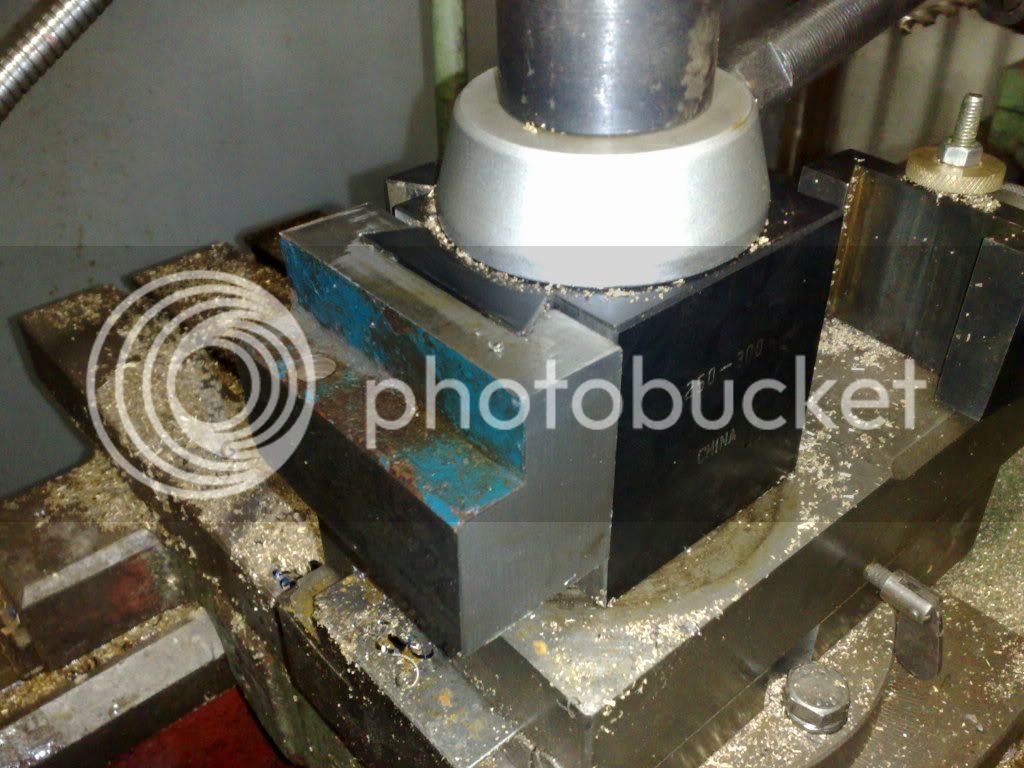
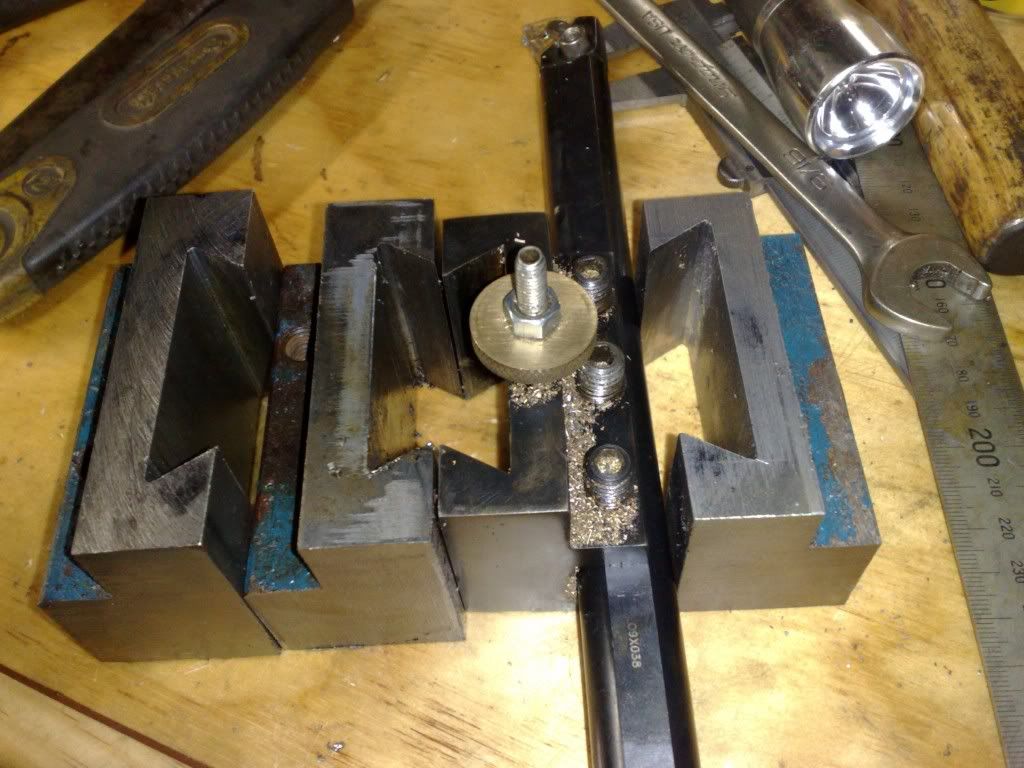
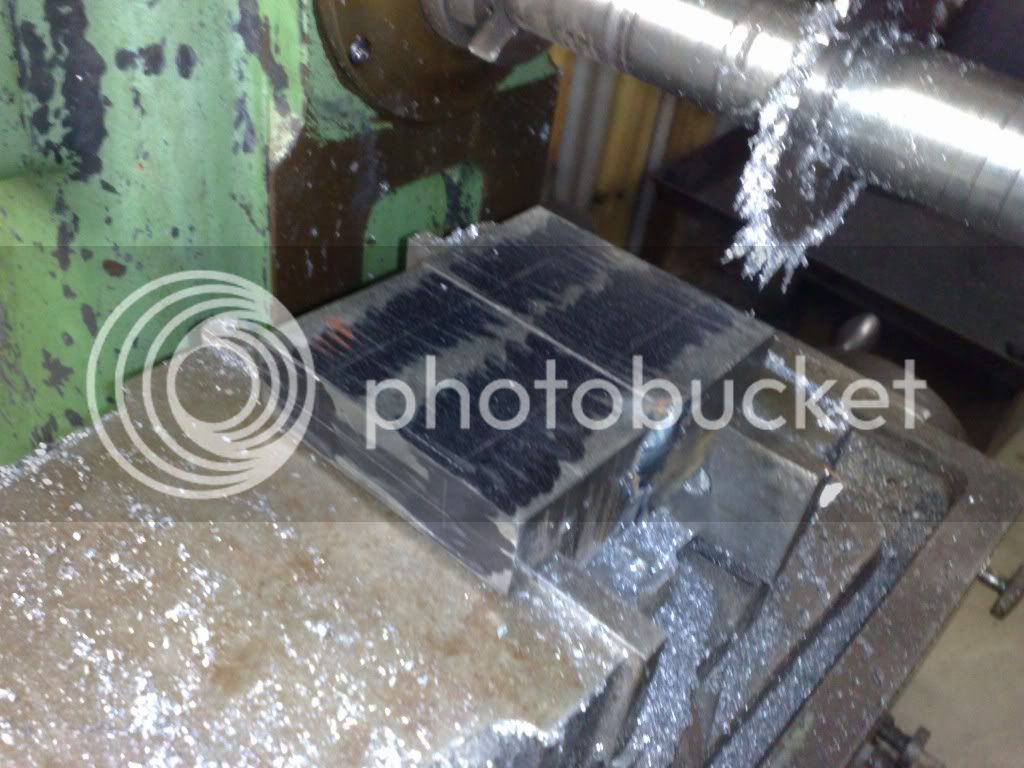
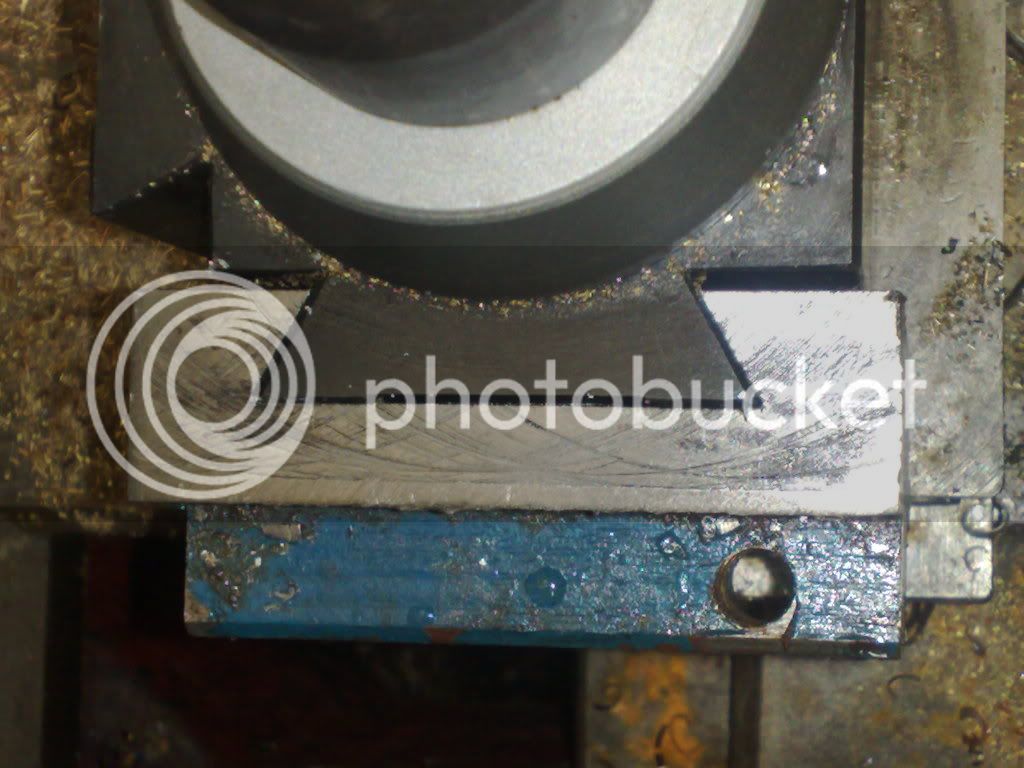
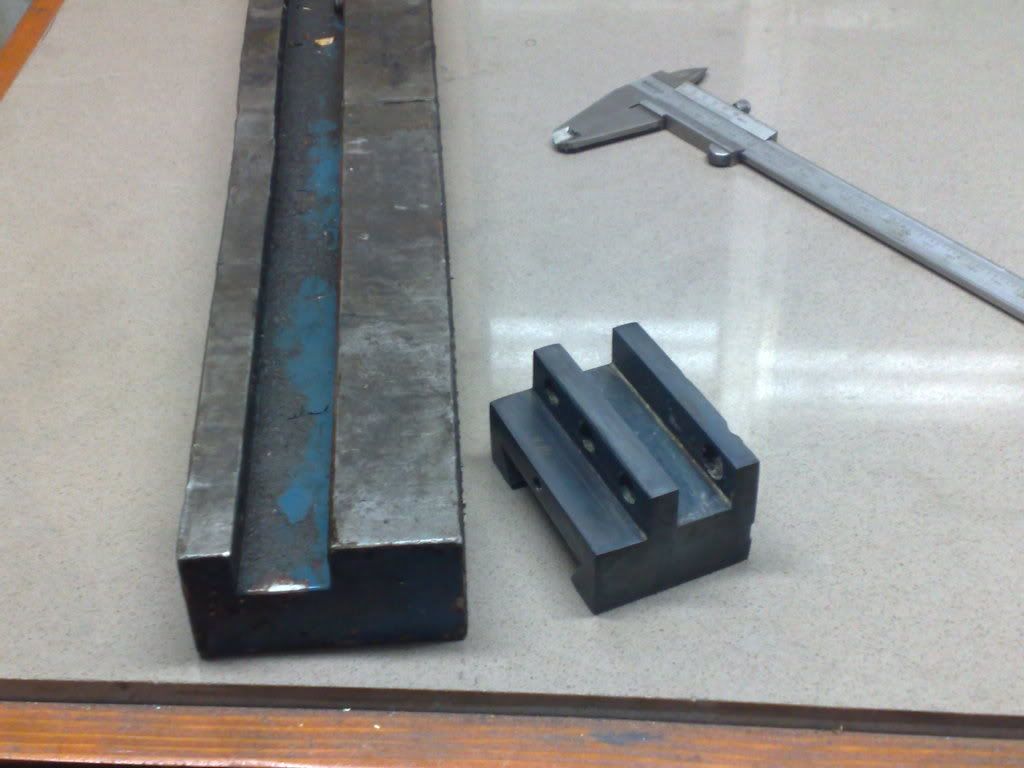
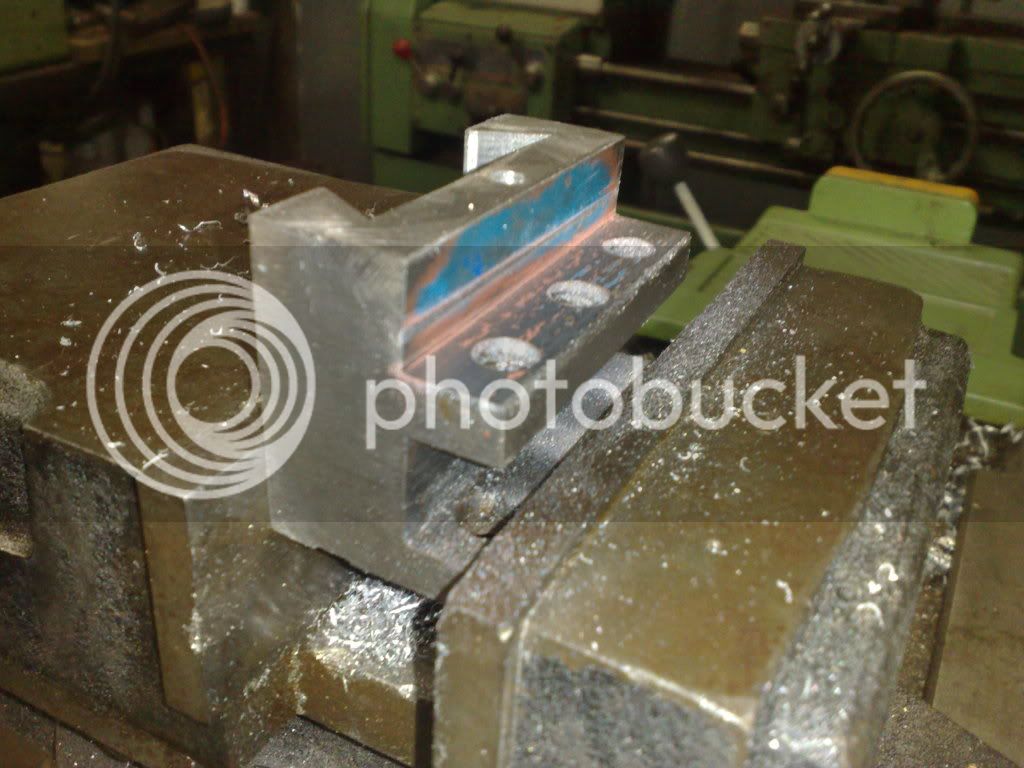
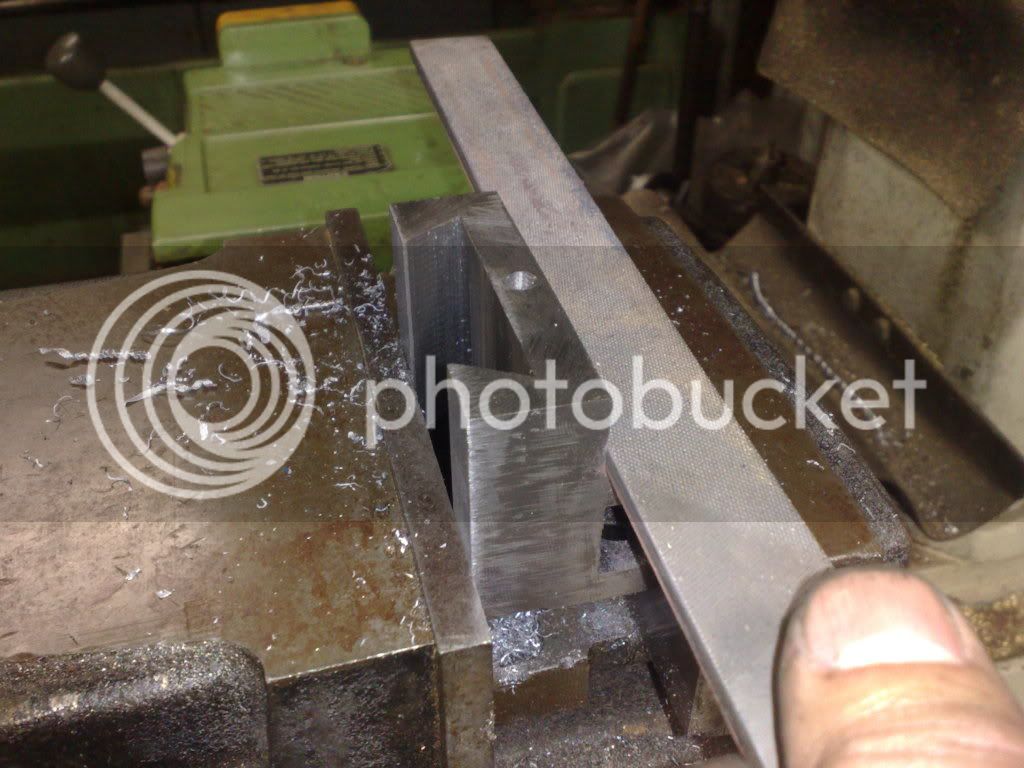
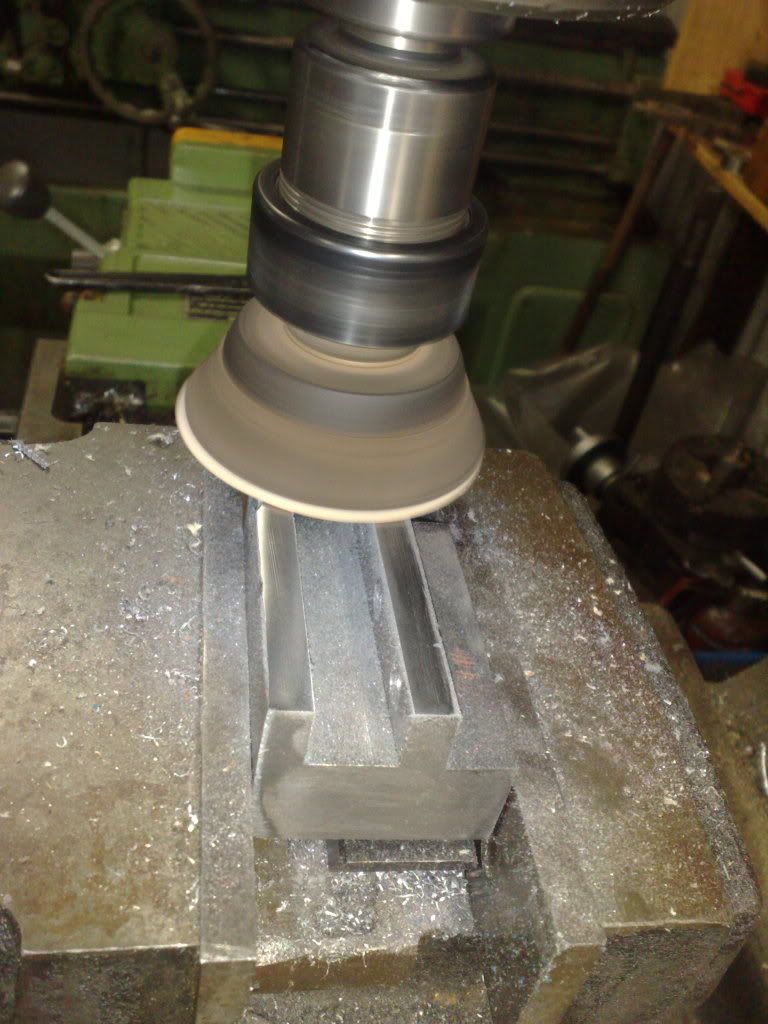
This all came about because last night I made the first of the standard holders. From steel using the HZ mill for the majority of the metal removal and then the vert mill for the finish and dovetails. This took a couple of hours for one holder.. Im thinking 2 more in steel and 3 in brass.

Unless of course anyone can point out what I am missing here....

Jump guys, your thoughts are needed......(having learnt from my last project Im now asking BEFORE I do anything... you can teach an ole dawg new tricks....) :big:
 
Hi,Artie,normally the holders are made of steel presumably to save material cost.
I made mine out of a square cast iron window weight,so I can't see why you couldn't use brass,if that's what you've got.I would say wear on the holders is fairly light,so give it a try.
Show us some pics when you got 'em done,we like nice shiny stuff :big:
 
Hi Artie,

Suggestion from someone who has done this...I built a Hardinge clone, and I think Majorsteam built one too on this forum....get a large ..long lump of steel as close to the finished profile as you can but long enough to make a few holders.

Then, cut one long dovetail, and part off the holders from the mother stock.

It will go faster and the parts will all fit alike.

Get to know how to measure with a roll dimension.....very useful when cutting dovetails.

Additionally, you can use the toolpost as a fixture to finish machine the rest of the holders.......worked for me.

Dave
 
Hi Bent, first pics tonight... as requested..... :big:

Gday Dave, Ill drop in a pic of what I have and why I had done a single holder... I do agree with you and I intend cutting the bar apart and spot welding it together in the correct orientation to allow a mass production as you describe... itlll make sense in a minute...

the first tool holder... gun blued... I like this finish... it looks better in the flesh than in the pics.... but then its also now been oiled...

03062010395.jpg


This is what Ive got to make the holders... about 5 metres of it in fact!

03062010393.jpg


The holder is int the orientation that it was cut from the bar. The existing groove is the problem, so Ill cut it into the required width, turn em side to side, spot weld em, cut the long dovetail and break apart the spot weld. Too easy.....

In fact I intend to do a heap and leave then as blanks with the dovetail cut for those 'special' jobs.... whatever they are....

Couple more pics of the process used...

03062010388.jpg


Lots of hand work in my shop..

03062010387.jpg


Polished...

03062010389.jpg


Then heated on the heater....

03062010391.jpg


and then...the secret ingredient.....

03062010398.jpg


Cheers Rob T
 
Well that'll work just fine! ;D

Keep at it.... :)

Dave
 
An update as to the progress of the tool holders...

After making the first unit with the dovetail cutter I decided to wait until the shaper was set up and I got myself up to speed with using it before continuing.

heres the first shaper made unit I did as a trial the other night... pretty happy with it.... gee this makes dovetailing soooo easy.....

23062010480.jpg


That time has come and tonight production line stuff happened.... sort of...

This is what I am using for stock and its trimmed up into sections on the old power hacksaw, but because of the existing large groove in the stock, I had to weld it back together in a different orientation to do more than one holder at a time, see next two pics....

03062010393.jpg


25062010481.jpg


Once welded I used the horizontal mill in 'metal rip' mode to remove the bulk of the stock for the dovetail groove... this is much much faster than the vertical mill or the shaper, in fact it took just 12 minutes to remove 60 cubic centimetres of metal (40 x 15 x 100mm).

Click on the vid to see her go....


Finish wasnt great but the metal was gone! The shaper is next.

25062010482.jpg


25062010483.jpg


Took a cut right across the tops to flatten it and then a cut across the floor to remove the HZ mill tool marks, the next 2 are vids of the action, just click on them, sorry about the quality but im using my fone as my camera for this...


Once squared and flat (finish was just lovely....)... the dovetailing started!! Change tool holder to the angled unit, a quick sharpen and away we go. Because this is a manual feed operation I have no vid of it nor pics of it happening (was kinda busy).. BUT I do have a shot of a spectactular stuff up.... see if you can pic it..... it made me call it a night after I had fixed it... I was obviously tired...

Roughing the dovetail out....
25062010484.jpg


Thought it was almost finished... oops....
25062010485.jpg


Fixed.....

25062010486.jpg

Anyone notice that I had cut it to 70 degrees? USE MY GLASSES NEXT TIME! When I set the vernier on the shaper to the required degrees (30 from vertical) I had it on 20... just couldnt see the small number well enough

So I fixed it and stopped there and will resume tommorow.... night all.....

Rob T
 
Neat post 'Rob'.
Very enjoyable 'Rob'.
Very clear you were enjoying this 'Rob'.
So was I.

It's not just the glasses though. Not having enough light is playing havoc with my ability to do anything right. (For those times when light is needed.) ;D
 
Rob,

Thanks for sharing your shaper with us.

It looks to be a handy tool to have.

One of the problems with this hobby, is that the toys, I mean tools, are so expensive, heavy and take up lots of space.

I'm looking forward to seeing more of your work.

SAM
 
This is a great post Artie/Rob. (I'm used to Artie, like I'm used to Zee. I know the real names.)

I really, really, appreciate the videos. Thanks much! That thing is just peeling off such nice hot curlies.
It's good to see it working, but what I like so much is what it's doing. Dovetails with a $5 cutter, and
the finish looks very nice. I've got to make room in my very small shop for one. This is as fun as
single pointing threads or gears.
Thanks for the vid of the HM, too. Gets rid of metal like a metal muncher should.

Dean
 
Laughing as I type this.... unlike CarlZee, I will even answer to "Hey You".... call me anything ..... Im adaptable.... ;D

Just to conclude this one... some pics of todays bits. I wont go into the finishing of these as Ive already completed one... nothing startling in the process.

Got the other side of the dovetail done, seperated the 2 parts and offered up to the tool post... quite a firm slop free fit... I like it!

26062010488.jpg


All that are done so far....

26062010489.jpg


And the last pair ready to get the treatment....

26062010490.jpg


And that should do it for now..I will experiment with a couple of brass units and post up the results.

Cheers Rob
 
Hey you ....er Rob.....Artie...... ;D


NICE! I like the use of the shaper....I miss mine sometimes...very therapeutic!

Those holders are turning out very well indeed!

Dave
 
Hi Dave... im surprised that you got rid of yours.... I cant see this thing ever leaving my shop. I guess you can all tell that I like it? Just a bit.... ;D

I was asked today if the accuracy was as good as a dove tail cutter.... so took this pic... what do you think? I dont think I could ask for better....

27062010492.jpg


Accuracy, like all machining processes is up to the operator and his/her set up technique. The angles here are straight off the vernier scale of the machine... looks pretty good to me...

As ypou can see this hasnt been dressed up yet, straight out of the vice of the shaper....

Cheers
Arte/Rob/Rob t/ Hey You/ Your late for dinner etc etc etc
 
.."Hi Dave... im surprised that you got rid of yours.... I cant see this thing ever leaving my shop. I guess you can all tell that I like it? Just a bit.... "


Well, I miss it now that I have a new lathe in the shop to go with my Logan....it would have fit perfectly.......sold mine when I sold the previous lathe it was mounted on......ah well, live and learn.

Dave
 
Great looking holders Rob, I too find the vids really useful, gives me an idea of what using a horizontal cutter should sound like - I must have been way of on the one and only time I used mine !

When using the horizontal do you follow the same guidelines for setting speed etc as you do when using the vertical mill eg for steel I'd assume 80sfm so rpm using a 3" cutter would be

4 x 100 / 3 = 133rpm

Also what depth of cut were you taking

Cheers

Jim
 
Hi Jim, thanks Im pretty happy with the result of teh holders.

You're pretty much spot on with the feed rates etc, yeah its still a cutter cutting steel so it operates under the same principles except its much more rigid being fully supported and therefore that allows me to cut in excess of a half inch at a pass and it doesnt grumble too much as you can hear. That cut was just shy of 13mm which allowed me to take a finish cute at exactly 13mm.

Cheers

Rob
 
Pretty cool stuff! Those holders came out wonderful!
 

Latest posts

Back
Top