Putting a finish (anodized, powdercoated, blackening) ...my Siamese Twin.

Home Model Engine Machinist Forum

Help Support Home Model Engine Machinist Forum:

This site may earn a commission from merchant affiliate links, including eBay, Amazon, and others.

deere_x475guy

Well-Known Member
Joined
Oct 26, 2007
Messages
900
Reaction score
13
Location
Eaton Rapids MI
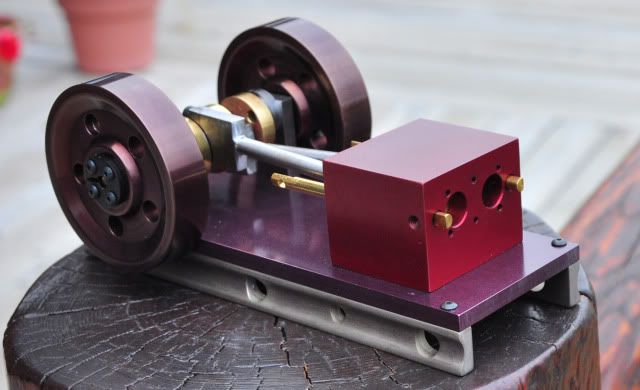
Well this isn't really a build, it's about rebuilding....or, more to the point refinishing...well err...it never really got a finish in the first place so let’s just call it a thread about putting a finish the Siamese Twin. Some of you may have seen my thread on anodizing in the break room. I am going to anodize some parts, powder coat some and blacken some of the steel parts.

My Siamese Twin was completed about 2 1/2 years ago and I have enjoyed many hours in the shop listening and watching it chug away. Somehow it also got a lot of scratches and scuff marks. Once I have completed putting on the various finishes it should look more pleasing and not scratch or scuff as easily.
The first step was to disassemble and wash all the parts. Here they are laid out and drying.
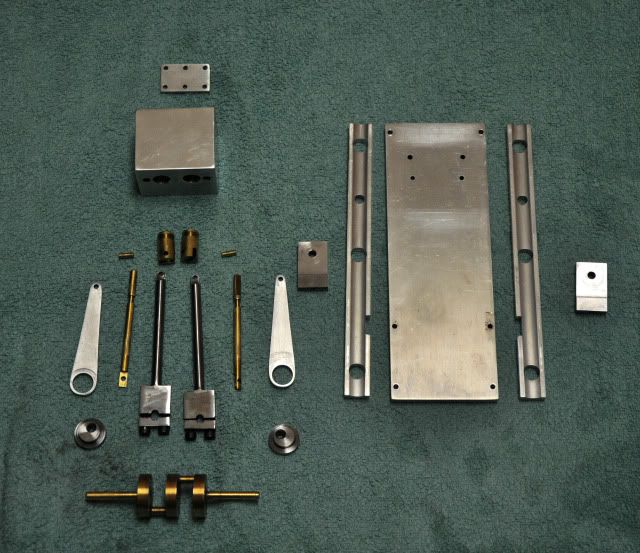
DSC_1523.jpg

I don't have media for my tumbler to remove the scratches and scuff marks so I did the 280-600 grit wet sand routine of a few of the parts this morning. They are in the tumbler with corncob media to do a finish polish. I will check on those parts tomorrow evening when I get home from work to check on their progress.
I plan to take pictures along the way and try to explain as best I can the steps for all 3 finishing processes.
Here is the link to the final build thread for pictures and a video of how it looked on completion.
http://www.homemodelenginemachinist.com/index.php?topic=994.0

I have already anodized the flywheels with rit dye "Negro Black". They came out more of a bronze than black and I like the final color better than black actually.

Flywheels before, this is how they looked after tumbling then washing in hot soapy water. I am using Dawn dish soap:
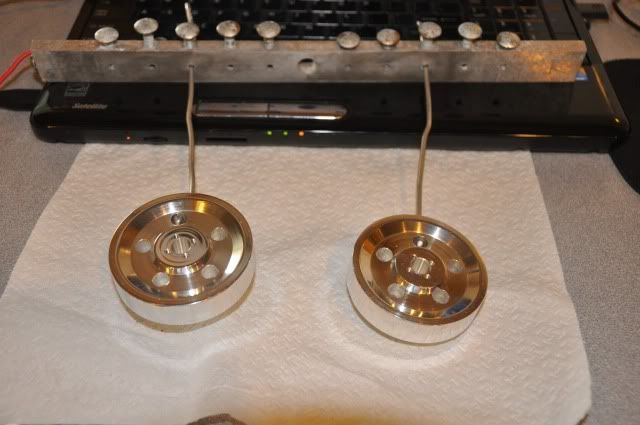
DSC_1515.jpg


After: This picture was taken after I had taken them to work to show to some coworkers. They were just tossed into a plastic baggy and allowed to rub against several other parts that I anodized…..not a scratch or scuff on them anywhere.
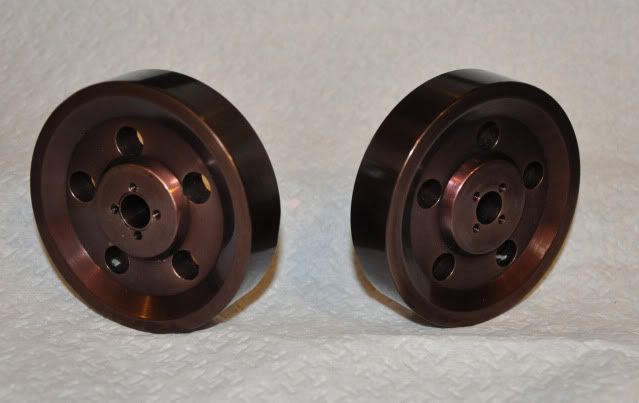
SiameseTwinFlywheels.jpg


I will add to this post later in the week with my progress....I don't get much done during the week....


 
Sure am, I just need to decide which parts I will PC. The only powder I have on hand right now is the 4 colors HF sells. They are matte black, white, yellow and red....so the only color out of that bunch I will use will be the matte black. I have used it on several other pieces and it comes out nice...

Now you have me thinking......hmmmm....maybe the base and side rails....PC adds to dimensions and those aren't critical parts dimension wise.
 
Looking forward to this thread. I know nothing about finishing yet.

Nick
 
Bob, thanks for showing :), and good going :bow:

While PC is a bit off-limits to me currently, I really appreciate your work on showing it as well as the anodizing. I followed your posts on anodizing in the Break Room, but didn't comment. That was inspirational, and will definitely get a trial test in my shop !

Keep up the good work!

Kind regards, Arnold
 
Those flywheels look great. I like the black-chrome kind of appearance.

Dean
 
Just an update for those that are following this thread. I probably won't be doing any anodizing this weekend to parts for the Siamese Twin. I will instead be testing how well a variac works for anodizing. A friend of mine gave me a 440 volt 30 amp 3 phase variac to use and Tuesday evening I tested it with a scrap piece. It was very successful and seems to work much better than using the PC power supplies, battery charger and laptop power supplies I had tried. They all worked, however I got a much deeper color saturation being able to keep the voltage up. I still need to make sure I can repeat this success with more tests. This unit actually has 3 identical variac's hooked together to handle the 3 phase. I am just using one of the three and putting the current to a Full Wave Rectifier. The rectifier is capable of handling 50 volts and 28 amps. I just need to make sure I don't over drive it.

The unit I am using is similar to this one only not as clean..

http://cgi.ebay.com/Superior-Electr...uit_Breakers_Transformers&hash=item23085425d9


I will try to explain this in a new thread I will open in the Break Room.
 
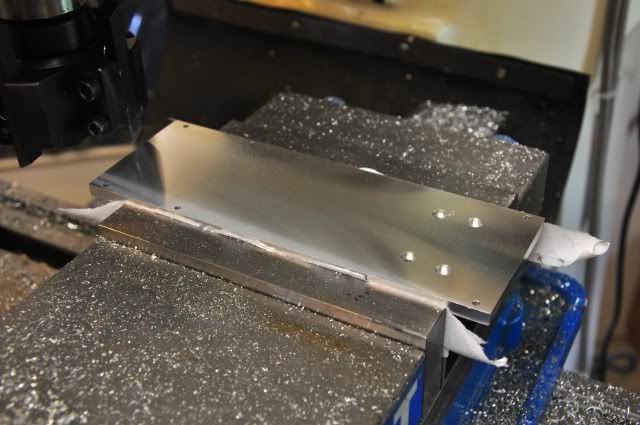
Well, I anodized the base this weekend and for all the disasters that happened along the way I am happy it came out ok. It was pretty scared up so I setup the mill with my face mill and gave it a skim cut of about .003 on the 4 long sides and used my belt sander on the ends.

Here is a shot of the base after a skim cut.

DSC_1552.jpg


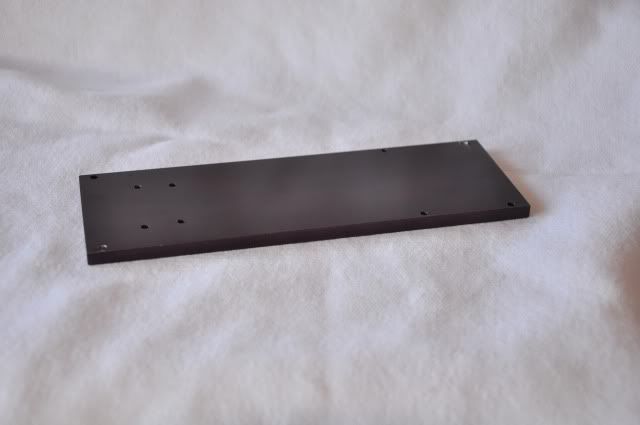
Here is the base after the anodizing and black dying
DSC_1584.jpg
 
Ok...after napping most of the afternoon to get rid of this darn headache I am back in the shop to get a rail done.

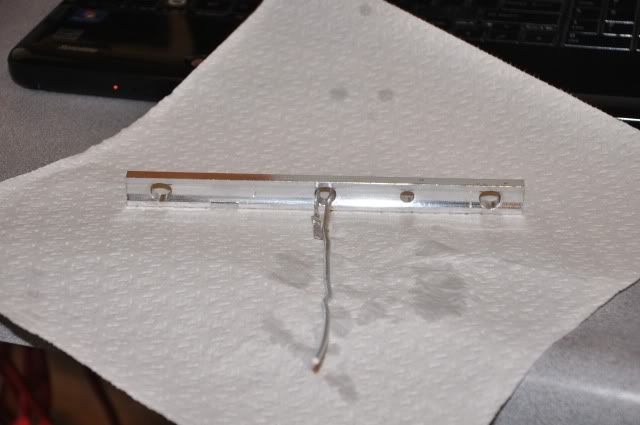
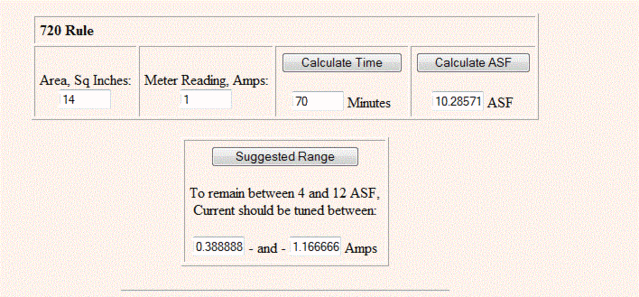
The first thing I did was to measure the sq surface of the part. It came to 14 sq. in.
Next step was to wash it with hot soapy water and get my wire to fit tight.

DSC_1587.jpg


Next it got a dunk in the lye solution. I am using three cap fulls to a gallon of water and it seems to work well...it is at room temp. After the lye bath it goes into a mix of vinegar and water to neutralize the lye and then rinse thoroughly.

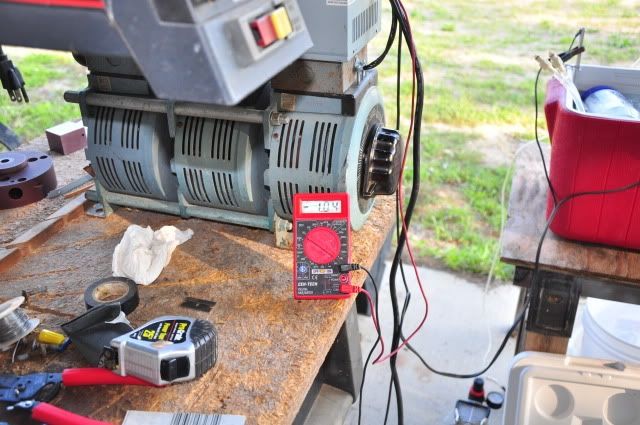
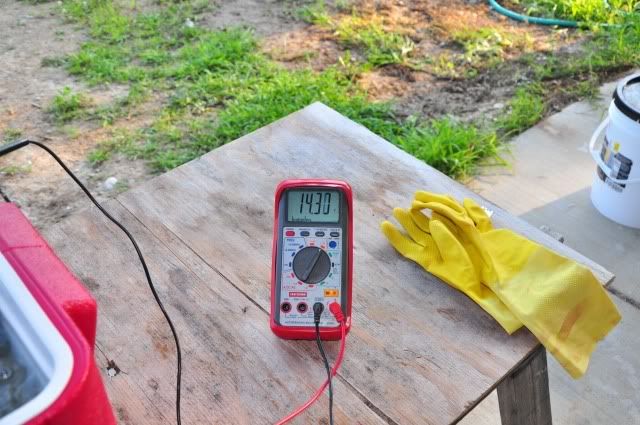
The next step is to place it into the acid bath and get my readings with the voltage adjusted to 15 volts. At 15 volts it was drawing 1.4 amps and that was a little high for this part according to the suggested calcs so I dropped the voltage to just under 14.5 and the amp reading has now dropped to 1....it is now within the acceptable range. The recommended time you can see if 70 minutes. I have a timer on my droid and it comes in real handy for anodizing...

RailCalc.gif


DSC_1588.jpg


DSC_1589.jpg


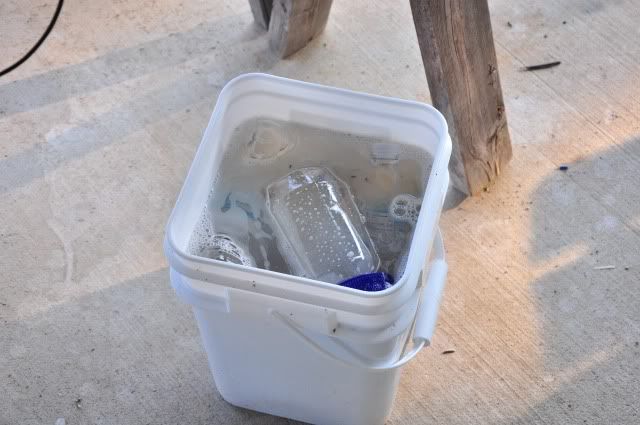
I measured the acid temperature before I began and it was at 78 degrees so I dropped 4 bottles of frozen ice water into the tank and turned on the air agitation. It was down to 68 degrees by time I got started. I have a pump set up that I can run for long high amps runs but I knew this was going to be pretty low amperage and the initial cooling would be good enough. The anodizing is almost done and the tank temp measures 70 degrees.

I keep a tub of baking soda mixed with water to neutralize anything that I have in the tank. Here you see the 4 bottles I had in for initial cooling. There is a rinse tub sitting just to the right of this and they go into this next and then back into the shop refrigerator for next time.

DSC_1590.jpg
 
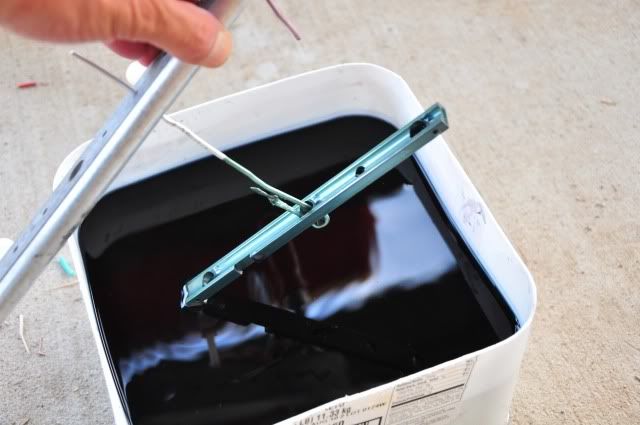
Well I have about 10 minutes left in the anodizing tank and I have the sealer (just boiling water) on the stove just below boiling and the dye is in the microwave coming up to 145 degree temperature. I was going to do the rails in Scarlet but Pam said it would look much better in the green I have done......go figure...anyway they are going to be green...comes out pretty dark usually...
 
LOL...not dark enough yet Steve...it's only been 10 minutes. I am going to leave it in another 10 and hope it gets darker....normally this is on the stove so I can keep the heat up but I didn't have a big enough pot....need to go shopping....

DSC_1592.jpg
 
It's time for my Oreo cookies and ice cream but that will have to wait...probably another hour yet by time it gets sealed and cooled down.
 
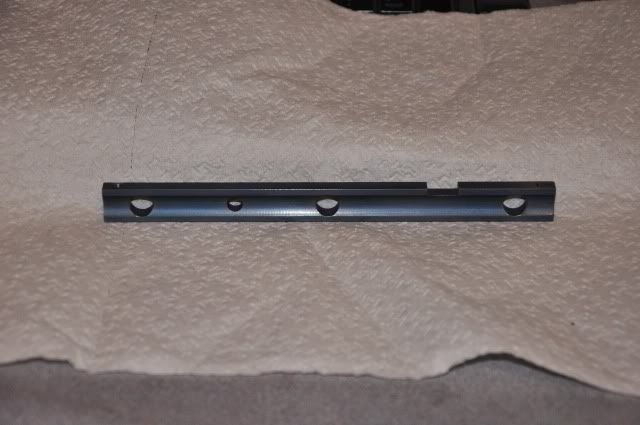
Ok...it looks blue-green under the lights..but so does the gear that looks green with day light..anyway here it is..

DSC_1607.jpg


I will see what a daylight pictures look like...
 
Ok, it's been awhile since I updated this thread so here is a pic of what has been done so far.

DSC_1642.jpg


I have some work to do on the metal parts yet and still need to anodize and dye the valve connecting rods which I plan on doing today. The head was just a flat piece of aluminum and looked very boring. I am going to hunt around the local shops and see if one will sell me a drop of brass.


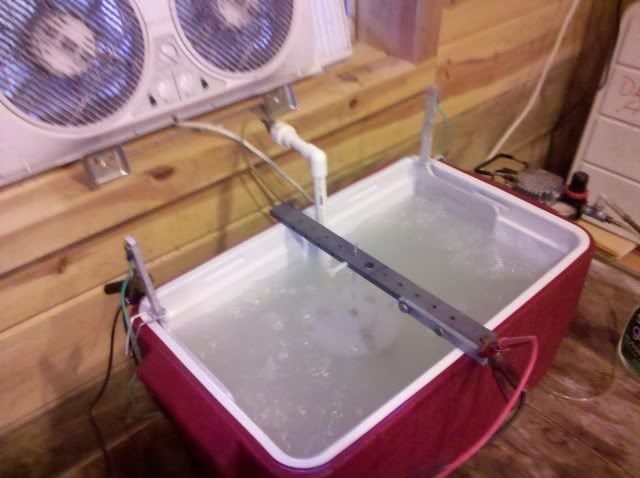
My setup has changed a bit and I am now doing this inside the shop and venting through a window right behind the ano tank.

IMG_20100906_081449.jpg


I am no longer using the variac for a power supply. I found this Murr on Craig's list for $10.00.

http://www.duesenburg.com/estore/index.php?main_page=product_info&cPath=5&products_id=5.

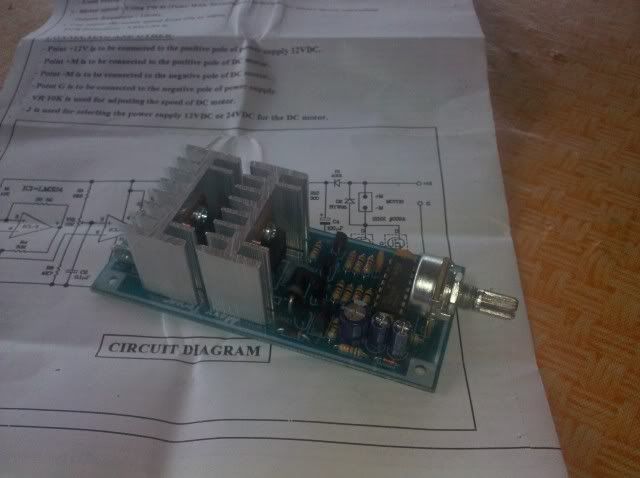
I still needed a way to control the output so I bought this.

IMG_20100901_181459.jpg


from this company:
http://www.bakatronics.com/shop/item.aspx?itemid=581

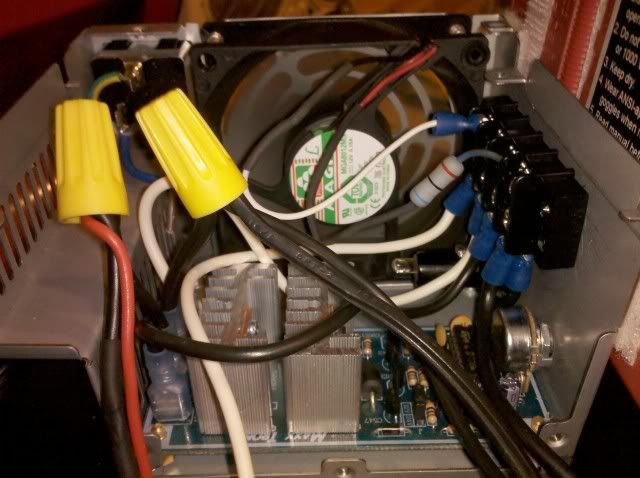
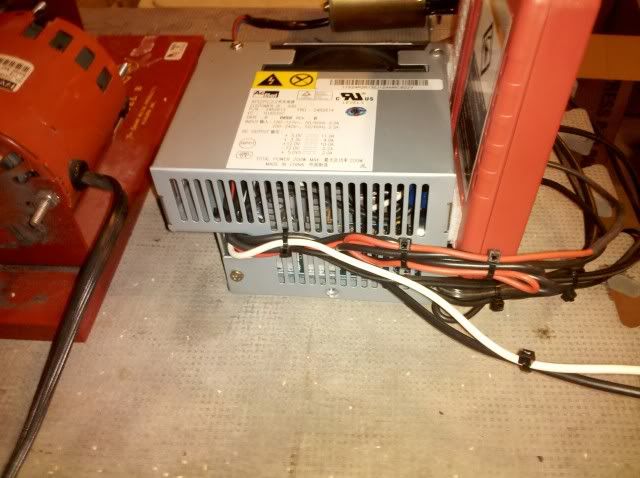
I stripped out a junk computer power supply and mounted everything inside it.

IMG_20100911_195639.jpg


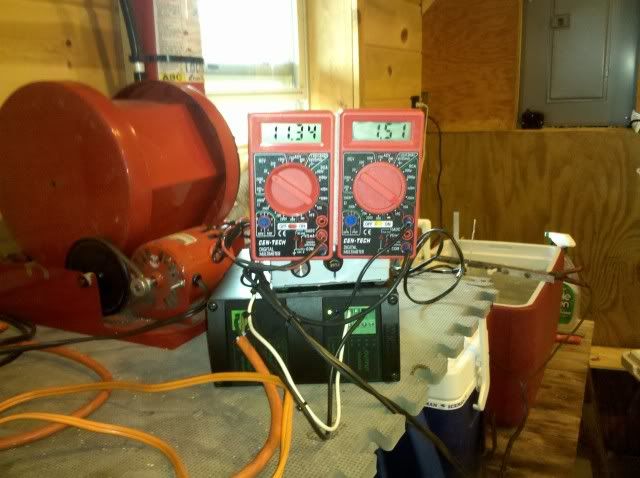
The two multimeter's are picking up the readings from inside the PS instead of having wires from two meters strung out all over the place.....it makes for a much neater setup.

IMG_20100911_203028.jpg


IMG_20100918_123114.jpg


I haven't tried it but I am pretty sure if you guys are looking for a cheap way to control a PC power supply you could probably pick up one the PWM controllers like I bought and use it. You can switch it between 12 volts or 24 volts.
 
Back
Top