My Little Husky

Home Model Engine Machinist Forum

Help Support Home Model Engine Machinist Forum:

This site may earn a commission from merchant affiliate links, including eBay, Amazon, and others.

Groomengineering

Well-Known Member
Joined
Aug 2, 2009
Messages
242
Reaction score
3
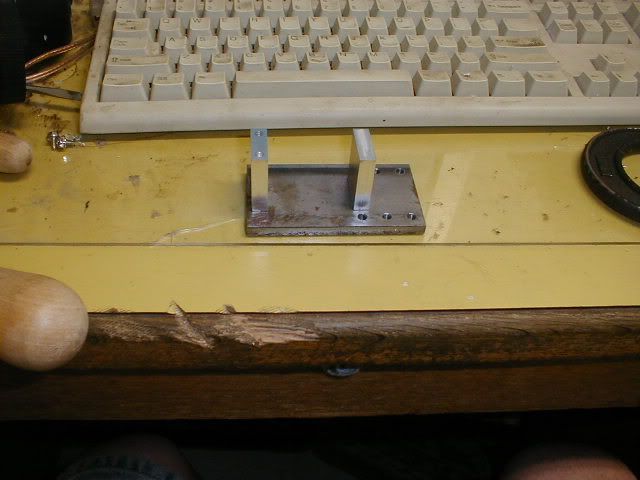
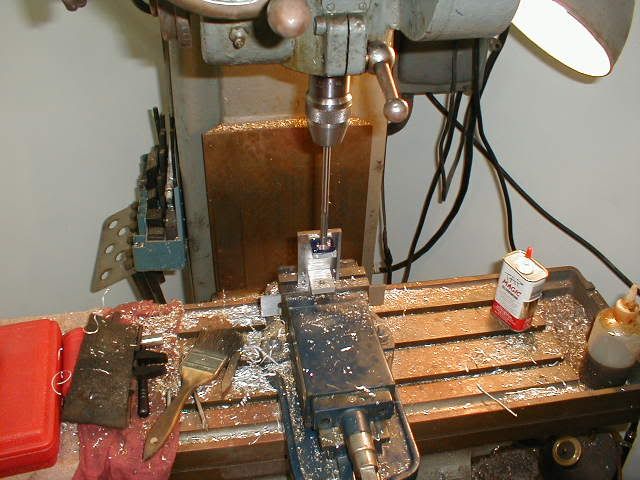
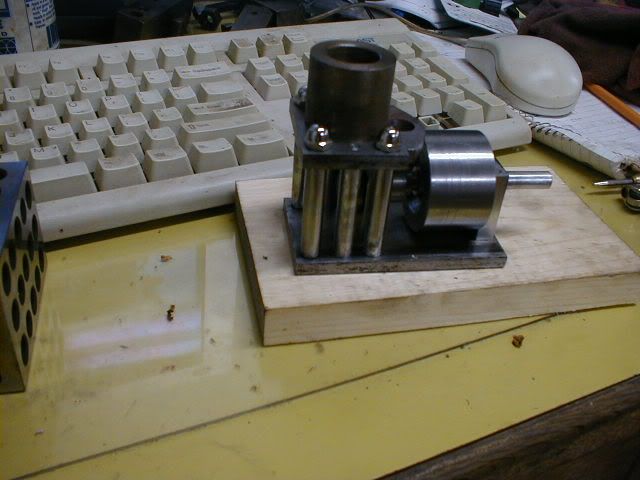
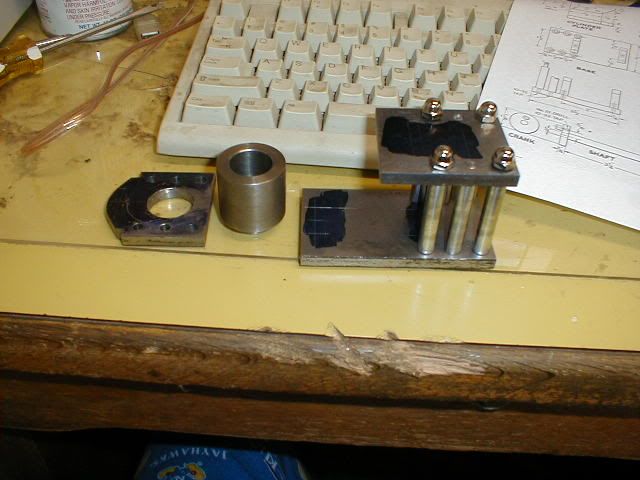
Hi all. Well, I started a Little Husky as a winter project but I hate the cold so I guess it turned into a spring project. :p In the last few months I've managed a little progress,

P1010008.jpg


P1010009.jpg


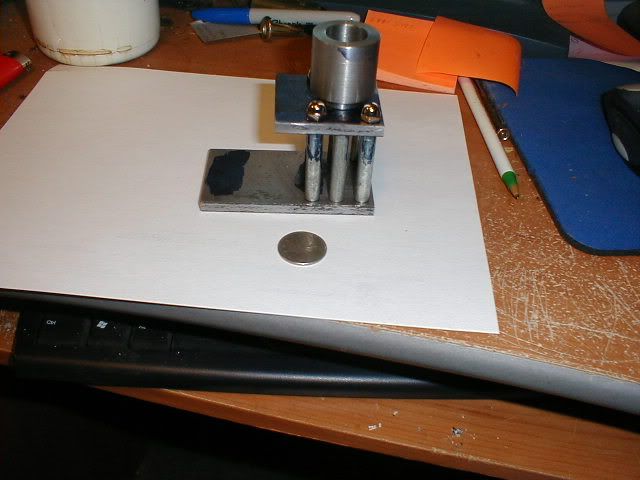
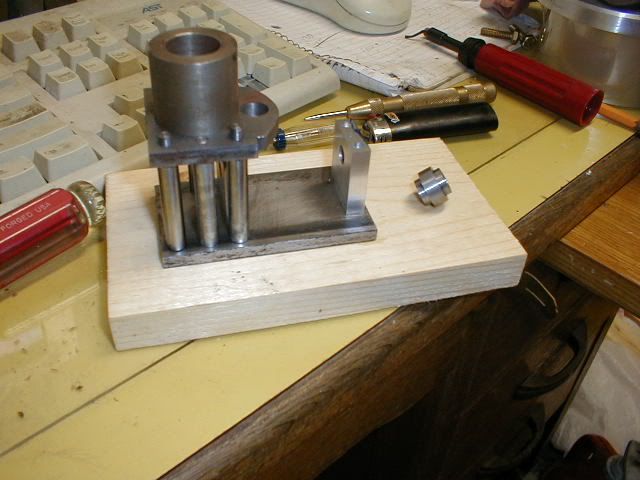
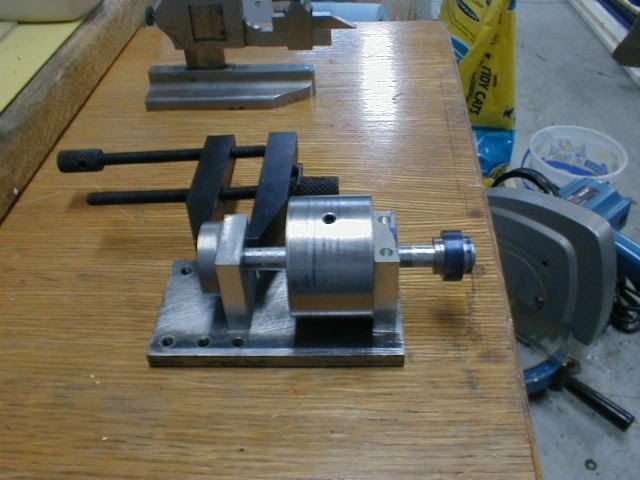
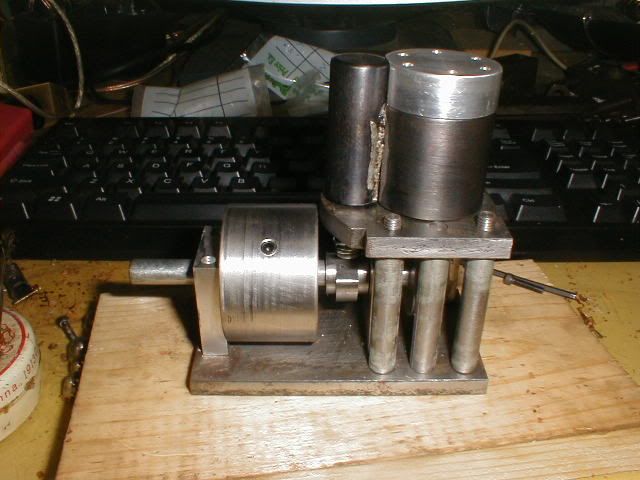
You may notice the lack of nuts on the centre columns. :eek: As drawn there is about .005" clearance between the top stud and the cylinder. Now I know why every picture I've seen has the holes but no columns in the middle. Not to be defeated by a mere drawing, I decided to put posts on the columns and call it a feature. ;D

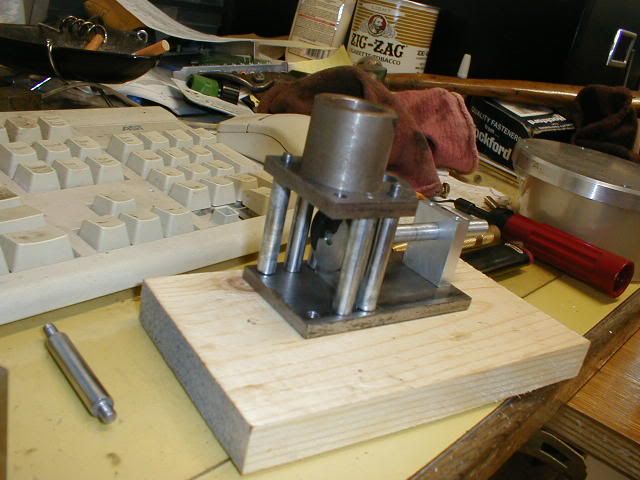
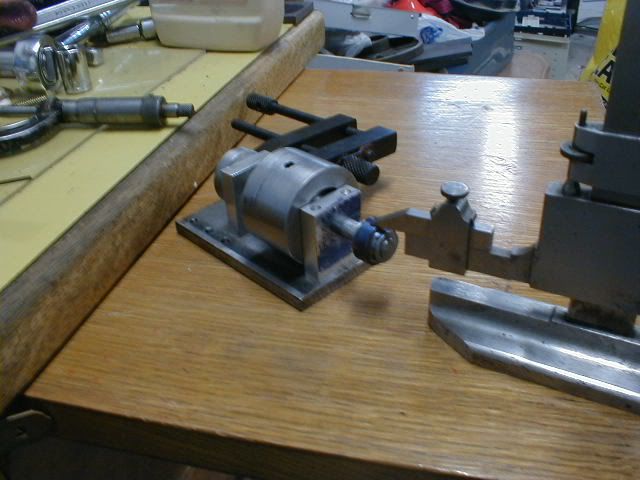
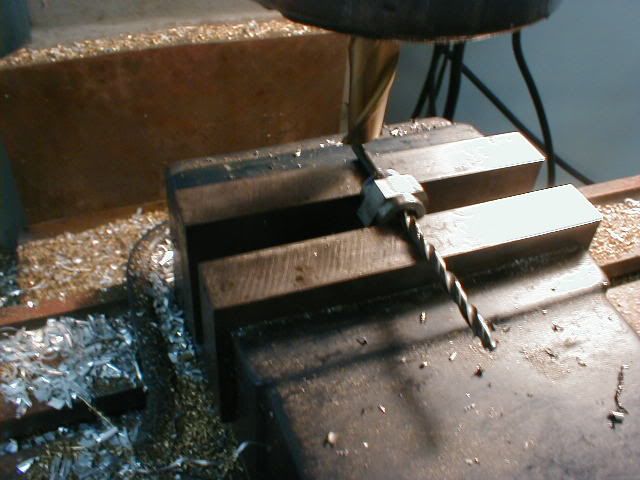
Managed a little shop time last night, and promptly stuffed up the top plate. Measure how many times..... ::) Wow, take a few months off and it seems like I forgot everything. Anyway, new top plate made and we'll give her another shot tonight.

P1010001.jpg


Cheers

Jeff
 
Hi Jeff;
Thanks for sharing your progress. Don't worry about the top plate. We all do a "stuff up" now and then.
Keep it coming!

Dean
 
Hi all! A bit of an update on the build. I've been getting almost zero shop time in, it's terrible when life intrudes on your hobbies.... :p

Bearing blocks in place.
P1010007.jpg


Drilling and reaming for crankshaft.
ream.jpg


Cam blank.
P1010011.jpg


Crankshaft started.
P1010012.jpg


Everything together so far.
P1010014.jpg


And yes that's rust all over everything :hDe: The pine board will probably end up being the base, just haven't figured out the shape/size yet.

Cheers

Jeff
 
It looking good Jeff. I can see where it gets it's name....stout little thing!! Is it your design or if not where did you find the plans?

Regards,
Bill
 
Thanks Bill!

The original plans were published in Pop Sci Jan 1944, but the drawings are available on the JohnTom site.

Cheers

Jeff
 
Hi all! A little more progress. How to cut the cam without the RT? Let's see if this makes sense. I drew up a circle the size of the cam in CAD, put in a horizontal line and an angled line to give the 150° angle. Dimensioned and found I would need a mark on the centerline on the right and a mark .172" above centerline on the left.

Soooo..... set up using the frame for a stand
cam01.jpg


Marked the lines
cam02.jpg


Couple of cuts in the mill
cam04.jpg


A little file work, sanding, and a setscrew
cam05.jpg


And we have a cam!

Looking back I think that this was probably easier than setting up the RT would have been. Unfortunately I'm going to need the RT to finish up the cylinder, so it's 'build a 3-jaw adapter plate' time. Oh well, tool projects are fun too. ;D

Cheers!

Jeff
 
Looking good Jeff. Didn't realize how small the cam was until that last pic next to the bic lighter.Keep up the good work :)

Bill
 
Looking good Jeff, that is really a sturdy looking little engine. Larry1
 
Thanks guys!

Made some good progress on the rotary table adapter yesterday. I'll put up some pics of the build if it works out. Looks like I get to spend most of today trimming trees. Yay.... :Doh:

Cheers

Jeff
 
Jeff, you made a nice start - can't wait to see more progress after you've spent time on the brown stuff ;D

Nice file work on the cam ! Thm:

Like Larry1 said; it sure is a _husky_ little engine!

Regards, Arnold
 
Thanks Arnold! I think we got the trees beat, 'bout killed us but we made it. Yesterday it was 99°F, 50+% humidity, heat index of just over 110°F, forecast of pretty much the same all week..... :eek: I think it's time to do some indoor work now and the heck with the yard. :big:

Cheers

Jeff
 
nice engine me likes. ive got those plans somewhere.
i agree about that yard work it can wait till cooler days i gto treea to trim too but not for a while tooo hot
 
Looking good Jeff, know what you mean about jobs getting in the way of play. Got some trees to fell here too!

Nick
 
Hi all! Well, after a myriad of other projects and a general lack of any shop time it's time to get back to work. woohoo1

First off I've finally gotten the heater installed and hooked up.
heater.jpg

It's a 75k btu unit heater originally purchased to heat the entire 1000 sq/ft garage, but plans changed and it now sits in my 380 sq/ft shop. A bit of overkill, but it'll do 0 to 80F in about five minutes. ;D

Anyway, to resurrect the thread.... I've done some work off and on, drilled and tapped head bolt and cylinder mounting holes, made a cylinder head, and made up the poppet valve. I thought I took pictures, but I can't seem to find them. :shrug:

Todays progress, wired the valve body and cylinder together for soft soldering on my makeshift hearth (read cinder-block :Doh: )
husky03.jpg


Applied heat and....
husky04.jpg


Well it looks a proper dogs breakfast but it seems to be solid, and everything lines up. A little Bondo and paint should fix that. Thm:

Piston and con rod are the only remaining parts, maybe I can get this done in under a year..... ;D

Cheers

Jeff
 
;D Glad to see you're back on this one Jeff Thm:

Keep those pics coming!

Kind regards, Arnold
 
Back
Top