Milling Attachment - MLA-5 / S-4382A

Home Model Engine Machinist Forum

Help Support Home Model Engine Machinist Forum:

This site may earn a commission from merchant affiliate links, including eBay, Amazon, and others.

Jadecy

Well-Known Member
Joined
Dec 26, 2007
Messages
247
Reaction score
3
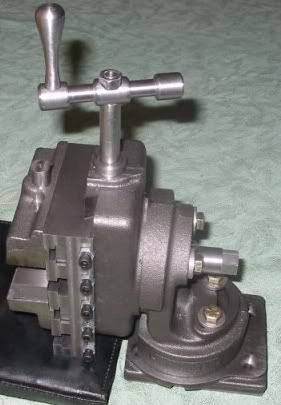
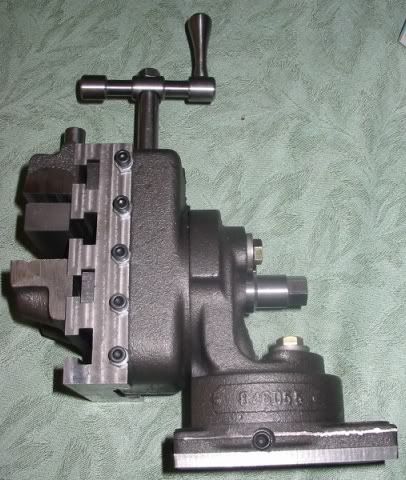
I have a milling machine but my dad does not. He had been talking about buying a milling attachment for his lathe and I took it as a good opportunity to make a gift and test my skills as well as learn something new. My first engine was the MLA-17 (barstock model diesel) so I was aware of the milling attachment kit offered by "Metal Lathe Accessories".

Side note:
This little business is run by Andy Lofquist. As a side note his kits are very nice and he has been very helpful to me on several occasions. He is usually at "Cabin Fever" and "NAMES". I have no business connection with him. I am just a satisfied customer.

http://www.statecollegecentral.com/metallathe/index.html

Back to the regulary scheduled program -

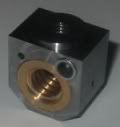
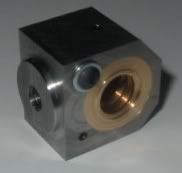
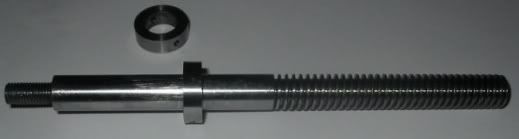
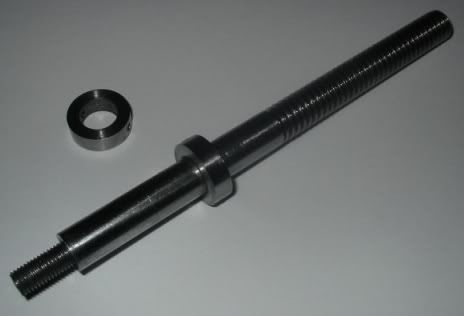
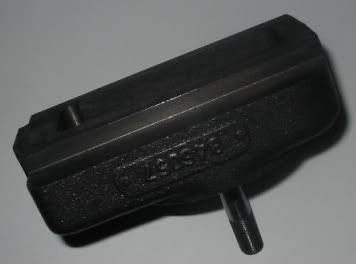
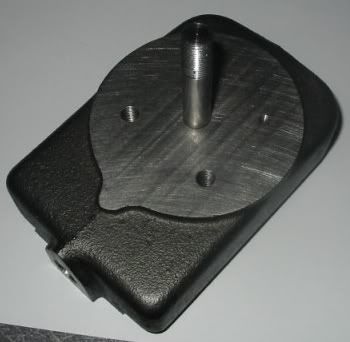
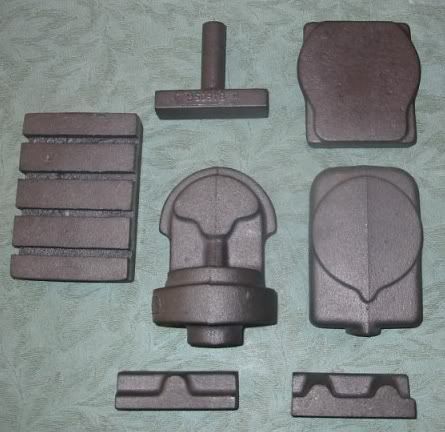
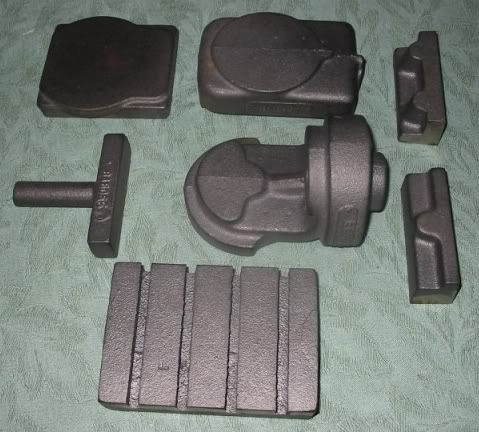
Following are some images of the raw castings as received. These are nice, heavy, cast iron casting with enough material for machining. I have not included any pictures on the plans, but they are very nice large size plans. He also includes some notes and suggestions to help during the build.

IMG_5298_small.jpg


IMG_5300_small.jpg


I must apologize at this point. I didn't take as many pictures during the build as I should have. I get caught up in the build and forget about documenting the process.

:)

NOTE: More to come in a couple of minutes. The attachment is done but I'm just now getting to post info to the web.
 
I cheated a little on the acme screw and nut. Rather than try and turn my own screw and create a nut I bout the acme threaded rod and bronze nut from ROTON:

Part#

59392 - Acme Lead Screw - 1/2-10, LH, Steel
89497 - Acme Sleeve Nut - 1/2-10, LH, Bronze

I created the nut carrier from a piece of Stressproof - (1144). The bronze nut was turned down a little and press fit into the carrier. To make sure the nut does not move green loctite was applied and then a small screw with washer was placed on each side. Overkill I know but now I'm sure it is not going anywhere.

The acme screw was cut to length. The handle section was turned down to 5/16" and the end was threaded 5/16-24. I then created a 1/2" outside diameter sleeve with internal thread at one end. The sleeve was slid over the turned down section of the acme screw and screwed down.

I use 1144 - stressproof for a lot of my work. It machines to a very nice finish and to date is my favorite material. I also like 6061 aluminum but not nearly as durable or as strong as steel. I use 1018 too but never like the initial surface finish.

The collars are secured with 2-56 set screws (grub screws) in 2 locations. They seem to be staying put but time will tell.

NOTE: The nut carrier was one of the last things I made. It needs to attach to the table and perfectly align with the screw. I measured about 20 times and calc'd and re-calc'd. I got it right in the end but I always get nervous when everthing has to line up.


IMG_5304_small.jpg

IMG_5305_small.jpg

IMG_5306_small.jpg

IMG_5307_small.jpg
 
Here is the part the sliding table mounts to.

IMG_5308_small.jpg

IMG_5309_small.jpg

IMG_5310_small.jpg


This was a nervous piece for me. This is the first time I had ever cut a dovetail. Once I got the cutter speed correct it went well. Cutting the table to match with just enough clearance for a gib and making the gib was interesting. It wasn't as hard as I thought it would be but I took my time and checked and rechecked. In the end it came out great. It is very rewarding to see the table slide up and down nice and smooth with no tight spots.


You can see one spot point that was an oops! I started drilling one of the bolt holes at the wrong end of the casting. No big deal I guess because it is covered when it is assembled and it doesn't affect the actual structure.


A couple of final notes.

I enjoyed the build but am happy to get back to my other projects. It was a bit of a diversion from my current projects. I got the castings just a few weeks after Cabin Fever this year. I think this is a record for me.

I decided not to paint it. If my dad wants to paint it he can. If he does it will probably be tarp blue. He loves that color blue. I'm not real partial to that color and couldn't bring myself to paint it that color.

You can't see it but where the base bolts on a stub extends down with a dovetail cut in it. Hard brass rod with an angle cut in it wedges against it in the base. Set screws on the edge push in on the wedge rods.

The "T" slots in the table were cut a little larger to accept my standard 3/8" thread clamping kit. I'm sure he will want a clamping kit as well.

The curvy handle was cut with the SWAG/freehand method with cleanup with a file and emery cloth.
NOTE TO SELF: Make a ball turner!!!!

Overall I am very pleased with the results.

Any questions or comments are welcome. Hopefully I'll remember to stop and take more pictures on the next project.

Thank you for reading my post! :)


Nice looking unit! :bow:

His casting are really nice. I'm still finishing off his steady rest.

Dave
 
Jadecy,

Congratulations on a very nice vertical slide. :bow: :bow: :bow:

Best Regards
Bob
 
Jaydecy
Nice work. I hope my son makes nice presents like that for me in the years to come. Andy seems like a real nice guy he kits seem top notch well thought out and well made.
As far as the documentation It takes a real talent to to good machining and documenting at the same time. Kind of like flying a helicopter to rescue someone from a war zone.A whole lot to think about at once. Not a lot of room for mistakes and no goin' back for a second try !!
Tin
 
A very nice piece of work. The castings look excellent. Over the years of machining I think we forget how many tools, fixtures and attachments we end up making. All of these are models in themselves.
gbritnell
 
I have a SB 9 lathe. How would it attach to my lathe? Would I have to remove the compound? Also, what would I need in addition to the kit will I need to purchase to be able to mill with it? In other words, what will I need in my possession to machine the kit and have it operational. I plan on getting it at the end of the month.
 
Also, how do you clamp your work in the jaws? I would like to see a youtube video of someone milling one of these from start to finish. I would really like a milling attachment but $300+ is too much to pay for a SB model and the price is right on this one.
 

Latest posts

Back
Top