Last year I had a new datacentre room built at my work.
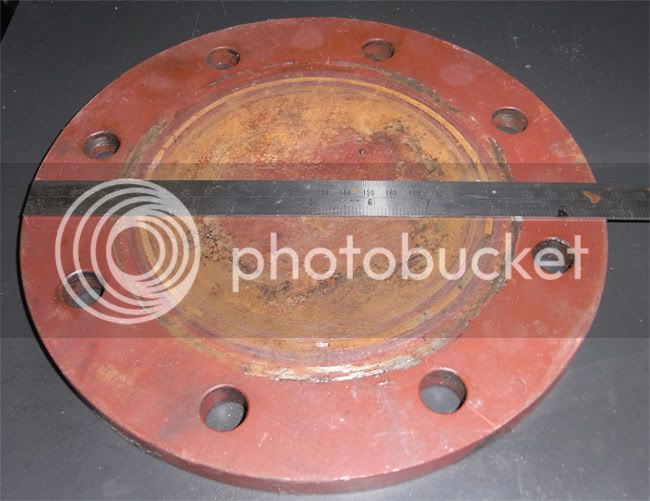
To connect the chilled water pipes up they had to remove 4 mild steel caps off the valves.
These 'caps' are 15mm thick and about 10 inches in diameter.
I quickly grabbed all four of them before they went into the skip.
Today I finally decided to do something with one.
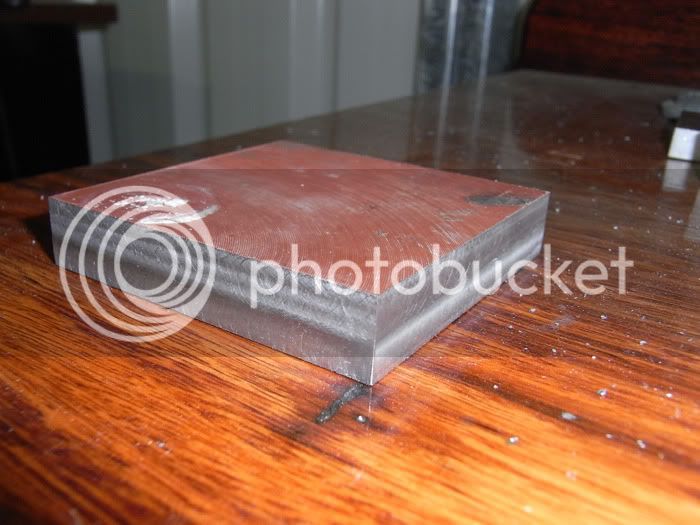
I started with this.
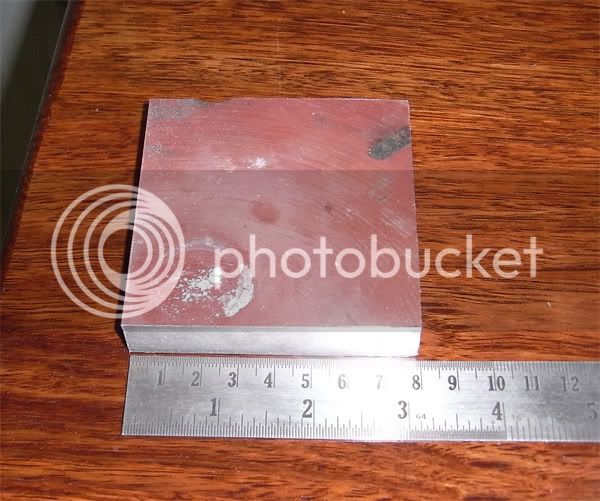
A bit of jiggery pokery on my power bandsaw and I had the 3 inch square I needed plus a few more mils to allow for machining.
After sawing the ends needed to be milled square.
Here is the first side done.
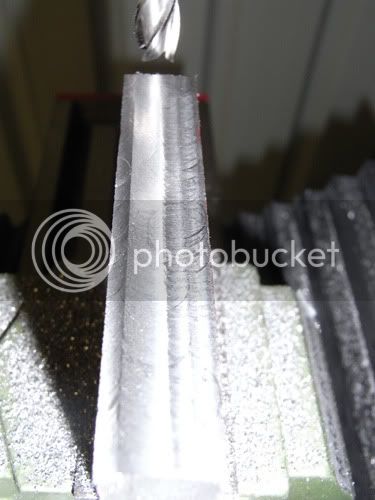
You can see in the above photo a few small gouges where the endmill has bitten in deeper and left scratches. I'm assuming this happens when swarf gets caught and dragged under the end mill.
Anyone know how to stop this from happening?
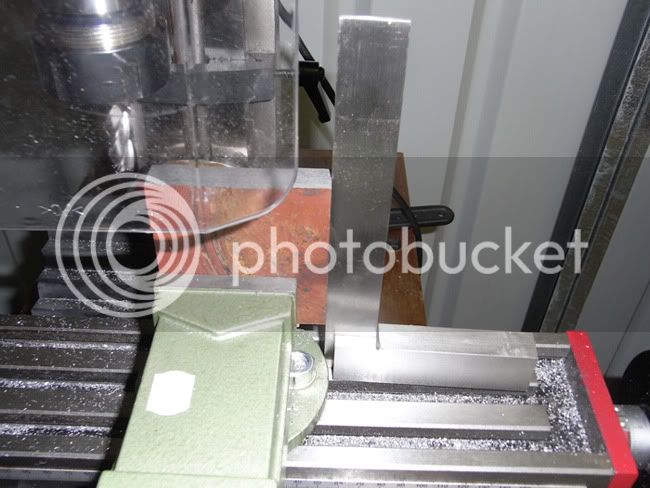
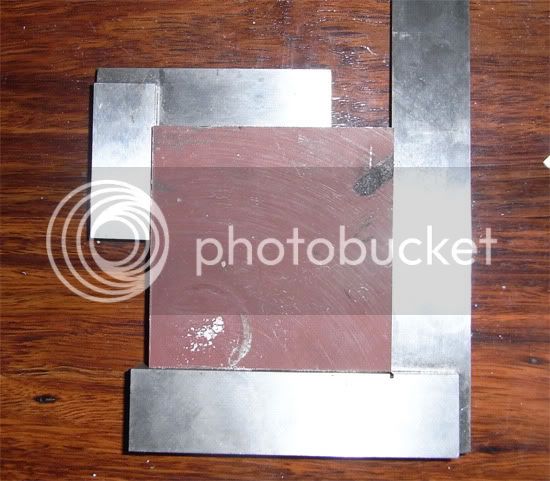
About to mill the third side and checking it is square with the side already done.
All four sides milled and nice and square.
Tomorrow it goes in the four jaw chuck to machine off the rough machining marks on the top and bottom.
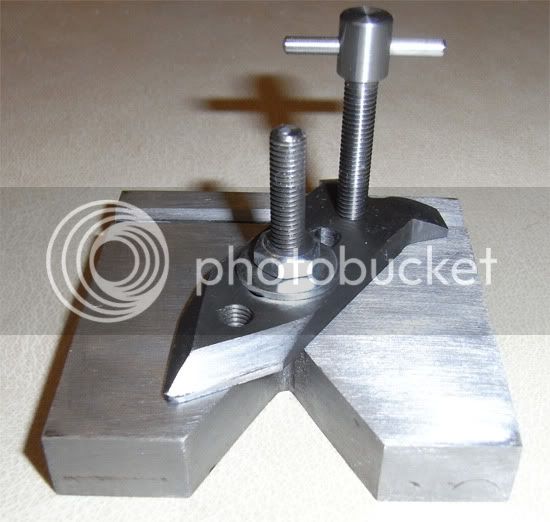
What's it going to be?
Guess you will all just have to wait and see. ;D
To connect the chilled water pipes up they had to remove 4 mild steel caps off the valves.
These 'caps' are 15mm thick and about 10 inches in diameter.
I quickly grabbed all four of them before they went into the skip.
Today I finally decided to do something with one.
I started with this.
A bit of jiggery pokery on my power bandsaw and I had the 3 inch square I needed plus a few more mils to allow for machining.
After sawing the ends needed to be milled square.
Here is the first side done.
You can see in the above photo a few small gouges where the endmill has bitten in deeper and left scratches. I'm assuming this happens when swarf gets caught and dragged under the end mill.
Anyone know how to stop this from happening?
About to mill the third side and checking it is square with the side already done.
All four sides milled and nice and square.
Tomorrow it goes in the four jaw chuck to machine off the rough machining marks on the top and bottom.
What's it going to be?
Guess you will all just have to wait and see. ;D