BobWarfield
Well-Known Member
- Joined
- Dec 27, 2007
- Messages
- 1,151
- Reaction score
- 1
Been a long time since I got to post on the CNC conversion work. Tin Falcon's and other's recent CNC posts reminded me to get back after it now that the Team Build parts have been mailed out and before I get knee deep in the next team build. I was just thinking how fast those crankshaft bearings would go if I had the mill up and running: DOH!
I didn't get as much time as I would have liked this weekend--it is a family time after all, and I had to fix a car and my air compressor, but I did get on to the next step.
The last little bit involved finishing up the base epoxy granite fill with provision for a large connecting bolt as well as making some hockey puck feet. I still can't get over how sturdy and how dead the filled base seems compared to the original!
Next step is to set up the column to receive that large connecting bolt. To do so, I epoxied a thin metal plate in position at the bottom of the column. The casting is pretty rough so I used sand in conjunction with epoxy to fill the gaps. I let that cure over night and then I used a hole saw to make way for the piece of pipe that provides the bore for the bolt in the column. The pipe is not an exact diameter that works for the hole saw so I went one size too small and then broke out the air grinder with a little drum sanding attachment to tune up the bore to a nice sliding fit.
Lastly, I dimpled the end with a punch so the pipe would sit without falling through. I quick couple of pumps of epoxy and a chip brush later I had the epoxy laid for the pipe:
I think the whole works is "water tight". I'll let the epoxy cure all week and then hopefully next weekend I can flip the column and fill with the epoxy granite mixture around the pipe. I'll be filling almost 10" of the bottom, so it should add quite a lot of mass and dampening to the works. I had considered dealing with filling all the way up the column, but it's quite a lot more work and I've decided to forgo it in the interests of getting on with the rest of the CNC conversion.
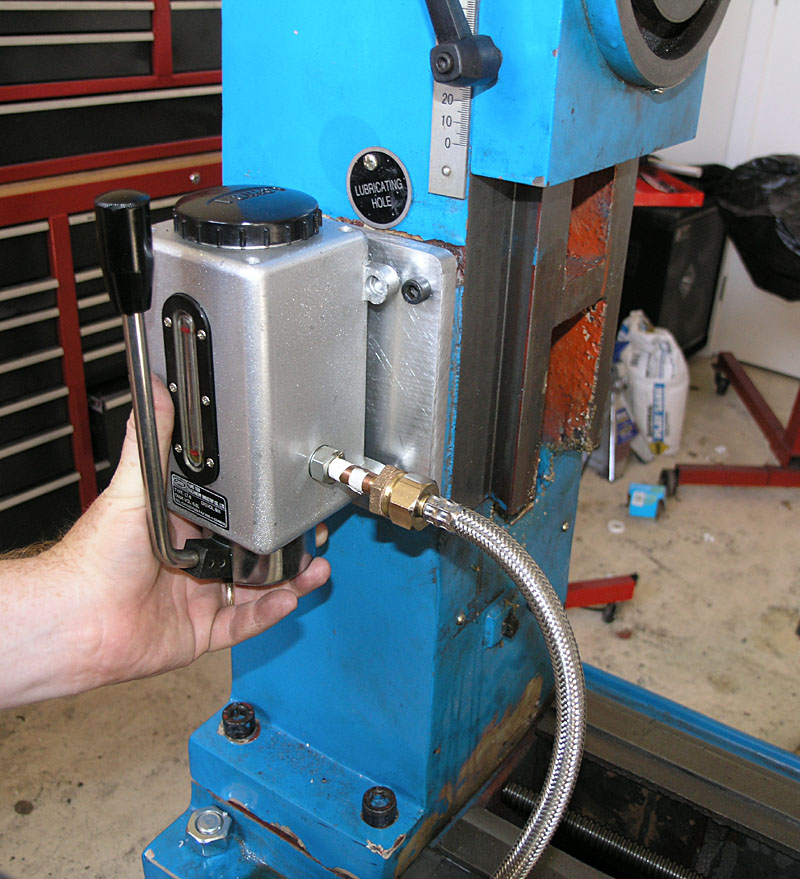
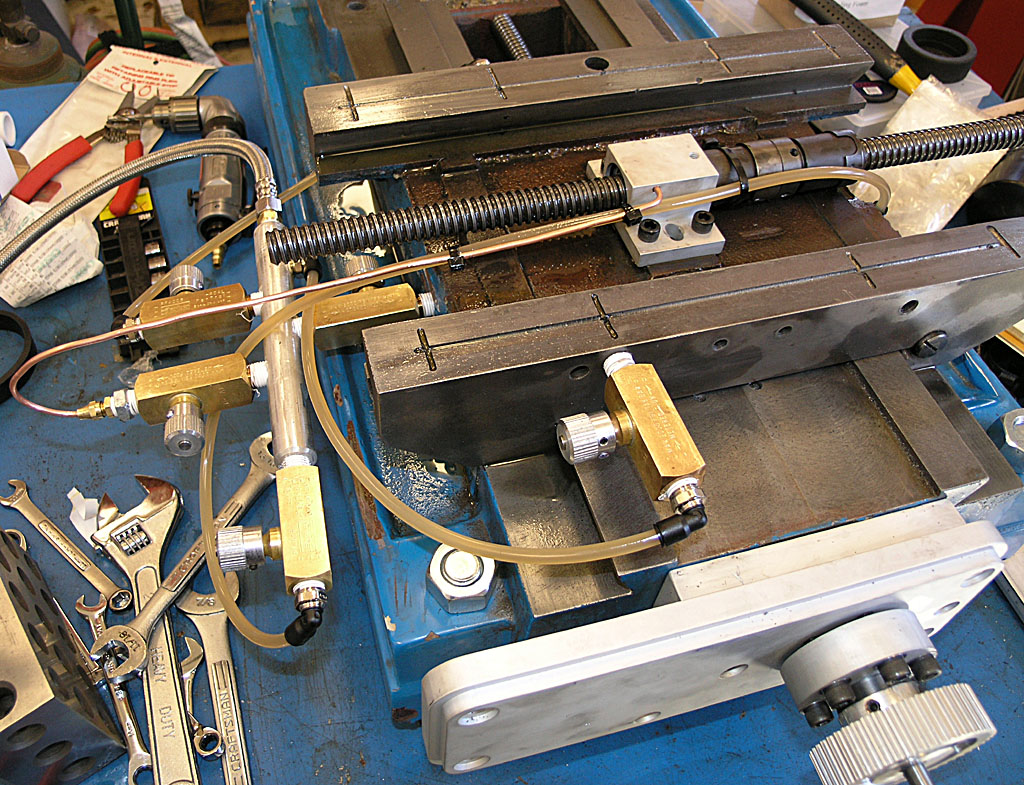
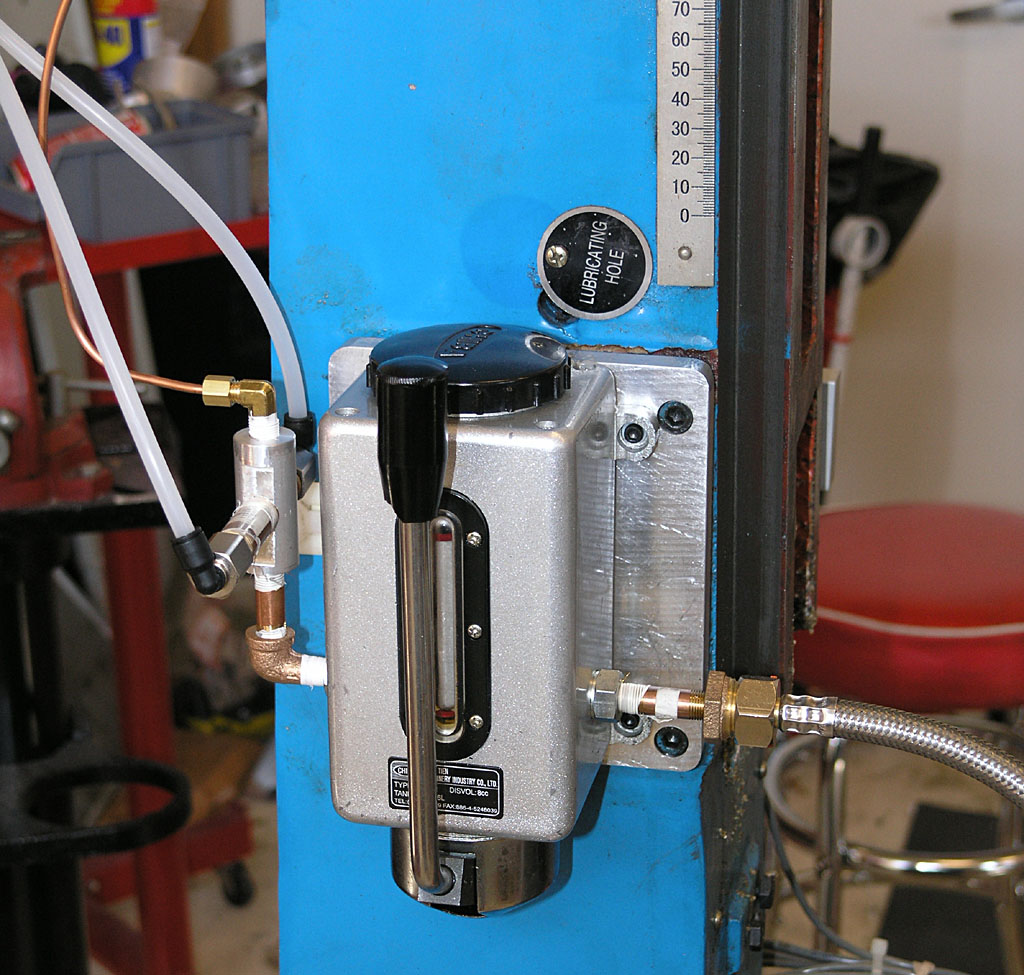
I still need to finish the one shot oiling system--a few holes to tap, manifolds to be made and mounted, and I need to engineer oiling for each of the 3 ballnuts.
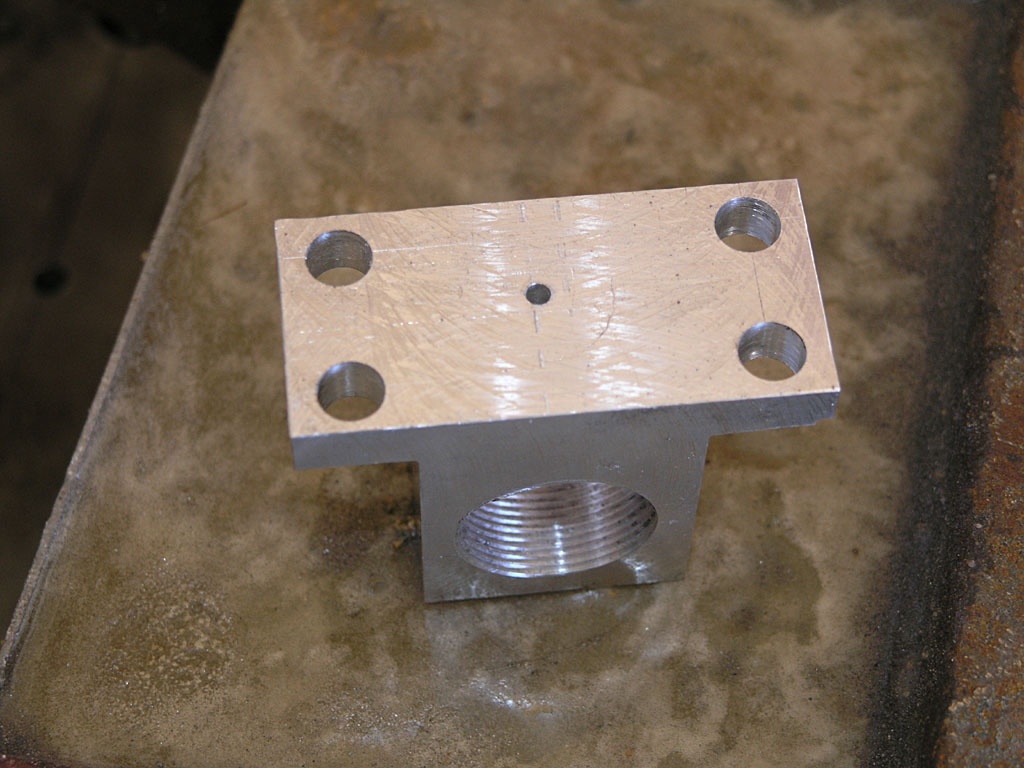
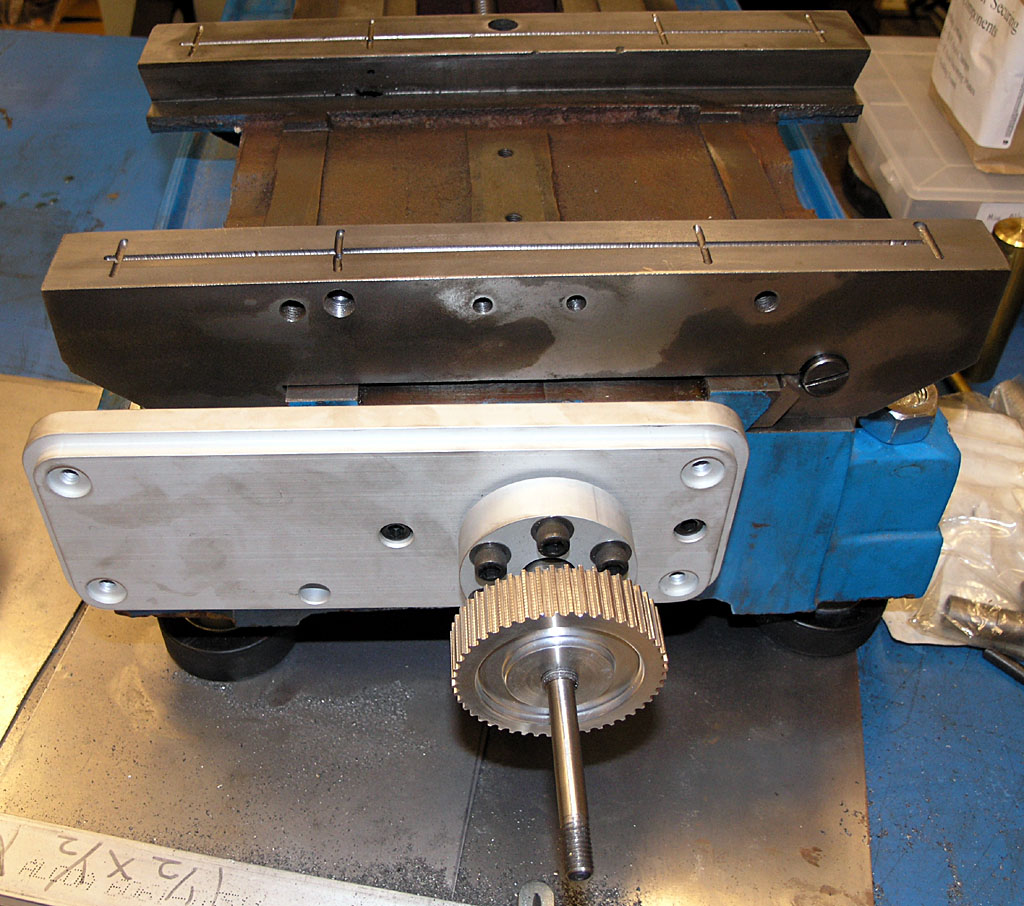
After the column is filled and the one shot is done, I'll need to thread the Z-axis bracket shown at the beginning of this thread for the Z-axis ballnut. I've ordered a nice threading bar from Enco (along with a 1HP buffer--you guys don't get to have all the bling!) for that task, so that'll be interesting as well.
Once all that is done it's time to bolt up the mechanicals kit I have from Industrial Hobbies. I got in a set of servo motors from Homeshopcnc, so hopefully that all goes together pretty well. I'll also need to build the electronics, but that isn't too bad. I've done it once before for my lathe project and will do something almost identical but with a bigger DC power supply capable of driving 4 beefier axes. I've got a nice big NEMA enclosure available to house it all in.
Lots of work but hoping to make steady progress going forward!
Cheers,
BW
I didn't get as much time as I would have liked this weekend--it is a family time after all, and I had to fix a car and my air compressor, but I did get on to the next step.
The last little bit involved finishing up the base epoxy granite fill with provision for a large connecting bolt as well as making some hockey puck feet. I still can't get over how sturdy and how dead the filled base seems compared to the original!
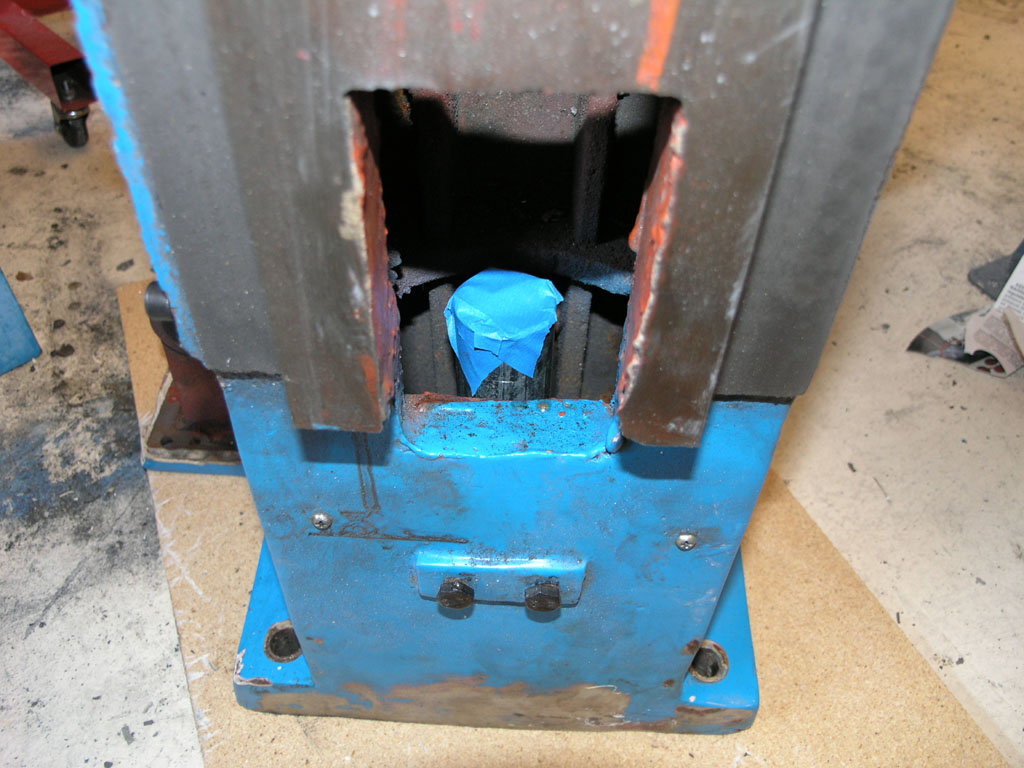
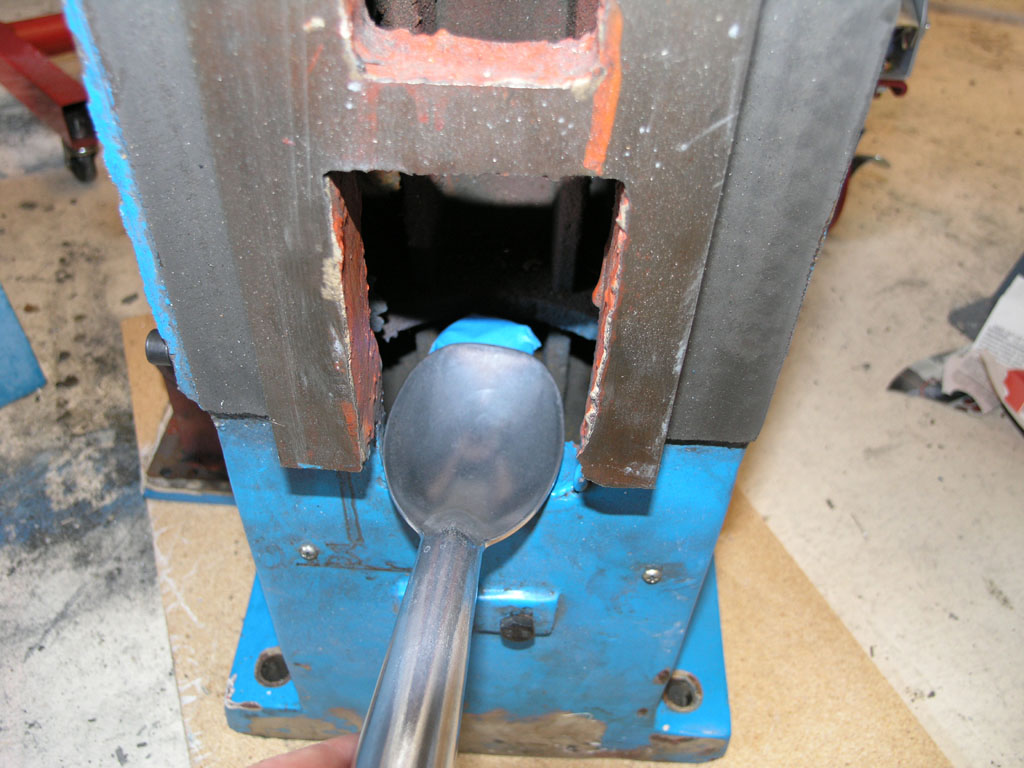
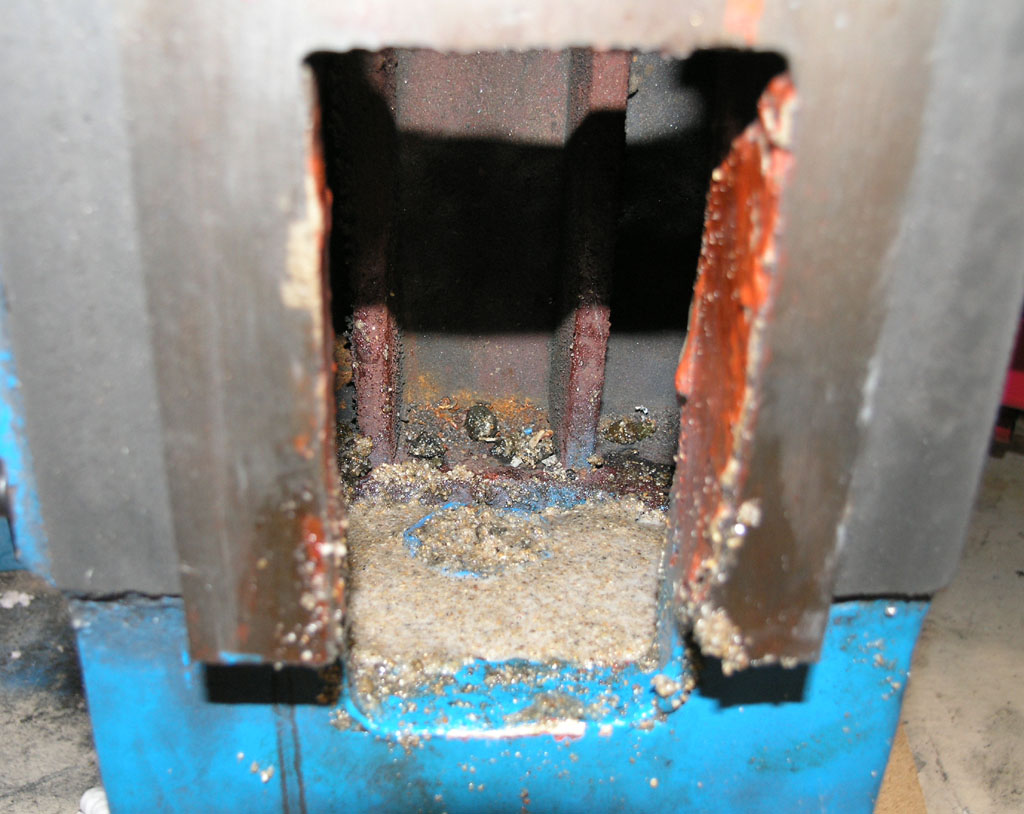
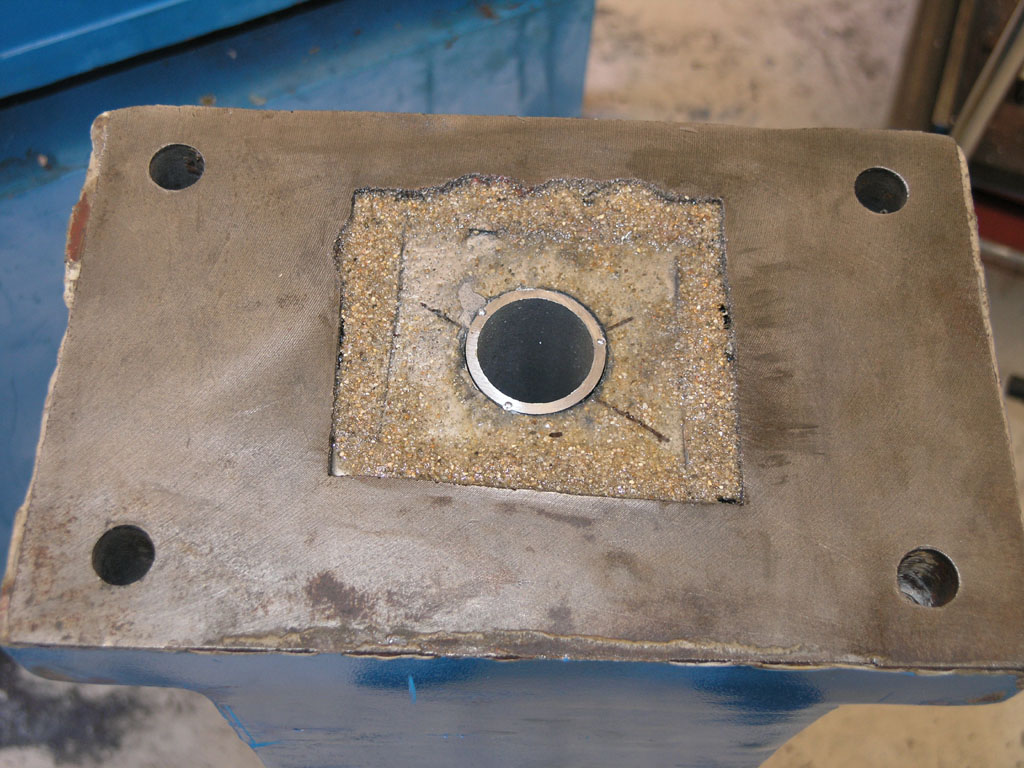
Next step is to set up the column to receive that large connecting bolt. To do so, I epoxied a thin metal plate in position at the bottom of the column. The casting is pretty rough so I used sand in conjunction with epoxy to fill the gaps. I let that cure over night and then I used a hole saw to make way for the piece of pipe that provides the bore for the bolt in the column. The pipe is not an exact diameter that works for the hole saw so I went one size too small and then broke out the air grinder with a little drum sanding attachment to tune up the bore to a nice sliding fit.
Lastly, I dimpled the end with a punch so the pipe would sit without falling through. I quick couple of pumps of epoxy and a chip brush later I had the epoxy laid for the pipe:
I think the whole works is "water tight". I'll let the epoxy cure all week and then hopefully next weekend I can flip the column and fill with the epoxy granite mixture around the pipe. I'll be filling almost 10" of the bottom, so it should add quite a lot of mass and dampening to the works. I had considered dealing with filling all the way up the column, but it's quite a lot more work and I've decided to forgo it in the interests of getting on with the rest of the CNC conversion.
I still need to finish the one shot oiling system--a few holes to tap, manifolds to be made and mounted, and I need to engineer oiling for each of the 3 ballnuts.
After the column is filled and the one shot is done, I'll need to thread the Z-axis bracket shown at the beginning of this thread for the Z-axis ballnut. I've ordered a nice threading bar from Enco (along with a 1HP buffer--you guys don't get to have all the bling!) for that task, so that'll be interesting as well.
Once all that is done it's time to bolt up the mechanicals kit I have from Industrial Hobbies. I got in a set of servo motors from Homeshopcnc, so hopefully that all goes together pretty well. I'll also need to build the electronics, but that isn't too bad. I've done it once before for my lathe project and will do something almost identical but with a bigger DC power supply capable of driving 4 beefier axes. I've got a nice big NEMA enclosure available to house it all in.
Lots of work but hoping to make steady progress going forward!
Cheers,
BW
")