Gas tank ?

Home Model Engine Machinist Forum

Help Support Home Model Engine Machinist Forum:

This site may earn a commission from merchant affiliate links, including eBay, Amazon, and others.

V 45

Well-Known Member
Joined
Jan 19, 2012
Messages
169
Reaction score
7
Looking to make a gas tank for my IC mini Hoglet engine. Are there any sort of plans / ideas for a small gas tank? What special needs does it need to have? It's obvious I haven't built one before ! I see some with and without small vent holes. Which would I need ? Anything or other considerations for making a gas tank ? Any and all help really appreciated !!

Thanks again
 
Looking to make a gas tank for mymini IC hoglet engine. I've never made one before. I've seen some with and without small vents in the caps. Do I need one? Are there any plans for small gas tanks? What's the best material to use ? What do I have to have to make it flow correctly ? Whatever I need to know about gas tanks please share !! Any and all information will be greatly appreciated !!

Thanks again
 
You can make a gas tank out of almost anything, as long as the material isn't affected in any way by the fuel and it is leak free, paper is no good BTW, it tends to leak fairly quickly after a short length of time.
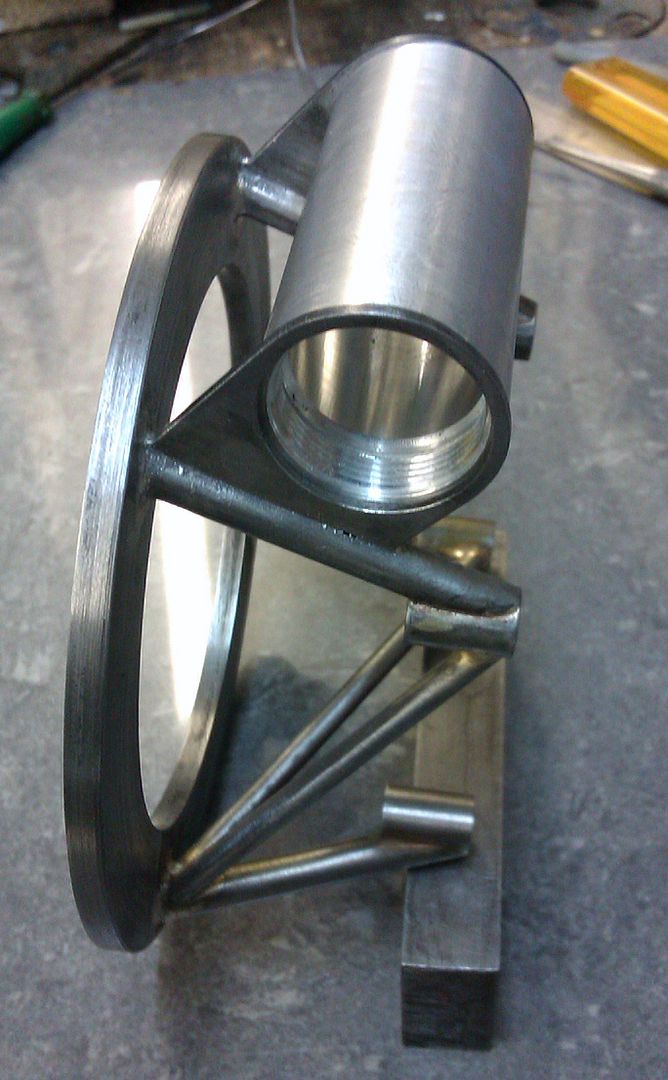
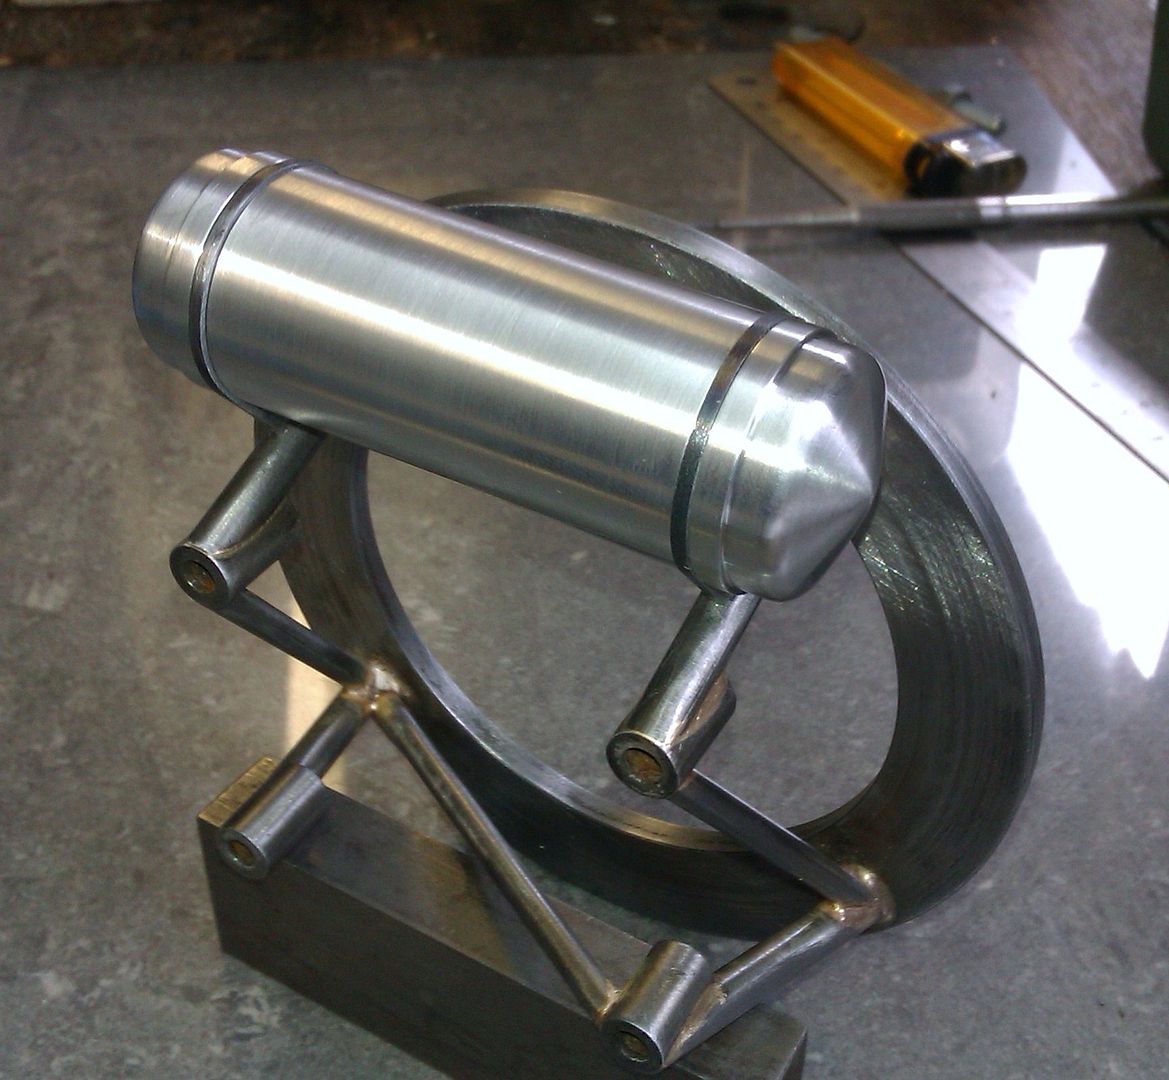
It all depends on what size you require, as brass and copper tube can be bought in some of the larger sizes, or tin plate from an old white goods machine can be easily folded up to whatever shape you require, then soft soldered. With tube, obtain the length of the tank you need, plus add about 2.5 times the diameter to the overall length. This extra can be cut off, flattened, then turned into the soldered end plates. If shaped carefully, the end plates can also be turned into the stand for the tank. Or you can just use a small metal can with a screw top and solder a feed pipe into the base and a tiny hole in the screw top, can't get much easier than that, and is what I used to use in my shop for running engines in.

Usually, the filler is turned up and threaded to suit the size of the tank, but again, the screw filler off a metal can can be used to great effect. just cut it off the can, trim up and carefully solder to the tank. A bit of filler, paint and a good fuel proofer can have a very nice looking tank fairly easily made.

The hole is required to allow air into the tank as the fuel is used, otherwise a vacuum will be formed in the empty space above the fuel and the liquid will stop flowing.

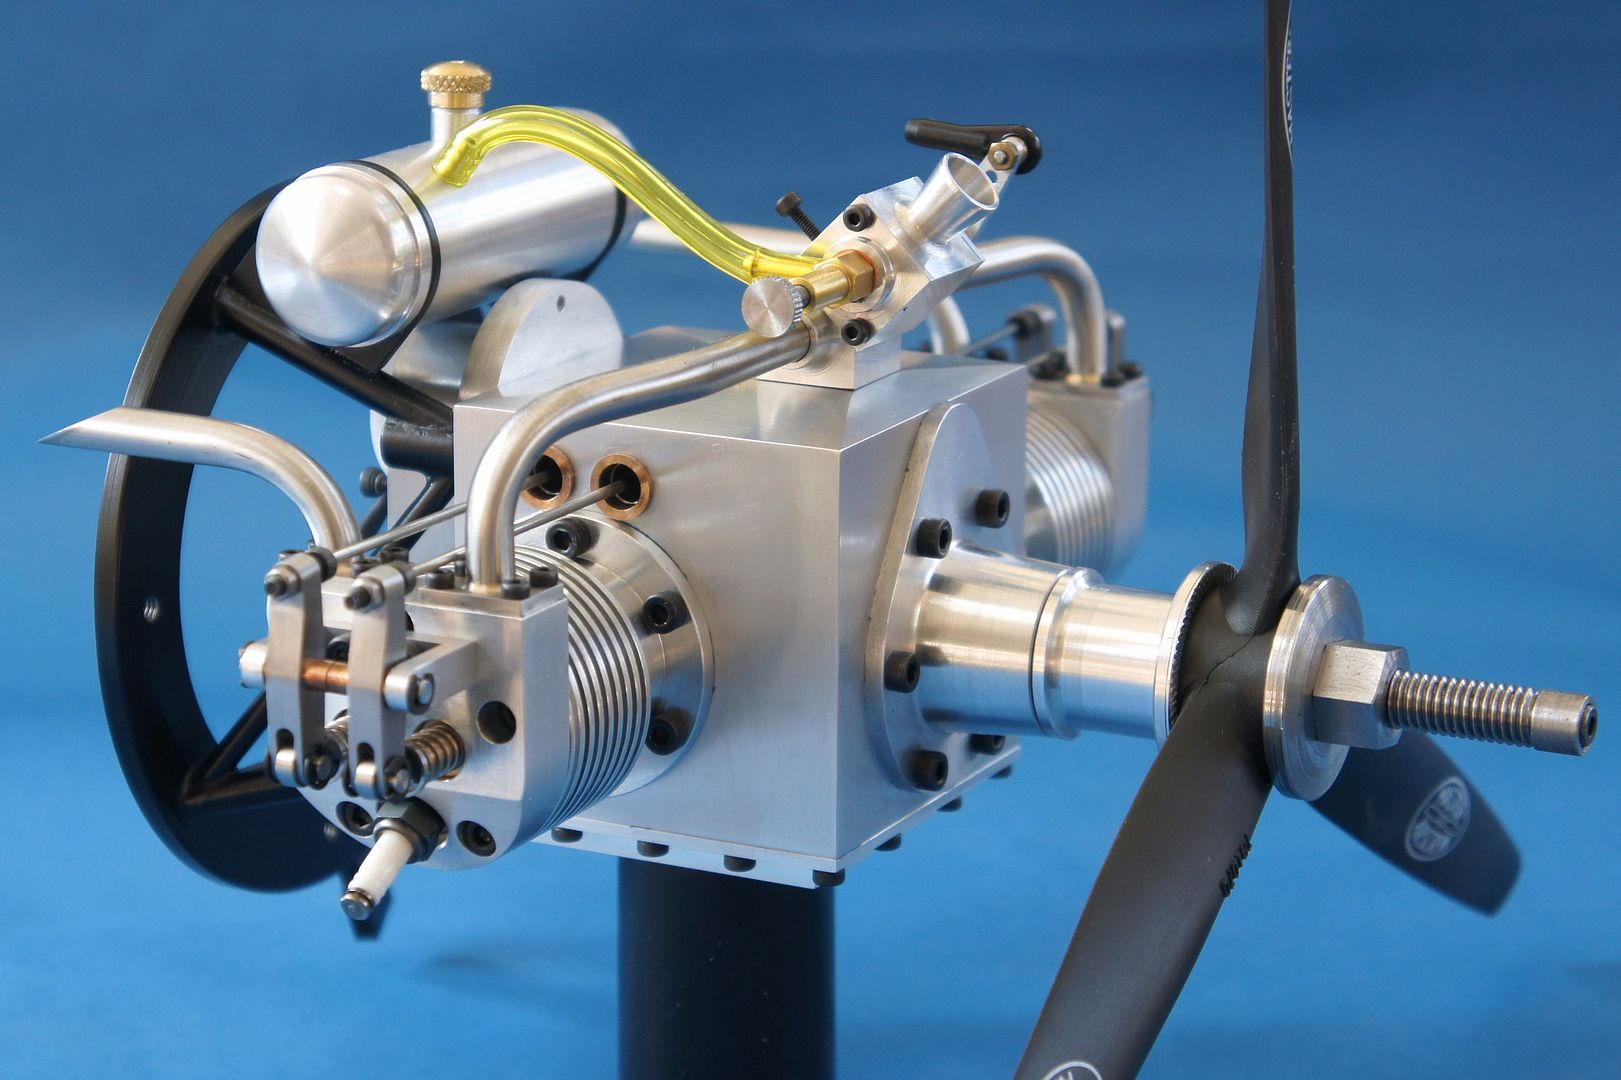
So basically, a tank can be made to suit your requirements, which varies from engine to engine, how long you want the engine to run and how nice you want it to look.

A google search for "small model fuel tank" should turn up a few images to give you some ideas.

Hope this helps

John
 
Here is a link to a gas tank filler neck and lid that I commonly use. The body of the tank itself is a piece of 1" brass tube with a .050" thick wall that I scavenged from an old halogen pole lamp. You can make the tank ends of brass or steel and solder them in place, or make them from aluminum and Loctite them in place. They should always have a small vent hole or you will suffer from "vacuum lock" in the tank and the engine will not run properly. I put the hole thru the top of the gas cap, generally 1 mm in diameter. The outlet tube should be brass or steel and be soldered, not loctiteds into a hole at the lowest part of the tank. I generally make my outlet tube about 0.175" in diameter with a 0.085" hole thru the center. this is a size that fits a standard fuel line. For 99% of all the model engines out there, the height of the fuel tank in relation to the carburetor bore should be that when the tank is full, the top of the tank should be about 3/4" below the main bore of the carburetor to prevent gravity draining and flooding the engine. (most model engines have no float and needle shut-off valve to prevent flooding.)
http://www.homemodelenginemachinist.com/showthread.php?t=23962&highlight=tank
 
I've made them out of both copper and brass, it's easy to solder ends on. I always have a vent screw on the filler cap, something that can be loosened while running the engine, but tightened up when finished.

Paul.
 
Piece of thick wall aluminium tube with a fine thread each end

IMAG3086_zpsx61j1gw5.jpg


End caps to suit screwed in with a bit of sealant

IMAG3088_zpsgejkela2.jpg


Add a filler and pipe connection again screwed in and sealed plus a vented cap.

DSC02494_zpsopfsbjkl.jpg
 
Thank you for the explanation/ help and ideas !! Again Brian and Jason already have the perfect pictures !! Well done.
 
I merged the two threads into this one.
Gail in NM
 

Latest posts

Back
Top