Why Is It So Hard To Decide?

Home Model Engine Machinist Forum

Help Support Home Model Engine Machinist Forum:

This site may earn a commission from merchant affiliate links, including eBay, Amazon, and others.
Looking good, Kel.
I'm with Dave on the CRS, for this purpose. Since you turned it all 'round, and took the same
amount off on all sides, it won't give you troubles with stress moving. That usually happens on CRS
when you take non-concentric cuts, like you would when cutting a long keyway or flat on one side
of a piece of stock.

That looks like a plum sturdy threading tool! You can also grind them pretty easily using square HSS bits, and a threading fishtail as a guide for your grind. That's what I did for the one in the pic below.

8.jpg


I knew you'd do fine with the threads. You're a handy guy! :)
 
Thanks Bogs, that is exactly what I wanted to know.

Now I got the nut in the mail today along with a MT2 chuck for my R/T.

It is metric thread 1.5 pitch.

For metric threads I should use a 55 degree cutter, Right?

Well I have a 55 degree cutter but when I line it up to the threads on the chuck I have in does not seem to get deep enough, meaning the threads on the chuck are seemingly shallow. If I use the cutter I have I would end up with much deeper threads. Is it possible the threads were cut on the chuck with a rounded over cutter. IE a radius on the end of a 55 degree cutter.

I put a 60 degree cutter in the threads and it looks a lot closer than the 55 degree. But still bottoms out on the threads before it gets to the thread itself.

Your thoughts are appreciated.

Kel.

P.S. I have the threaded portion turned down to 1.5685", the same as the purchased chuck. I am not sure what this is translated to in metric thread terminology, but I am almost there. Once I cut these threads (correctly) I will only have one step left; the taper.
 
Kel,

Expect your 60 deg cutter to bottom out.

The threads on the original collet holder will almost certainly have been cut with a special threading unit that had the correct round forms to root and crest of the teeth. Same as the nut, they will use the correct profile on the cutter used. So your cutter is hitting the round bit in the bottom and not allowing it to go all the way in.

We actually incorrectly cut threads when using sharp tipped single point tooling, and that round thread form is missing on what we make. As long as you cut deep enough (but not too deep) so that the nut runs on comfortably with no rock, everything will be fine.


Bogs
 
Thanks Dean and Bogs.

.........and with that I know have a quasi finished ER32 Collet Chuck. All that is left is to get the collets and cut the taper.

Here are the pics

002-1.jpg


001-1.jpg


Kel
 
I should note that these threads were a near miss.

I had made about 6 or 7 passes and I decided to check the fit on the nut. I was almost there so I decided to take another pas or two and the current setting to shave off the little bit needed to get the nut to fit, as the tool reached the end of the threads I had a momentary lapse of focus and I released the half nut, I knew I just messed up, I thought for sure I still needed to make another pass, but as I tried to fit the nut, it went on incredibly smooth, and there is no wobble at all with the nut, it rides smooth with no backlash. I dodged a bullet there.


Lets say I did not complete the threads and accidently disengaged the half nut. Is there anything I could have done to get the threads lined up with the spindle and leadscrew again?

Kel
 
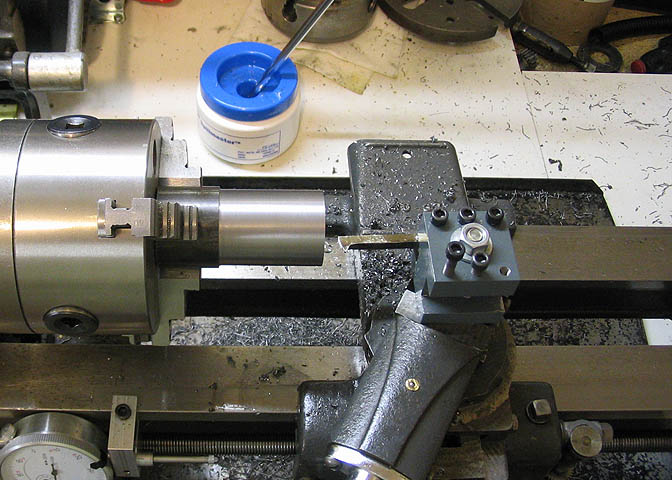
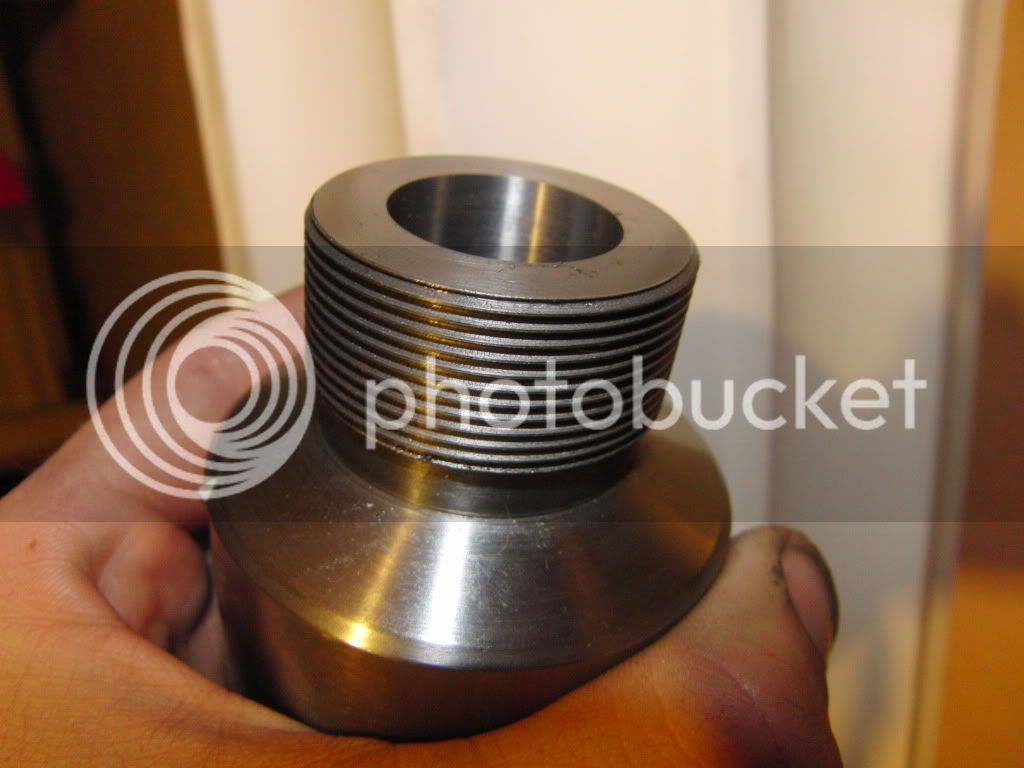
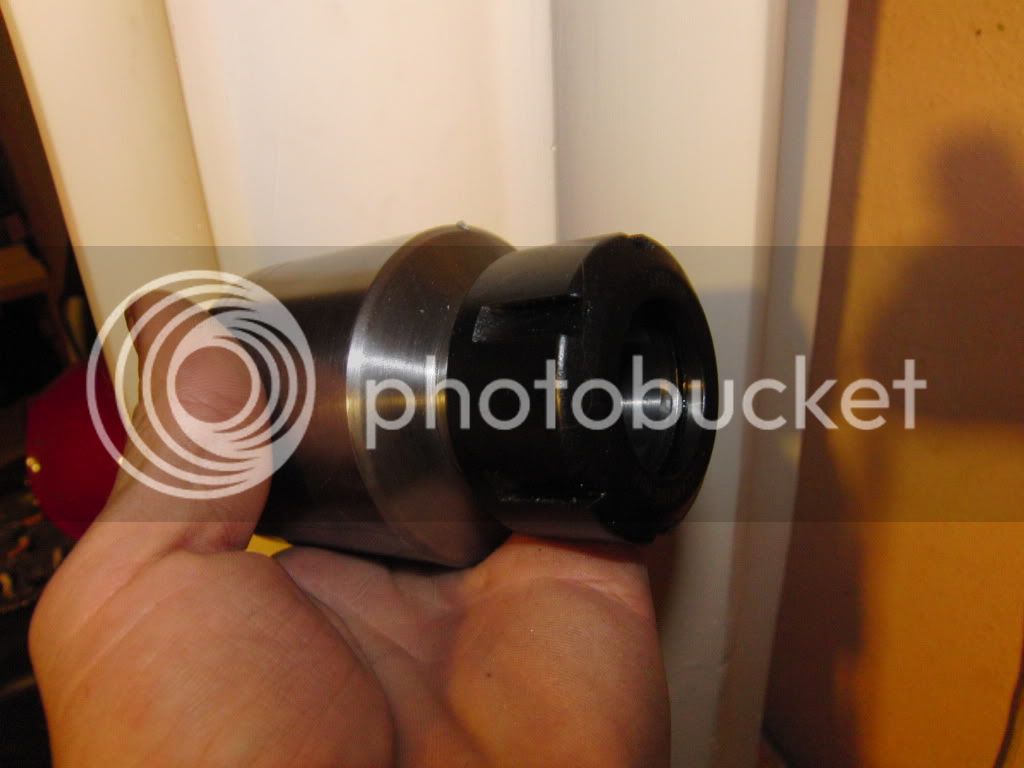
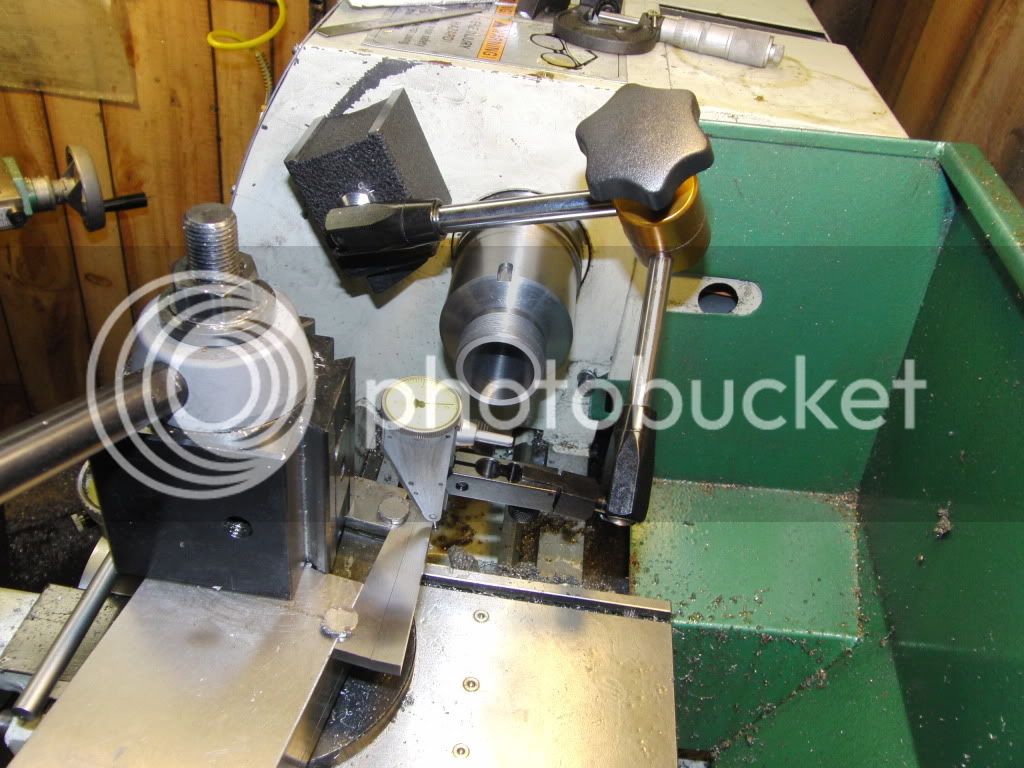
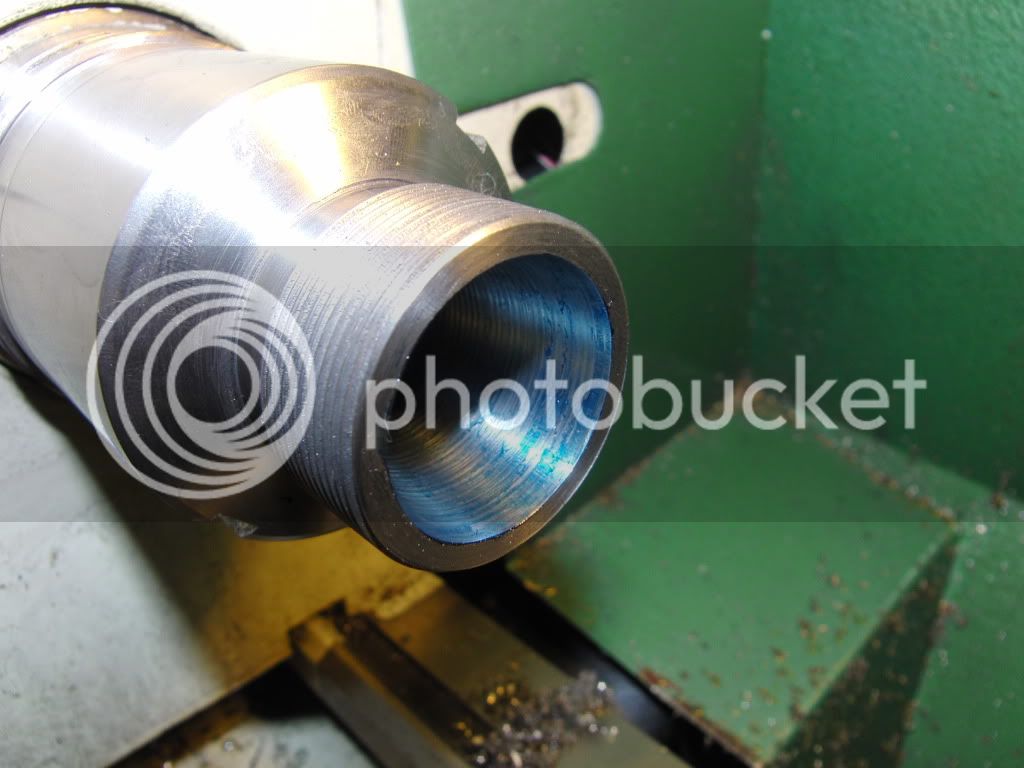
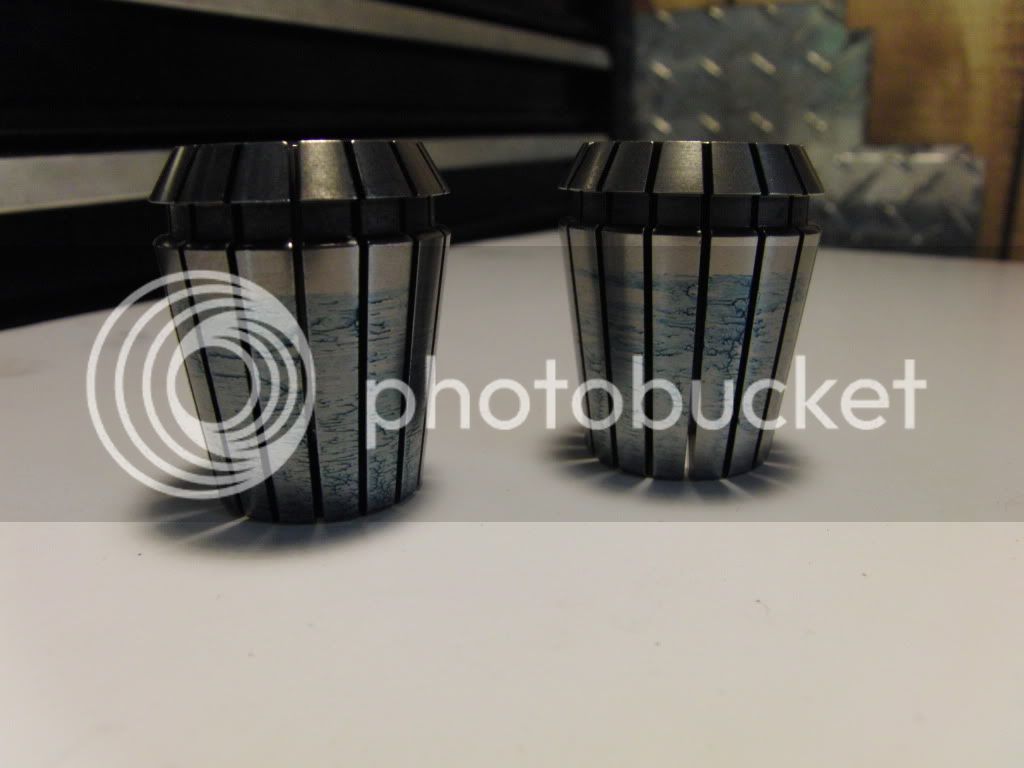
Kel, well done Thm:; you'll find the collet chuck a valuable addition to your lathe; I know I did when I made mine.

Lets say I did not complete the threads and accidently disengaged the half nut. Is there anything I could have done to get the threads lined up with the spindle and leadscrew again?
In my limited experience, Yes, but it takes a bit of fiddling, and also depends on how you are set up for cutting the threads. The closer you are to final size, the harder it is as well, as there's less room for error.

The steps I follow to pick up are basically:
1. Crank out the cross slide so that the tool tip would clear the partly done threads.
2. Turn the carriage back past the start of the thread on the workpiece by quite a bit - 1/2" is good.
3. Engage the half nut again, and manually turn the chuck (or at slow speed start the lathe) until the tool position is part-way along the thread-in-making; As you started this beyond the start of the thread, it will remove backlash and set the gear train back to much the same conditions it encountered while cutting your thread thus far. From here on, the half nut must stay engaged.
4. If you can lock your carriage to the lathe bed, this is the time to do it, otherwise you have to be very careful not to disturb the carriage position in the next steps
5. Now the tricky bit... you have to get the toolbit back into the partially threaded groove - just lightly touching the workpiece. Depending on your way of working, this can be done in a couple of ways - by using the compound slide to adjust it, or by loosening the toolbit and just setting it in and tightening it again. The most important thing is to get the toolbit's tip back to full depth in the groove at the correct angle, and preferably to have some form of new reference on your cross and/or top slides for continuing. If you can't lock your lathes carriage for these steps, you have to be careful all the time not to disturb the carriage position!
6. With the toolbit set again, note your cross slide reading, back out the cross slide for the tool tip to clear the threads, and reverse the lathe so that the tooltip once again clears the workpiece . If you locked the carriage for the previous steps, remember to unlock it before reversing!
7. Start threading again, but for at least the first pass, dial in the cross slide to a thou less than the noted reading from step 6 - and do a couple of very fine infeed passes to judge how accurately you managed to pick up the thread. Seems a silly thing to do, but if there was something out of kilter while you were re-setting things, it should become obvious without ruining your work, and you can try and rectify it.

There are most definitely other methods of picking up a part-turned thread as well, so this was just my 2 cents on what works for me :)

Kind regards, Arnold
 
Resetting the tool position is easy. Position the tool outside the thread diameter, but in the threaded portion of your part. Engage the half nut and turn the spindle to take up backlash. Now just use the crosslide and compound slide to position the tool tip in the thread. It may take a few tries and repositioning, but it doesn't matter, you're no worse off than you were before. Before you commit to making a cutting pass do a skim pass to see how things look. I've done this with parts that needed threads cleaned up. It works great if you don't have a die to match the part.
 
Thanks Arnold and Dave for your writeups on reseting the tool position. That will prove invaluable sometime in the future.

Bogs, That is a nice way to put it. Perhaps someone is looking out for me, I will explain.

I got the collets in the mail the other day. So it was time to make the taper.

I decided to setup the top slide a little differently that Bogs and Dean. I believe they set it to the angle using the degree marker to get it to the initial point, then, using engineers blue, honed in on the final position with light taps to the top slide.

Since my degree markers are in 2.5 degree increments using that would not even be close.

So I decided to use my angle blocks to get the angle perfect.

Here is the setup, I am using neo magnets to hold a 5 degree and a 3 degree angle blocks together and then more magnets to hold it to the top slide.

CIMG1754.jpg


CIMG1756.jpg


Here is the resulting taper.

CIMG1750.jpg


And after checking I had a perfect fit with the collet the FIRST time woohoo1

CIMG1749.jpg


Thank you everyone for talking me into making a collet chuck. It was an incredible learning experience, and fun to make. (Not to mention another awesome tool for my collection"

Kel


Excellant Kel! :bow: :bow:

A little off topic but your lathe appears to be a grizzily 10 x 22. If it is did you make "T" slots in the cross slide or did it come with them? Mine does not have them and I sure would like to have them.

Ron
 
Ron, my your right, it is a Grizz 10x22. Also, mine did come with the T-Slots (I'm pretty Sure, I bought it used)

Kel
 
I'll bet you're going to like having this tool, Kel. I use mine more than I thought I would, and it's darn handy.
 

Latest posts

Back
Top