Valve seat cutting

Home Model Engine Machinist Forum

Help Support Home Model Engine Machinist Forum:

This site may earn a commission from merchant affiliate links, including eBay, Amazon, and others.

Parksy

Well-Known Member
Project of the Month Winner
Joined
Dec 9, 2015
Messages
327
Reaction score
349
Hi all

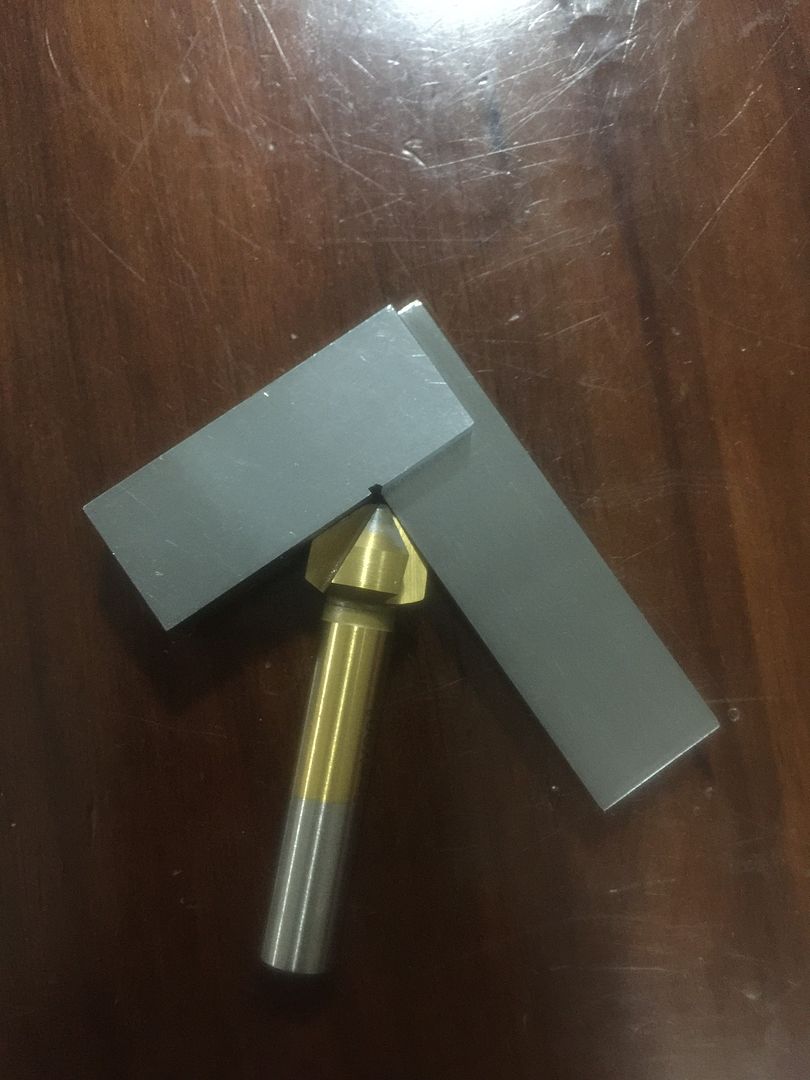
I have some 90 degree chamfer mills and was wondering how well these would work at cutting valve seats into lg2 bronze?

Will they cut concentrically? Will they actually cut or would I need to grind a bigger relief behind the cutting edge?


Thanks all

Andy
 
It will cut a valve seat, but usually, you really need the valve guide in there to keep the two concentric by having a guiding spigot on the end of the cutter which locates into the guide.

If you can fit your guide first, then centralise it under the mill and make sure everything is locked up at that centralised position, you should get away (or very close) to bring the cutter down to cut the valve face. Final grinding of the faces should bring things into alignment.

John
 
Thanks john. I plan to make valve cages on the lathe and cut the seats using the tail stock. Will this suffice without having the valve guide to locate the cutter?
 
If you are going to use the lathe, why not use a cutter in the tool post to bore the seat with the compound set over at the correct angle? No chatter, proper angle, dead concentric, no worries....

Pete
 
I am trying to think of ways to change increase productivity. My mini lathe takes a little longer to change compound angles. But if need be I can continue to do it on the lathe.
 
Parksy,
The problem that fellows have trying to seal valves is that the valve guide and seat are not concentric. In full sized practice a guide bar (with a taper) is inserted into the valve guide hole. A cutter or stone is slid over the bar and turned or spun to cut the seat. With the diminutive size of our engines this type of machining isn't really possible so the next best thing is to make a cutter with a pilot or guide bar as part of the tool.
Even if valve cages are used it's best not to cut the seats until they are put in place.
I don't know if someone has used this design before me but I made my first tool many years ago and have had great success with it.
The idea is you have a cutter with a two step pilot, one that's enlarged to add rigidity to the tool and the other that fits snugly into the guide. I make mine from drill rod (silver steel). Depending on the size of the cutter the pilot can be made separately and pressed into the cutter. If it's made as one piece it's best to experiment with the size of the pilot. I have found that even with a pilot of .078 (inches) you get a little bit of expansion after hardening so it's easier to adjust this dimension prior to hardening.
Attached is a drawing that I have posted before.
gbritnell

View attachment VALVE SEAT CUTTER INSTRUCTIONS.pdf
 
Thank you all. You've definitely given me something to think about.
 
I've made 6 valves this week...all different sizes. I have been cutting the seats using brand new 90-degree chamfering bits...and have had good luck sealing them. My problem was cutting the angle on the valve using the lathe. My compound was not exactly at 45-degrees...so I used an indicator and dialed it in perfectly...my valves and seats were spot on after that...minimal lapping to make it even better.

However...the tool I just saw above looks amazing! Now I have to make one!
 
Hi all

I wanted to post an update on this as it may (or not) benefit someone.
While making the valve cages for the v4 engine, I did try using a 90 degree chamfer to cut the seat. I did this while the valve cage was still chucked on the lathe and not yet parted off. Once the valves were completed, i used a fine lapping paste and spun the valve for about 2 minutes by hand, then cleaned thoroughly.
To date, this has been the most effective and quickest method and has worked for me.
 
When I used to do full sized valve jobs, always cut the seats at 45deg and faced the valves at 46deg then lapped in, seat cut at 1/16"-3/32". I have cut the seats on my engine at 45, and done the valves at 46, yet to lap in, will do before final assy, cut the seats while making in the lathe.

Cheers
 
I had good luck using the seat cutter but learned the hard way that it is important to have the pilot in the counterbore as well as the stem. I thought that just the stem would be enough but you also need the counterbore pilot.
 
I have found that one of the big secrets to this valve sealing business it to have perfect concentricity between the counterbore which the seat will be cut into and the reamed thru hole for the valve stem.
 
I use Ghosty method

With the angles a bit off the grinding will make a matching seat surface that grows wider with the length of twisting an rubbing.

Since the secret to a good seal is ti have a thin seat, by limiting the grinding efforts and checking the seated area for a uniform thin ring the process can be stopped at the right spot. Of course concentricity of seat and valve is still important.

http://www.homemodelenginemachinist.com/member.php?u=27049
 
Back
Top