Anyone that knows me very well, knows I change my mind a lot and rarely play with in the rules. While I was looking at them 2 boxes of castings and was thinking how similar the two engines are, and I thought self....you should make a twin!
So after a long thought process "about 10 mins" I got out the cut off wheel and started on the PMR 46ci twin.
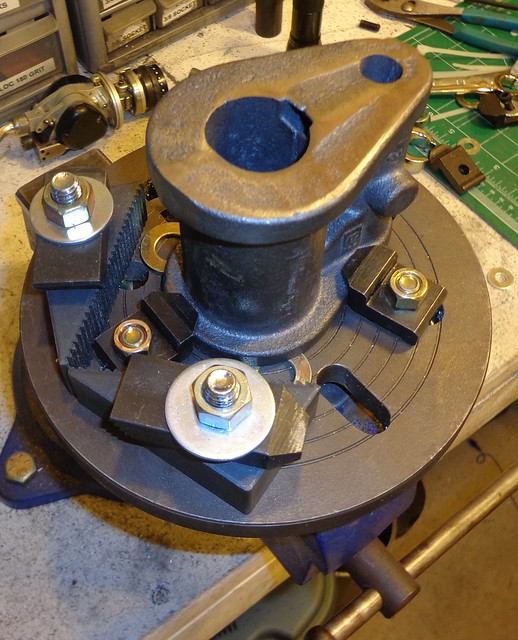
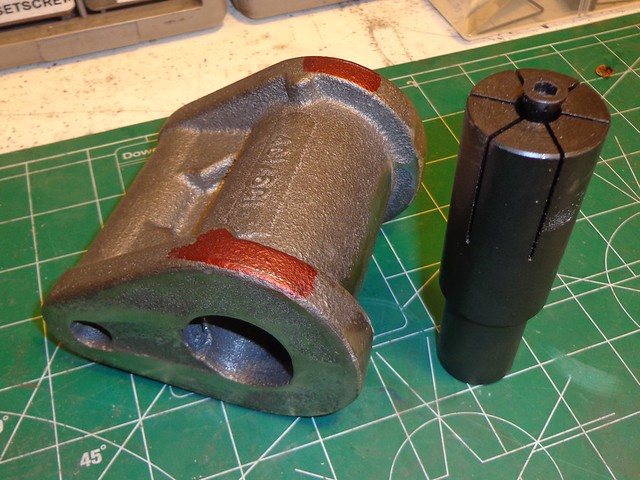
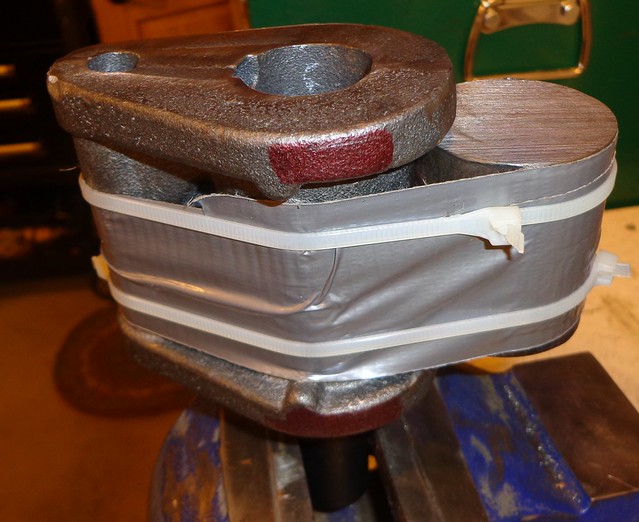
I started with the cross head that I cut off the mounting legs. I'm going to mill off the casting where the legs where attached. Getting both cross heads to look the same, I'm going to take off part of the ring on the bottom on both sides. I didn't really want to get rid of part of the ring, but blending it in just wouldn't of looked right the way the legs where cast into the cross head around the ring. So this will have to be repeated 4 times on the 2 cross heads, to make them look the same.
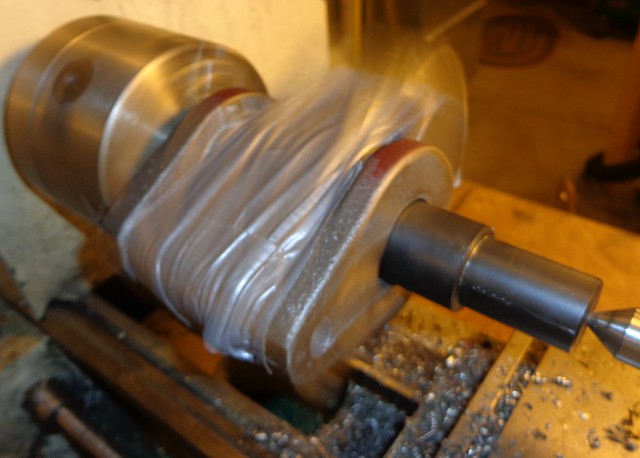
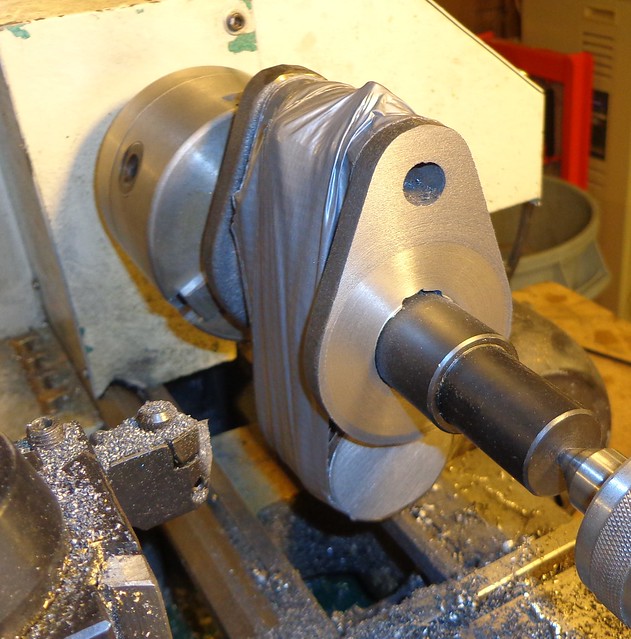
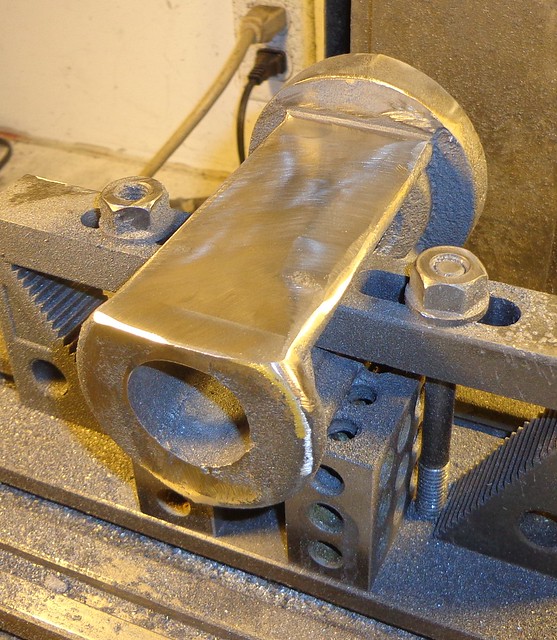
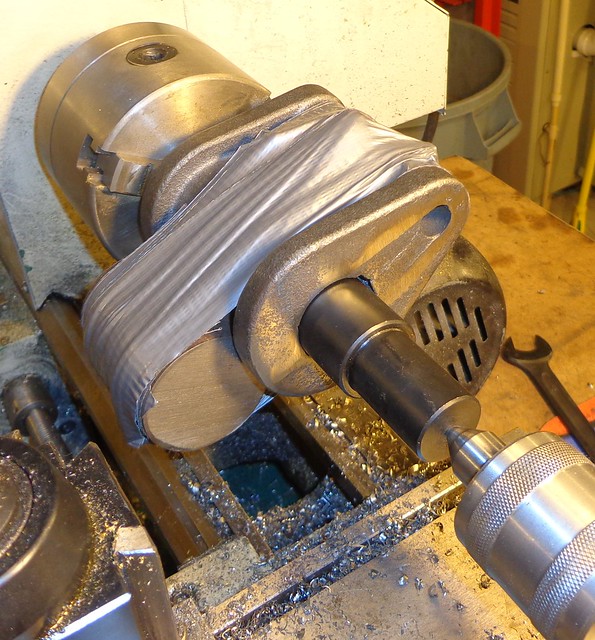
While the cross head is on the mill, I started on the cylinders. I marked some lines for how much of the top and bottom of the cylinder I wanted to remove. I removed some of the casting marks on the inside of the bore for my expanding mandrel.
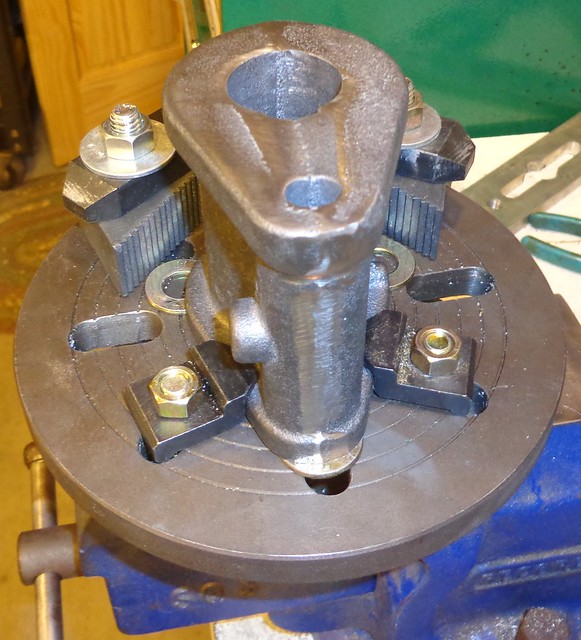
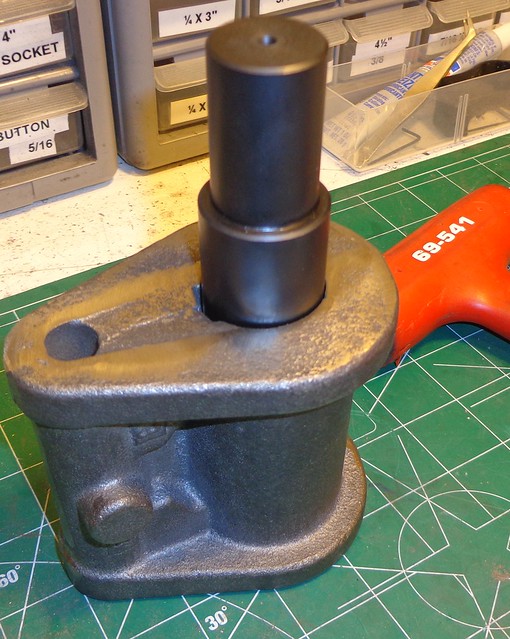
Next I took the cylinder out of the lathe and laid the faced side down on my face plate. I set it up on some flat washers to give me some clearance for the boring bar when I punch out the bore. I added some bed clamps as counter balance also.
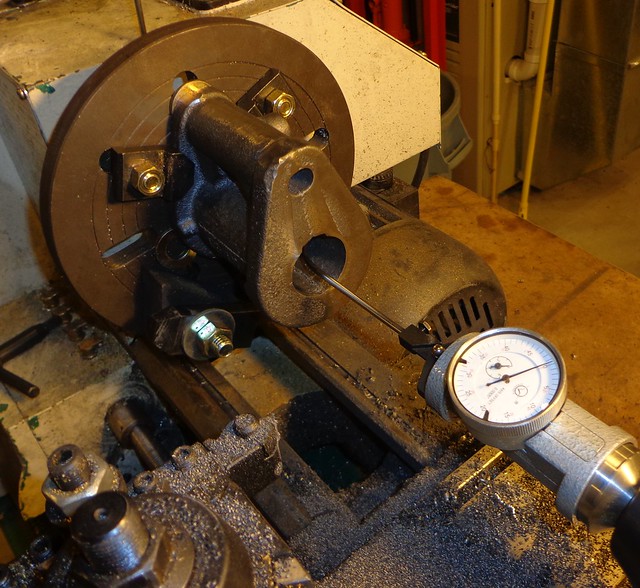
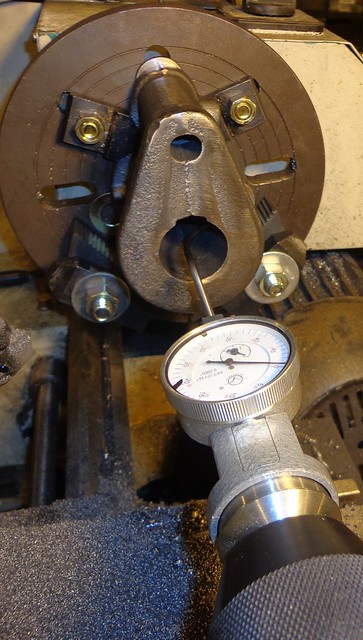
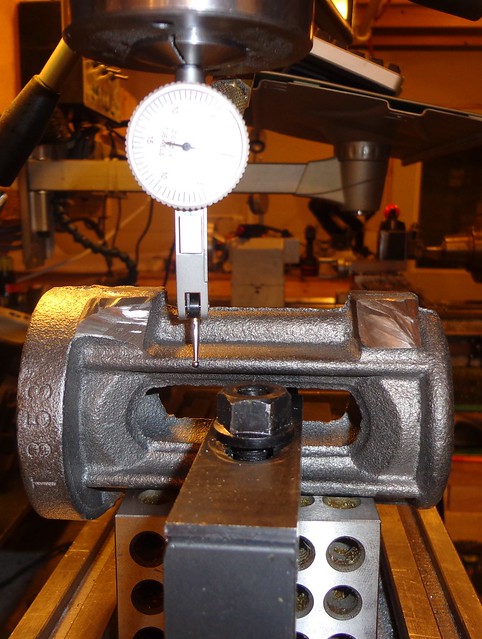
Then back in the lathe with the centering indicator.
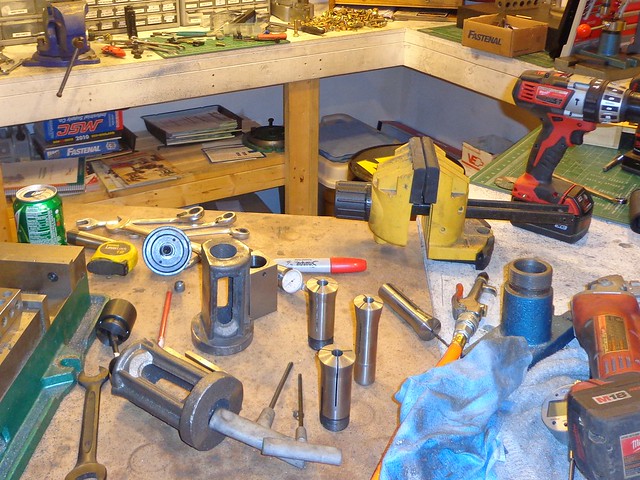
That's it for today, after 5 hours the shop is a disaster again! Time to find the bottom of the bench again and start boring the #1 cylinder tomorrow and work on the other side of the first cross head.
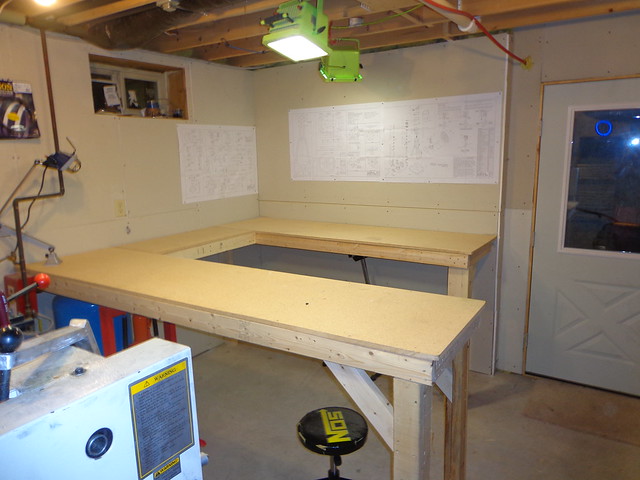
No machining today, started to clean up the shop. I had it looking real good and was going to start back on the engine and then came the idea to add some more benches. So I did.....18 more feet! It looked a little dark, so I wired up a few more lights also. So now the rest of the shop is a mess again with wood working and electrical stuff now. Its in worst shape now than before..... :


")