Piston ring gap closing

Home Model Engine Machinist Forum

Help Support Home Model Engine Machinist Forum:

This site may earn a commission from merchant affiliate links, including eBay, Amazon, and others.

LongRat

RC scratch builder
Joined
Dec 26, 2009
Messages
99
Reaction score
11
Hi,
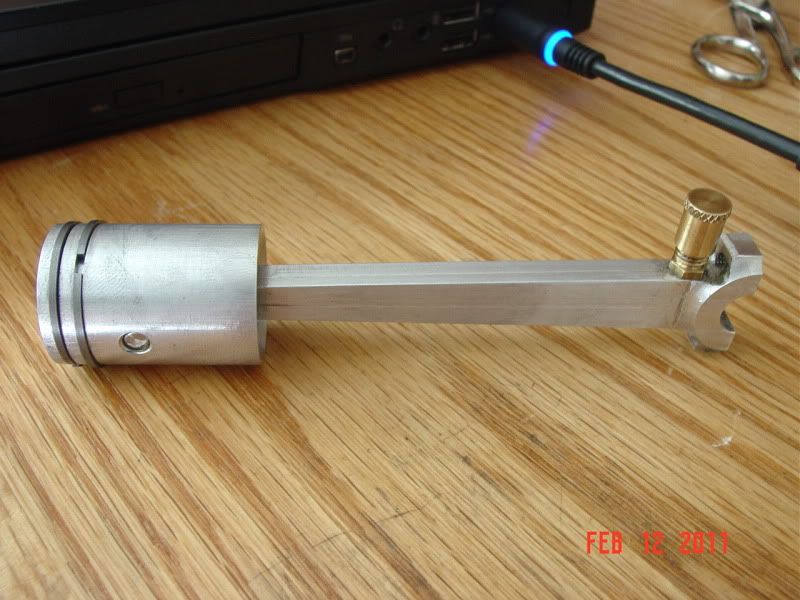
working on my first engine (a 7.7cc single cylinder 4-stroke).
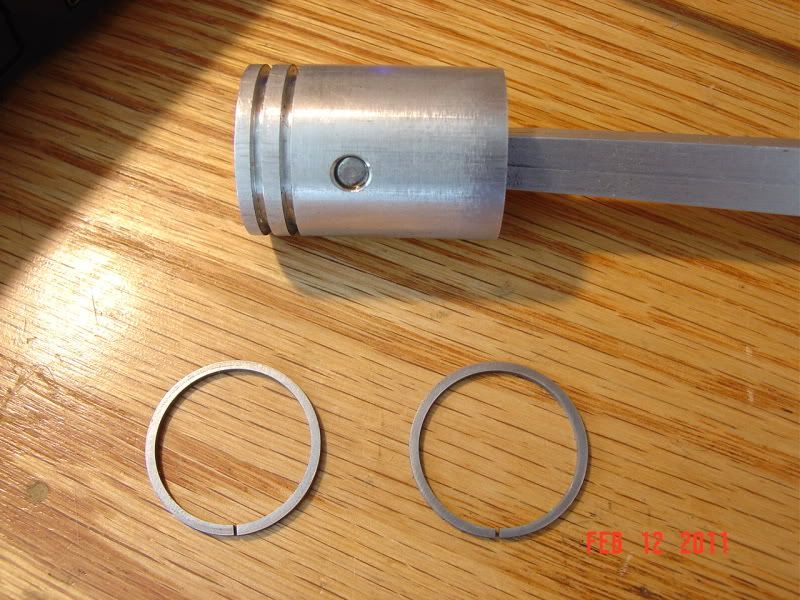
One of the parts that always sounded to me like a tricky task was the piston rings. So I am making one early in the build. I am using the neat no-heat method outlined by b.lindsey here: http://www.homemodelenginemachinist.com/index.php?topic=6014.msg103346#msg103346. Cast iron is the material.

When it came to compressing the ring blank in the fixture and turning the OD to size (gap compressed in fixture) everything was great until I opened up the fixture and released the ring. The gap which had been 3.4mm has shrunk to about 1mm. This isn't something I have heard about, maybe there was some residual stress in the ring and when I machined the OD to size this was relieved? Seems a little unlikely, I only needed to take a cut of around 0.25mm from the OD anyway, then polished the surface with 1200 grit and oil to dead-on size and released the ring to find the gap problem.
I haven't yet machined the inside of the ring as I would really like to understand what has caused this, what (if any) real effect it will have on the engine and whether it is a problem someone else may have seen and overcome. Any ideas?
Thanks/
 
Longrat,
I just made a set of rings (my first) by this method over the past weekend. I found that the gaps were considerably smaller after working the outside. once I had them completed and worked them onto the piston, the gaps had reopened to what they were before I started. try stressing them a bit to see what happens. I was surprised at how much they could be opened without breaking.

Randel
 
Longrat, unfortunately I don't recall if I had the same effect when making my rings or not. I am certainly not an experienced ring maker and the mether was passed on to me by another model builder. I do know there is still some ductility in the cast iron or they wouldn't stretch over the piston without breaking. I would finish machining the ID and see what happens to the gap after that. Keep in mind it may open up even more when fitting the rings over the piston. The main thing is that once fitted into the ring grooves they should extend slightly beyond the OD of the piston. When putting them into the cylinder your will have to "squeeze" them closed and at that point the gap will be minimal. As long as you have something like 1 mm or .025-.030" of gap in the relaxed state, there should be enough residual spring in them to press outward and seal with the cylinder. Is that confusing enough?? :big:

Bill
 
Thanks Randel and Bill.
I'll head back out there and tickle the inside... I was concerned because I thought there may not be quite enough spring remaining to hold the ring in the fixture for the internal machining. Soon see!
I found a 1-page summary that seems to include much of what's needed to design and make rings, there is some talk there about outward pressures etc and I was hoping that my shrunken gap wouldn't cause the cylinder wall pressure to drop below a level at which effective sealing could occur. Here's the link: http://www.btinternet.com/~sylvestris/rings/rings.htm.
Hopefully I am worrying about nothing, as this is the first engine I have made.
 
Ok, I have machined the inside of the ring.
Due to the lack of outward pressure, it was spinning in the fixture. I ended up gluing it in with some ultra thin CA glue, worked perfectly. But the gap is still small! This is slightly annoying as otherwise I am extremely pleased with the ring itself. Got every dimension to better than 10µm (5/10,000ths inch), although it did take a whole day! I can't tell how much friction there will be in the bore though, I haven't made the piston yet. I think I have enough momentum to start a build thread soon.

395177165.jpg


My ring and the 2 machining fixtures. I put a 10.000mm spigot on the back of each fixture so I can hold them in a collet in the lathe and re-use them many times.
 
The fixtures look GREAT LongRat!! So does the ring. It may open up a little when you slip it over the piston too as I think I noted earlier. Also keep in mind that the compression will get in behind the rings and tend to expand them against the cylinder wall too. Just curiouis...do you know what grade of cast iron you used for them, that could be part of the difference also.

Bill
 
Thanks for the encouragement.
The iron is apparently centrifugally cast, pretty sure it is meehanite but not definite on that.
 
Here are my rings made by this method, note the gap prior to install
oddsandends078.jpg


and after (twice):
oddsandends080.jpg


hope that helps
 
Thanks for those informative pictures, looks much the same as mine prior to installation. Nice parts by the way!
 

Latest posts

Back
Top