


David Morrow
Well-Known Member
- Joined
- Sep 8, 2008
- Messages
- 227
- Reaction score
- 60
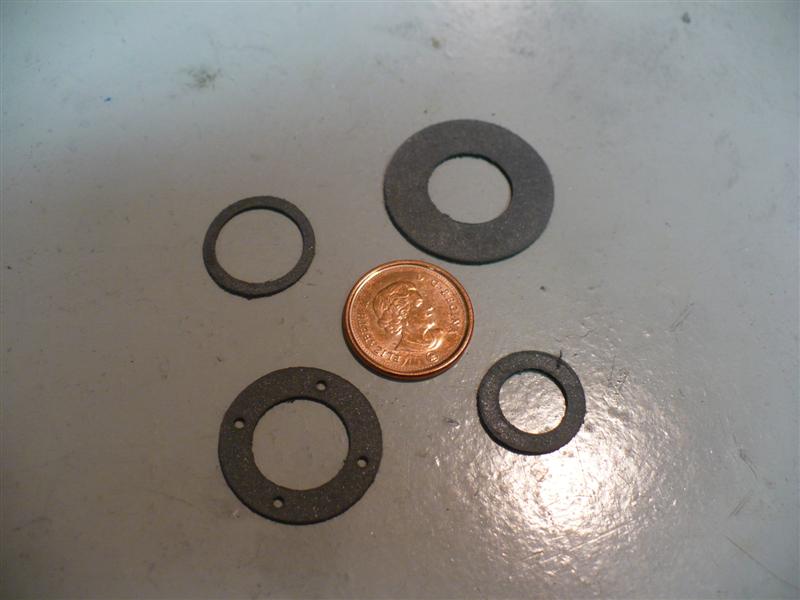
I thought I'd put this topic here instead of the CNC section as someone without a CNC mill may be able to track down someone who did to help make a problem gasket. Anyway... I haven't made a lot of gaskets but the ones that I did make were just usable, and not works of art by any means. I'm in the final stretch of making a half sized Moriya stirling fan and am in need of four rather small, thin gaskets. I had never thought to use my Sherline CNC mill for this before other than to make a die to cut the gaskets. This time, I used the mill.
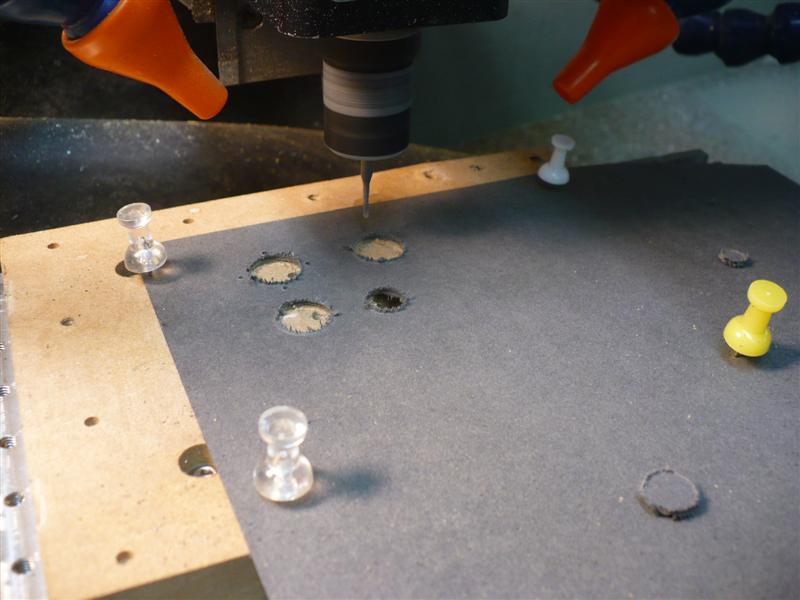
It was a very basic setup. I mounted a piece of 1/2" MDF to the mill and just used some pushpins to hold the gasket material in place. A .0625" end mill was used to drill the 4 screw holes in one gasket and also used to cut all gaskets. The material was .045" thick. I cut the full depth in one pass at 2 IPM. I held the material down flat by hand ( taking great care to stay clear of the spinning end mill.)
They were a little fuzzy around the edges when they came off the mill but a couple of minutes of hand sanding on a piece of wet/dry sandpaper laid on the bench cleaned them right up.