First SORRY I forgot my camera at work, but I will get it tomorrow,I promise.
So for anyone who has never done this, here is a basic list of what I just finished (took about 2 mos, but worth every second two fold, 1 being experience gained and 2, a better lathe!")
1st weekend - lapped the CS (cross-slide), with 600grit lapping compound, approx 2500 strokes (or until it didn't want to move)
2nd weekend - lapped the CS with 800grit, approx 1200 strokes this time (phew)
3rd weekend - lapped the CS with 1000grit, approx 600 strokes and I QUIT! ;D
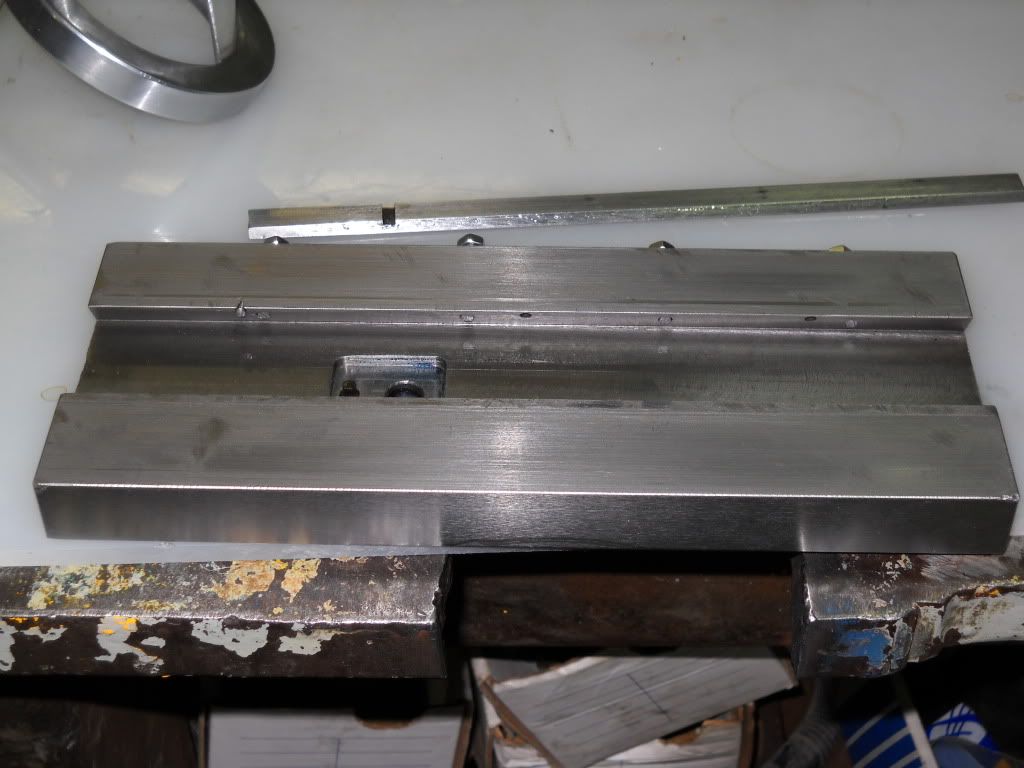
4th weekend - turned and milled a 4"Dia chunk of 4140 pump shaft (hey it was free) to fabricate the new CS screw support bracket (with 3 screws not the stock 2), bored a thrust bearing pocket, drilled the mounting holes and reamed the center to .510. Drilled and tapped the apron for the 3rd mounting screw.
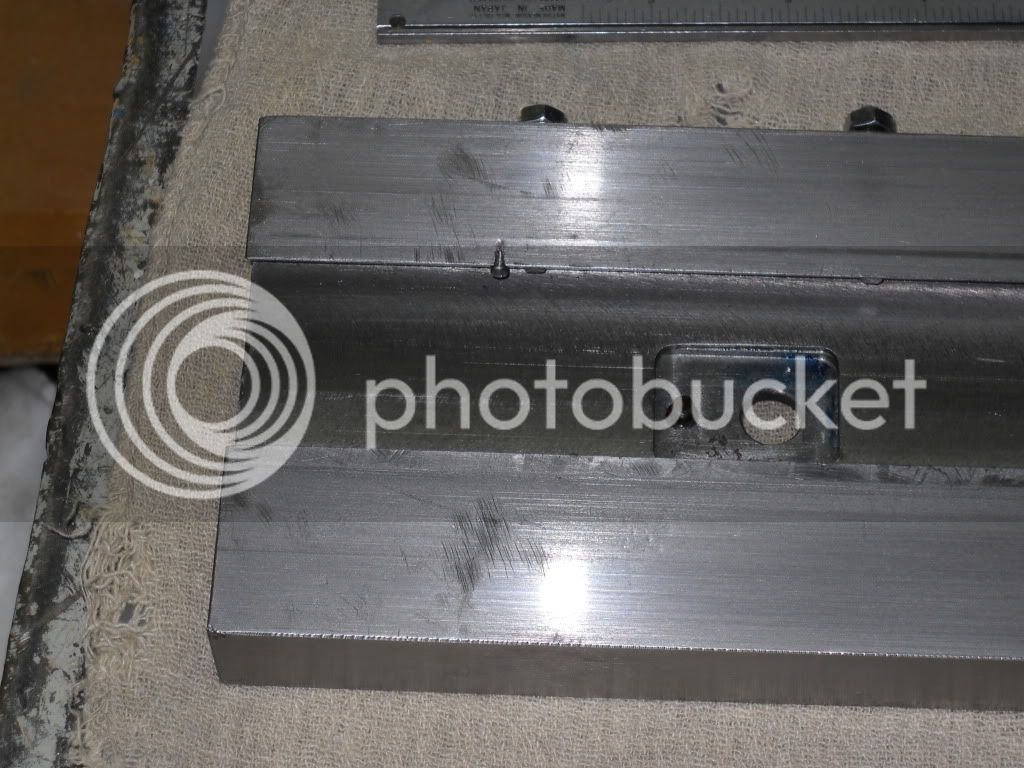
5th weekend - The guy who drilled\tapped the stock 3 x 3mm Gib screws had too much Saki the night before :big: the holes are both off center and run on a downhill slant from front to back. It's so bad the furthest screw hole actually comes out through the bottom of the CS! So I marked, drilled and tapped (on center) 4 x 5.5mm Gib screws. I didn't bother lapping the Gib strip, just cleaned it up as I have some brass stock coming in next week which is earmarked to replace all my Gib strips. (Mill too) I also milled a larger pocket for the new CS nut.
6th weekend - Removed the lathe bed and brought it to the mill to extend the screw pocket, I also used this opportunity to inspect the apron gears, clean and lube as well as check the half nut.
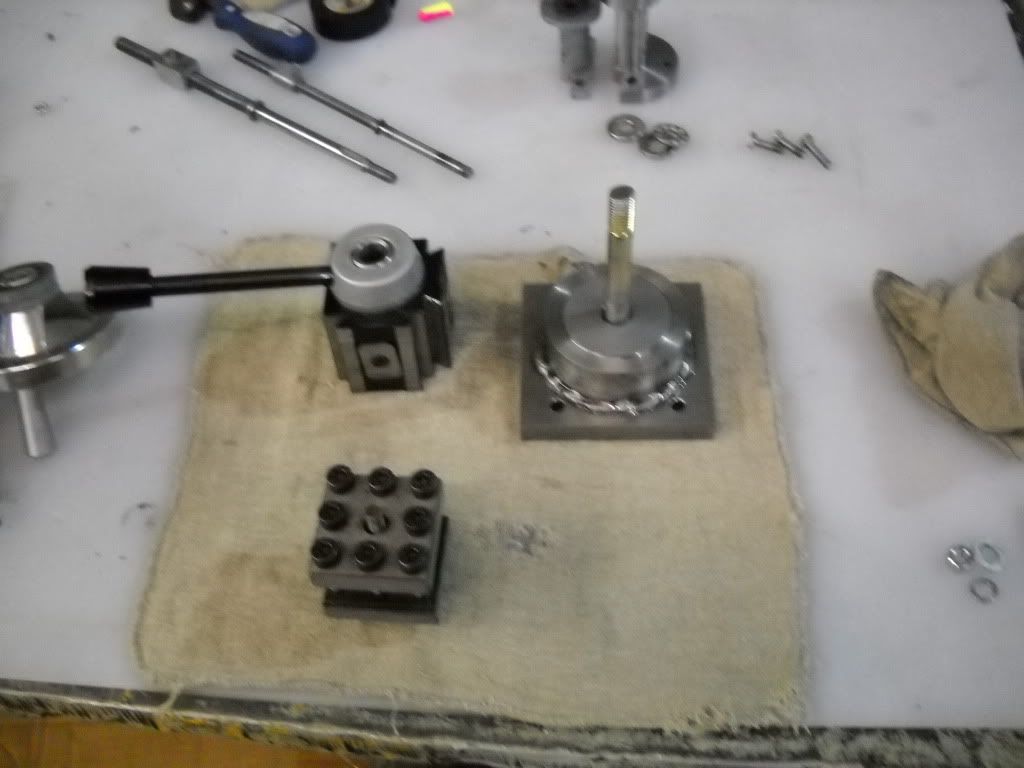
7th weekend - darn, my 3/4" Dia O1 rod is on back order so I grabbed a chunk of 3.75" 4140 and a 4" x 4" x 1/2" chunk of MS and made a big n' heavy holder for my new QCTP.
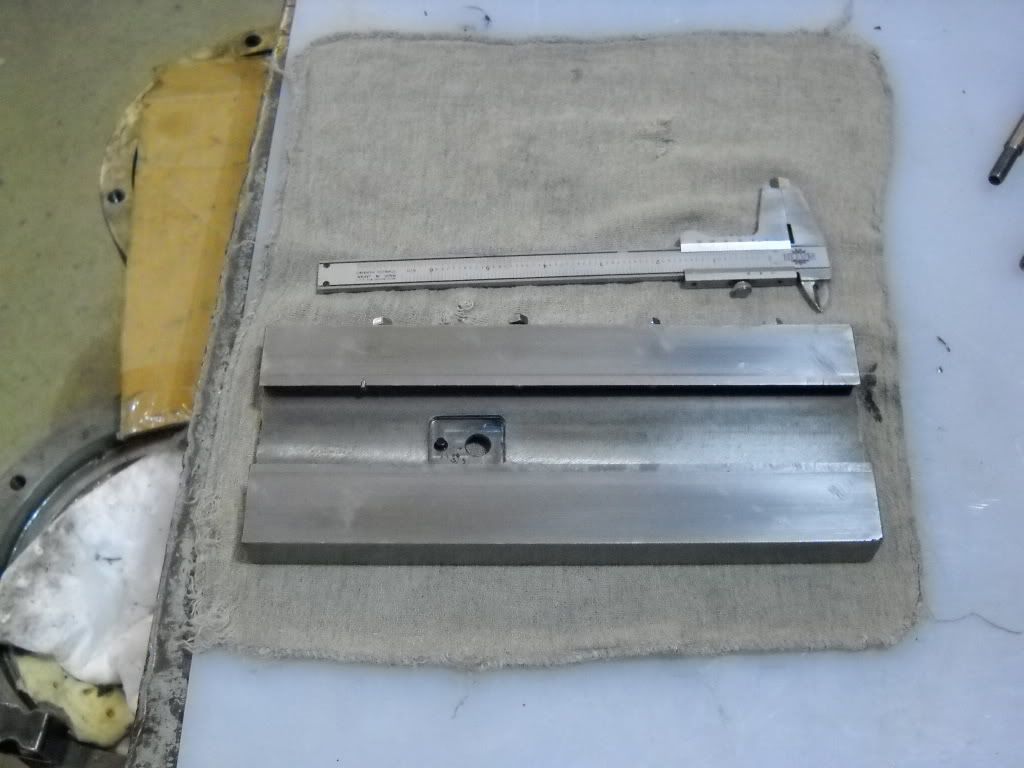
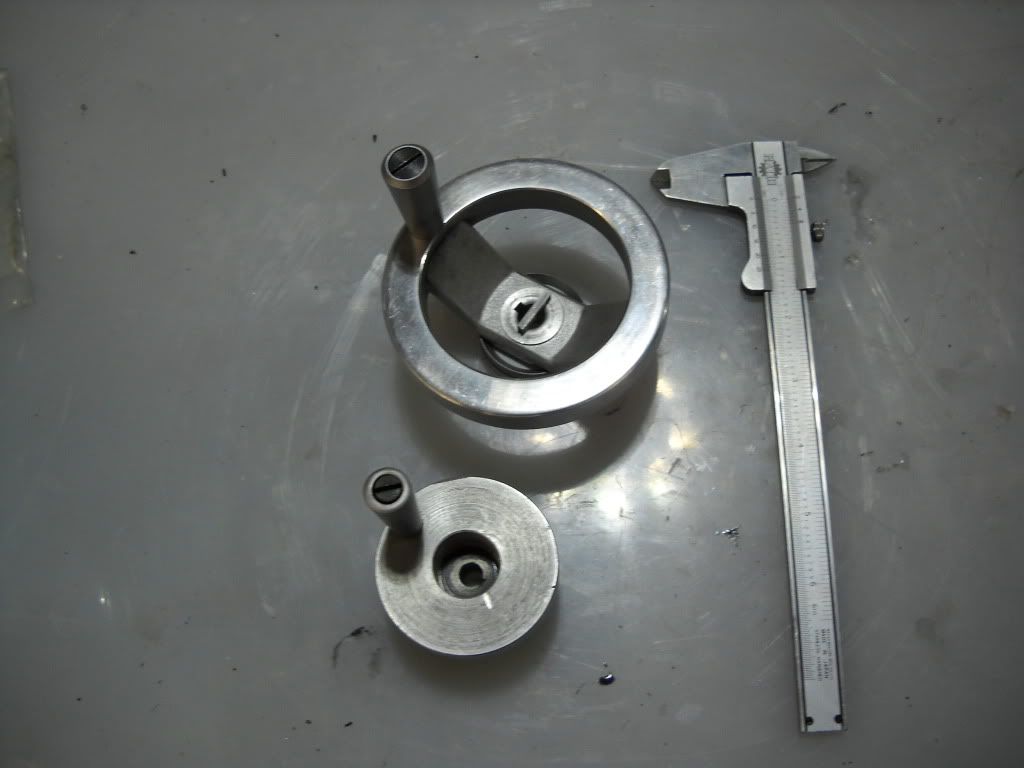
8th weekend - Started with the handle end of the CS screw and machined up to the shoulder that bears against the support bracket, flipped it around and machined the screw side to .390" and made the 7\16" x 20 TPI LH thread, had to do a bit of cleaning up.
Last weekend - machined, drilled, reamed and tapped the CS nut, made a key for the handle and milled the key-slot on the CS shaft.
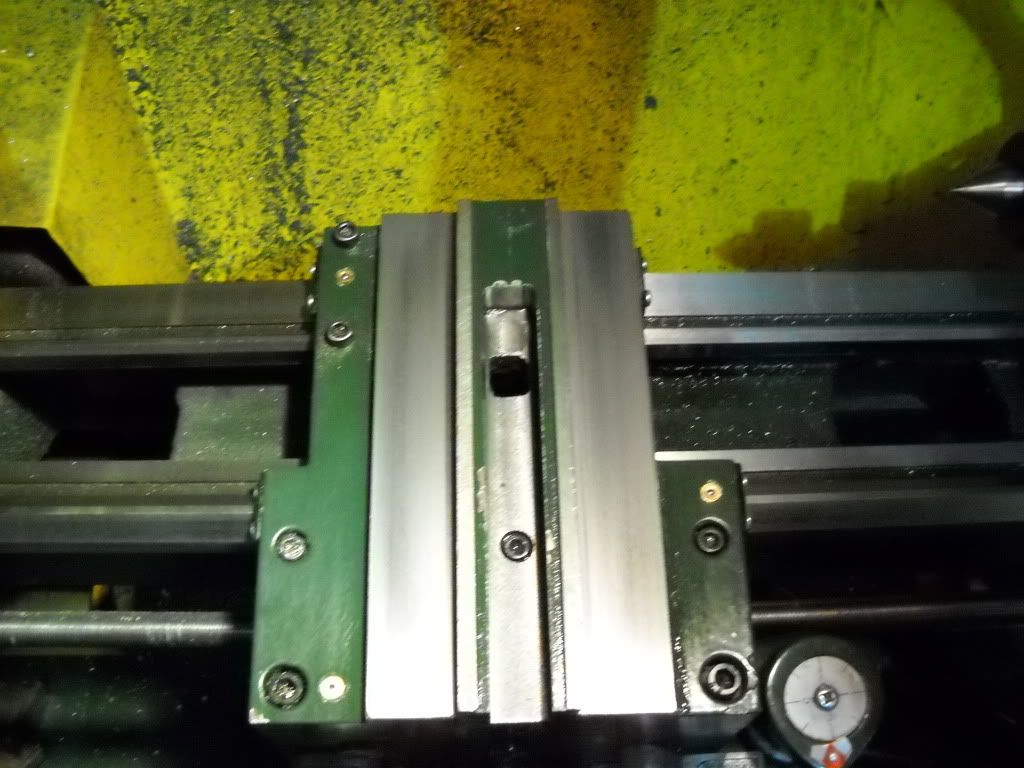
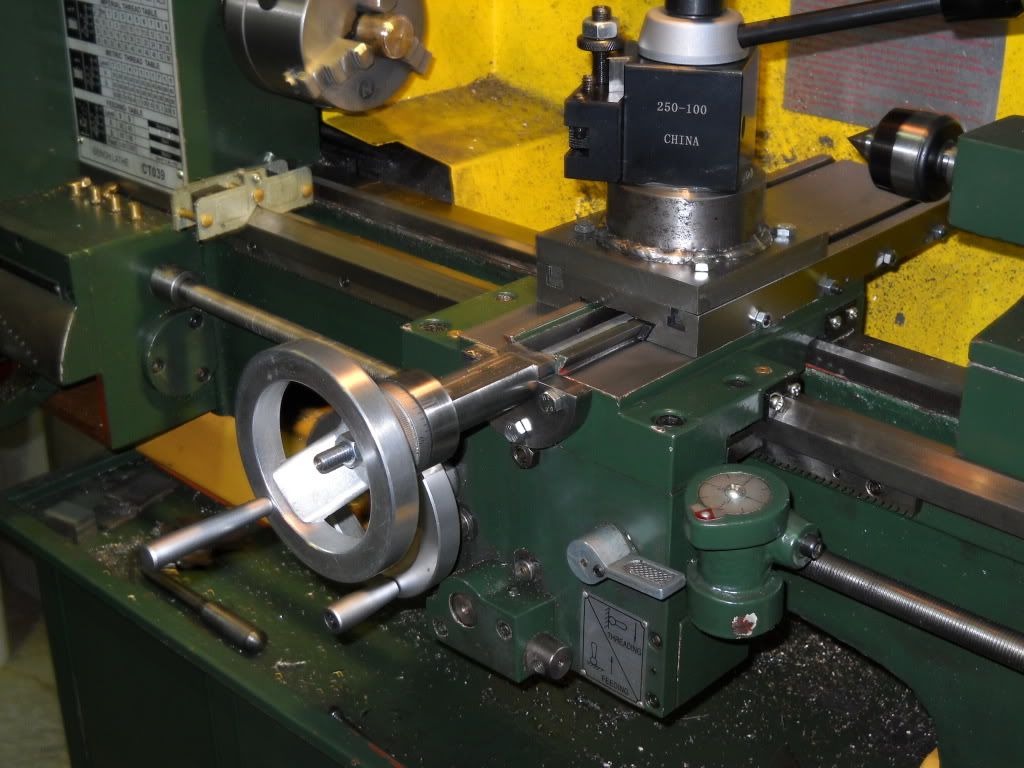
This morning - final fit and test, very smooth and solid. Very happy!
And that my newbie friends is just the cross-slide BUT WAIT, There's still more!
Cheers,
Chazz
So for anyone who has never done this, here is a basic list of what I just finished (took about 2 mos, but worth every second two fold, 1 being experience gained and 2, a better lathe!
1st weekend - lapped the CS (cross-slide), with 600grit lapping compound, approx 2500 strokes (or until it didn't want to move)
2nd weekend - lapped the CS with 800grit, approx 1200 strokes this time (phew)
3rd weekend - lapped the CS with 1000grit, approx 600 strokes and I QUIT! ;D
4th weekend - turned and milled a 4"Dia chunk of 4140 pump shaft (hey it was free) to fabricate the new CS screw support bracket (with 3 screws not the stock 2), bored a thrust bearing pocket, drilled the mounting holes and reamed the center to .510. Drilled and tapped the apron for the 3rd mounting screw.
5th weekend - The guy who drilled\tapped the stock 3 x 3mm Gib screws had too much Saki the night before :big: the holes are both off center and run on a downhill slant from front to back. It's so bad the furthest screw hole actually comes out through the bottom of the CS! So I marked, drilled and tapped (on center) 4 x 5.5mm Gib screws. I didn't bother lapping the Gib strip, just cleaned it up as I have some brass stock coming in next week which is earmarked to replace all my Gib strips. (Mill too) I also milled a larger pocket for the new CS nut.
6th weekend - Removed the lathe bed and brought it to the mill to extend the screw pocket, I also used this opportunity to inspect the apron gears, clean and lube as well as check the half nut.
7th weekend - darn, my 3/4" Dia O1 rod is on back order
so I grabbed a chunk of 3.75" 4140 and a 4" x 4" x 1/2" chunk of MS and made a big n' heavy holder for my new QCTP.8th weekend - Started with the handle end of the CS screw and machined up to the shoulder that bears against the support bracket, flipped it around and machined the screw side to .390" and made the 7\16" x 20 TPI LH thread, had to do a bit of cleaning up.
Last weekend - machined, drilled, reamed and tapped the CS nut, made a key for the handle and milled the key-slot on the CS shaft.
This morning - final fit and test, very smooth and solid. Very happy!
And that my newbie friends is just the cross-slide
BUT WAIT, There's still more!Cheers,
Chazz