Bernd
Well-Known Member
Ok this one is for you beginners that are baffled as what to use to mark a piece of metal for layout work, like marking the intersection of a hole or marking the length of a piece that needs to be trimmed.
I'm sure a lot have heard about layout dye in a spray can or with a can and a brush. Most of these dyes are purchased from one of the metal catalogs such as Enco, MSC, McMaster-Carr, etc. What do you do if you can't get any of this sent to or you just ran out and really need to mark that part? Well steel your kids or wife's marker, such as a "magic maker" or a "Sharpie" (trademark symbol here). Color really doesn't matter but black works the best. The following three pics show a piece of aluminum marked to be trimmed to proper length in the mill. The scribed line shows up much better under light than it would without a black background.

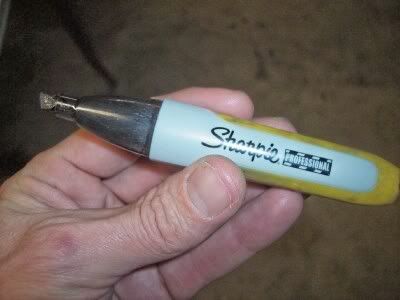
So here we have the two different markers, magic marker & sharpie and a piece of aluminum.

Here I've marked the piece with the marker.

And here is the part ready to be put in the mill to cut it to the length. A square and a sharp scriber was used to make the line.
This method can be used on numerous things that need marking out. Let your imagination wander to come up with new uses. Hope this has helped some on how to mark small pieces cheaply and easy.
Bernd
I'm sure a lot have heard about layout dye in a spray can or with a can and a brush. Most of these dyes are purchased from one of the metal catalogs such as Enco, MSC, McMaster-Carr, etc. What do you do if you can't get any of this sent to or you just ran out and really need to mark that part? Well steel your kids or wife's marker, such as a "magic maker" or a "Sharpie" (trademark symbol here). Color really doesn't matter but black works the best. The following three pics show a piece of aluminum marked to be trimmed to proper length in the mill. The scribed line shows up much better under light than it would without a black background.
So here we have the two different markers, magic marker & sharpie and a piece of aluminum.
Here I've marked the piece with the marker.
And here is the part ready to be put in the mill to cut it to the length. A square and a sharp scriber was used to make the line.
This method can be used on numerous things that need marking out. Let your imagination wander to come up with new uses. Hope this has helped some on how to mark small pieces cheaply and easy.
Bernd