


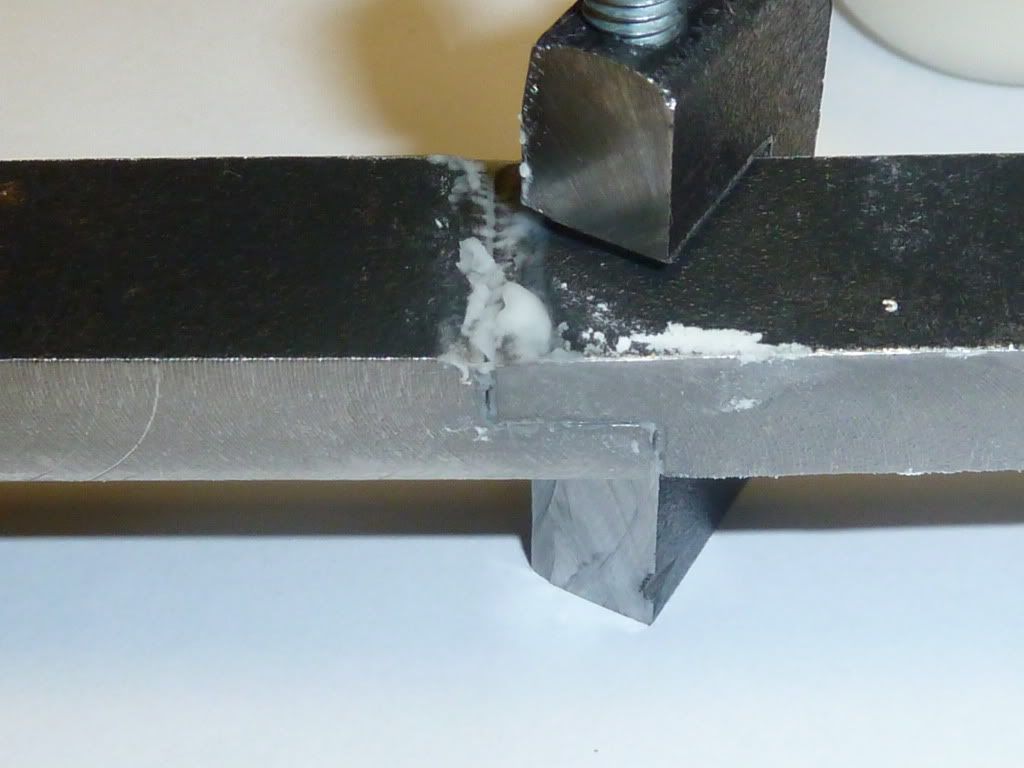
OK my first attempt was only partly successful as after I fluxed the parts I failed to check the gap at the ends of the joint. I just pushed it up hard and clamped it.
I think the flux resisted me :") - oops.
- oops.
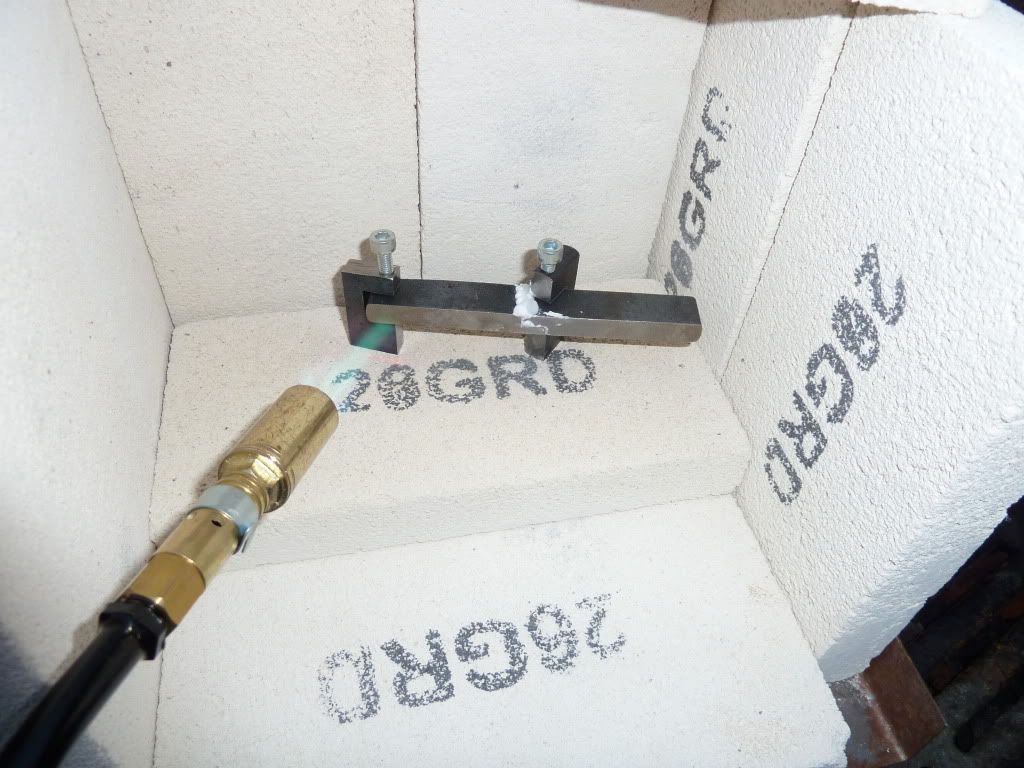
However the part I was most concerned about went well with the part heating quickly enough and the solder flowing readily. It all seemed to happen just as the metal is starting to get red from heat, sort of black with a hint of red to come.
The other thing I think I would do is is to have a spare length of solder ready to put on the joint if required.
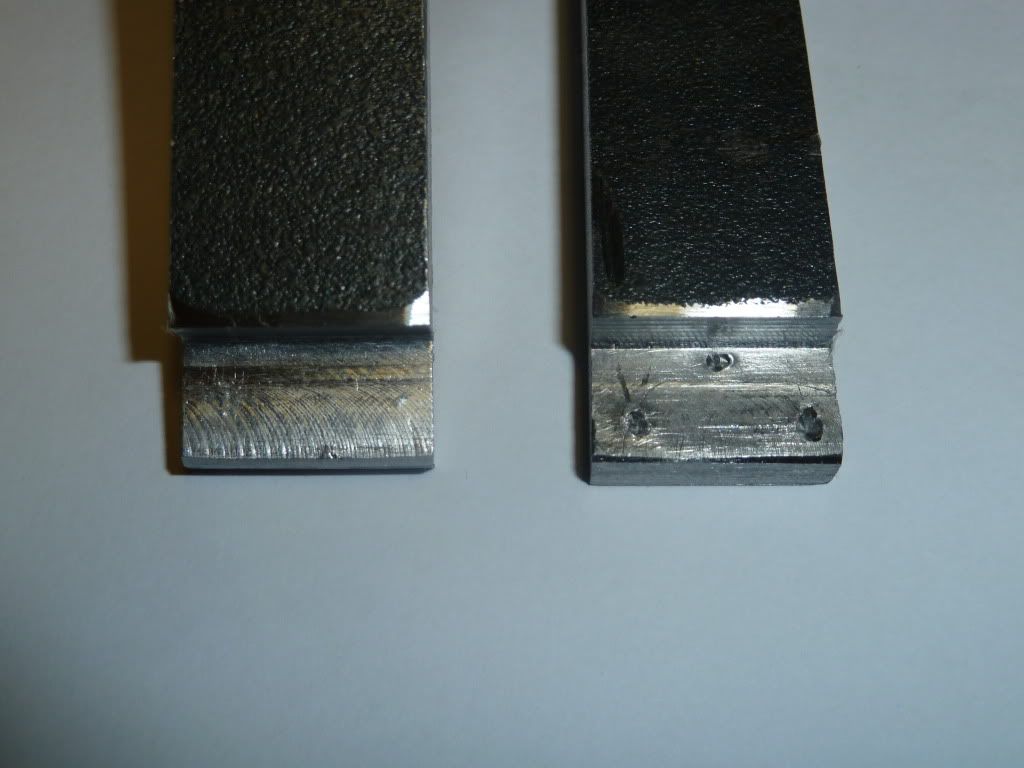
The clamp doesn't seem to make any difference to the solder flow, as the side with the clamp flowed the same as the side without.
Using the centre punch marks for the central gap worked well, but I had to punch it at an angle to raise enough metal for the 2 thou gap.
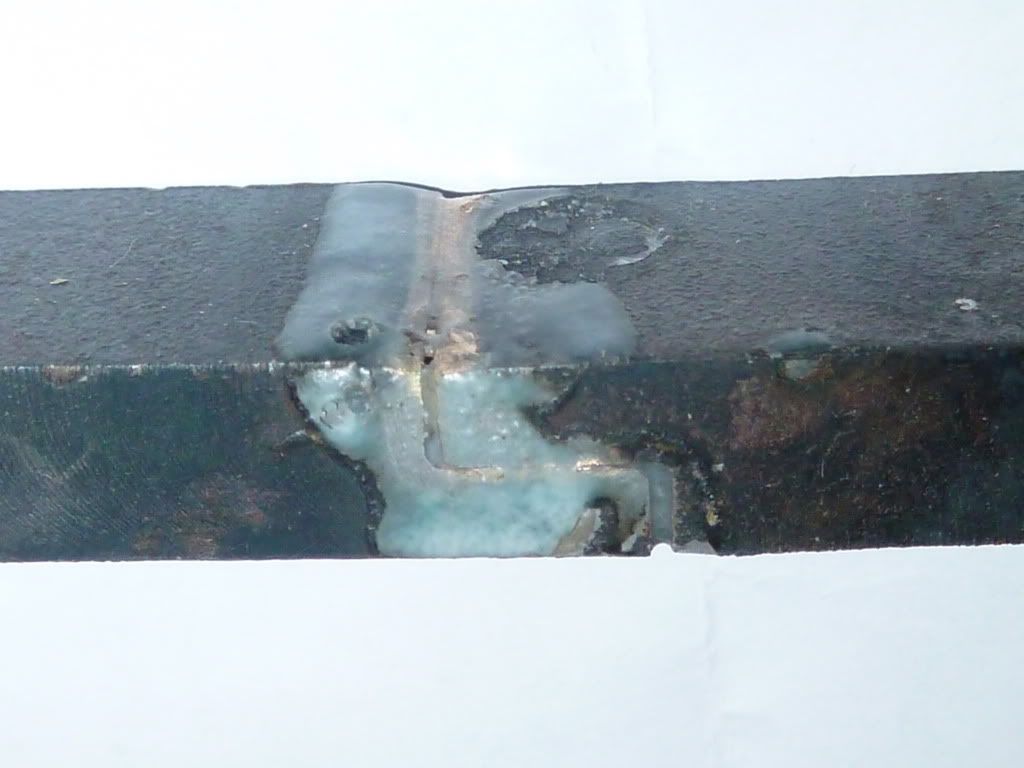
The result looks pretty ugly but its enough for me to know that I can move on to make that perfect joint ;D.
Other pictures at
http://s917.photobucket.com/albums/ad19/picclock/Brazing 101/
Thanks to bogs and others for their help with this.
Best Regards
picclock
I think the flux resisted me :
- oops.
However the part I was most concerned about went well with the part heating quickly enough and the solder flowing readily. It all seemed to happen just as the metal is starting to get red from heat, sort of black with a hint of red to come.
The other thing I think I would do is is to have a spare length of solder ready to put on the joint if required.
The clamp doesn't seem to make any difference to the solder flow, as the side with the clamp flowed the same as the side without.
Using the centre punch marks for the central gap worked well, but I had to punch it at an angle to raise enough metal for the 2 thou gap.
The result looks pretty ugly but its enough for me to know that I can move on to make that perfect joint ;D.
Other pictures at
http://s917.photobucket.com/albums/ad19/picclock/Brazing 101/
Thanks to bogs and others for their help with this.
Best Regards
picclock