Rockerblock I.C.--Something a little different-

Home Model Engine Machinist Forum

Help Support Home Model Engine Machinist Forum:

This site may earn a commission from merchant affiliate links, including eBay, Amazon, and others.
This video shows the valve train in fully finished and operational mode. The valve lash is set to .005", but the cams are not timed yet. At one point in the video, I point out a slot in the end of the camshaft. This slot will allow me to turn the shaft with a screwdriver so that when I do go to set the cam timing, I can loosen off the grub screws holding the timing gear to the camshaft and turn the camshaft by itself without changing the rotational position of the gears. Anyone who has ever built one of these small 4 cycle engines will know exactly what I am talking about here. It is easier to do it than it is to explain it. What comes next?---Well, I need to think about how I am going to retain the rocker shaft in position, and mill some clearances in the rocker tower so that the bottom con-rod can "swing thru" without catching on the sides of the slot. After that, it's basically re-assembly, add the ignition points, and hope for the best. Somebody please let me know if the video is working--I have had some problems with that in the past.---Brian
[ame]https://www.youtube.com/watch?v=9Kug_t03_8g[/ame]
 
Okay guys--Thank you. Baz, there is no audio. My mouth is terribly sore today, and my teeth are setting in a cup in my bathroom. I sound a bit like an old flannel mouthed dog without my teeth in, so I didn't say anything.
 
With a bit of clearance in the bottom of the rocker tower slot, I can use the same shaft and keeper plate on the bottom con-rod as I did on the top. A pair of drilled and tapped #6-32 holes at the top of the tower let me use a couple of set screws to retain the pivot shaft.
 
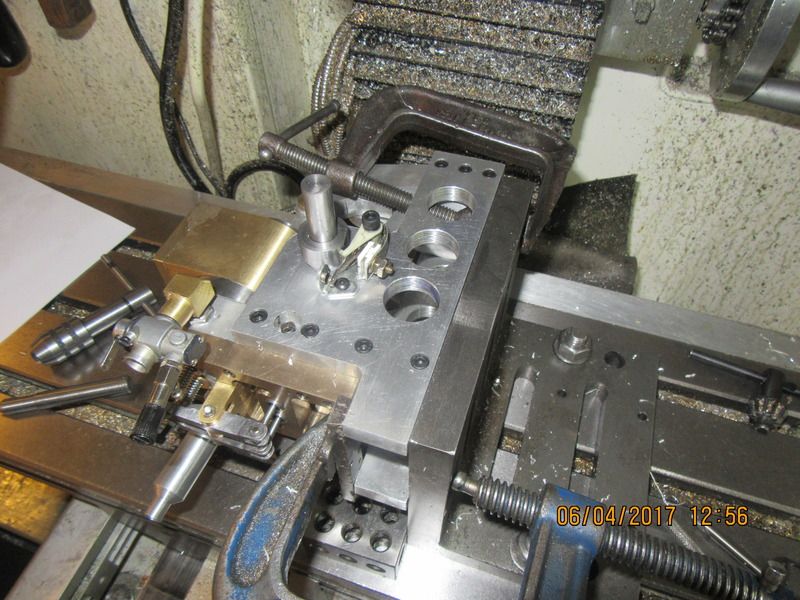
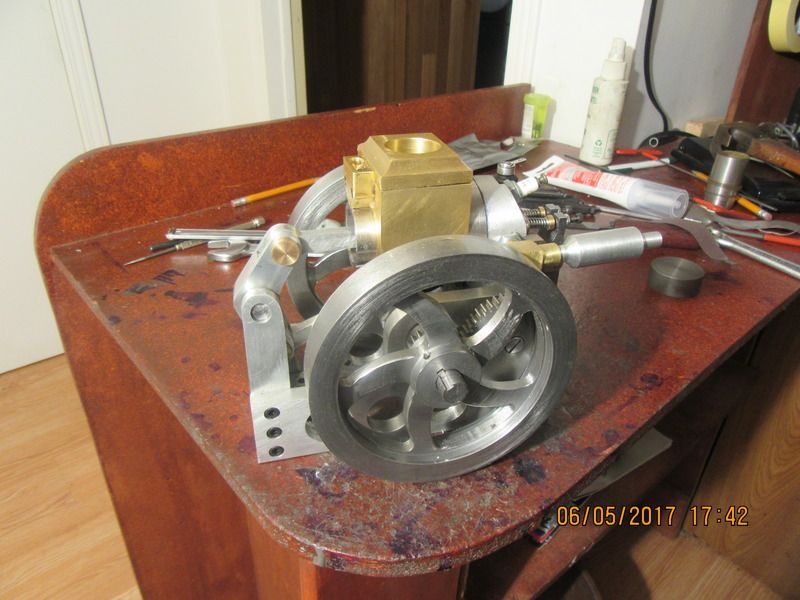
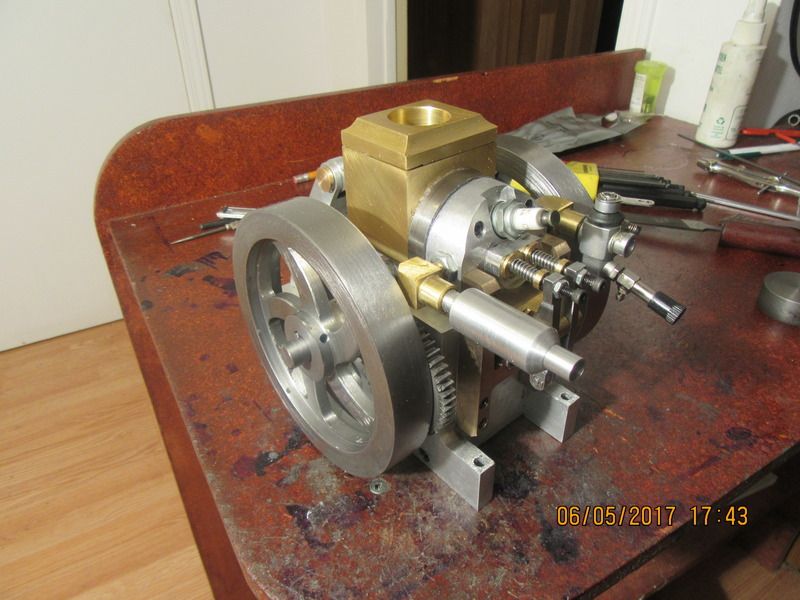
We have ignition!!!---Oh--Wait--Let me rephrase that. We have ignition points---that's what I meant to say. We also have a 0.030" head gasket in place. I was a bit concerned that when I added the head gasket (which moves the cylinder and water-jacket back 0.030") that I might have trouble with interference between the rotating crankshaft and the clearance cavity I had to carve in the bottom of the water-jacket. It worked out fine though. There is still adequate clearance for full crankshaft rotation. I have also modified the rocker support tower by milling clearance for the lower connecting rod to swing thru, and made a second bronze shaft and keeper for it. Sometime in the next hour I intend to drill and tap the water-jacket and cylinder for the oil reservoir, and then about all that is left is to cut keyways in the crankshaft where the flywheels set.
 
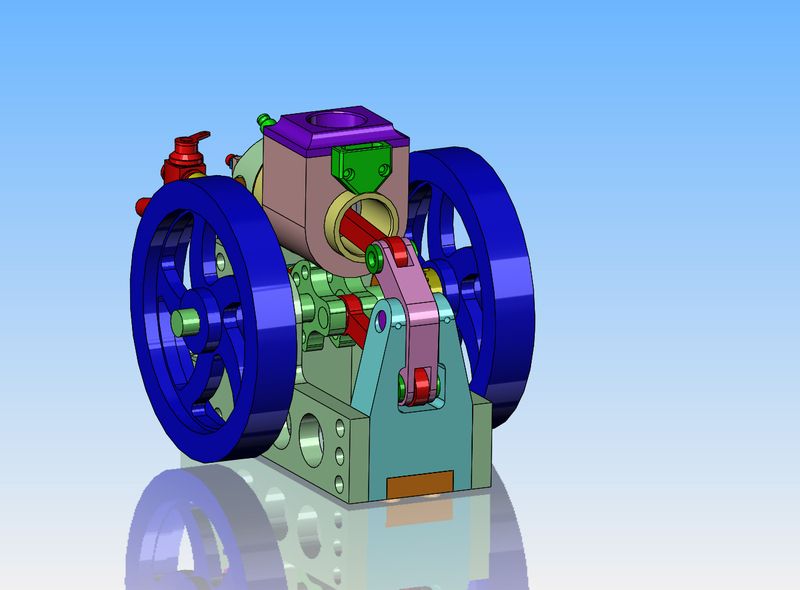
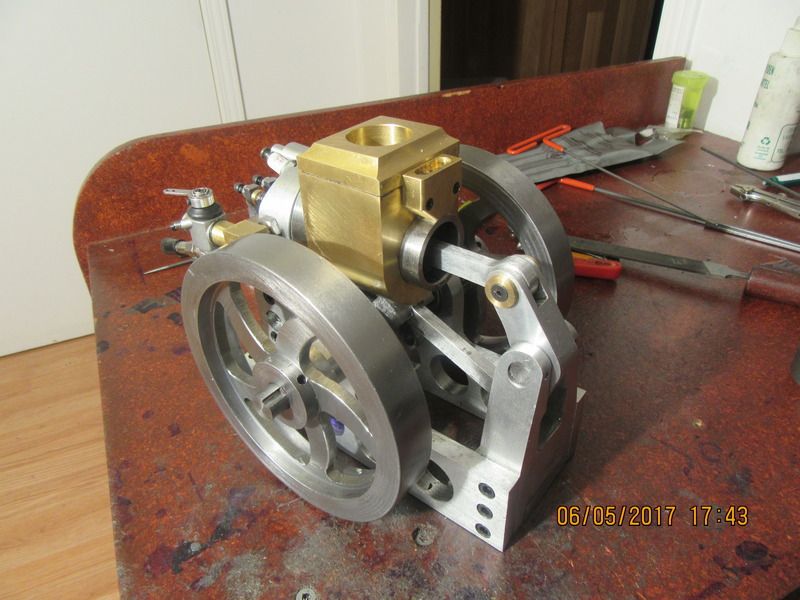
So--The rockerblock engine is fully assembled, as per the solid model. Everything goes round and round and up and down with no clearance issues. I still have to devise a starter hub to attach to one of the flywheels, but that is the only thing remaining to be built. I haven't set the valve nor the ignition timing yet, as I just finished adding keyways to the crankshaft and assembling the waterjacket and oil cup. I added a little clear silicone to the internal O-rings on the waterjacket before assembly, and put a bit of silicone on the threads of any bolts which broke thru into the waterjacket. I think I will try and start this on Naptha gas and 2 cycle oil mix, as that is what I am most familiar with. I will borrow a gas tank from one of my other engines to do this with. I have purchased a "gas demand valve" kit from Jerry Howwel, and the eventual plan is to run this engine on propane.


She is a thing of beauty Brian! I'm curious as to the cadence she's going to have. I'm in the middle of a little bit and miss now, but I may just have a go a something similar. I'm not much for plans, kinda fly by the seat of my pants, but I'm always looking for interesting paths to wander down.
 
And the good news of the day is that I filled the water jacket right to the top this morning before I went to work--And when I came home tonight it was still full, with no puddle under the engine.-- Now I have to pull out one of the cams, set it up on a degree wheel in my lathe, and determine exactly how many degrees of "cam influence" these cams have, which will establish my cam timing. If the cams had turned out exactly as I had designed them, I wouldn't have had to do this step.--Brian
 
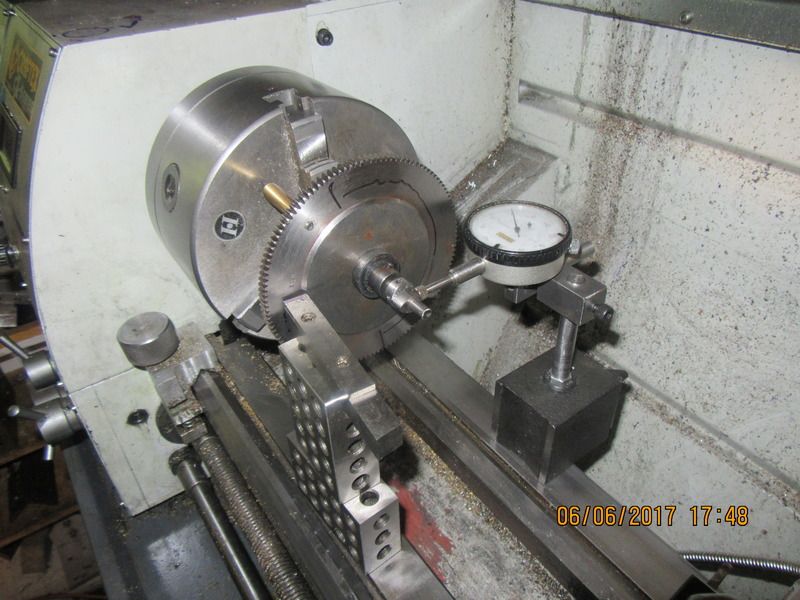
I used my lathe, dial indicator, a set of feeler gauges, and a gear to establish that the cams I cut have a true "cam influence angle" of 120 degrees.--which is very close to what I planned on. I set the dial indicator up so that it is 0.010" away from the cam when the low side of the cam is towards the dial indicator plunger. I rotate the chuck by hand until I just see the indicator needle begin to move. At that point I mark a line on the face of the gear. (I have the 123 blocks piled up so that the top of them comes level with the centerline of the lathe, and I can rest my pencil on it to make the mark.) Then I rotate the chuck in the opposite direction until I see the needle on the dial move again, and make a second mark on the face of the gear. Then I measure the angle between the two marks to establish how many degrees the cam is acting on the plunger. At 120 degrees of "cam influence", that translates to 240 degrees of effect on the valves because of the 1:2 ratio between the crankshaft gear and the camshaft gear. That means that I can set my valve timing so that the exhaust valve begins to open 40 degrees before the piston reaches bottom dead center on the power stroke, stays open during the 180 degrees of travel during the exhaust stroke, and closes completely 20 degrees into the intake stroke. The same lead angle will apply to the intake valve.
 
Okay guys, help me out---I'm having a hard time visualizing this. If both cams are exactly the same, and the intake valve is set for the same lead as the exhaust valve, the two cams should be set so the lobes are exactly 180 degrees apart.---Right??
 
In a word no. You need the exhaust to be closing at TDC, and the inlet opening at TDC, or where you want them to close and open in regards to TDC, the valve overlap is where the two valves are open at the same time. The photos show a cam I cut with 15deg overlap.
The other way of looking at it is when you want the exhaust to open ,and the inlet to close in regard to BDC.
Attached is a cam layout drawn by George Britnell, it shows the crank timing, exhaust open at 40deg BBDC and close at 10deg ATDC, the inlet opens and closes 20deg at both BTDC and ABDC, giving a 30deg overlap.
Hope this helps.
Cheers
Andrew

13.jpg


34.jpg


View attachment CAM LAYOUT DRAWING.pdf
 
With your settings Brian, shouldn't the cams be at exactly 90 degrees, ie 180 crankshaft degrees. Even in Ghosty's picture they "eyeball" at 90 degrees.
Ian.
 
Ian,
The cams are actually 105deg apart(see pic), which would give 210deg of crank rotation. There is a lot in the design of cams, with relation to cam lobe angles, lift and overlap.

Cheers
Andrew

10003.jpg
 
Thank you gentlemen. I was having a severe brain fart on that. I came downstairs this morning and set the exhaust cam. That was fairly easy to do, as calculations show that when the piston skirt bottom is 1/4" away from the end of the cylinder on the exhaust stroke, that is 40 degrees of crankshaft rotation before the piston reaches bottom dead center. I tightened the grub screws in the exhaust cam and locked it to the camshaft. Then I loosened off the grub screws on the cam gear and turned the camshaft by using the screwdriver slot machined in the end of it until I just seen the exhaust valve begin to move, then locked up the cam gear grub screws. That took care of the exhaust cam. The cams are difficult to access in this engine, however it is easy to pull the entire sideplate off the engine on the side opposite to the gears so I could plainly see the cams. The crankshaft is still held in location by the bearing in the sideplate on the side where the gears are located. This allowed me to turn the crankshaft until the piston was approx. 3/16" before top dead center, so I manually turned the intake cam until it was just beginning to influence the intake valve, then I locked it in place on the camshaft, using the grubscrews in the collar attached to the cam.--and you are right--The two cams are at about 90 degrees rotational offset between the lobes.---Brian
 
Andrew, I was only guessing about your diagram. The point was that the cams are at "about" 90 degrees not 180.

Ian.
 

Latest posts

Back
Top