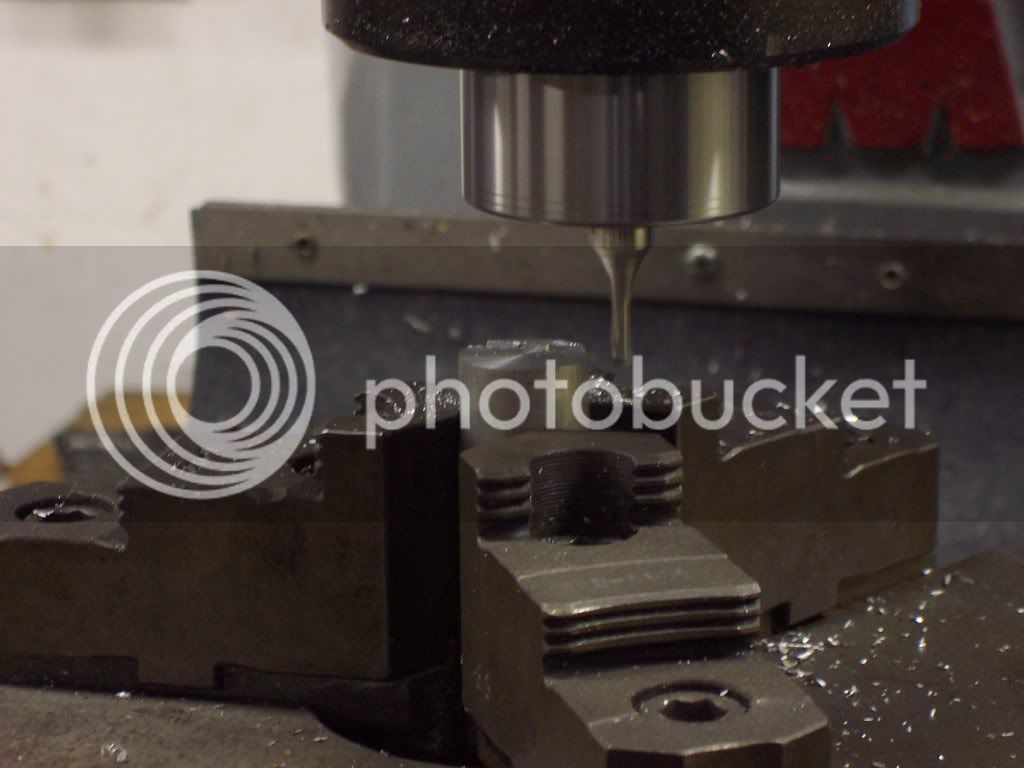
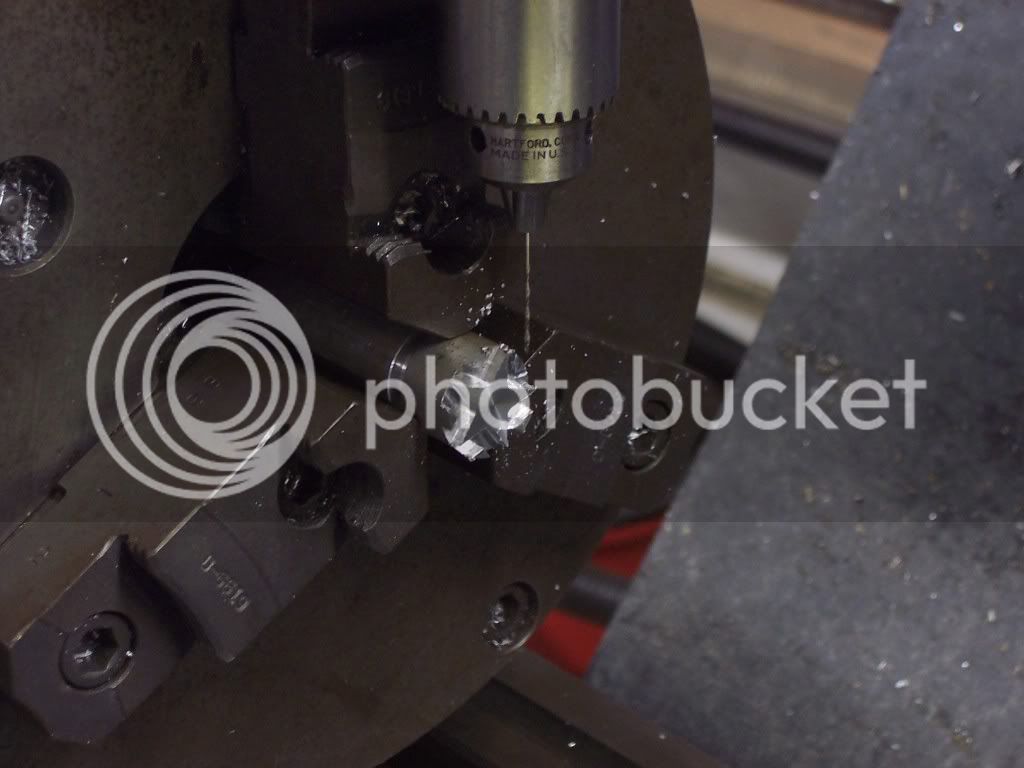
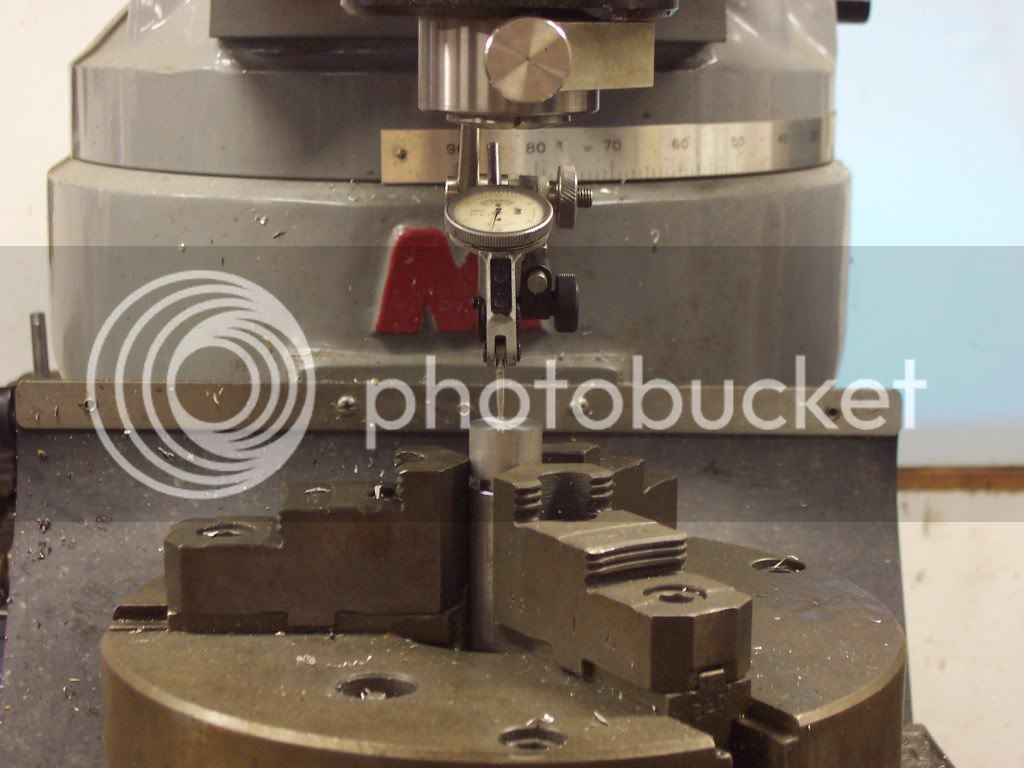
I know this a bit off topic but I hope you will find it of interest. I had to make some Christmas presents lately and upon completing one of them I was told that it needed a star placed on it. Here is how I went about making a 5 pointed star on the mill. First the rotary table was set on the mill and a piece of 3/4" aluminum clamped in the jaws. The part is indicated to find center.
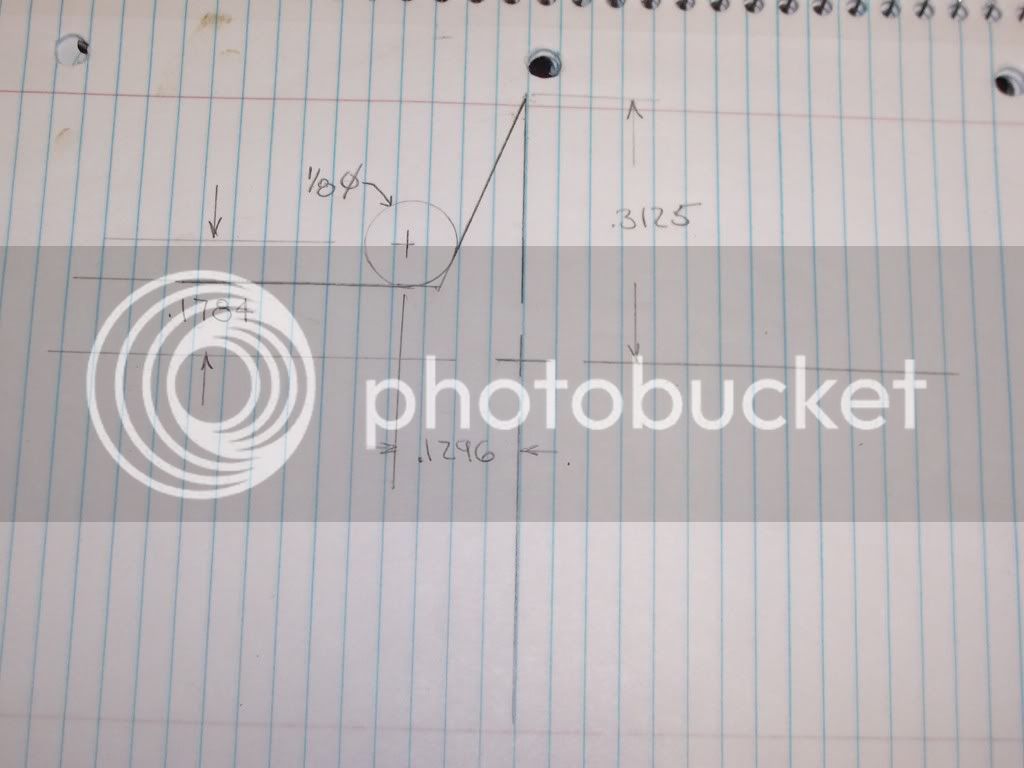
Before starting I had to find some locations using cad. Heres a pic of the dimensions copied to paper. The star will be .75" dia and made of aluminum. I will use a .125" dia endmill for the cuts.
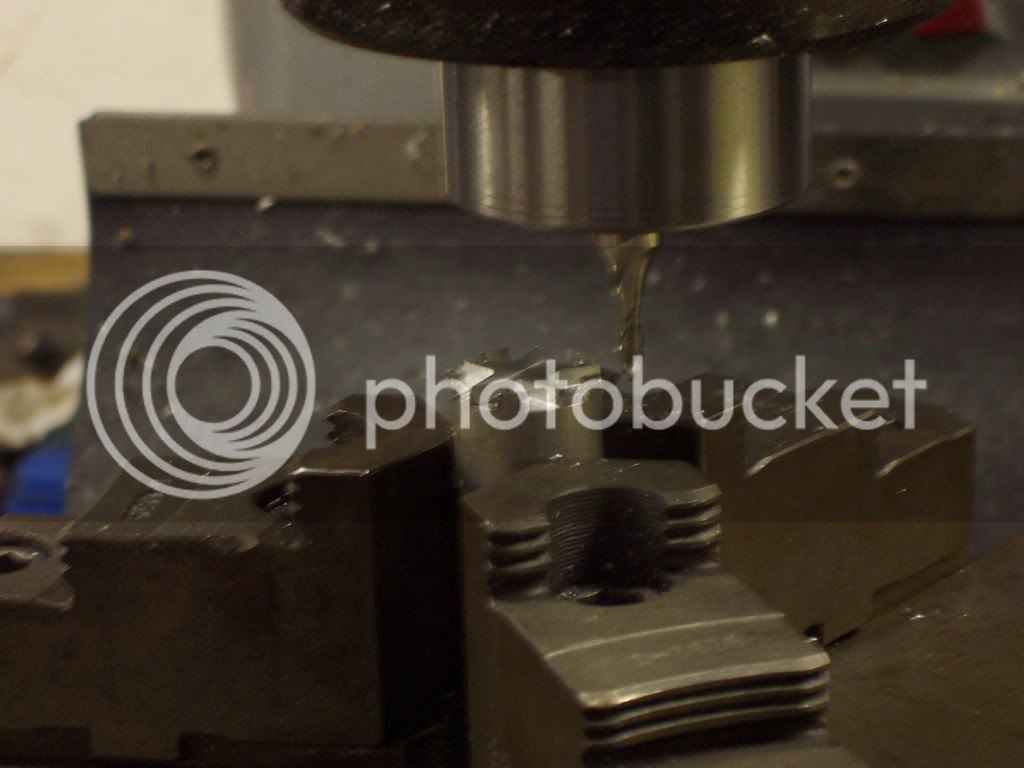
This pic is of the first 2 cuts in the part. One cut starts from the left and the other cut from the right. The endmill is fed into the part .03" per cut to a total depth of .09". Once these 2 cuts are made the rotary table is rotated 72 Degrees and the cuts are repeated. There will be 5 locations of the cuts, 0, 72, 144, 216, and 288 degrees. Once these cus are finished you should have the shape of the star.

Before starting I had to find some locations using cad. Heres a pic of the dimensions copied to paper. The star will be .75" dia and made of aluminum. I will use a .125" dia endmill for the cuts.

This pic is of the first 2 cuts in the part. One cut starts from the left and the other cut from the right. The endmill is fed into the part .03" per cut to a total depth of .09". Once these 2 cuts are made the rotary table is rotated 72 Degrees and the cuts are repeated. There will be 5 locations of the cuts, 0, 72, 144, 216, and 288 degrees. Once these cus are finished you should have the shape of the star.


