


- Joined
- Dec 5, 2009
- Messages
- 510
- Reaction score
- 47
Hi Guys, (gals),
I did some hobby machining, I needed to make a modification to my woodworking benchtop bandsaw.
one of my bearing blocks above the bandsaw table, got broken and I replaced it with a piece of delrin
it worked for awhile, but soon started to wear down pretty quick, so it was time to redesign the saw guides all together, with a set of home made bearings to take the place of each block.
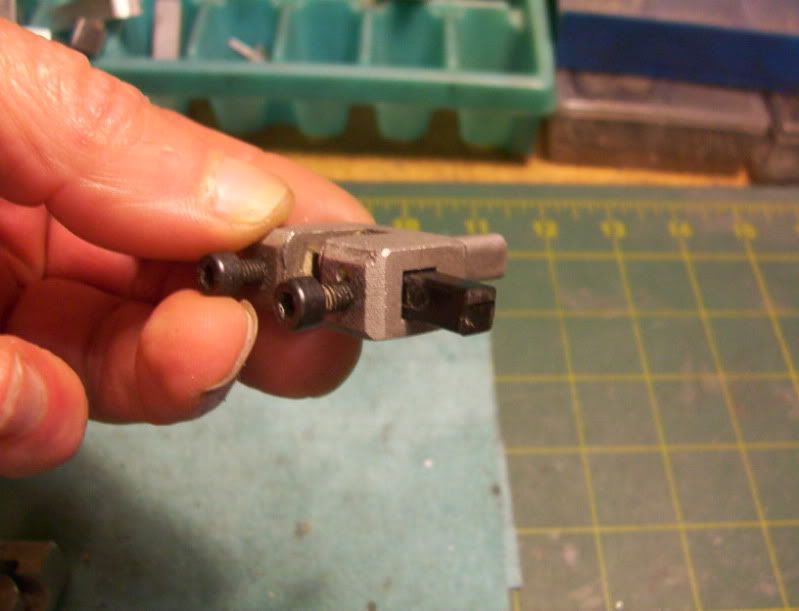
Here are the individual parts that were fabricated.
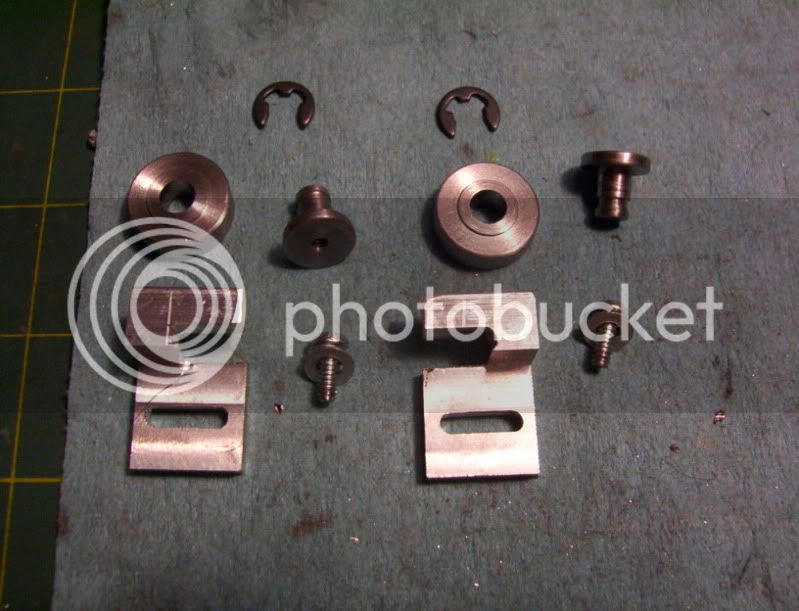
here is the adjustment screw from the back side to adjust in and out the bearing.
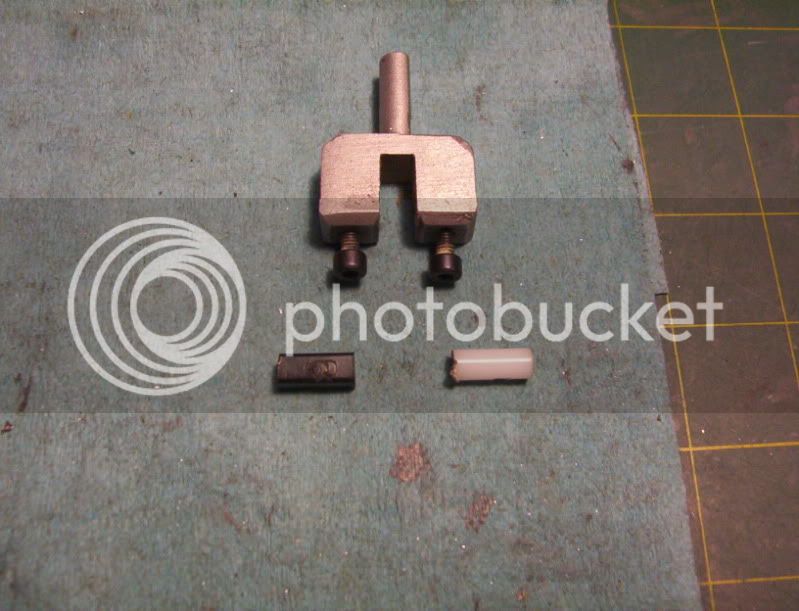
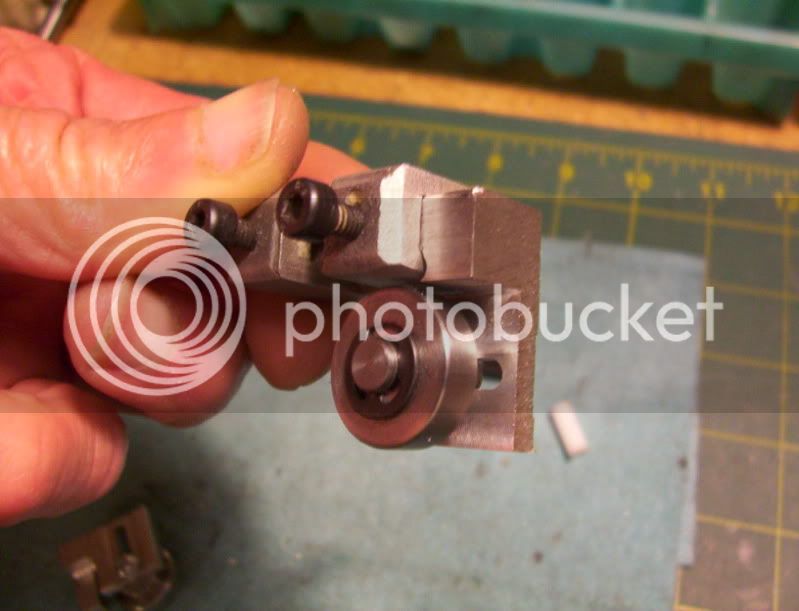
Here is the original commercial bearing block holder,
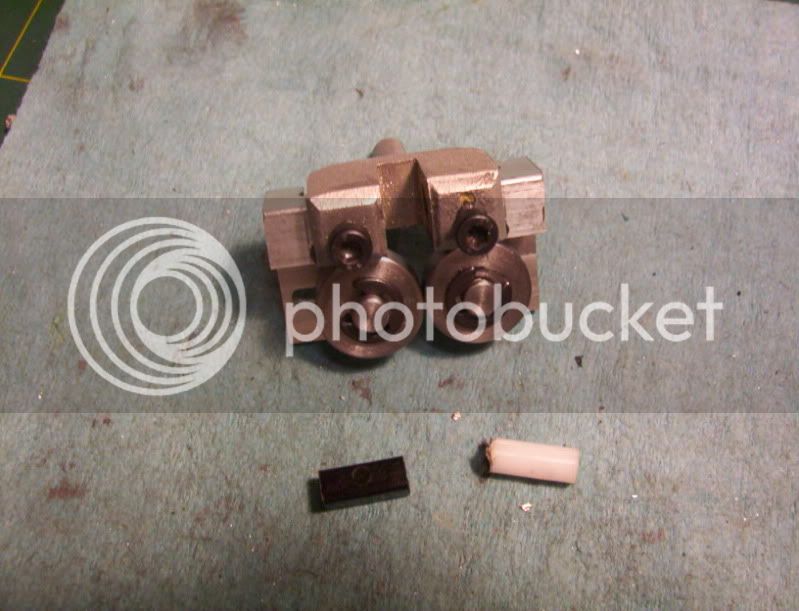
and here is one of the new bearings assemblies inserted into that holder.
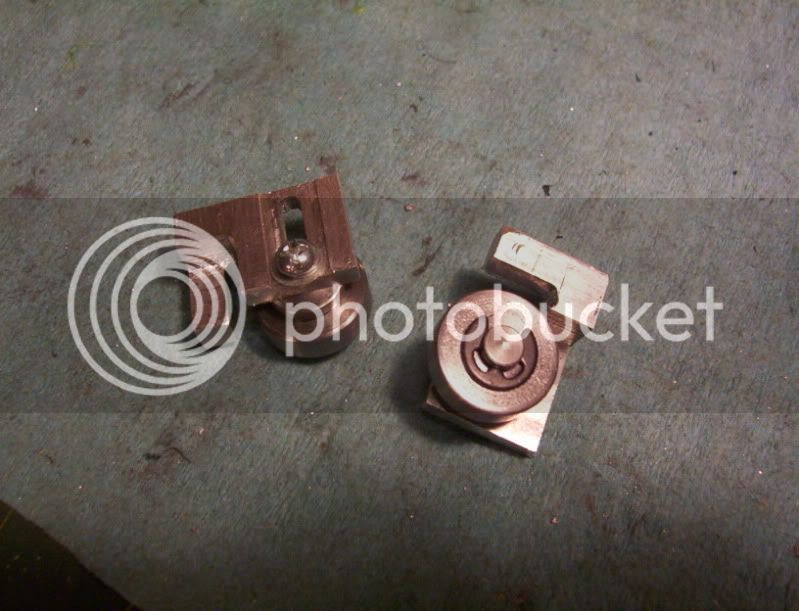
both assemblies out of the holder
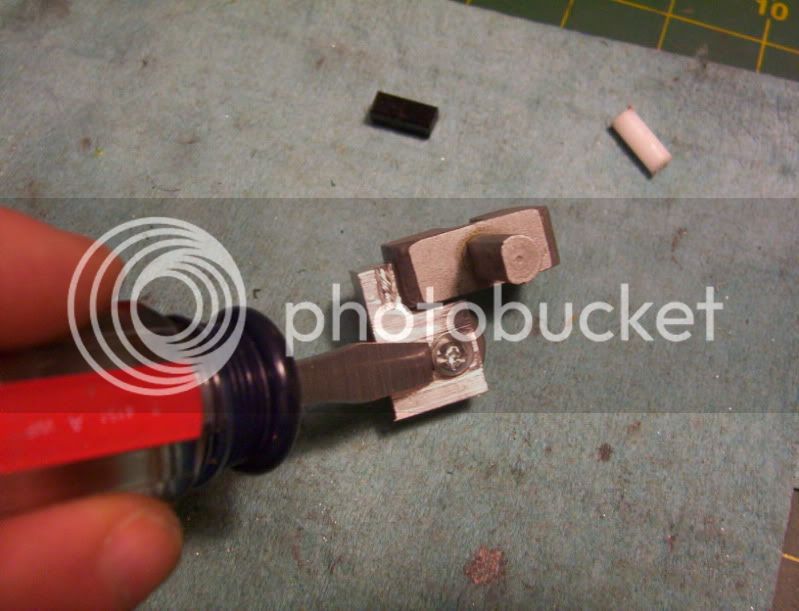
and now the assemblies in the holder and the whole unit back on the saw.
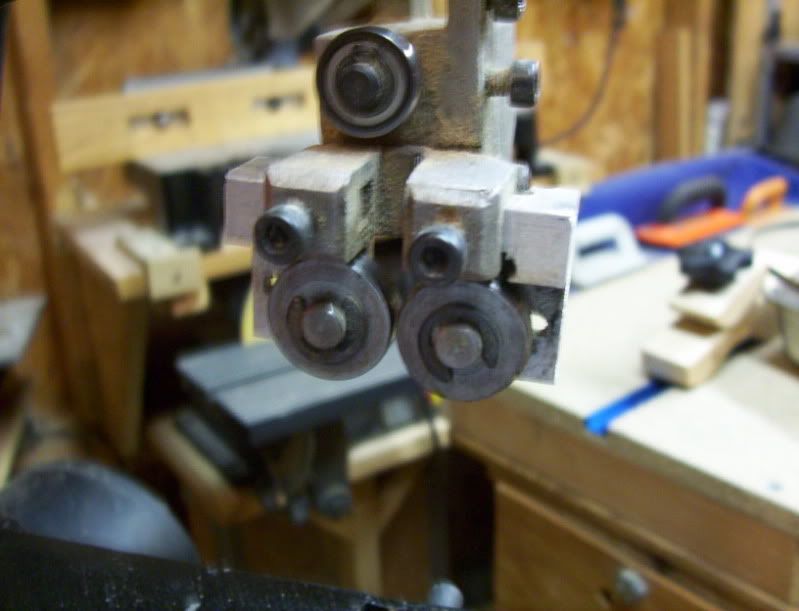
It works very well, I don't have to tighten the blade extrememly hard anymore, because I allow the blade to be trapped inbetween the bearings, thereby it prevents blade drift considerably.
There are commercial bearing assemblies also, but since I like to do hobby machining as well, I mind as well make this a machining project.
Now one more very needed modification, this bottom thrust bearing is used to keep the blade from bending in, it is seen above the block holder.

however when sawdust gets caught inbetween the bearing and shaft, it locks up and the back of the blade cuts into this bearing causing screaching and wear on the blade.
So I needed to make a unit that had it's bearing surface reversed, and allow the blade to ride against the circumfrence, of the bearing, rather than the face of it.
So I fabricated this,
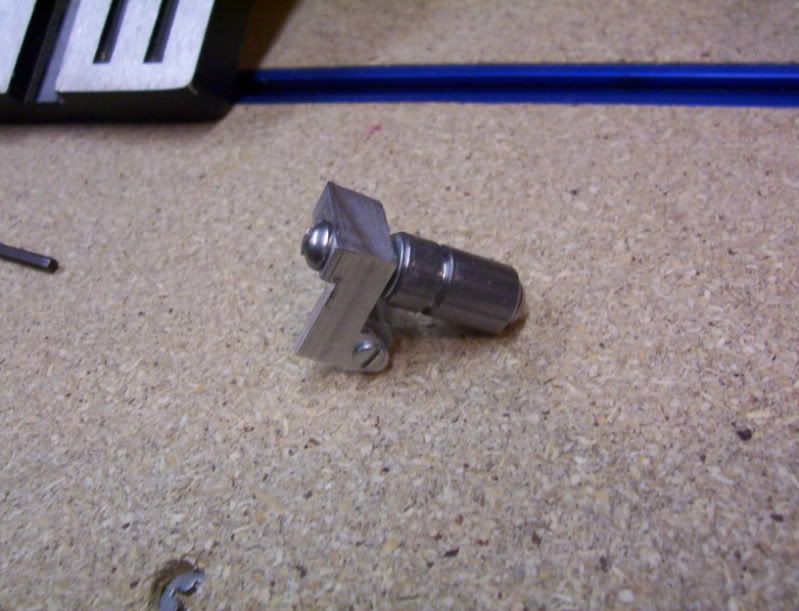
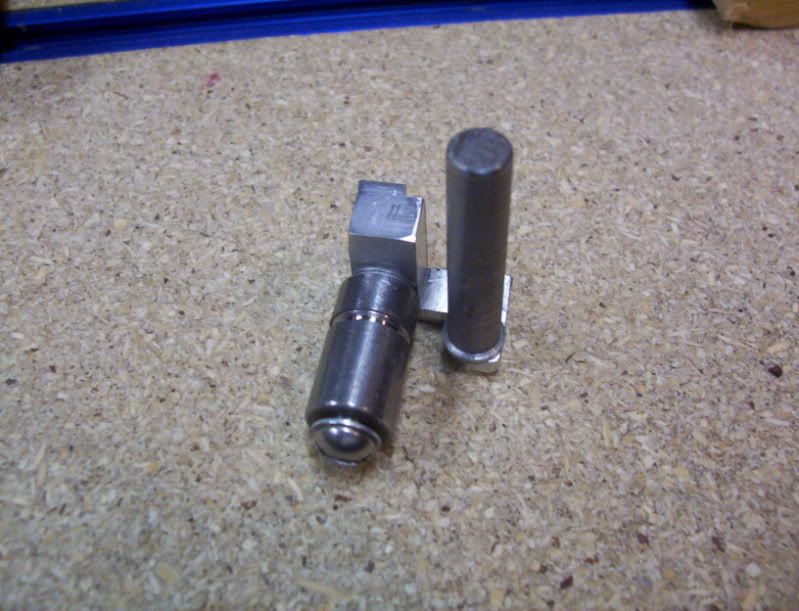
Here it is alongside the original commercial bearing.
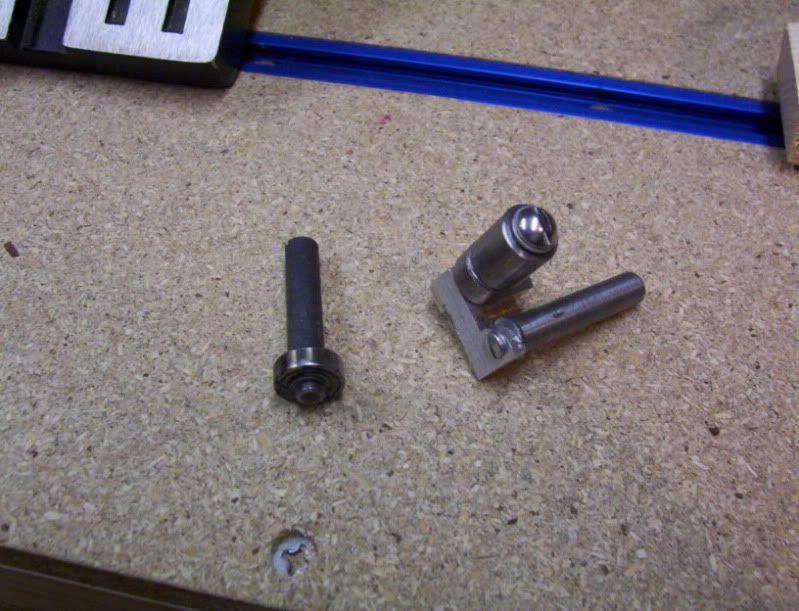
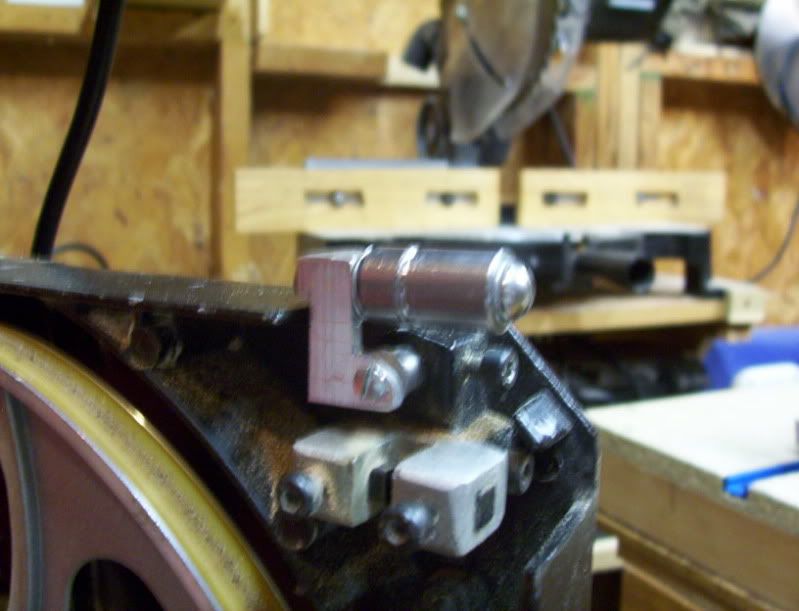
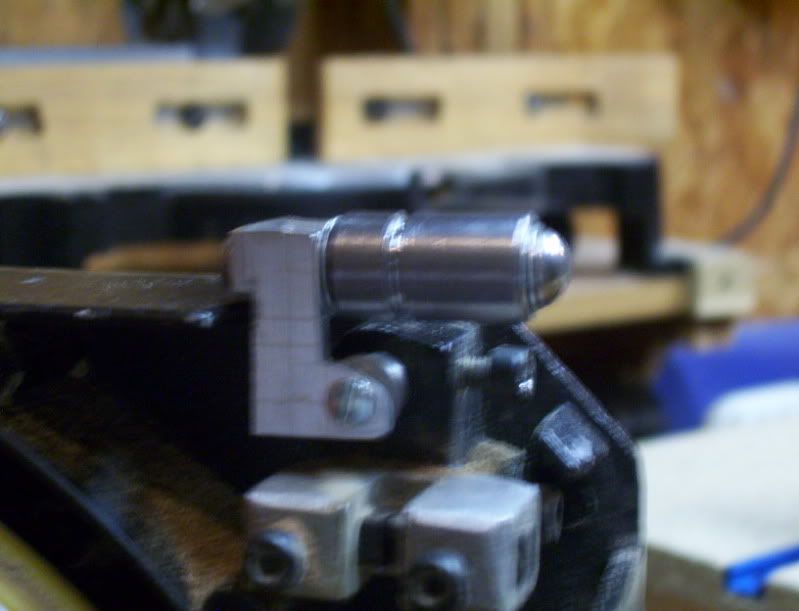
I had to modify the direction of it's bearing, so a bracket was made to swing a new bearing up above the original location, so there was clearance for the new bearing to sit.
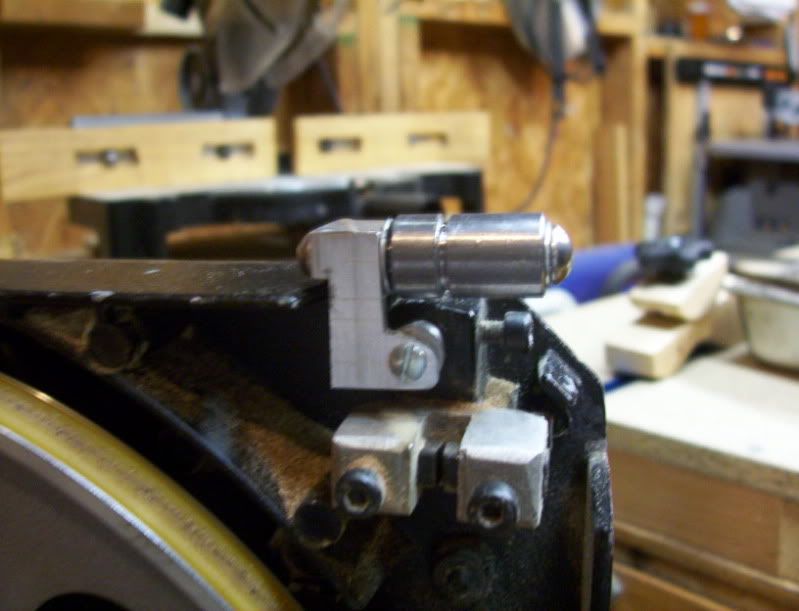
Here it is installed on the saw, to take the place of the old original bearing assembly.
the top commercial bearing assembly is not giving any problems so I left it alone.
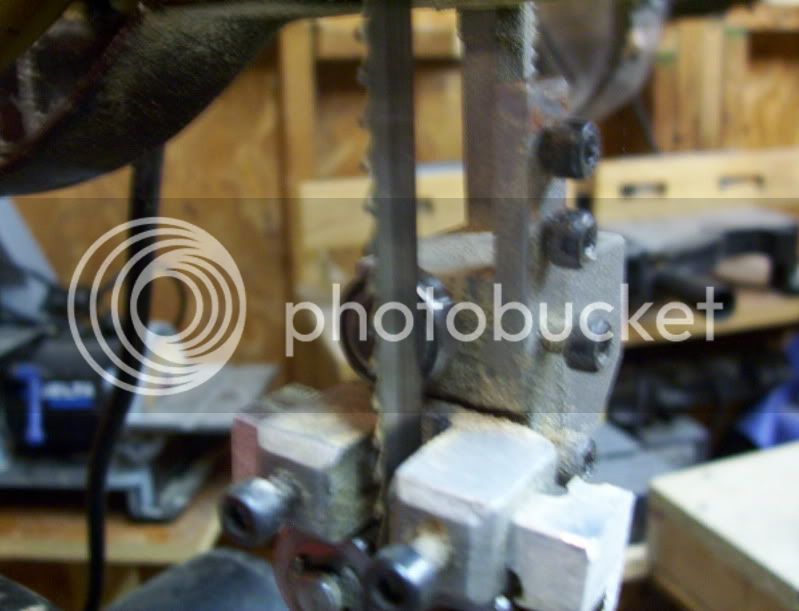
Here is the saw blade running against the original top of table bearing assembly.
And here is the saw blade running with the new homemade bearing on the bottom of table bearing bracket assembly.
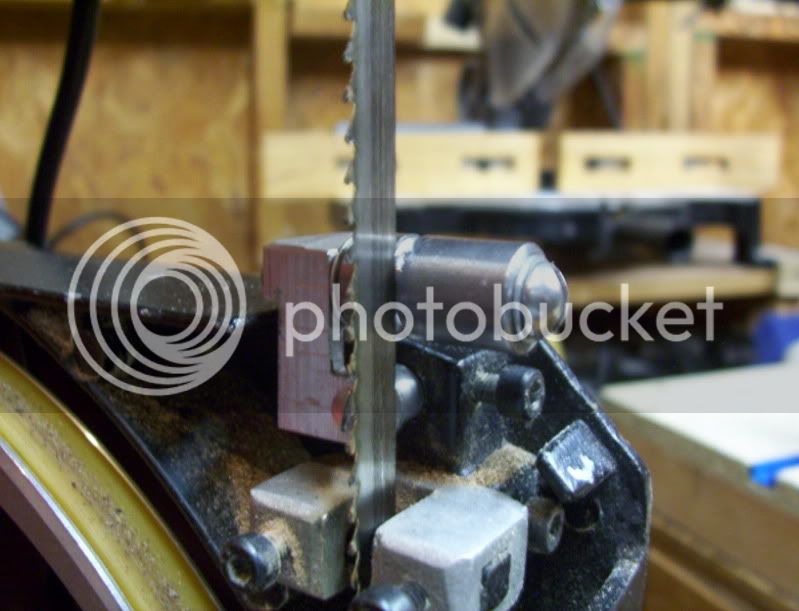
It works well, in supporting the blade and by putting a "V" groove in the bearing the blade can track better as well.
This was a fun project to design and machine the parts for and assembly work.
Have fun in the shop.
...
I did some hobby machining, I needed to make a modification to my woodworking benchtop bandsaw.
one of my bearing blocks above the bandsaw table, got broken and I replaced it with a piece of delrin
it worked for awhile, but soon started to wear down pretty quick, so it was time to redesign the saw guides all together, with a set of home made bearings to take the place of each block.
Here are the individual parts that were fabricated.
here is the adjustment screw from the back side to adjust in and out the bearing.
Here is the original commercial bearing block holder,
and here is one of the new bearings assemblies inserted into that holder.
both assemblies out of the holder
and now the assemblies in the holder and the whole unit back on the saw.
It works very well, I don't have to tighten the blade extrememly hard anymore, because I allow the blade to be trapped inbetween the bearings, thereby it prevents blade drift considerably.
There are commercial bearing assemblies also, but since I like to do hobby machining as well, I mind as well make this a machining project.
Now one more very needed modification, this bottom thrust bearing is used to keep the blade from bending in, it is seen above the block holder.
however when sawdust gets caught inbetween the bearing and shaft, it locks up and the back of the blade cuts into this bearing causing screaching and wear on the blade.
So I needed to make a unit that had it's bearing surface reversed, and allow the blade to ride against the circumfrence, of the bearing, rather than the face of it.
So I fabricated this,
Here it is alongside the original commercial bearing.
I had to modify the direction of it's bearing, so a bracket was made to swing a new bearing up above the original location, so there was clearance for the new bearing to sit.
Here it is installed on the saw, to take the place of the old original bearing assembly.
the top commercial bearing assembly is not giving any problems so I left it alone.
Here is the saw blade running against the original top of table bearing assembly.
And here is the saw blade running with the new homemade bearing on the bottom of table bearing bracket assembly.
It works well, in supporting the blade and by putting a "V" groove in the bearing the blade can track better as well.
This was a fun project to design and machine the parts for and assembly work.
Have fun in the shop.
...