What is it?

Home Model Engine Machinist Forum

Help Support Home Model Engine Machinist Forum:

This site may earn a commission from merchant affiliate links, including eBay, Amazon, and others.

Hilmar

Well-Known Member
Joined
Jul 8, 2007
Messages
232
Reaction score
1
Let's see what this will make? Every one needs one.
I am trying to post my first pictures on this site.
Hilmar
DSC00225.jpg
 
Alright Now.
I just caught myself scaling the picture to see what it would take to make
one.......
I can't even come up with a guess of what it will be.
noidea.gif
 
This is mine, its the best thing since sliced bread.

clockinguptogetthecentre.jpg


I didn't buy it (now over $300) but a friend gave it to me because he didn't know what it was or how it was used.
BTW this is how I make my eccentrics, centre it up, move across the required amount, drill the hole. Once set up you could make any number that is required in a fraction of the time it takes in the four jaw. Just drop 'em in and drill.

John
 
I think things went wrong.
There should be a picture some where in thr post before.
Hilmar
DSC00281.jpg


Here is the finale project, I like it much better then the on you clamp on the spindle. I post the source from where I got the Print.

http://www.homemetalshopclub.org/projects/indhold/hldr1.html

And here it is in use.
Hilmar


Like some one said:"Best thing since sliced Bread"

P.S. I will delete my previous post
 
Very nice piece of work.
What people don't realise is that this will also clock up very large diameters just by swapping the head round on the main two bars.
On my commercial unit there are two light springs on the fine adjustment, you can just make them out behind the words "ZERO-CENTER", I suppose they are there to prevent 'slop'.

John
 
Being the proud owner of a new rotary table prompted me to make an attempt at the indicator holder that you posted. Not having but very limited experience at operating a milling machine I spent most of the day making the parts and pieces of this wonderful instrument. About a hour in the morning should bring the end of the construction and frustration. I have to give a BIG thanks to the great directions that George Carlson wrote for the Building a “Zero–it” type indicator holder.
Until I unpacked and set up my little mini-mill, I had never seen a mill, or lathe operated. So I’m totally self taught. I’ve struggled through and made out pretty good with reading and trial and error, but not been totally satisfied.
The instructions the Mr. Carlson wrote brought into play many operations that I had read about but never had an opportunity to put into practice. I had a whole set of “Edge Finders” that I got when I bought the mill, but never realized their value until I used them today. His instructions described how to drill a small hole at the exact location from the edge of a piece. Something I was completely doing wrong before. Just using the dial/digital indicator to position the milling table was a big help.
Without going on and on, I learned a lot! Thanks for the great link and post.
Mel
 
Boy, that is a must have. It has to be closer than a drill bit shank.
 
Mel, where on the Oregon Cost?
I just came back from Yachats.
One Week and Rain every Day.
Hilmar
 
Mel,
That would make it Waldport , the town with a free Internet assess at the
local laundromat.

Or across that nice State Beach 6 Miles north from the Yachtell Motel.

Now here we go again!

What will it be ?

DSC00336.jpg

DSC00350.jpg


Hilmar
 
And this is how I did it!
You want to put a thread on a part.

The compound is set over to 29°,
The dial on the compound is set to zero
The dial on the cross slide is set to “0 “. All is ready to go.
You advance the compound by .010
You make the first pass and stop the lathe.
You retract the cross slide a turn or so and reverse the lathe.
For the second pass: You advance the compound by 005
You set the cross slide back to “0 “.
What “0” Wait, did I reverse one turn or two. I have to remember!!!

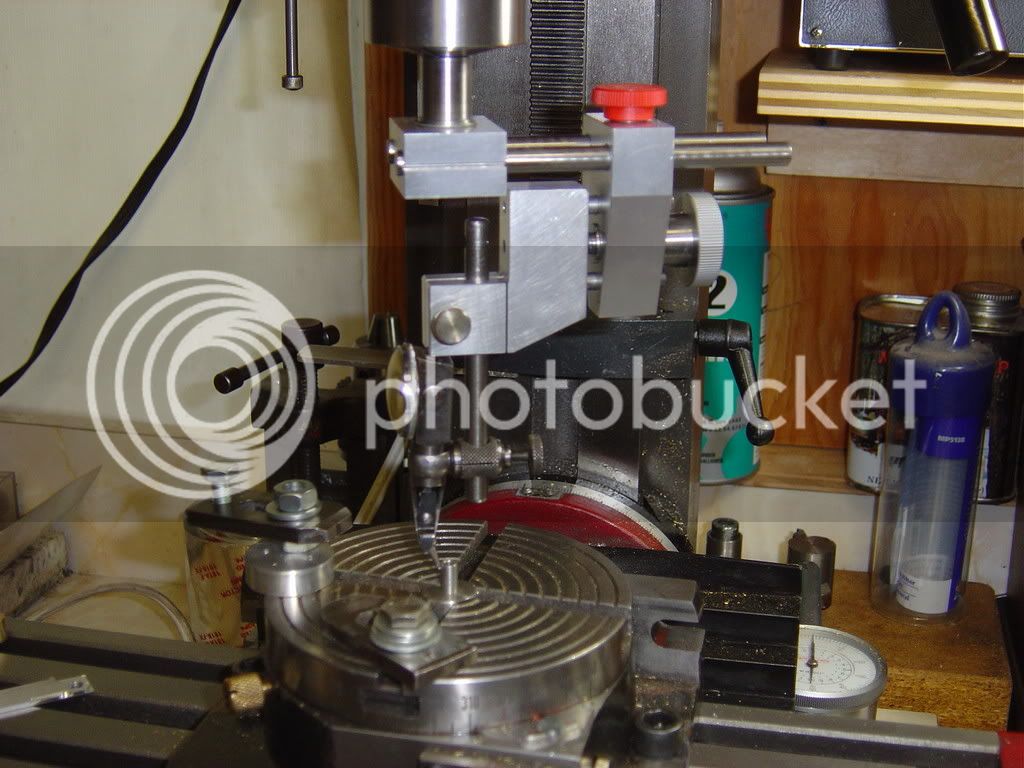
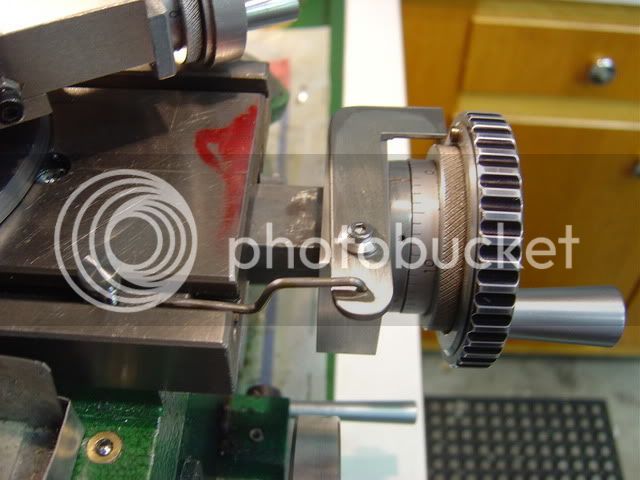
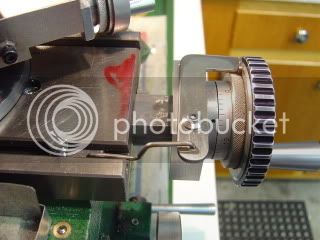
That is where this part comes in. If you set it up as in the next picture
You will be able to go back to the once set zero but you can reverse the hand wheel
1, 2, 5 or umpteen times but go back to the starting zero with out counting.
Instant stop on zero. No counting. No looking.
Now you do the second pass.
And so on and so an.
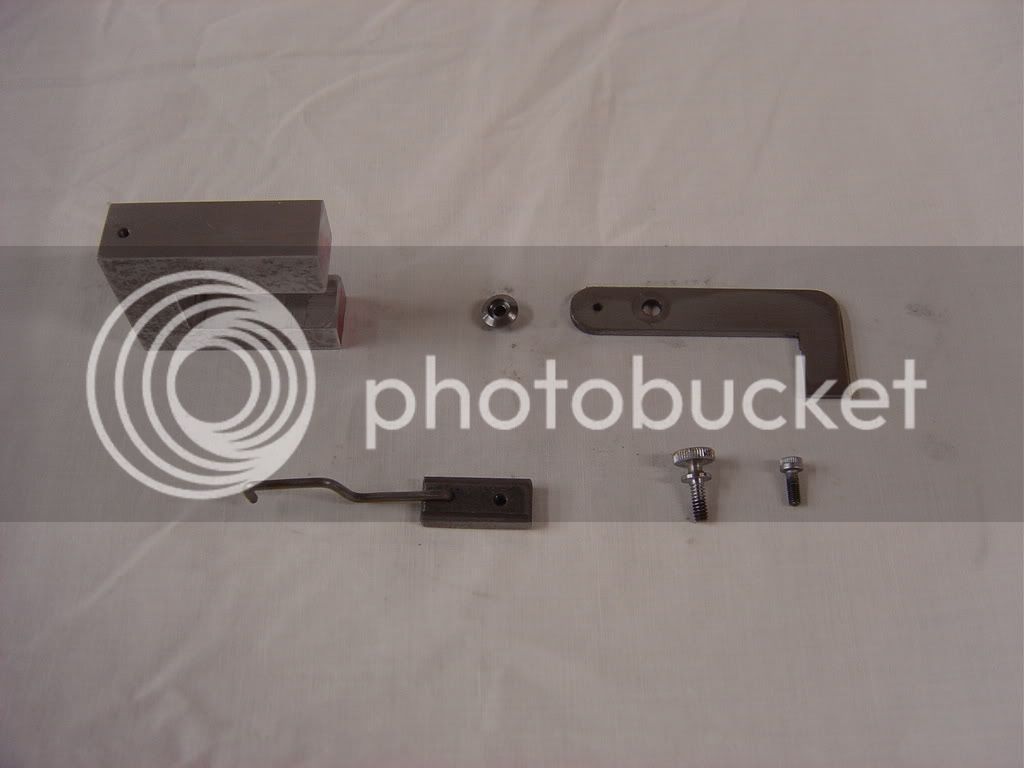
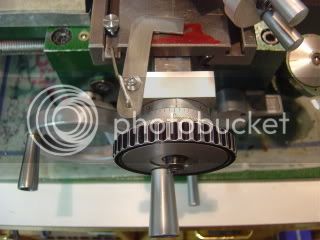
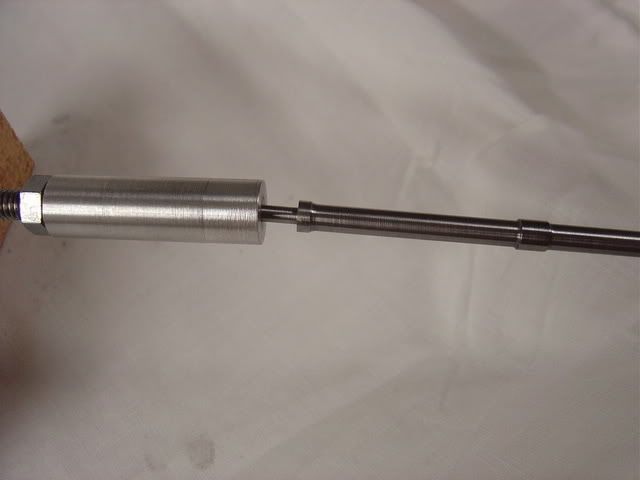
DSC00342.jpg

DSC00345.jpg

DSC00343.jpg


Second picture:
Internal stop for when you have to turn multiple parts to the same length.
The front piece can be exchanged to fit the part in need.
In my case the length between shoulder and shoulder on a spindle is important.
DSC00346.jpg

DSC00357.jpg

DSC00356.jpg


Hilmar[/img]
 
Back
Top