Hi all
Bits and pieces of this have been in other threads, but it's now far enough along to qualify as a work in progress...
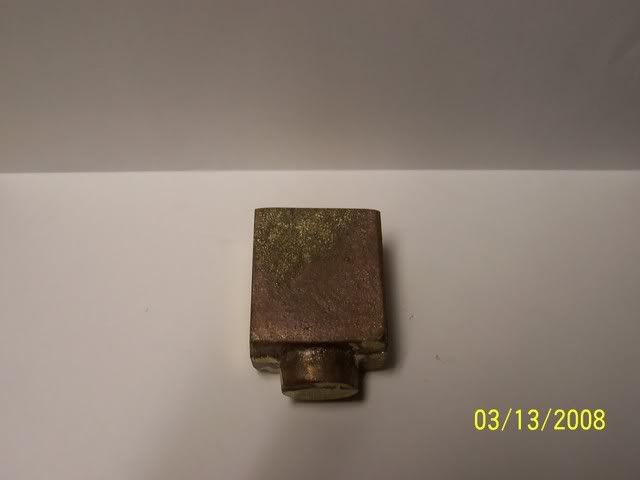
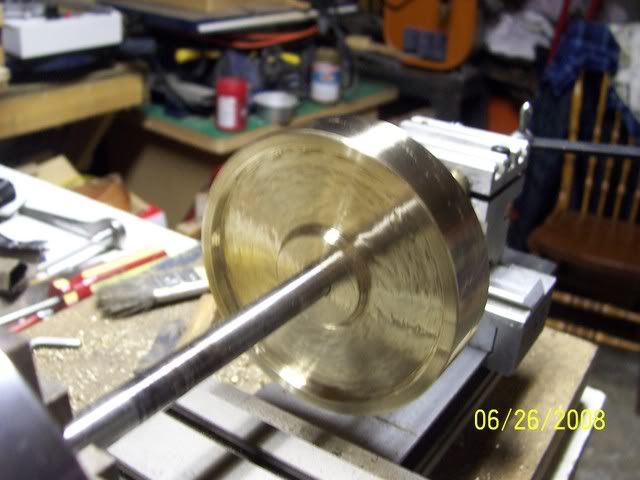
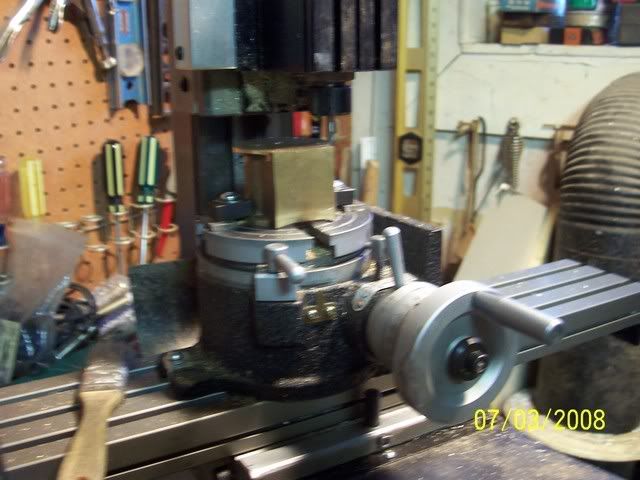
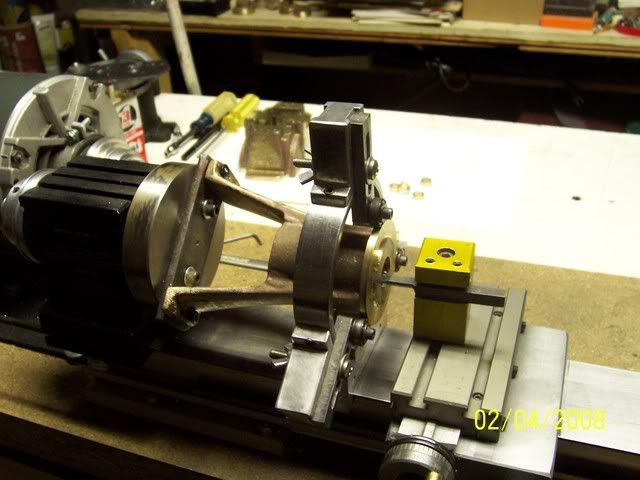
Here's the cross-head guide set up for boring
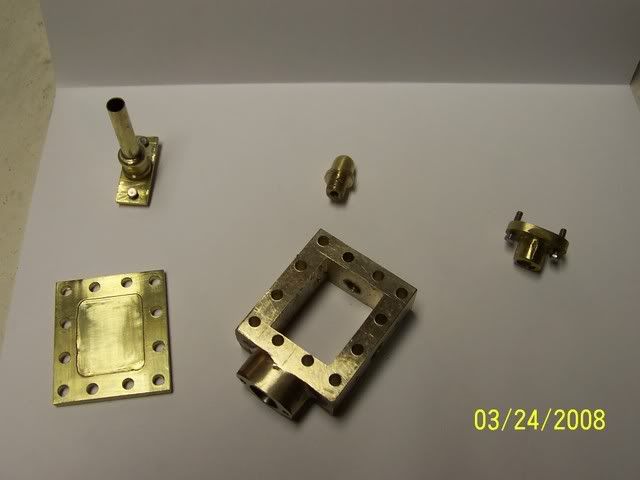
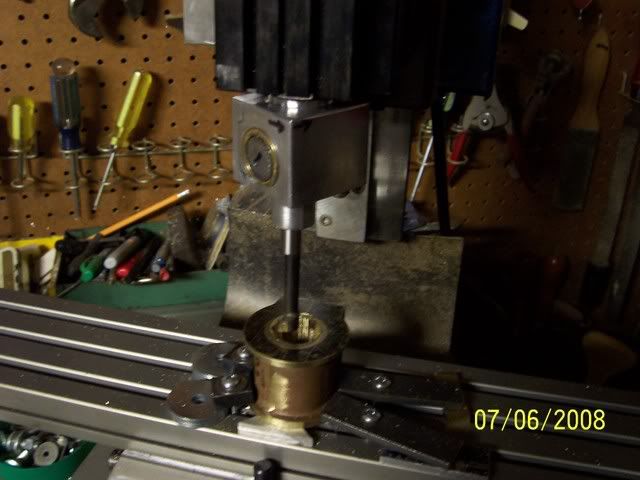
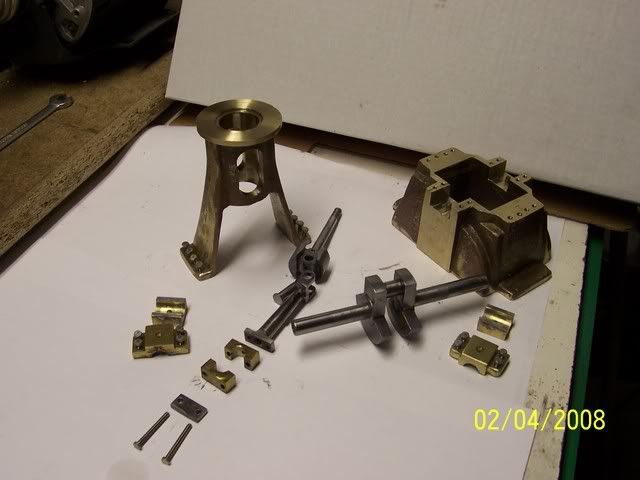
Here's all the parts that are ready for assembly
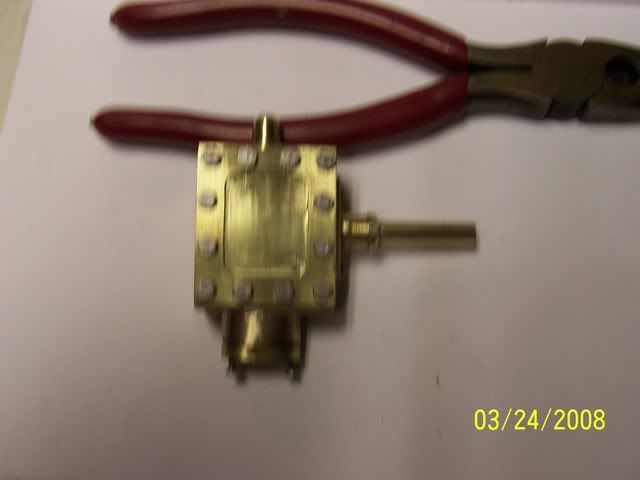
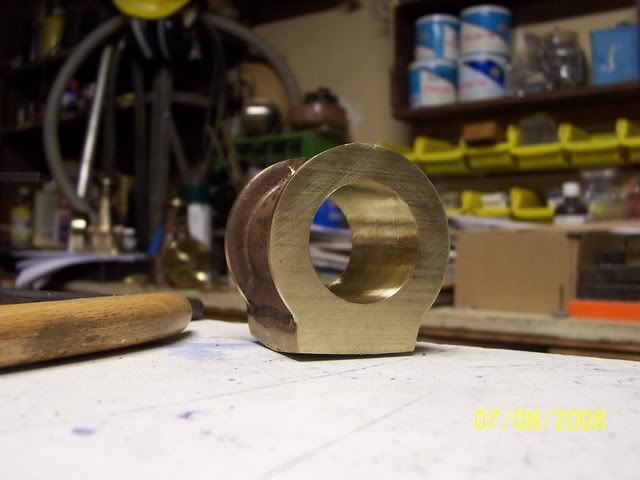
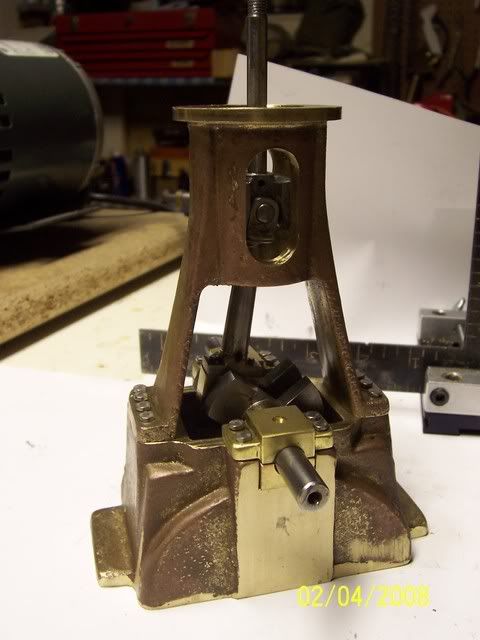
and here's what it looks like so far:
A big thank you to those who have provided advice (directly or simply by posting your various tips) this is my first, and parts of the learning curve look vertical from underneath.... ;D
Cheers, Joe
Bits and pieces of this have been in other threads, but it's now far enough along to qualify as a work in progress...
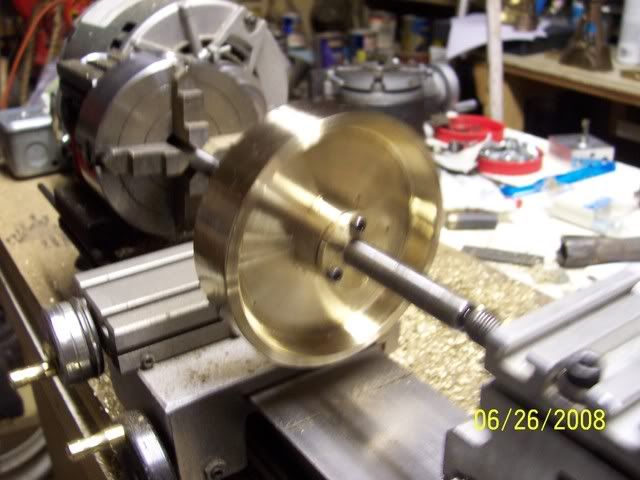
Here's the cross-head guide set up for boring
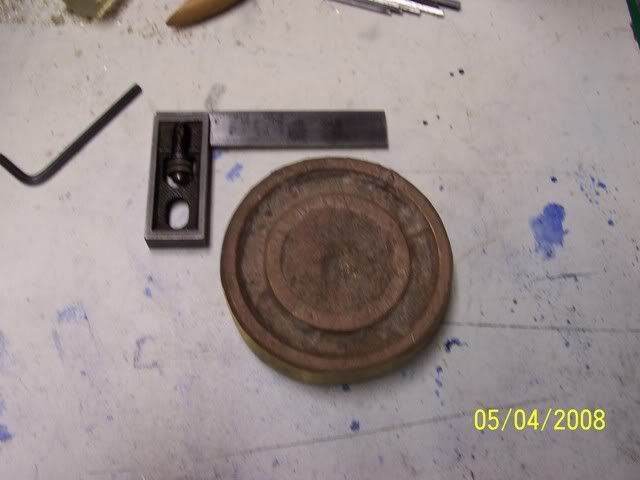
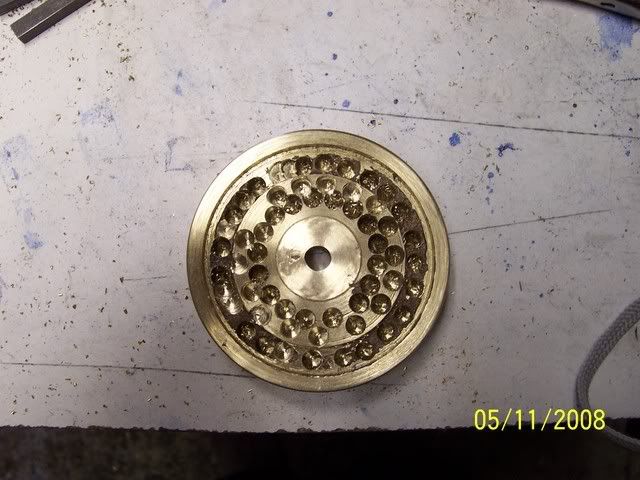
Here's all the parts that are ready for assembly
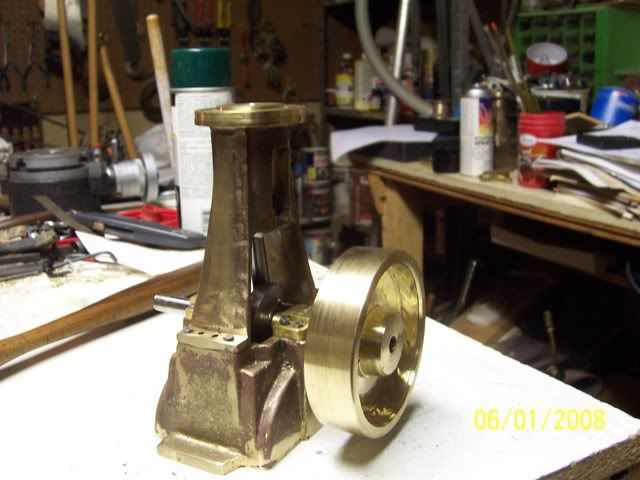
and here's what it looks like so far:
A big thank you to those who have provided advice (directly or simply by posting your various tips) this is my first, and parts of the learning curve look vertical from underneath.... ;D
Cheers, Joe