V-TWIN---MAYBE V-4

Home Model Engine Machinist Forum

Help Support Home Model Engine Machinist Forum:

This site may earn a commission from merchant affiliate links, including eBay, Amazon, and others.
Now I have to ask Is that a beautiful thing, or what?
nlHLVI.jpg
Well yes indeed, the contrast of brass and steel, the balanced symmetry all blended brilliantly with the red necked cludgery of the Home Depot oil filler. 😂
 
That isn't a Home depot oil filter. That tool, which is just resting on a piece of cast iron, has a counterbore that just fits my dies. The other end isn't a socket, it's just a round sleeve that slides over a piece of round steel held in my tailstock.
 
This afternoon we have four valve cages---two for each cylinder. They are not yet ground for the valve seats and they don't have the hole thru the side yet that aligns with the cylinder head ports. They are inserted into the heads with a light push fit and 638 Loctite. They will be ground to accept the valves 24 hours after the Loctite was applied and the port holes will be drilled in the cylinder heads and the valve cages at the same time.
Ihbb6M.jpg

8zt7z3.jpg
 
This morning I made the four valves for the v-twin engine. they look a little funky right now, because I left the "handles" on. After each valve is lapped into it's own particular seat, the valves will be match marked with the valve cage they fit in, and the handles will be cut off.
dGoLWH.jpg

vd5CFq.jpg
 
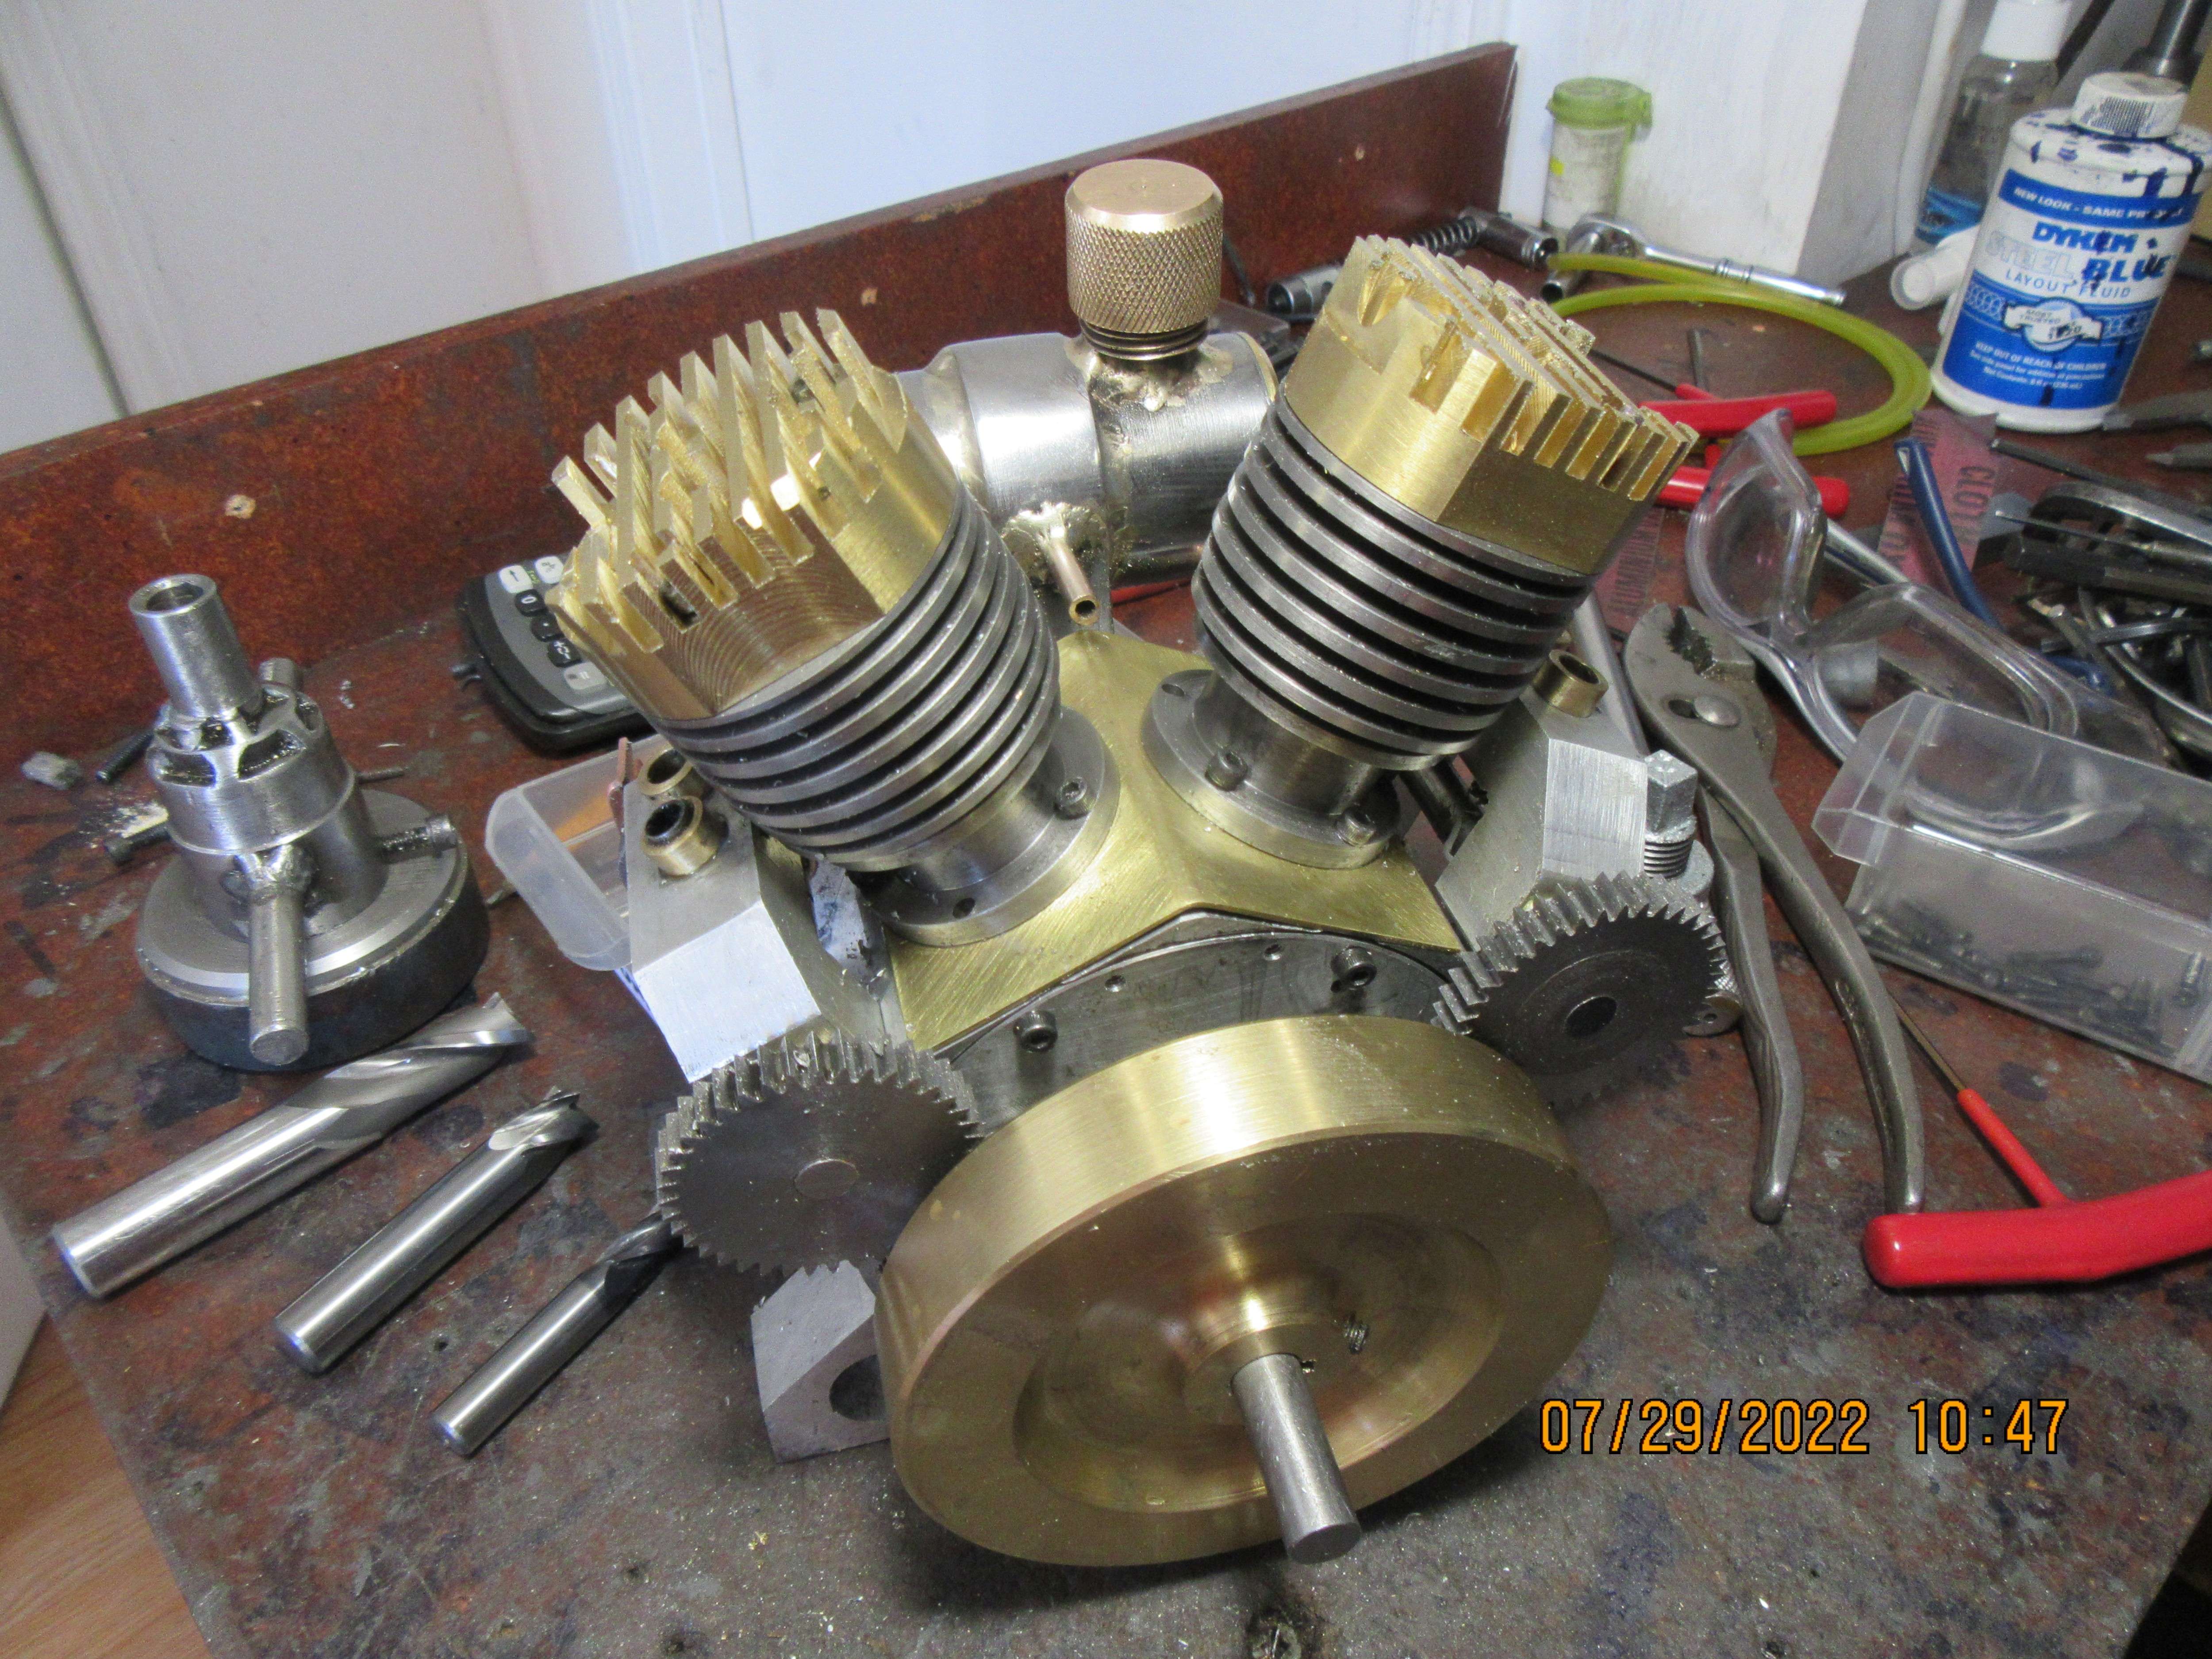
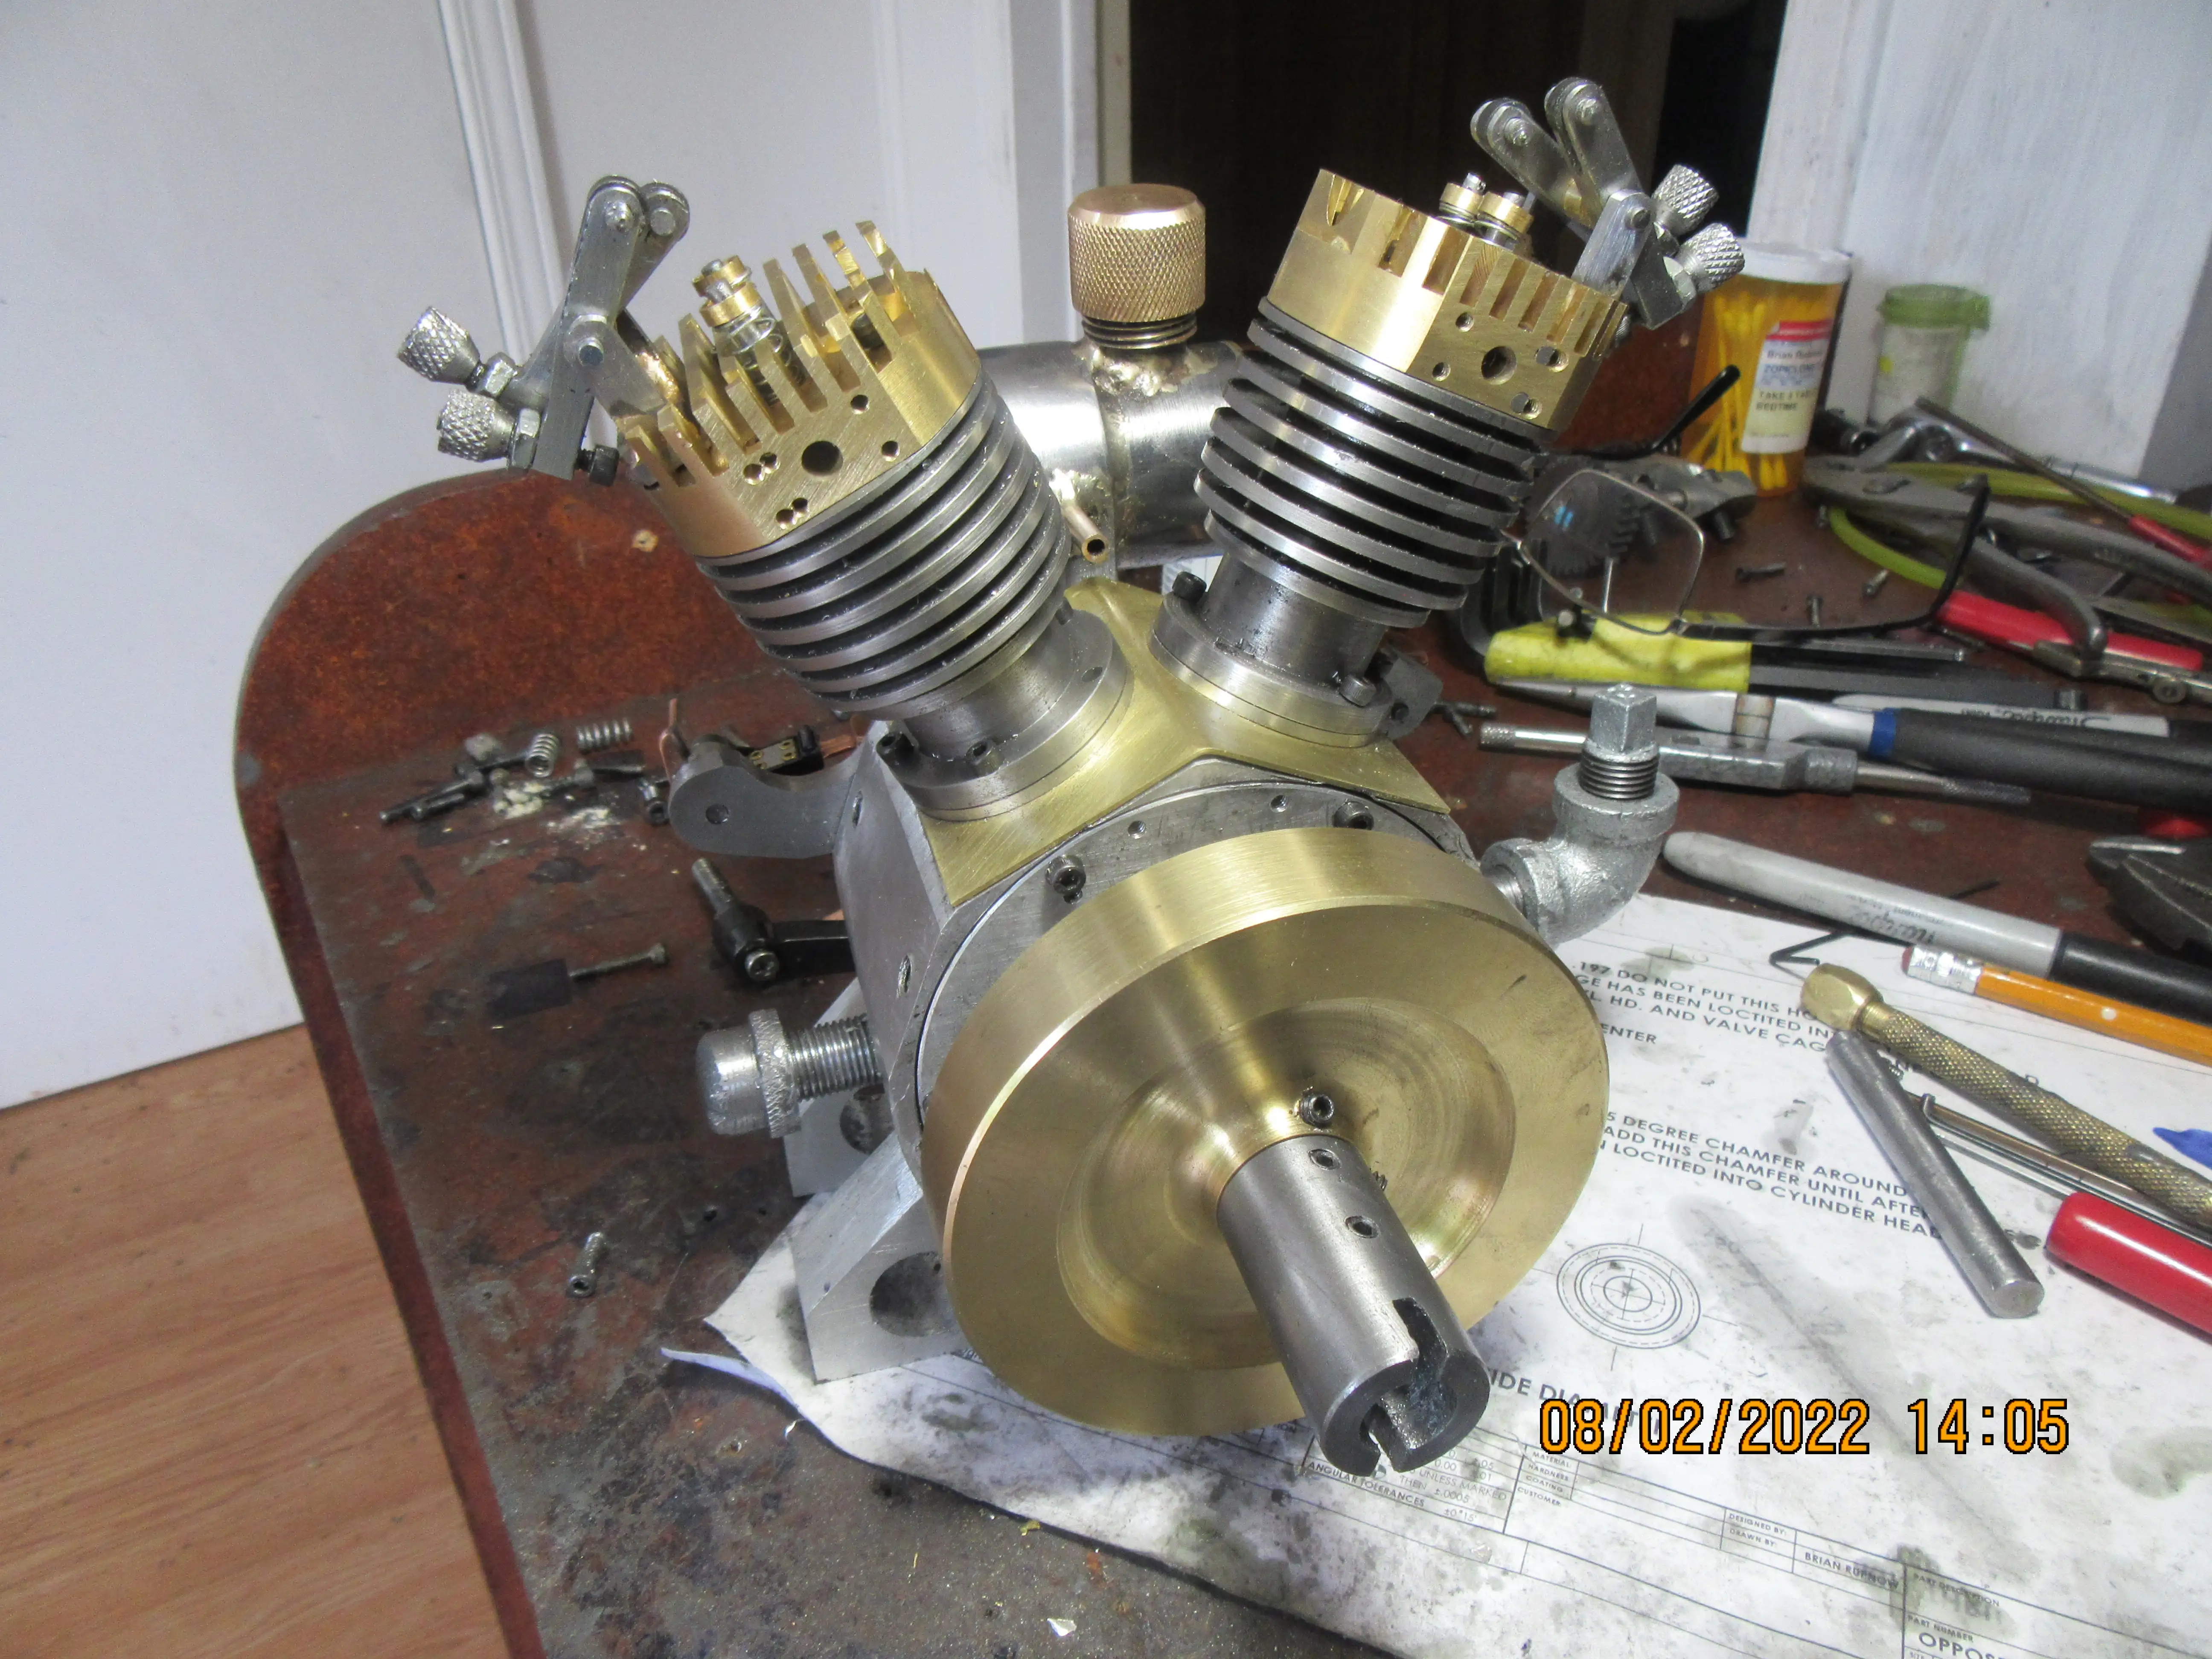
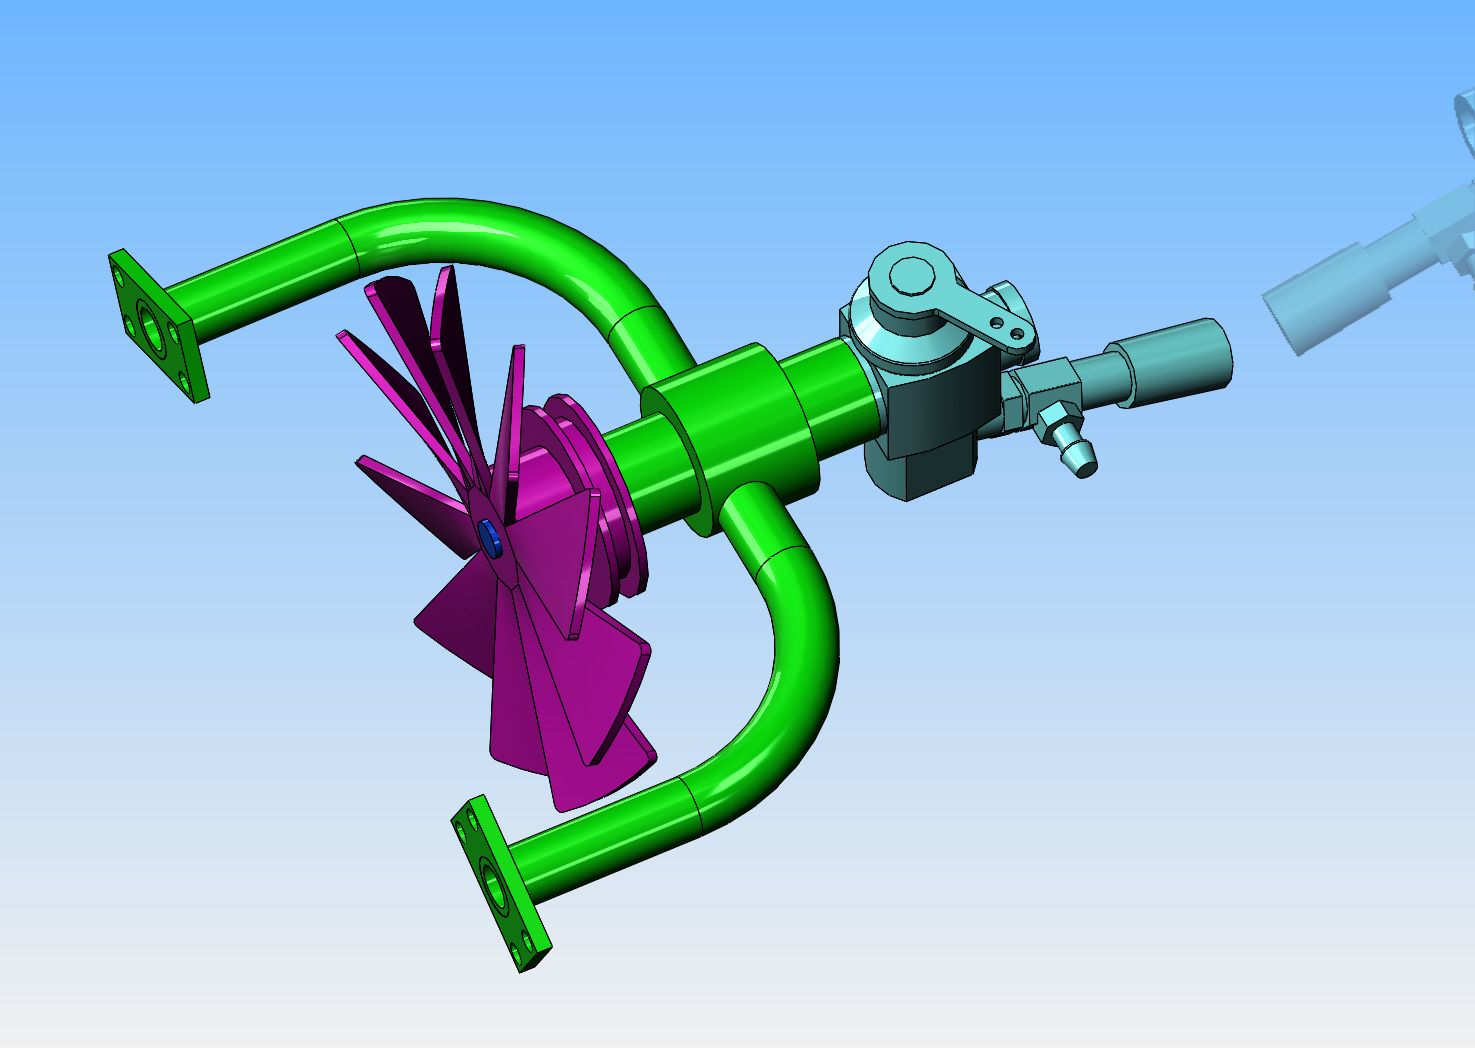
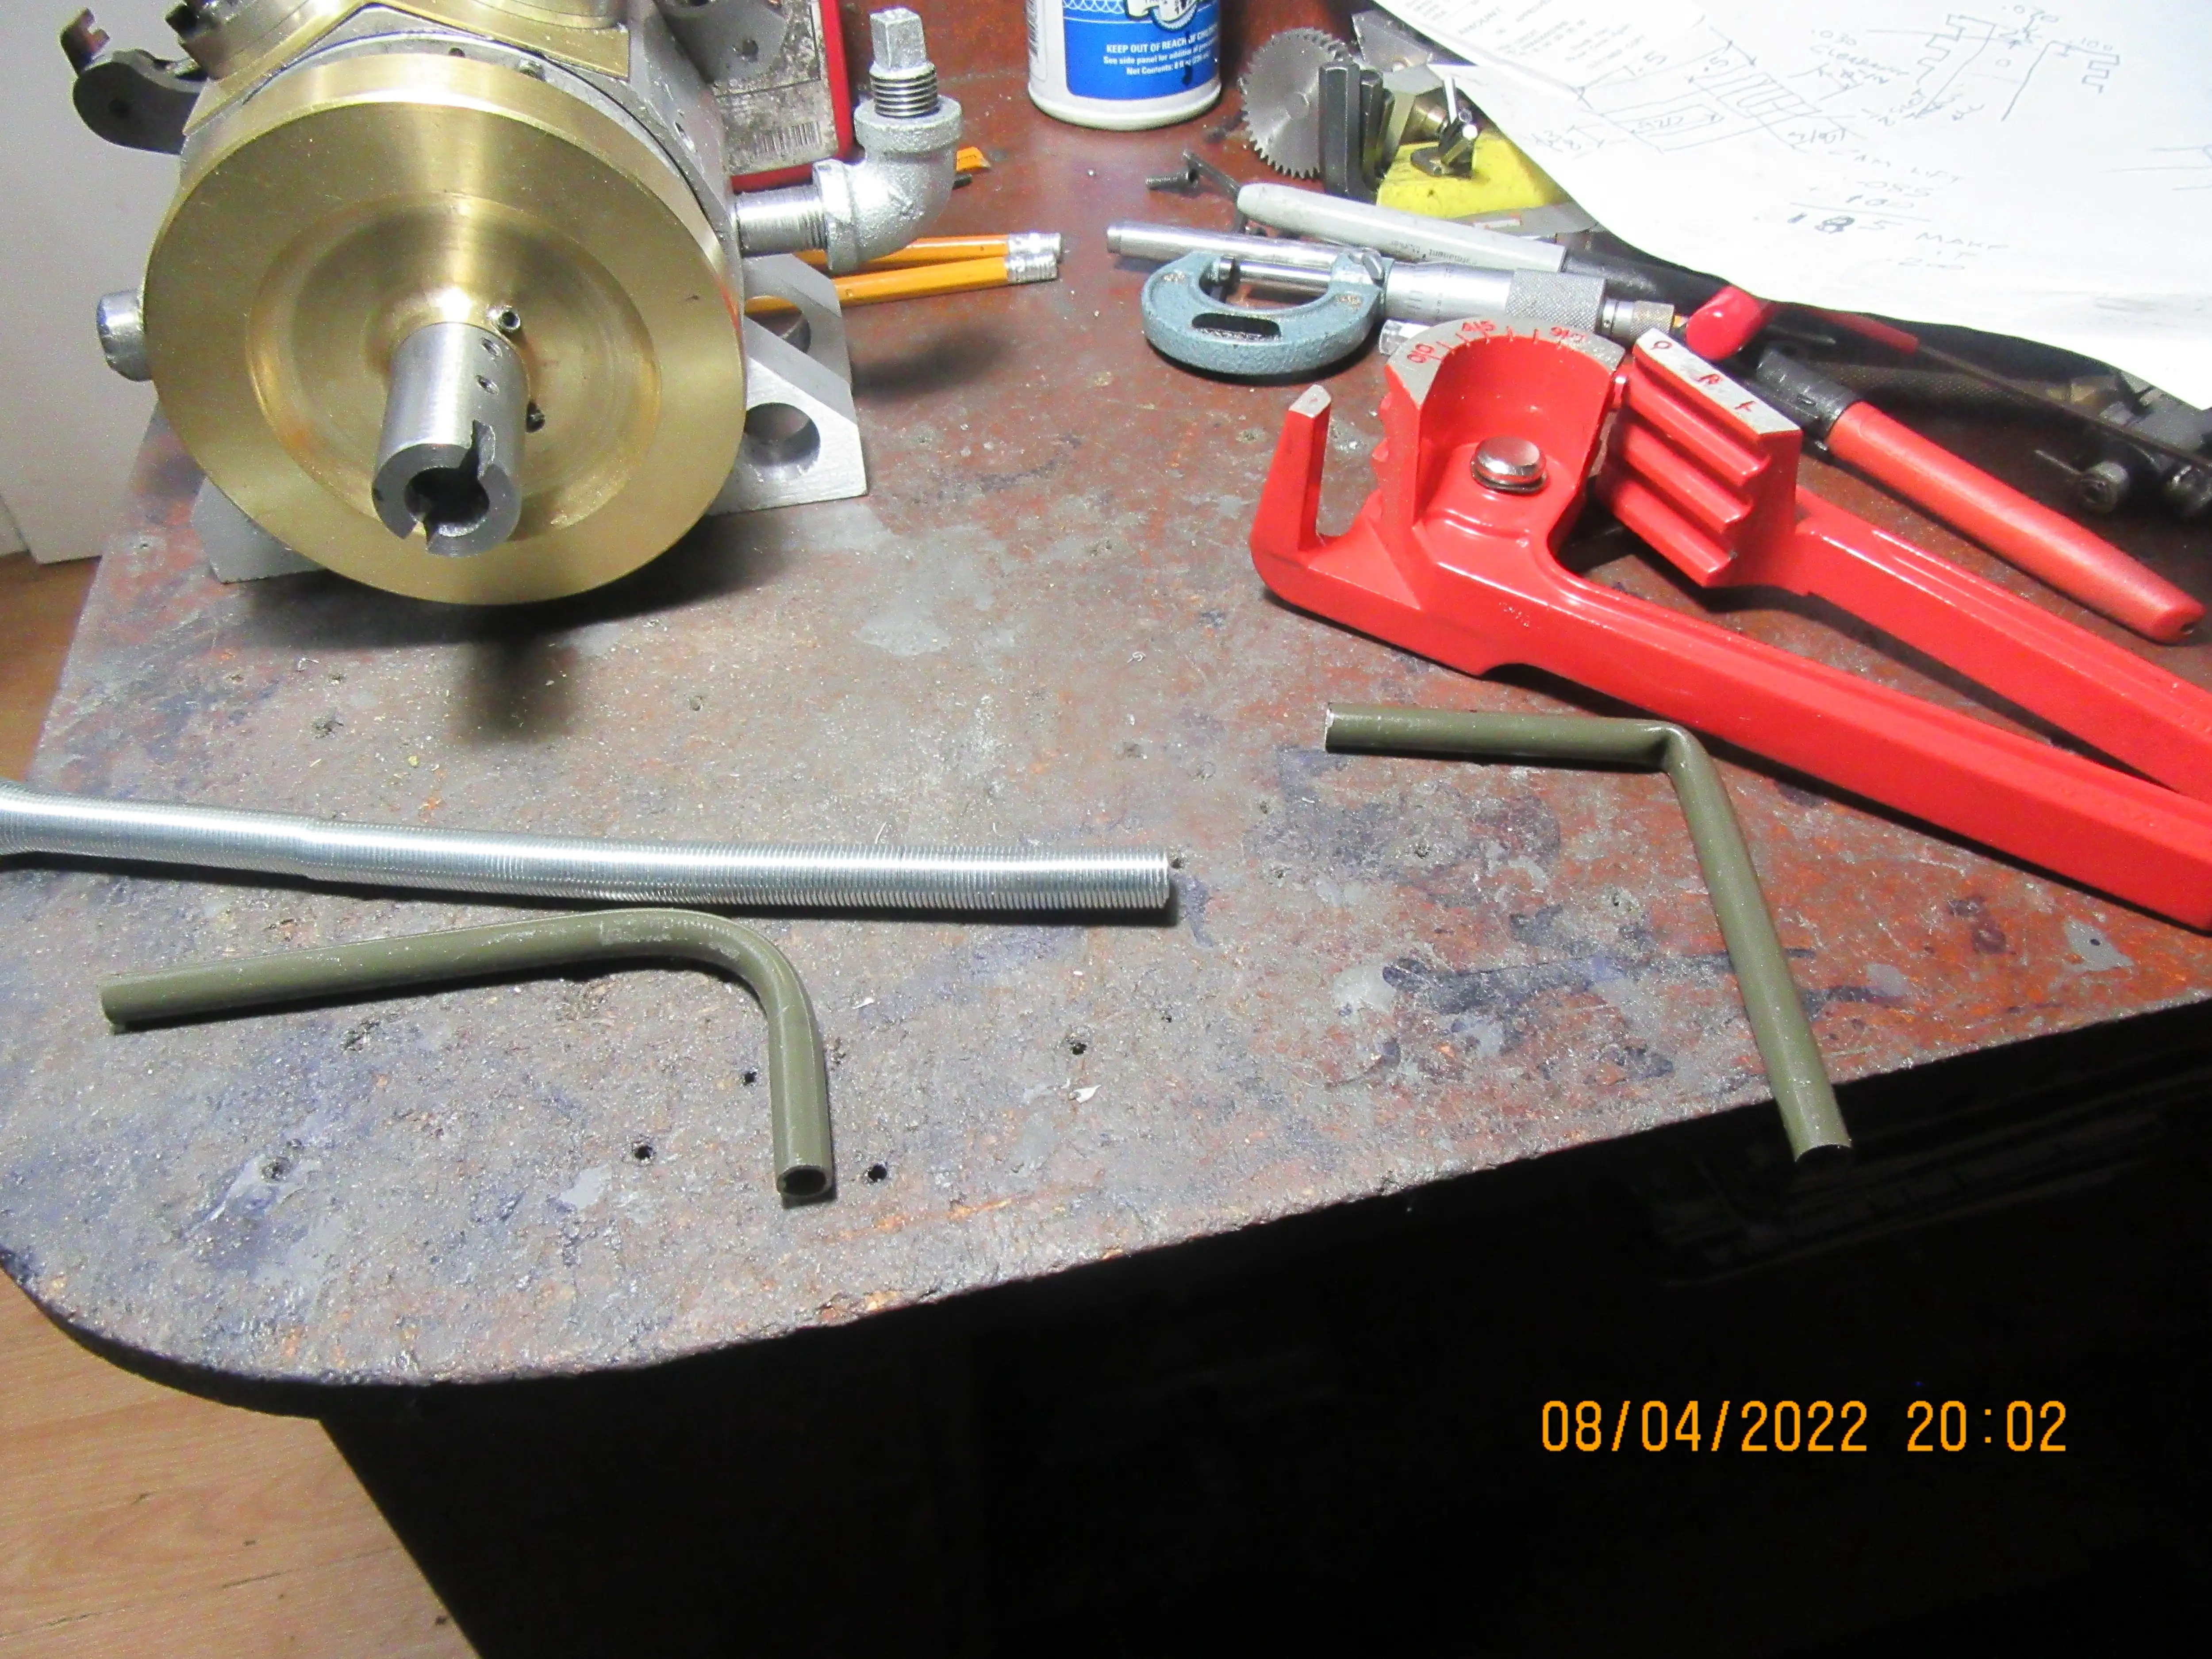
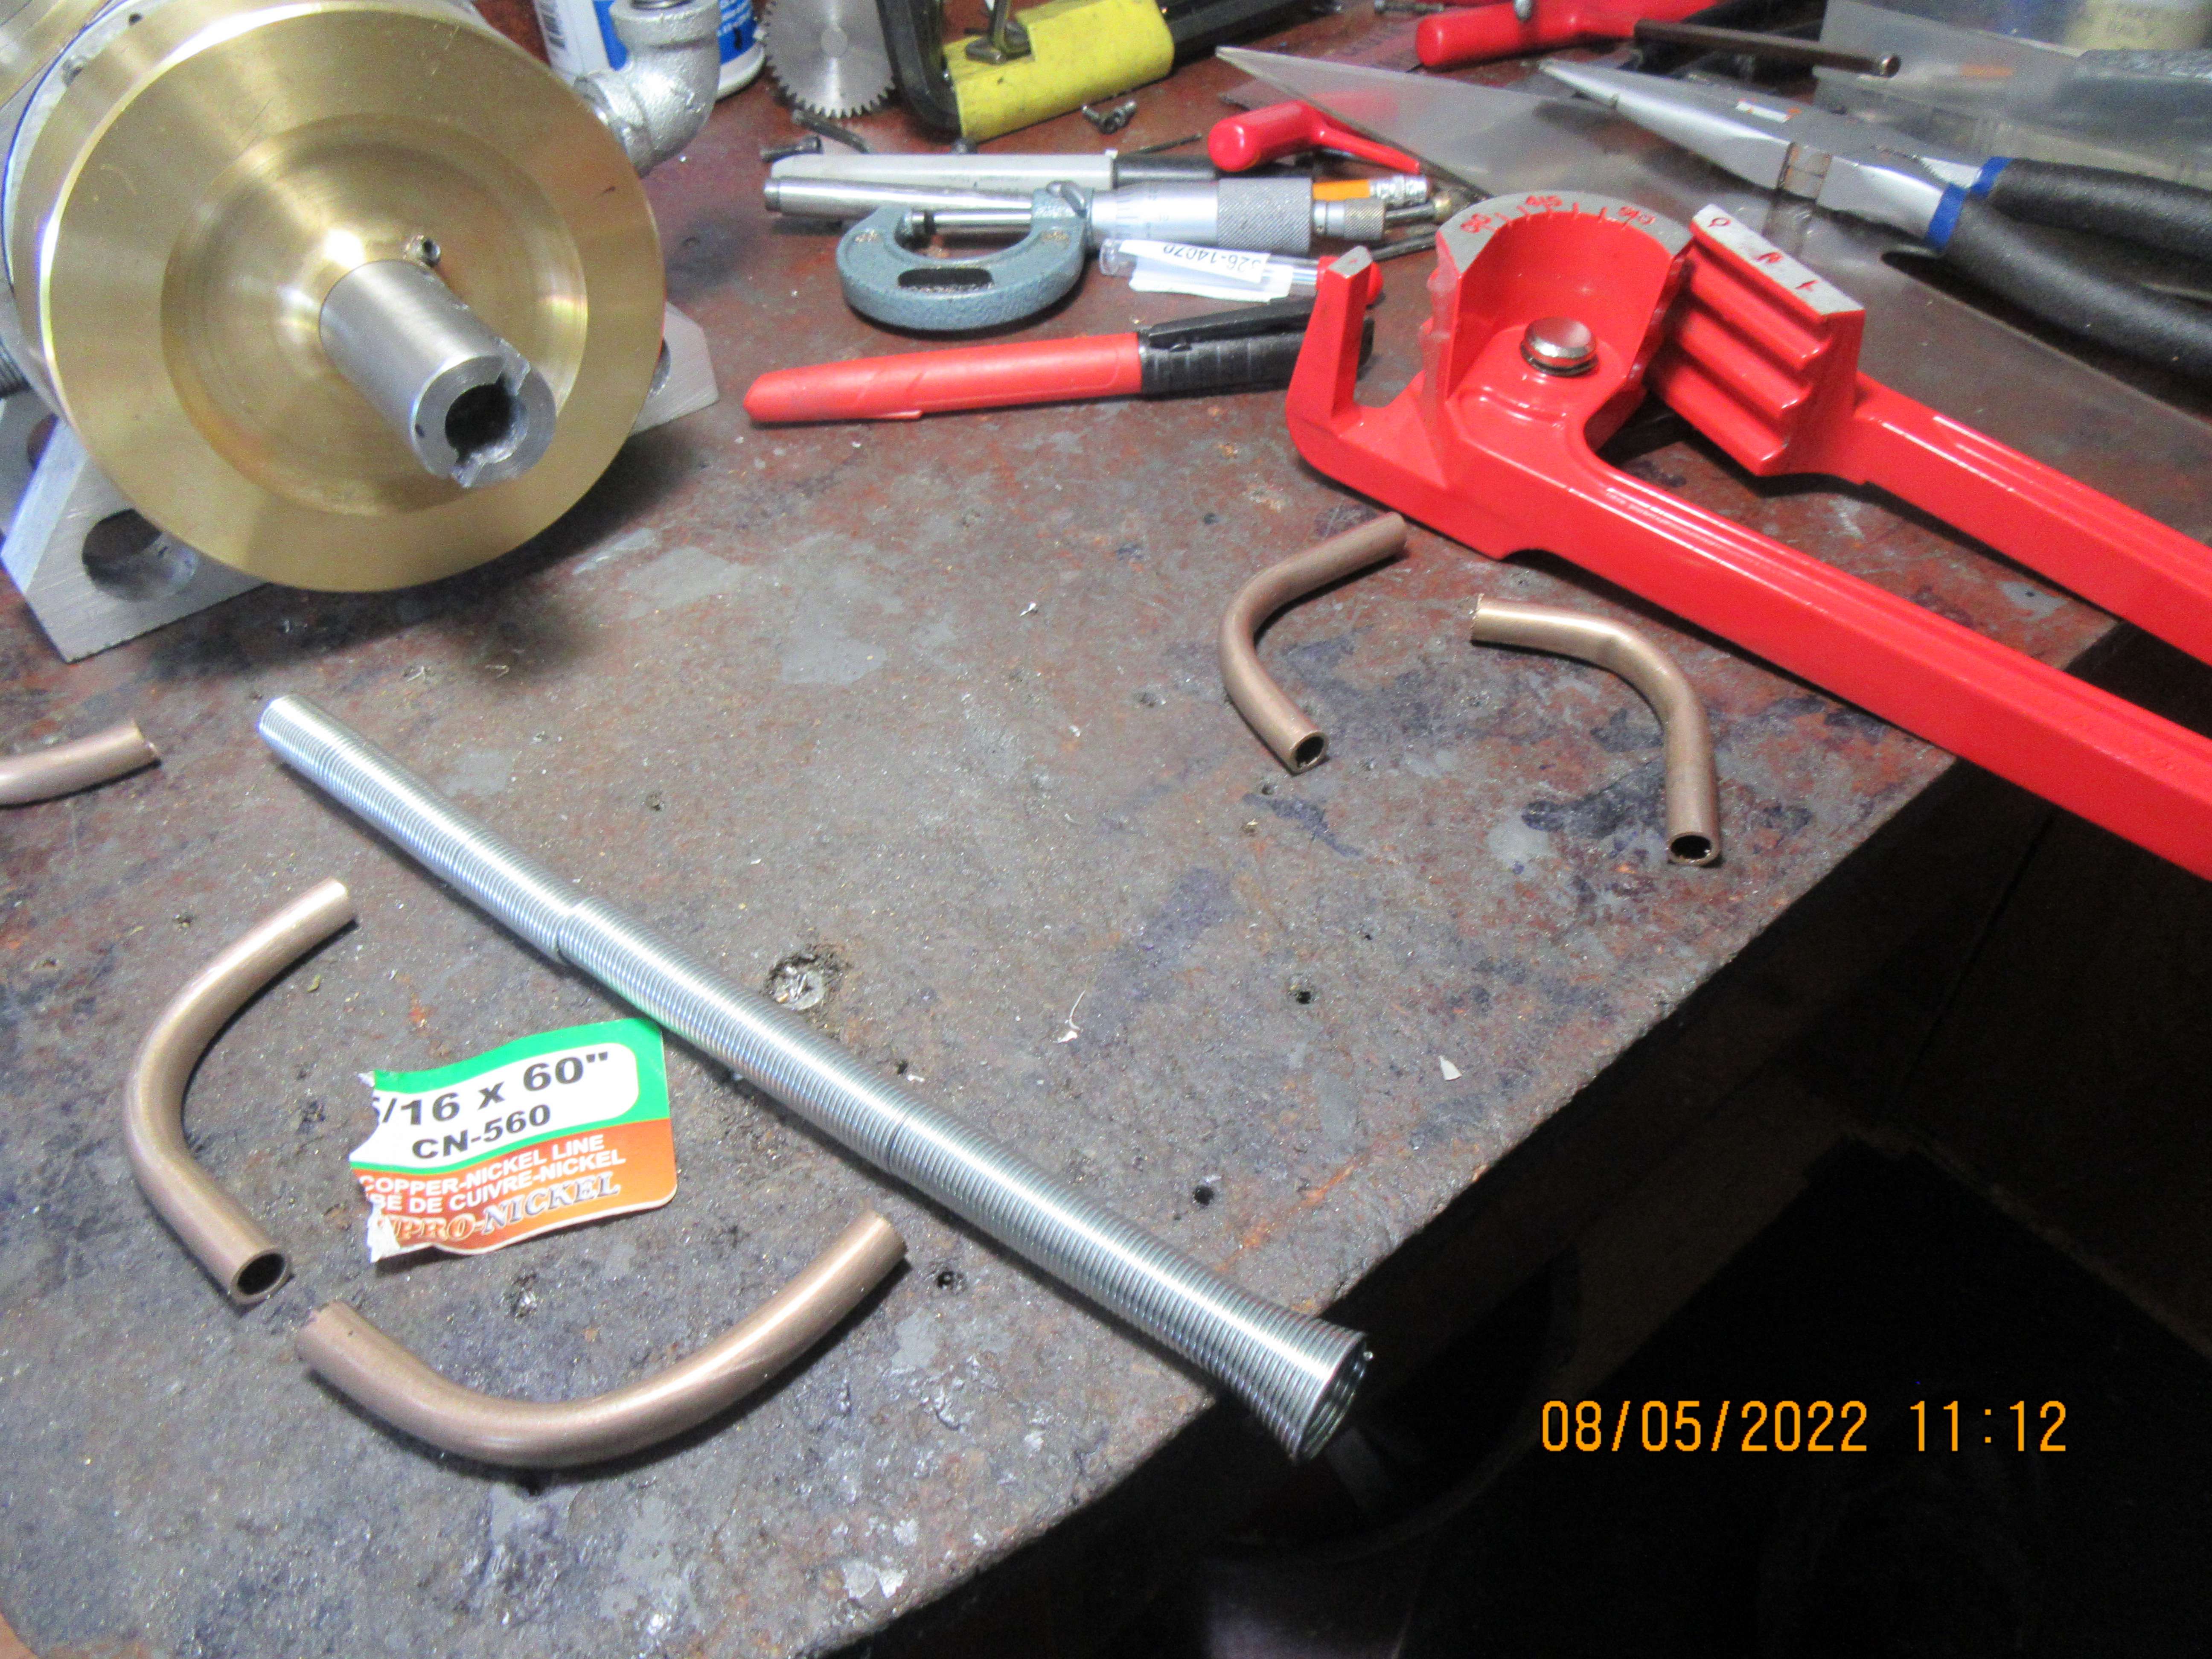
So, we're coming down to the wire on this build. Tomorrow I will lap the valves, cut off the handles, and cross drill the ends of the valves for valve spring retainer pins. Will probably also make the valve spring retainers tomorrow. Then I can drill the inlet and exhaust ports in the heads, and drill and tap them for the intake manifold bolts. I need to put a keyway in the crankshaft, and I have to design/build a starter hub. I may build and install a gear guard, although it isn't necessary to run the engine. I haven't done anything yet on the intake manifold/fan mount.----And I need to machine four cams.----And exhaust pipes. I may have to build a crankcase vent valve, but I'm not sure yet. Still have to make proper rocker arm shafts with a c-clip groove on each end. So, probably another couple of weeks work yet.
 
Today I had a very lazy day. That's not usual for me, but when I'm lazy, I'm lazy. I lapped the valves into their seats, trimmed off the handles, and cross drilled the ends for retainer pins. I hunted around in my box of spare parts left over from other builds, and found a couple of valve springs, and four valve spring retainers. (Two of the retainers need a skim taken off the o.d. and that is why they are loctited to a 1/8" piece of rod, so I can hold them in the lathe tomorrow and do that). I had great intentions of drilling the ports into the heads and drilling/tapping the intake manifold threads, but I went and laid down for a nap instead. Today I'm a lazy bum!!! Tomorrow I will finish the heads.
a7yOpB.jpg
 
The valves, springs, retainers and cross pins are finished and the heads are now completely finished. I will bolt on all of the rocker tower supports, axle pins, and rockers next. You will see that I had to move a set of tapped holes where the intake manifold connects to the heads. I had a pair of tapped holes interfering with one of the head bolts, so I moved the tapped holes and updated the drawings.
Mk24ub.jpg
 
Thank you SteamChEng---
Today things slowed down a little. I wasn't getting enough clearance between the head of the valve at "fully open" and the top of the piston at tdc. I didn't plan on having one of those zero clearance engines, where if it jumps time then the valve goes thru the piston. This issue was solved by putting a 0.100" thick spacer between the bottom of the cylinder and the crankcase. I took a quick look at my bin of mystery metals, found something close to the right size, and didn't realize until I was machining it that it was 303 stainless. That's okay---almost any metal would have worked. I also machined a starter hub. Right now I have both cam shaft supports removed to give me better access to the bolts which hold the cylinders to the crankcase.
y4sGOI.jpg
 
This is where I'm off to next. The carburetor is a purchased carburetor. The fan and fan shaft are supported by two 3/16" i.d. x 3/8" o.d. sealed ball bearings which are sold as router guide bearings. The center part is turned from brass. The trick of course will be to purchase and bend the two curved pieces. PartSource Automotive sell a metal brakeline that has the same inner and outer diameter as I have used, and I have a reasonably good tubing bender that accepts that diameter of tubing. The part I'm not sure about is what radius my bender makes.--I'll know tomorrow when PartSource opens.
knPU8D.jpg
 
What did I do on the engine today?--Not that much. I took two grandsons swimming at a nearby lake. Geez the water was cold. I bought a new 1/8" carbide end mill and cleared some obstructions out of the cylinder heads where the head bolts go thru. I bought a length of rigid brakeline to make the two bent intake manifold pipes. I redesigned the gear guards into something that will be a little easier to make, and I spent some time making changes on the fan mechanism because the 1/8" ball bearings that I used originally are no longer easily available.
 
I haven't had stellar results bending my intake manifold tubes. I bought a length of steel brake line from PartSource, my local auto parts store. This is what I generally use to make bent tube assemblies from. The one on the right was a total failure using the red tube bender beside it. It kinked and that was that. The one on the left was bent using one of those wound spring bending devices, and although it didn't kink, it flattened out considerably in the bend area. I'm too cheap to buy a container of Ceramet which is a very low melting point metal which melts in hot water, can be poured into the tube, where it rapidly solidifies and then you can bend the tube without it kinking or flattening out, then just heat the tube in hot water and pour the liquified Ceramet out. I've bent these brake lines before with no trouble, so I will have to go down to PartSource tomorrow and see if there is a different grade of brake line that is more bendable. I was in a hurry today, and they had moved the stuff I generally buy to a different part of the store, so I may have picked up the wrong kind of brake line.
zuFXS3.jpg
 
for what its worth - im guessing you already know this but i have used sand to fill tubes before bending and that works really well. i have also used ice. fill the tube with water, freeze it (allowing one end to be open for expansion so it doesnt burst the tube) and that worked well. i saw the ice method on a tv show called "how its made" and they were making trumpets and that was one part of the bending process
 
Okay---as I thought, I had purchased the wrong type of rigid brake line first time around. This morning I went back to PartSource and bought a length of copper nickel line. I bent two pieces on the right with the red mechanical tubing bender, and although they bent without kinking, the bends were very lumpy looking. Then I bent up a second pair of tubes with the silver coil spring tubing bender. This gave a very satisfactory bend with no kinking and very little flattening.
HGt5lF.jpg
 

Latest posts

Back
Top