Topsy Turvy Hit & Miss Engine Build

Home Model Engine Machinist Forum

Help Support Home Model Engine Machinist Forum:

This site may earn a commission from merchant affiliate links, including eBay, Amazon, and others.
IT'S ALIVE!!!

I fired up my engine this morning and wanted to share with everyone. There is still much to do even in running it in but I have to agree with gbritnell. I jumps around a lot. At first I clamped it to my aluminum step bench and I moved all over the place. The compression on the engine is very high and I find that with Coleman fuel it knocks so I am going to have to use a higher octane slower burning fuel. I am also considering lowering the compression by shortening the piston. I have a a lot of other impressions about this engine and will share them after I have done a bit more fiddling. Let me also say that I built this engine out of aluminum and it might be better done out of steel for higher mass. I also recommend anyone doing one of these use loctite on every screw and bolt. I still have to make the muffler, and the drip oiler but here it is in the current configuration.

Sorry for the messy bench. Just click on the picture for the movie...


Harold,
Let me congratulate you. All the hard work paid off. When I built mine it was made out of iron so it does have more mass but like I said it still likes to jump around unless you clamp it or make a base out of a heavy piece of steel.
gbritnell
 
Congratulations on the build, Harold. Looking forward to following along with your tweaks. Would a little off-the-shelf octane booster added to Coleman fuel help with the engine knock?

Regards,
Rudy
 
Well done Harold, sounds nice and crisp. Makes me look forward to hearing my first IC engine run. One day. Good work.
Brock
 
Congratulations Harold, runs very nice :bow: :bow: :bow:
And look at that flywheel, no swing at all! Beautiful engine, beautiful build and a pleasant log to read, you must feel so proud!

Regards Jeroen
 
Well done Harold, a sweet runner you've got there :bow: :bow: :bow:
 
Thanks to all of you for your comments and compliments. I really appreciate it especially coming from the group of experts that are represented here.

rudydubya said:
SNIP>>> Would a little off-the-shelf octane booster added to Coleman fuel help with the engine knock?

Regards,
Rudy

Rudy - You asked about octane booster. I am not too familiar with it. but that is something I am considering to try to get the pinging under control. I have retarded the timing but it only helps a little. I was thinking I was going to get a gallon of the most premium fuel I could get and try that. If the octane booster is a possibility, tell me where to get it and what do I look for. Back in my aviation days, my Luscombe 8A and my Cessna 172B used 80/87 (red) . When it became unavailable and I had to use 100LL( green) I would buy an additive that I would put in my tanks, which I think the purpose of it was to put back in the lubrication properties to the valve guides that the leaded gas supplied. I could stand corrected but that is what I think I remember.

As I stated previously, There were two parts that I deferred making until after my first run since they were not necessary for the running of the engine. Today I built the muffler shells...

The first operation was on the muffler body and I did all of the rear turning, drill and threading before parting it off and turning it around to bore the inside.

file-451.jpg


file-280.jpg


file-822.jpg


At this point I used a 3/8 in collet and held the body by the stem to bore the inside.

file-1867.jpg


The muffler cover was similar but the exhaust hole was reamed to press fit the baffle in later.

file-987.jpg


file-1183.jpg


Here are the two completed shells. Remember there was an error in the drawing for the exhaust and I had to turn a sprue on the end to help locate the muffler into the exhaust valve body. This is the only deviation from the drawing for this part.

file-446.jpg


file-1312.jpg


file-282.jpg


Tomorrow I plan on making the baffle and put the parts on the rotary table for drilling and tapping the six screws...
 
Harold, I'm not that familiar with octane boosters either, I was just wondering as I read your post if it would help with the ping. I used some once in my old Ford pickup and it seemed to help, but I don't recall the brand. I have read that some RC model boat, car, and plane and helicopter enthusiasts are using Coleman fuel in their higher-compression gas engines, some with an octane booster, some without. I do recall the Lucas brand being mentioned on one or more of their forums, but have no idea of its merits compared to others. Can probably be found at most auto supply stores.

That being said, this evening I started wondering what the octane rating of Coleman fuel might be, and it's apparently in the 55 octane range. I didn't know it was that low. Hope the question hasn't been a distraction, I'm enjoying following your progress.

Regards,
Rudy
 
I'm not sure that I hear a ping from detonation - my first instinct suggest that valve / hit & miss mechanism, though I might be completely of the charts with that.

Try to disable the hit & miss mechanism first and see if it runs the way one would expect (and be ready to kill the ignition if the rpm rise too much)
 
Admiral_dk said:
I'm not sure that I hear a ping from detonation - my first instinct suggest that valve / hit & miss mechanism, though I might be completely of the charts with that.

Try to disable the hit & miss mechanism first and see if it runs the way one would expect (and be ready to kill the ignition if the rpm rise too much)

I am going to look into that as I, like you thought it might be a mechanical sound but the engine has so much compression that it is difficult to turn over on a compression stroke. I took the flywheel off and with my two thumbs on the crank webs i almost could not get the piston down. With the spark plug removed or the exhaust valve open the engine turns very freely. If you look at the run video it is coasting many cycles between hits. I am looking into both increasing the octane and looking into Rudy's suggestion as well as looking at ways to decrease the compression ratio. Thanks for your input as it is certainly worth looking into.

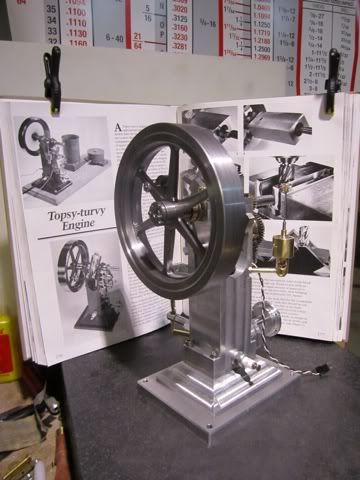
As I mentioned yesterday, I want to complete the two last parts before I tear it down for painting and final twiddling.

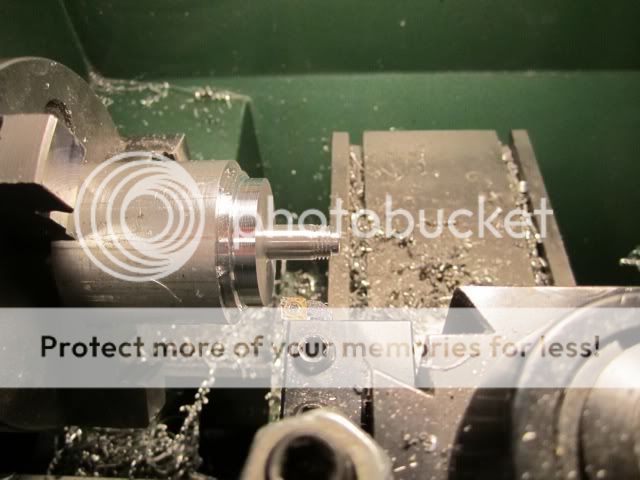
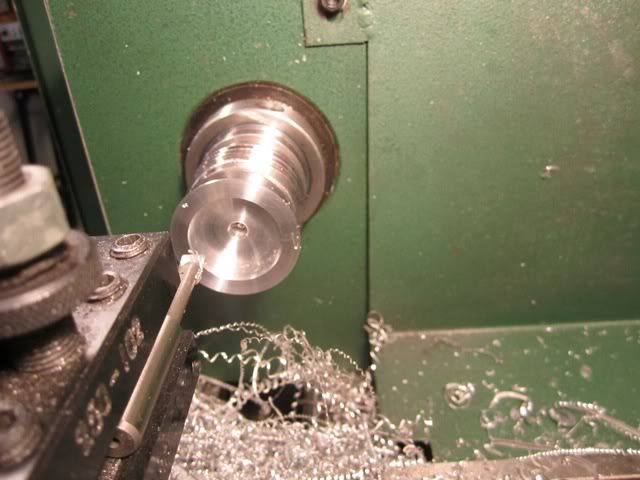
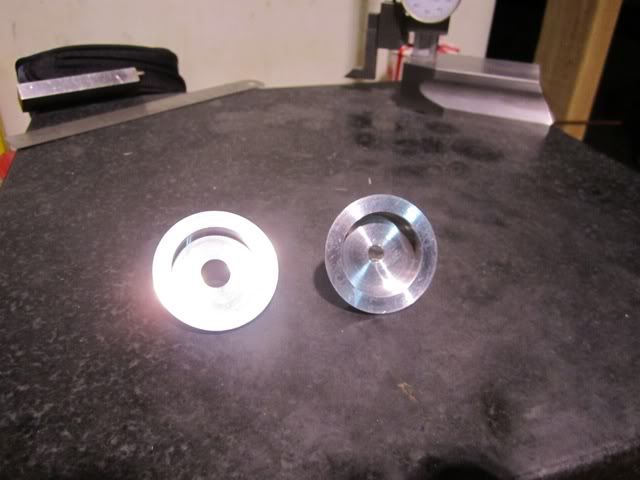
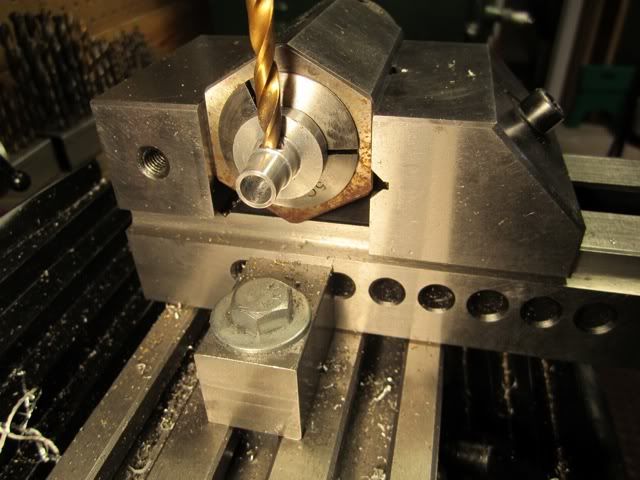
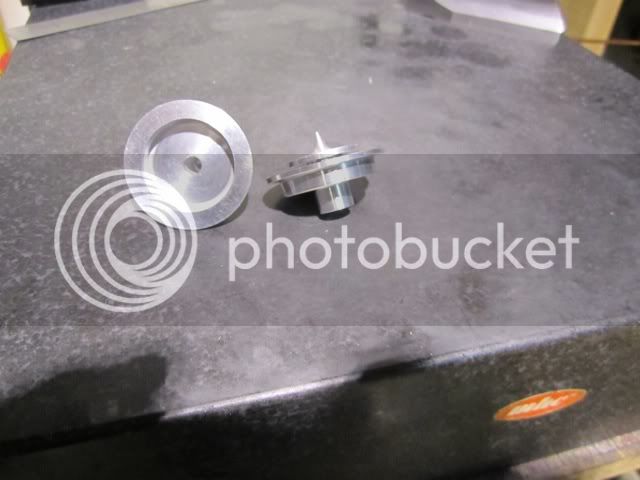
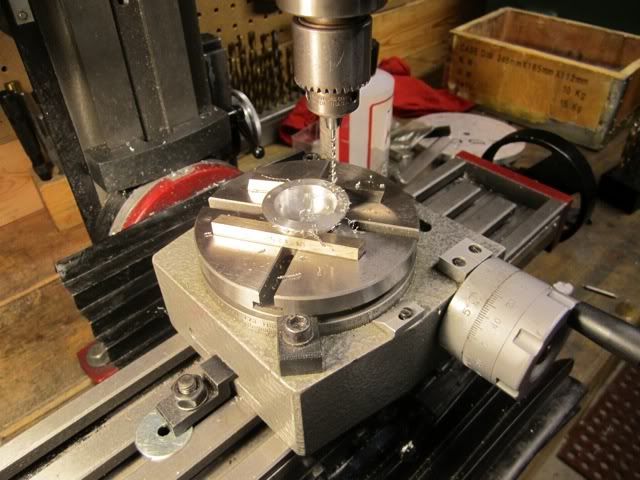
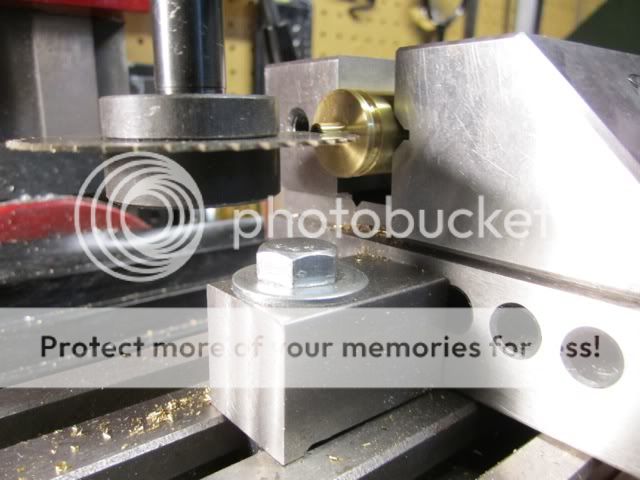
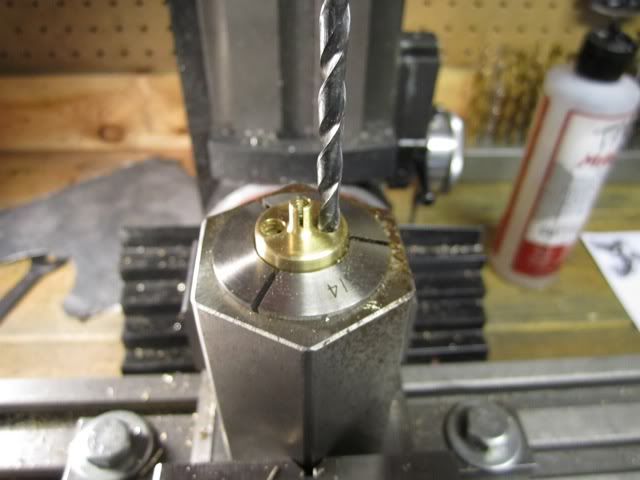
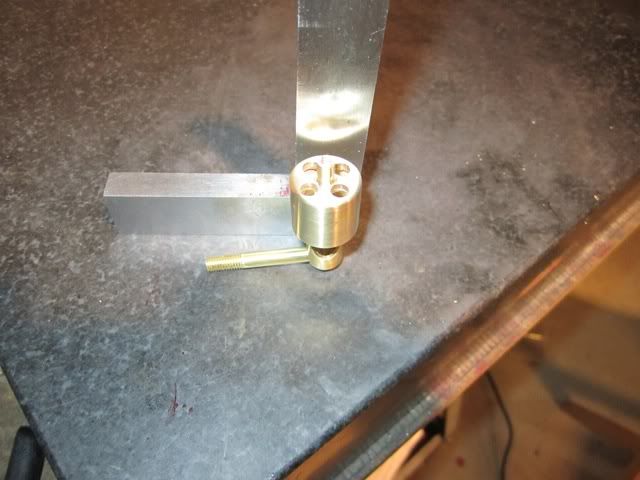
On my previous post, I completed the two outer muffler parts. Today I turned the muffler baffle. After turning the back side to dimensions I put the part in a collet on the mill and cross drilled the four holes.

file-1762.jpg


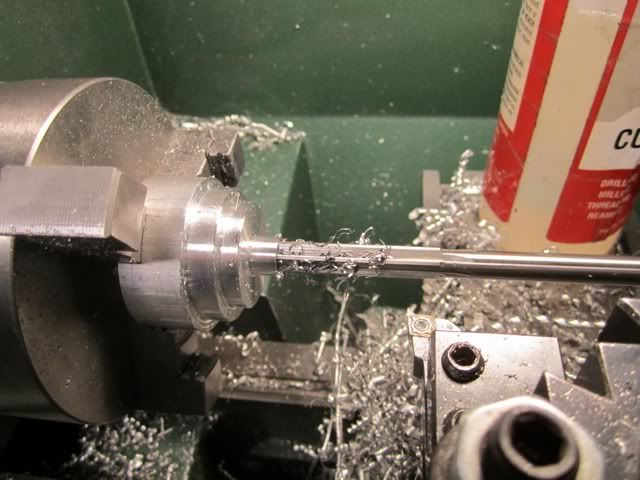
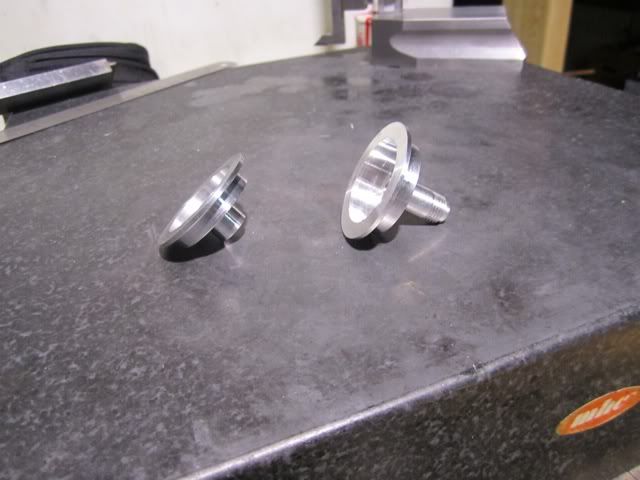
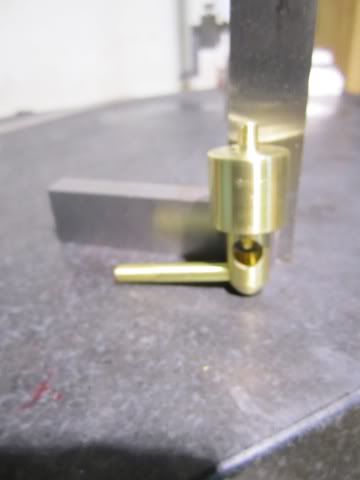
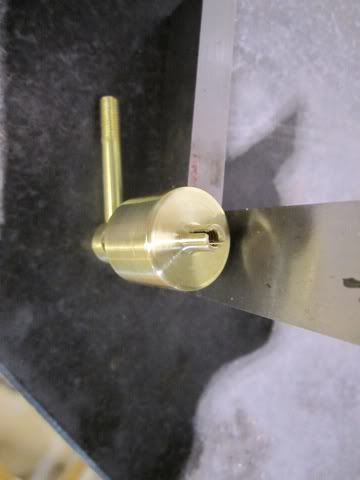
After completing the holes I put it back on the lathe in a 7/16 collet to finish the front side. was a bit of turning work, a bit of filing, and a bit on 400 and 600 Wet or Dry.

file-1648.jpg


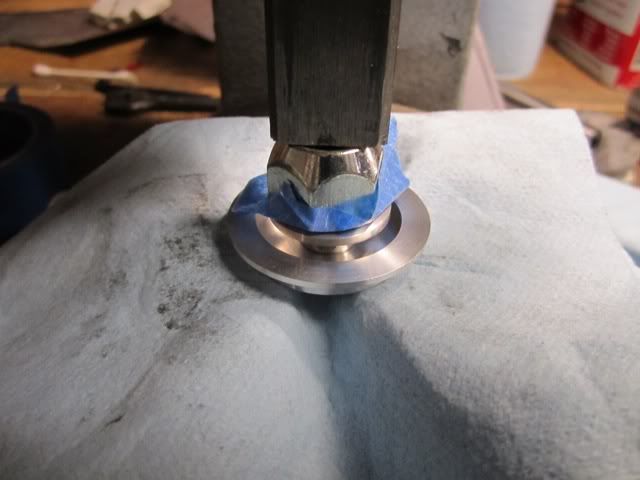
The three parts were complete so the arbor press was next to press the baffle into the front body.

file-398.jpg


At his point the three parts were now two parts.

file-981.jpg


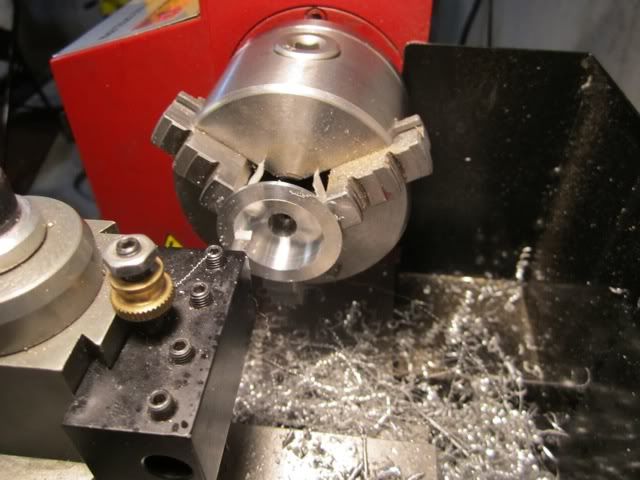
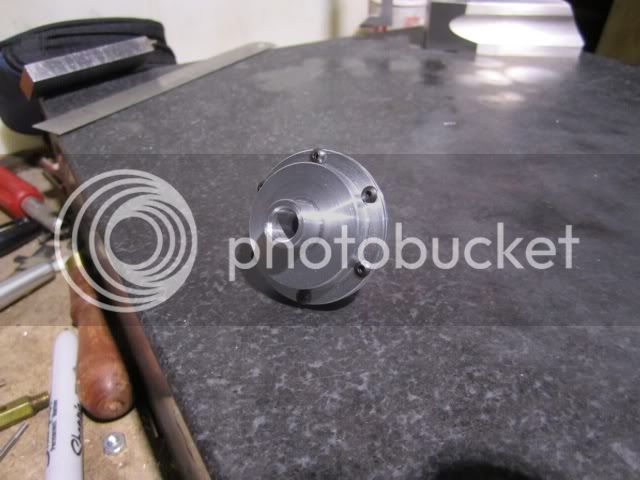
The next operation was on the rotary table to locate, drill and in the case of the rear shell, tap the 2-56 holes.

file-1733.jpg


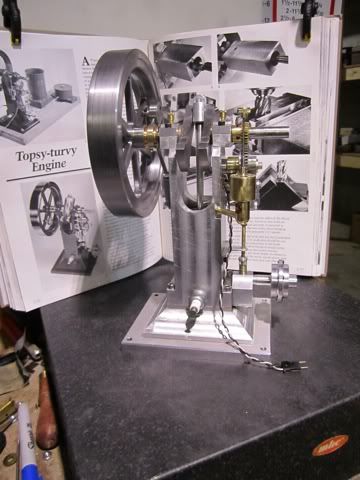
At this point the muffler was complete.

file-1722.jpg


file-264.jpg


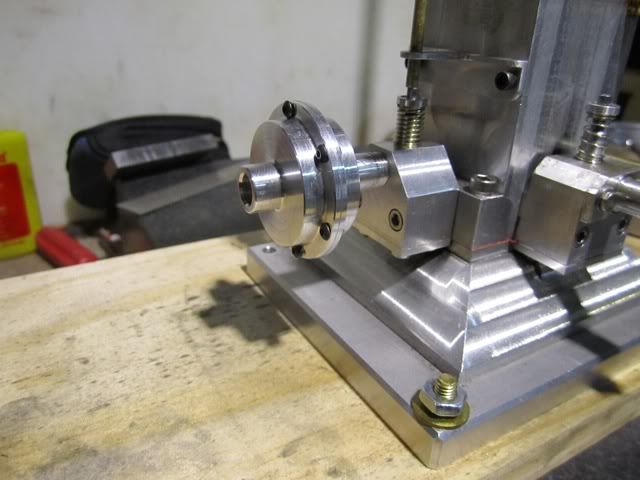
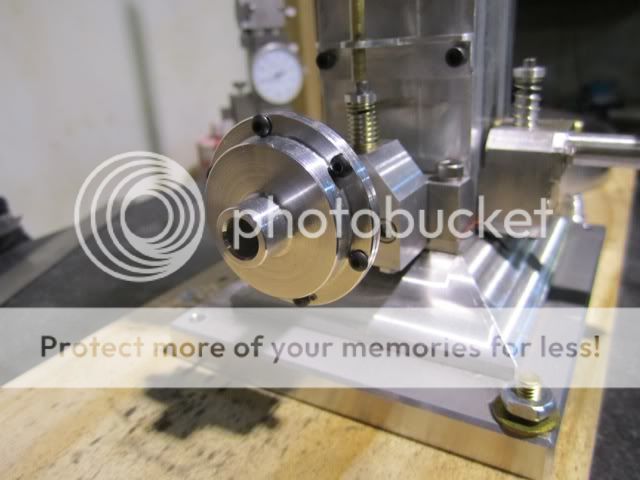
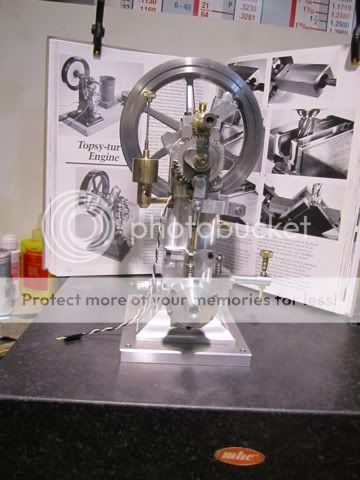
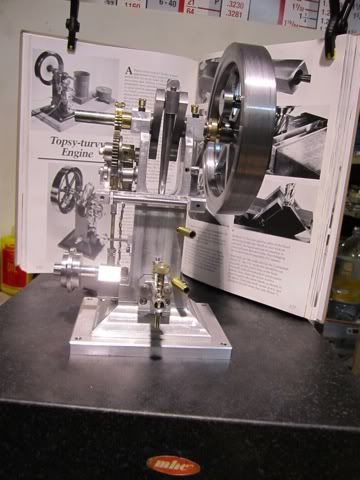
And here it is in its new home...

file-2356.jpg


file-694.jpg


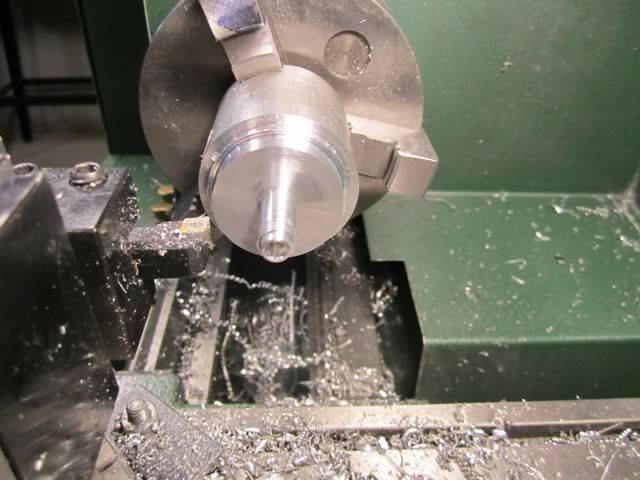
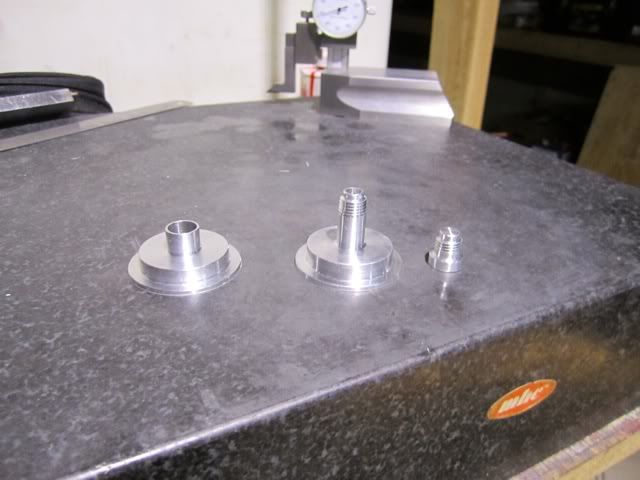
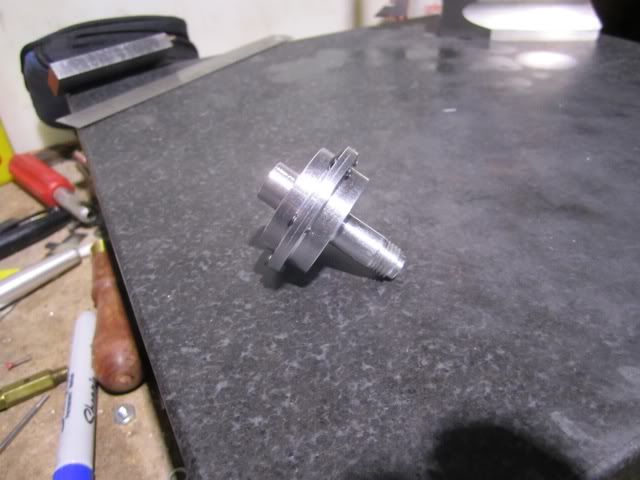
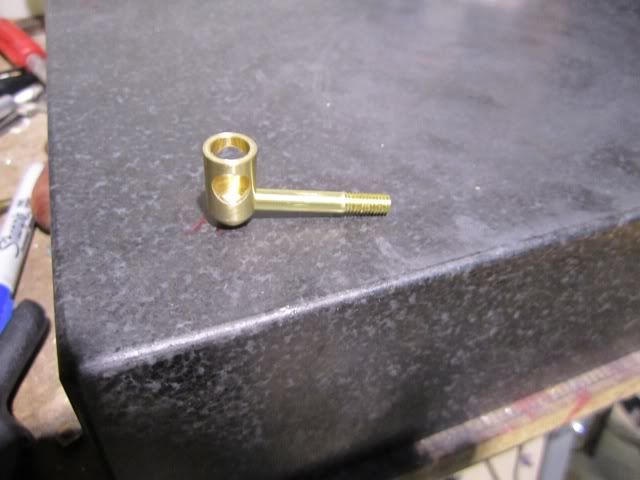
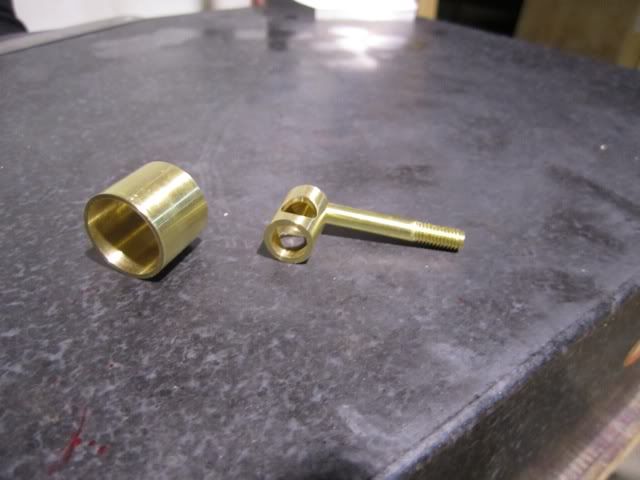
The next part is the oiler which is made up of 5 different parts. Four of which are fitted and soft soldered together. The stem, the sight tube the reservoir, and the cap.

Here are the first two completed parts...

file-809.jpg


file-285.jpg


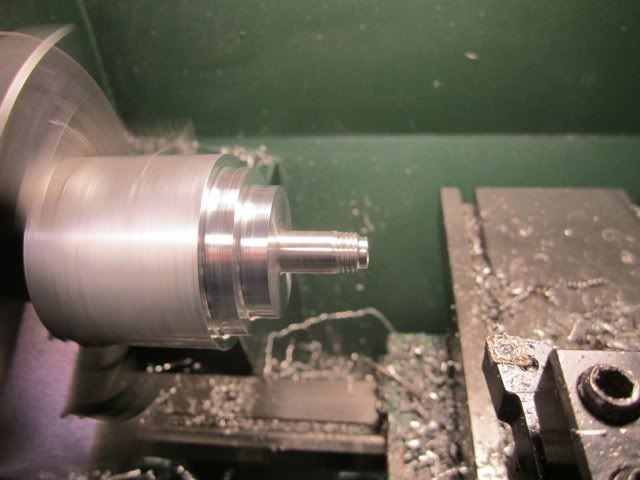
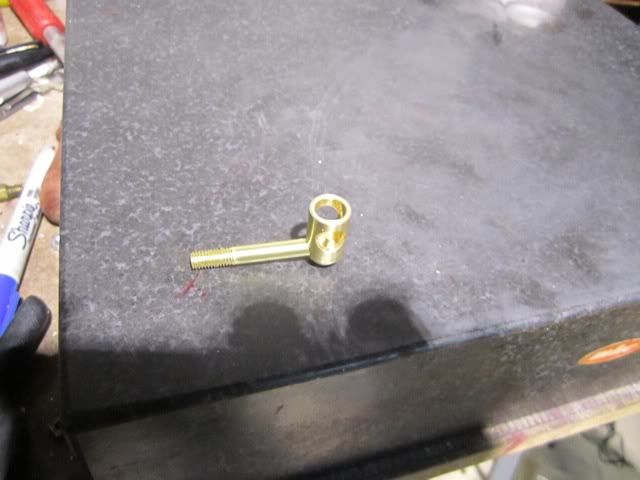
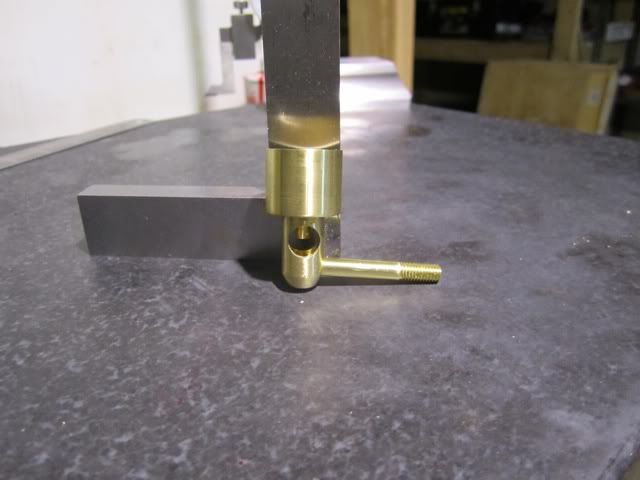
And here is the reservoir..

file-2180.jpg


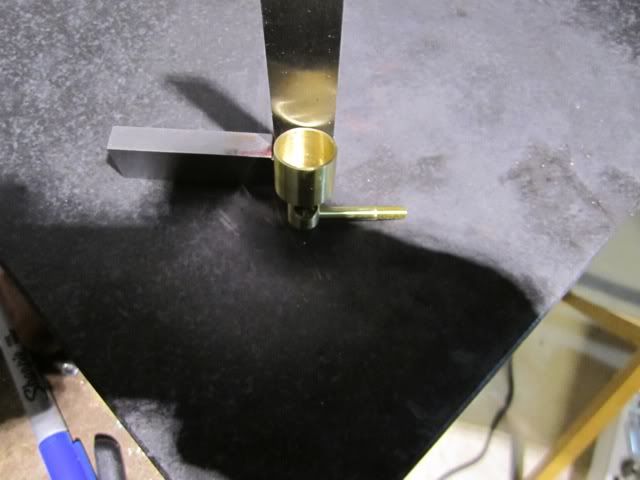
Here are the first three parts just fitted together...

file-2269.jpg


file-877.jpg


Perhaps tomorrow I'll be able to complete this and get it mounted... I'll keep you posted...

file-2269.jpg


Today I completed the oiler. The cap and the needle valve were remaining. First I turned, taped and slit the threaded portion.

file-1034.jpg


file-2229.jpg


file-726.jpg


Then it was a trip over to the soldering table and solder the top to the bottom so I could drill the holes in the top.

file-1473.jpg


After that was completed it was back to the soldering table for connecting the drip sight tube and the feed tube.

file-878.jpg


[size=20pt]
IT IS DONE!!!

At this point all machining is complete on the engine. What follows are a series of pictures of the completed engine.

file-1321.jpg


file-2296.jpg


file-2415.jpg


file-867.jpg


file-445.jpg


file-976.jpg


file-1401.jpg


file-1691.jpg


file-1797.jpg


file-1278.jpg


At this point I am going to tear it all apart and paint it and reassemble it. Will probably take me a week so I'll probably not be posting any progress but if someone has questions, please post as I'll continue to monitor and answer any. Thank all of you for taking this journey with me. I know I learned a whole lot about machining and hope some of you benefited as well.

Harold

 
Harold, This is an engine at the top of my list. I got to say yours is a great bench mark for me to hit.

Dave
 
That sure is a pretty engine Harold. What colour is it going to be?

Brock
 
Harold Lee said:
SNIP>>>... Thank all of you for taking this journey with me. I know I learned a whole lot about machining and hope some of you benefited as well.

Harold

Thank you for sharing, Harold. I had a fun ride and learned something in the process. Can't beat a deal like that. :)

Regards,
Rudy
 
Harold,
A really well done engine, Every step was very well photographed and explained also. I'd bet Phil would say the same.

Pete
 

Latest posts

Back
Top