Thumper--a 1 3/8" bore i.c. engine

Home Model Engine Machinist Forum

Help Support Home Model Engine Machinist Forum:

This site may earn a commission from merchant affiliate links, including eBay, Amazon, and others.
Yes, as I said in the previous post, I ordered a set of two rings from Debolt in USA.

Brian, et. al.,

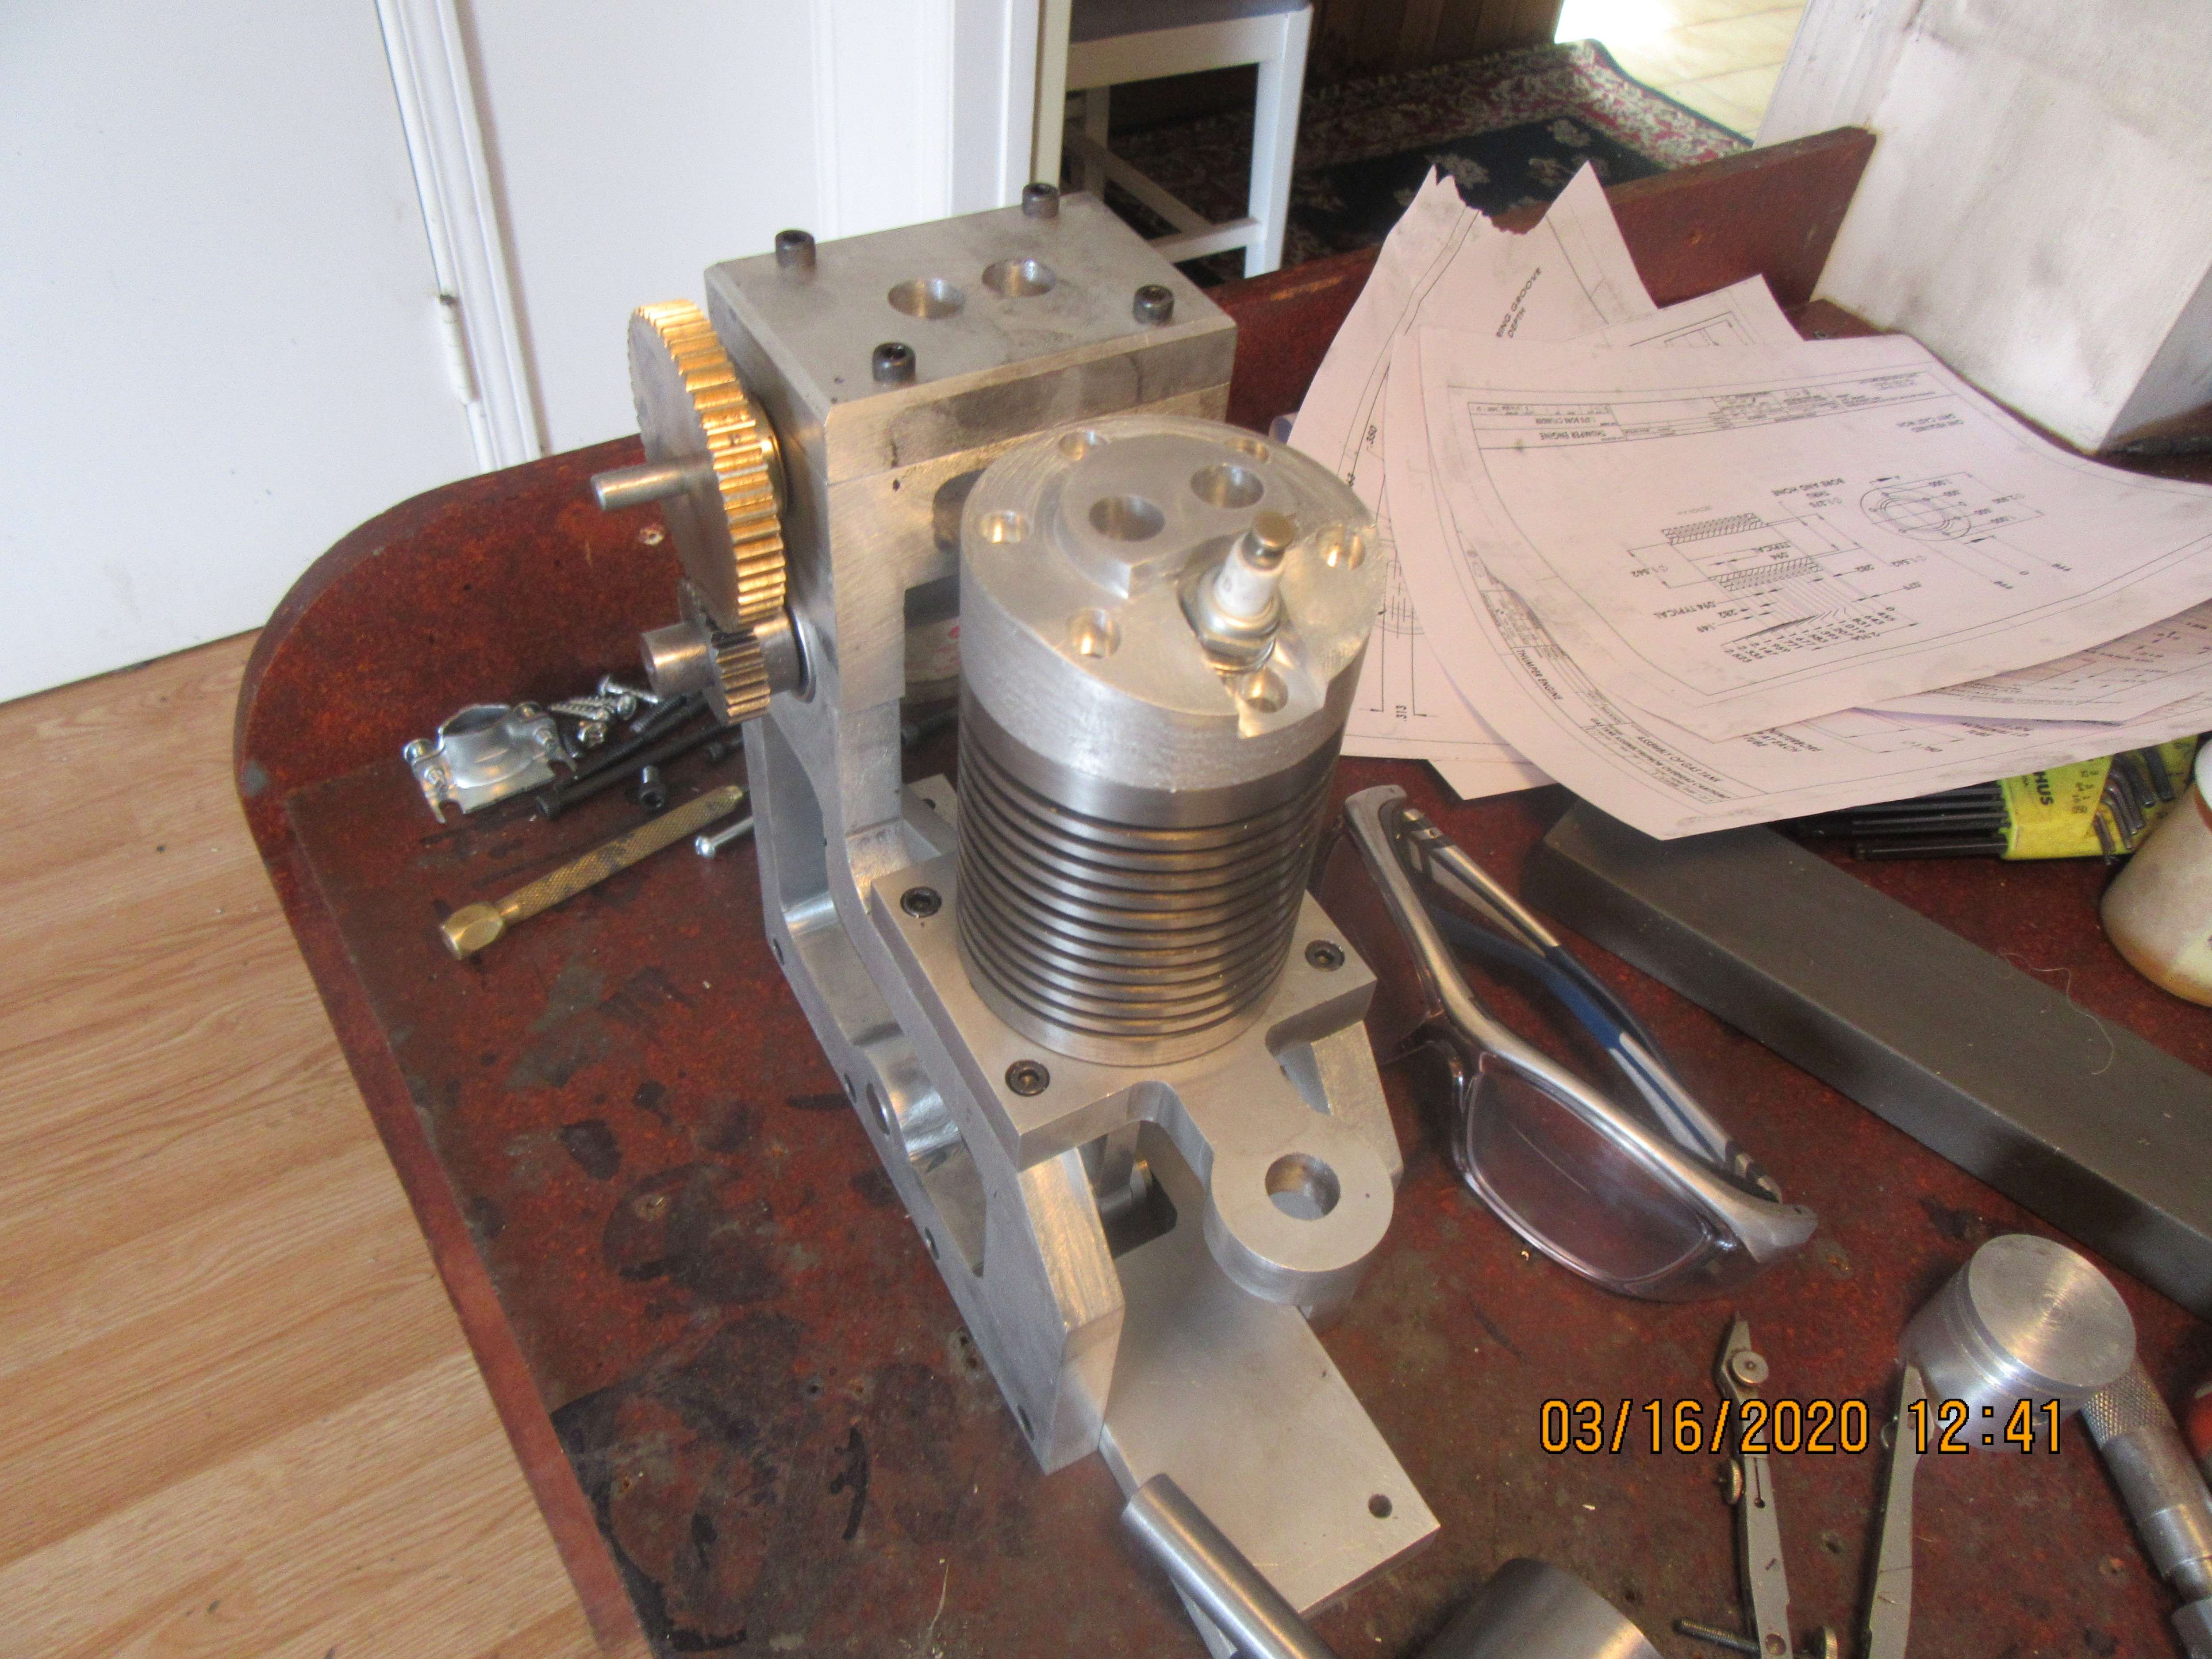
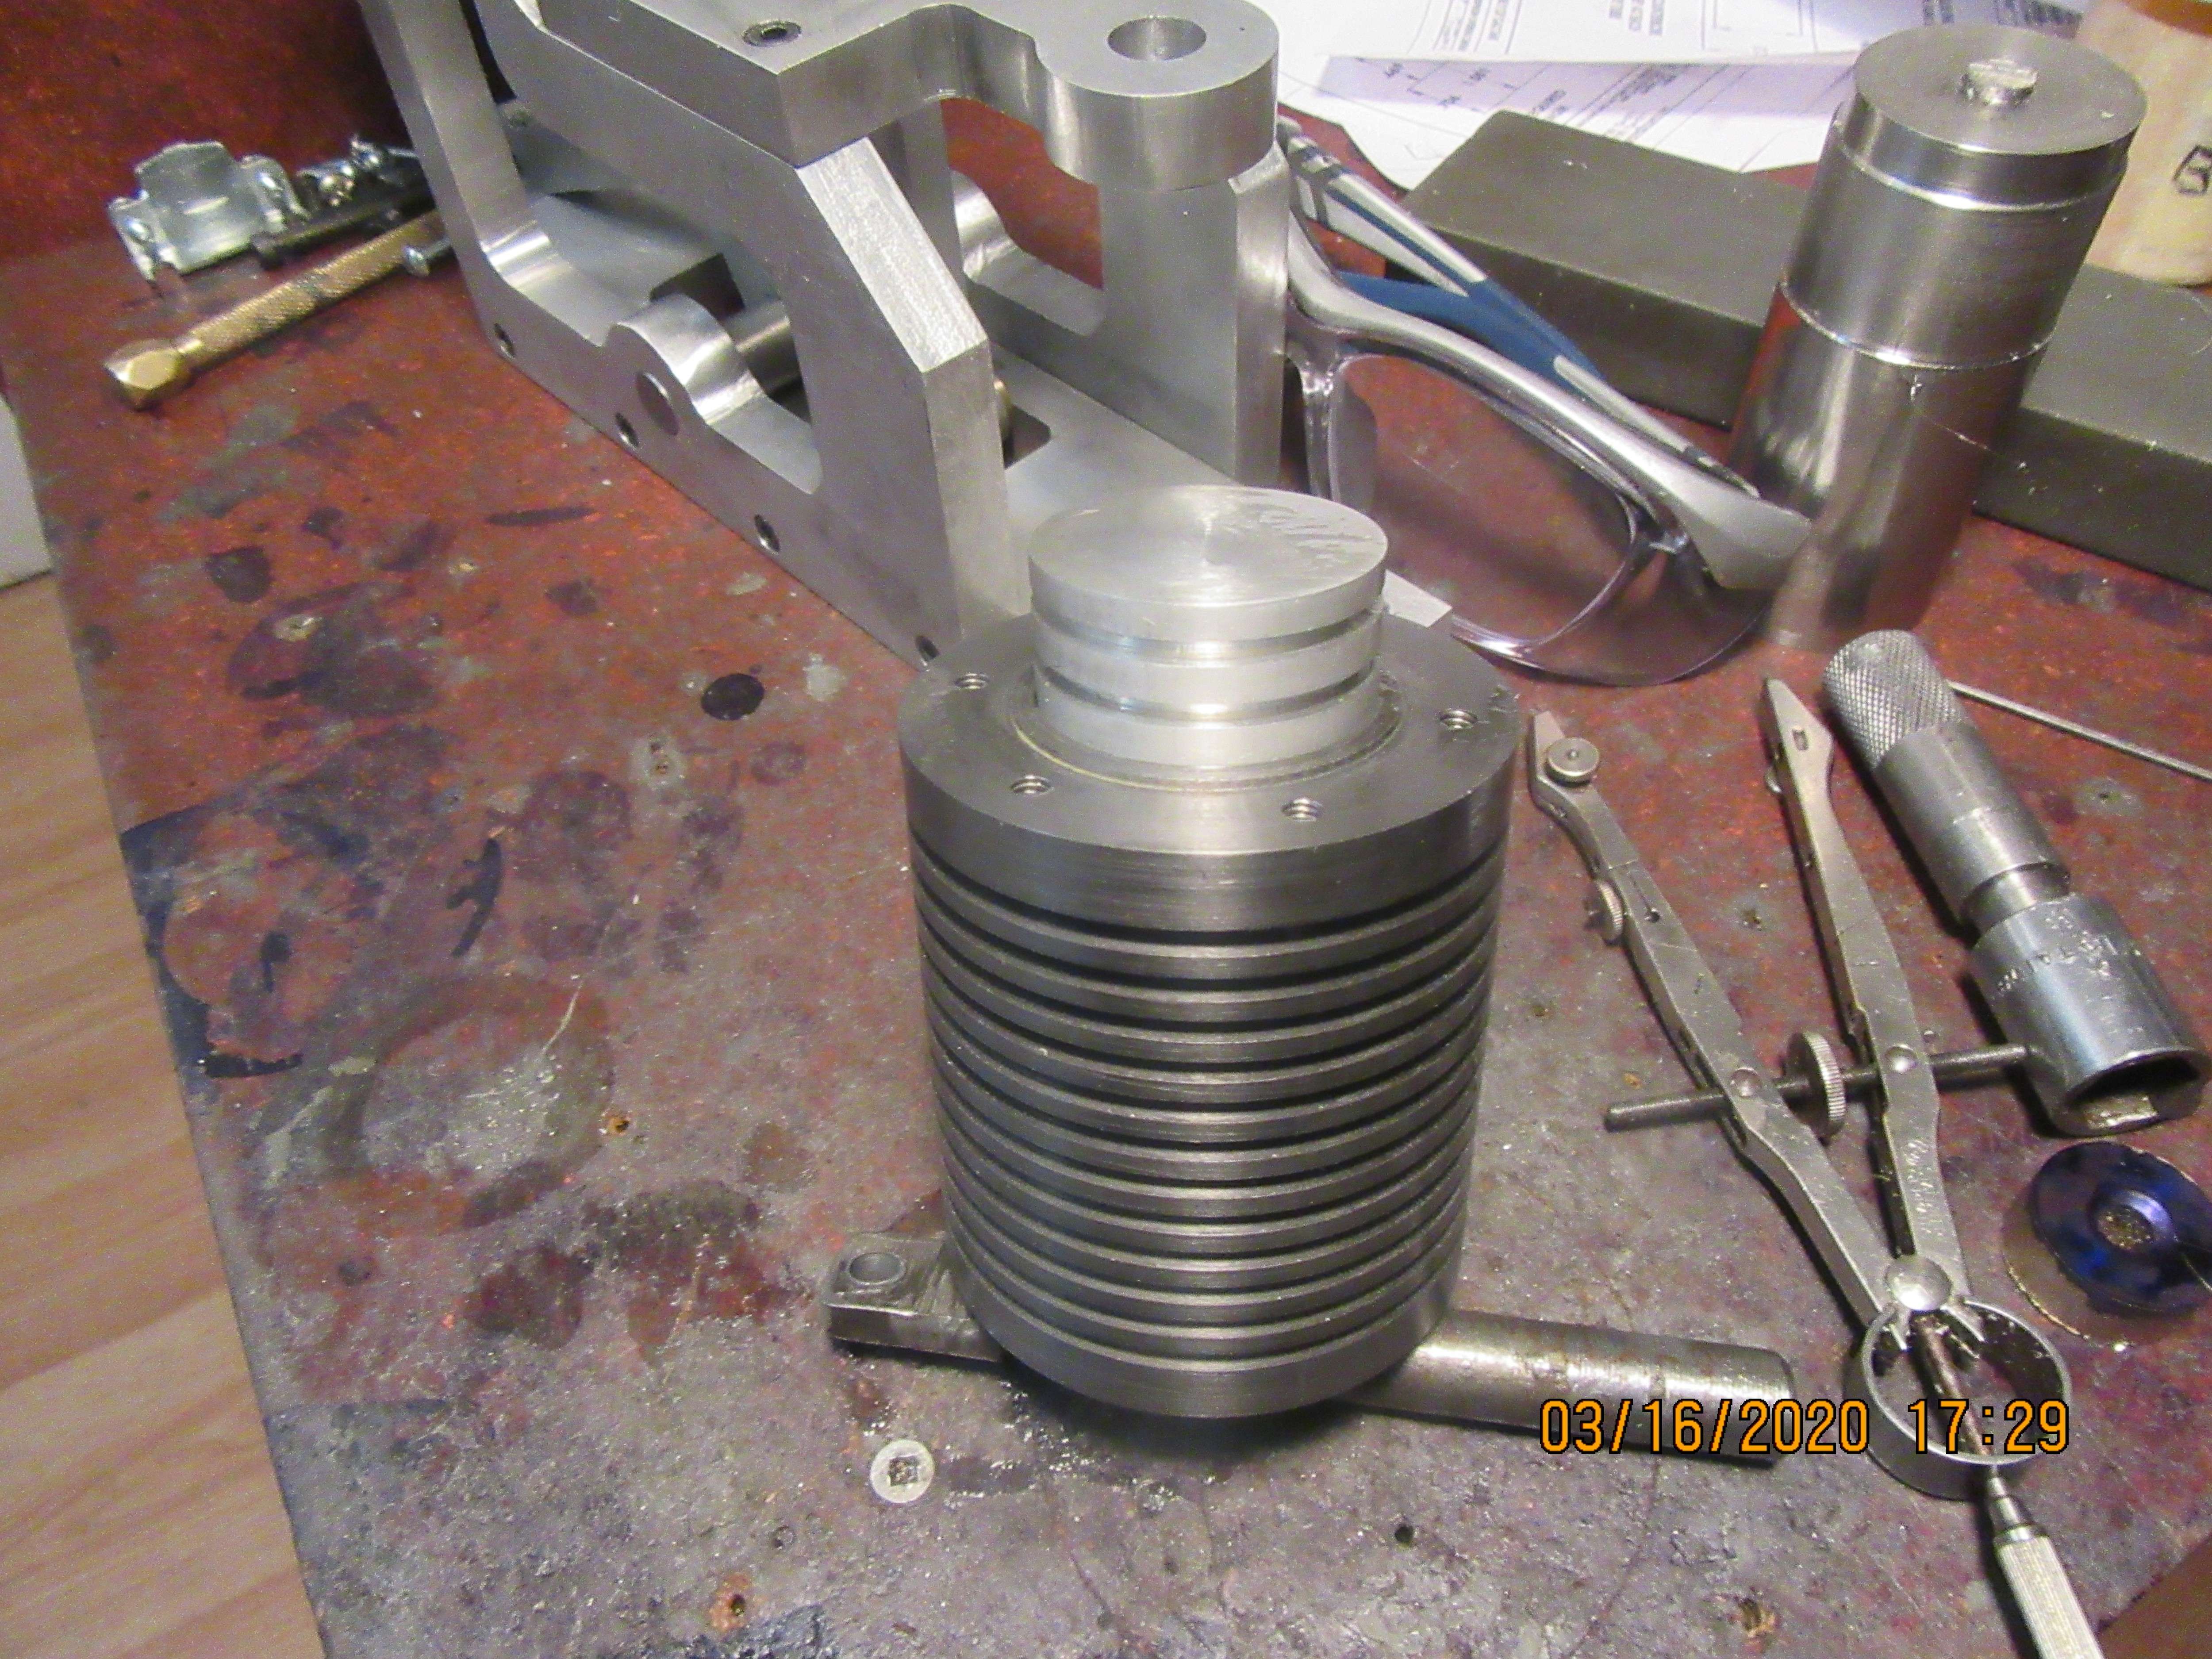
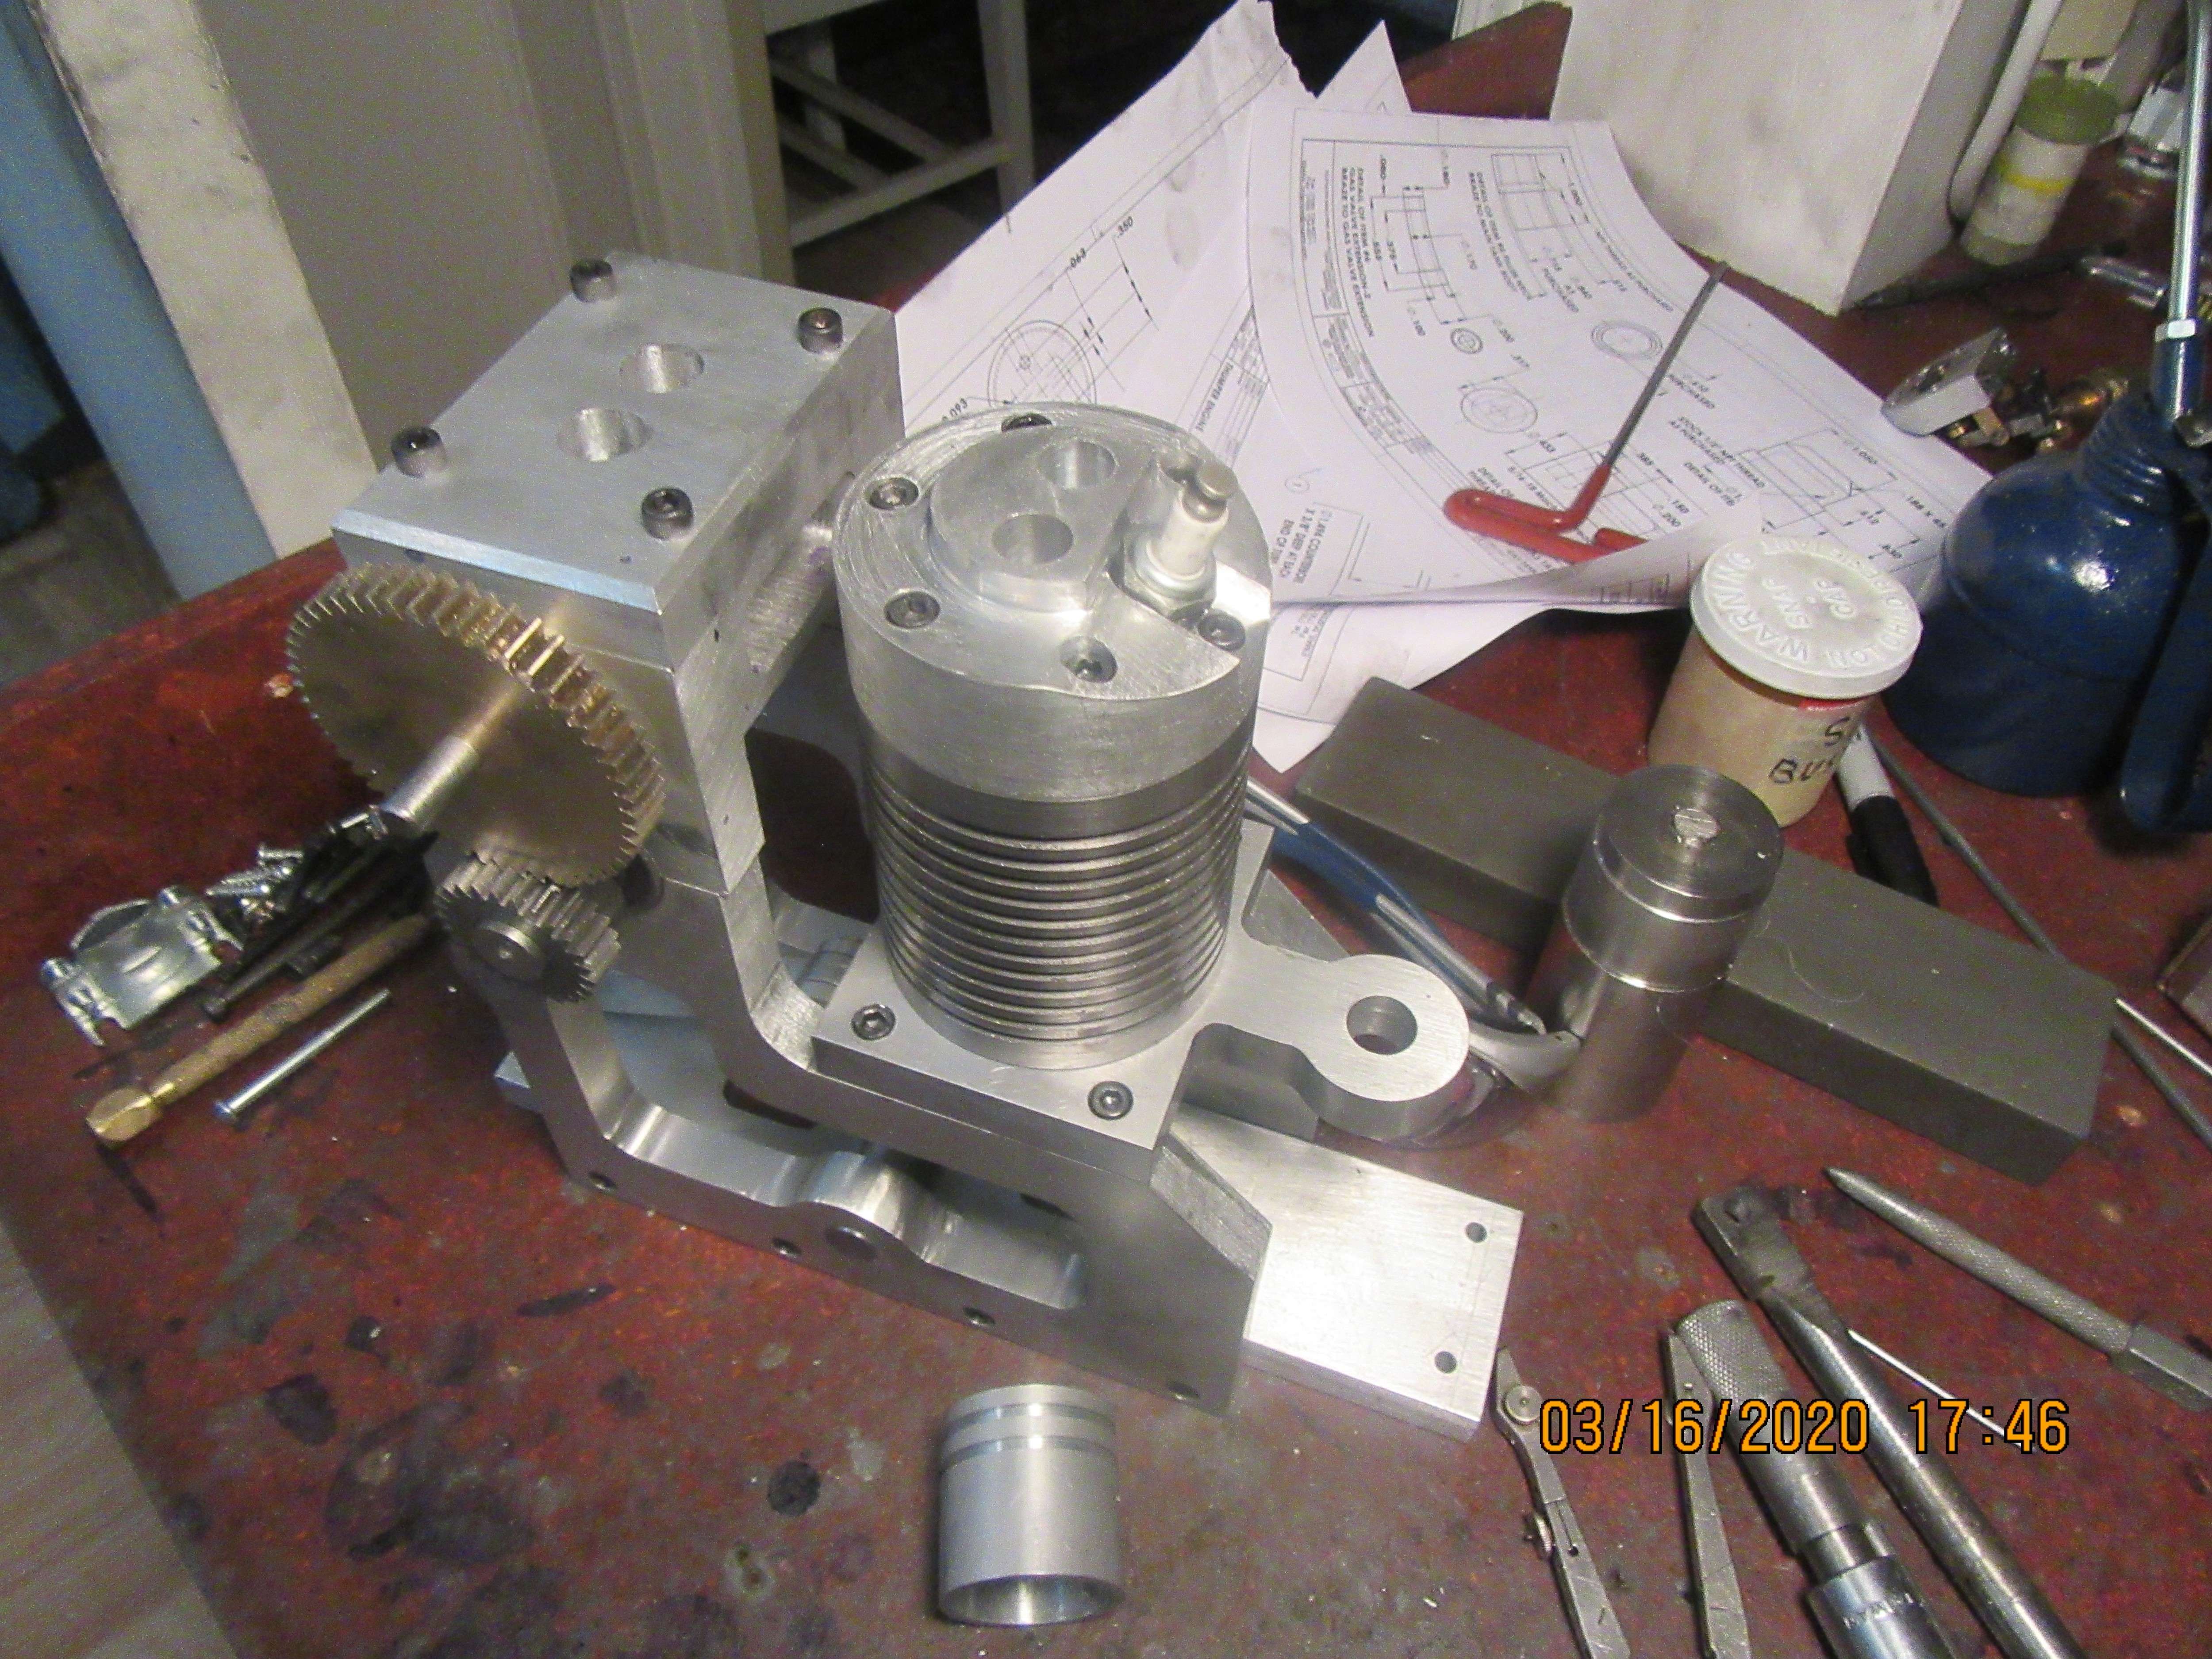
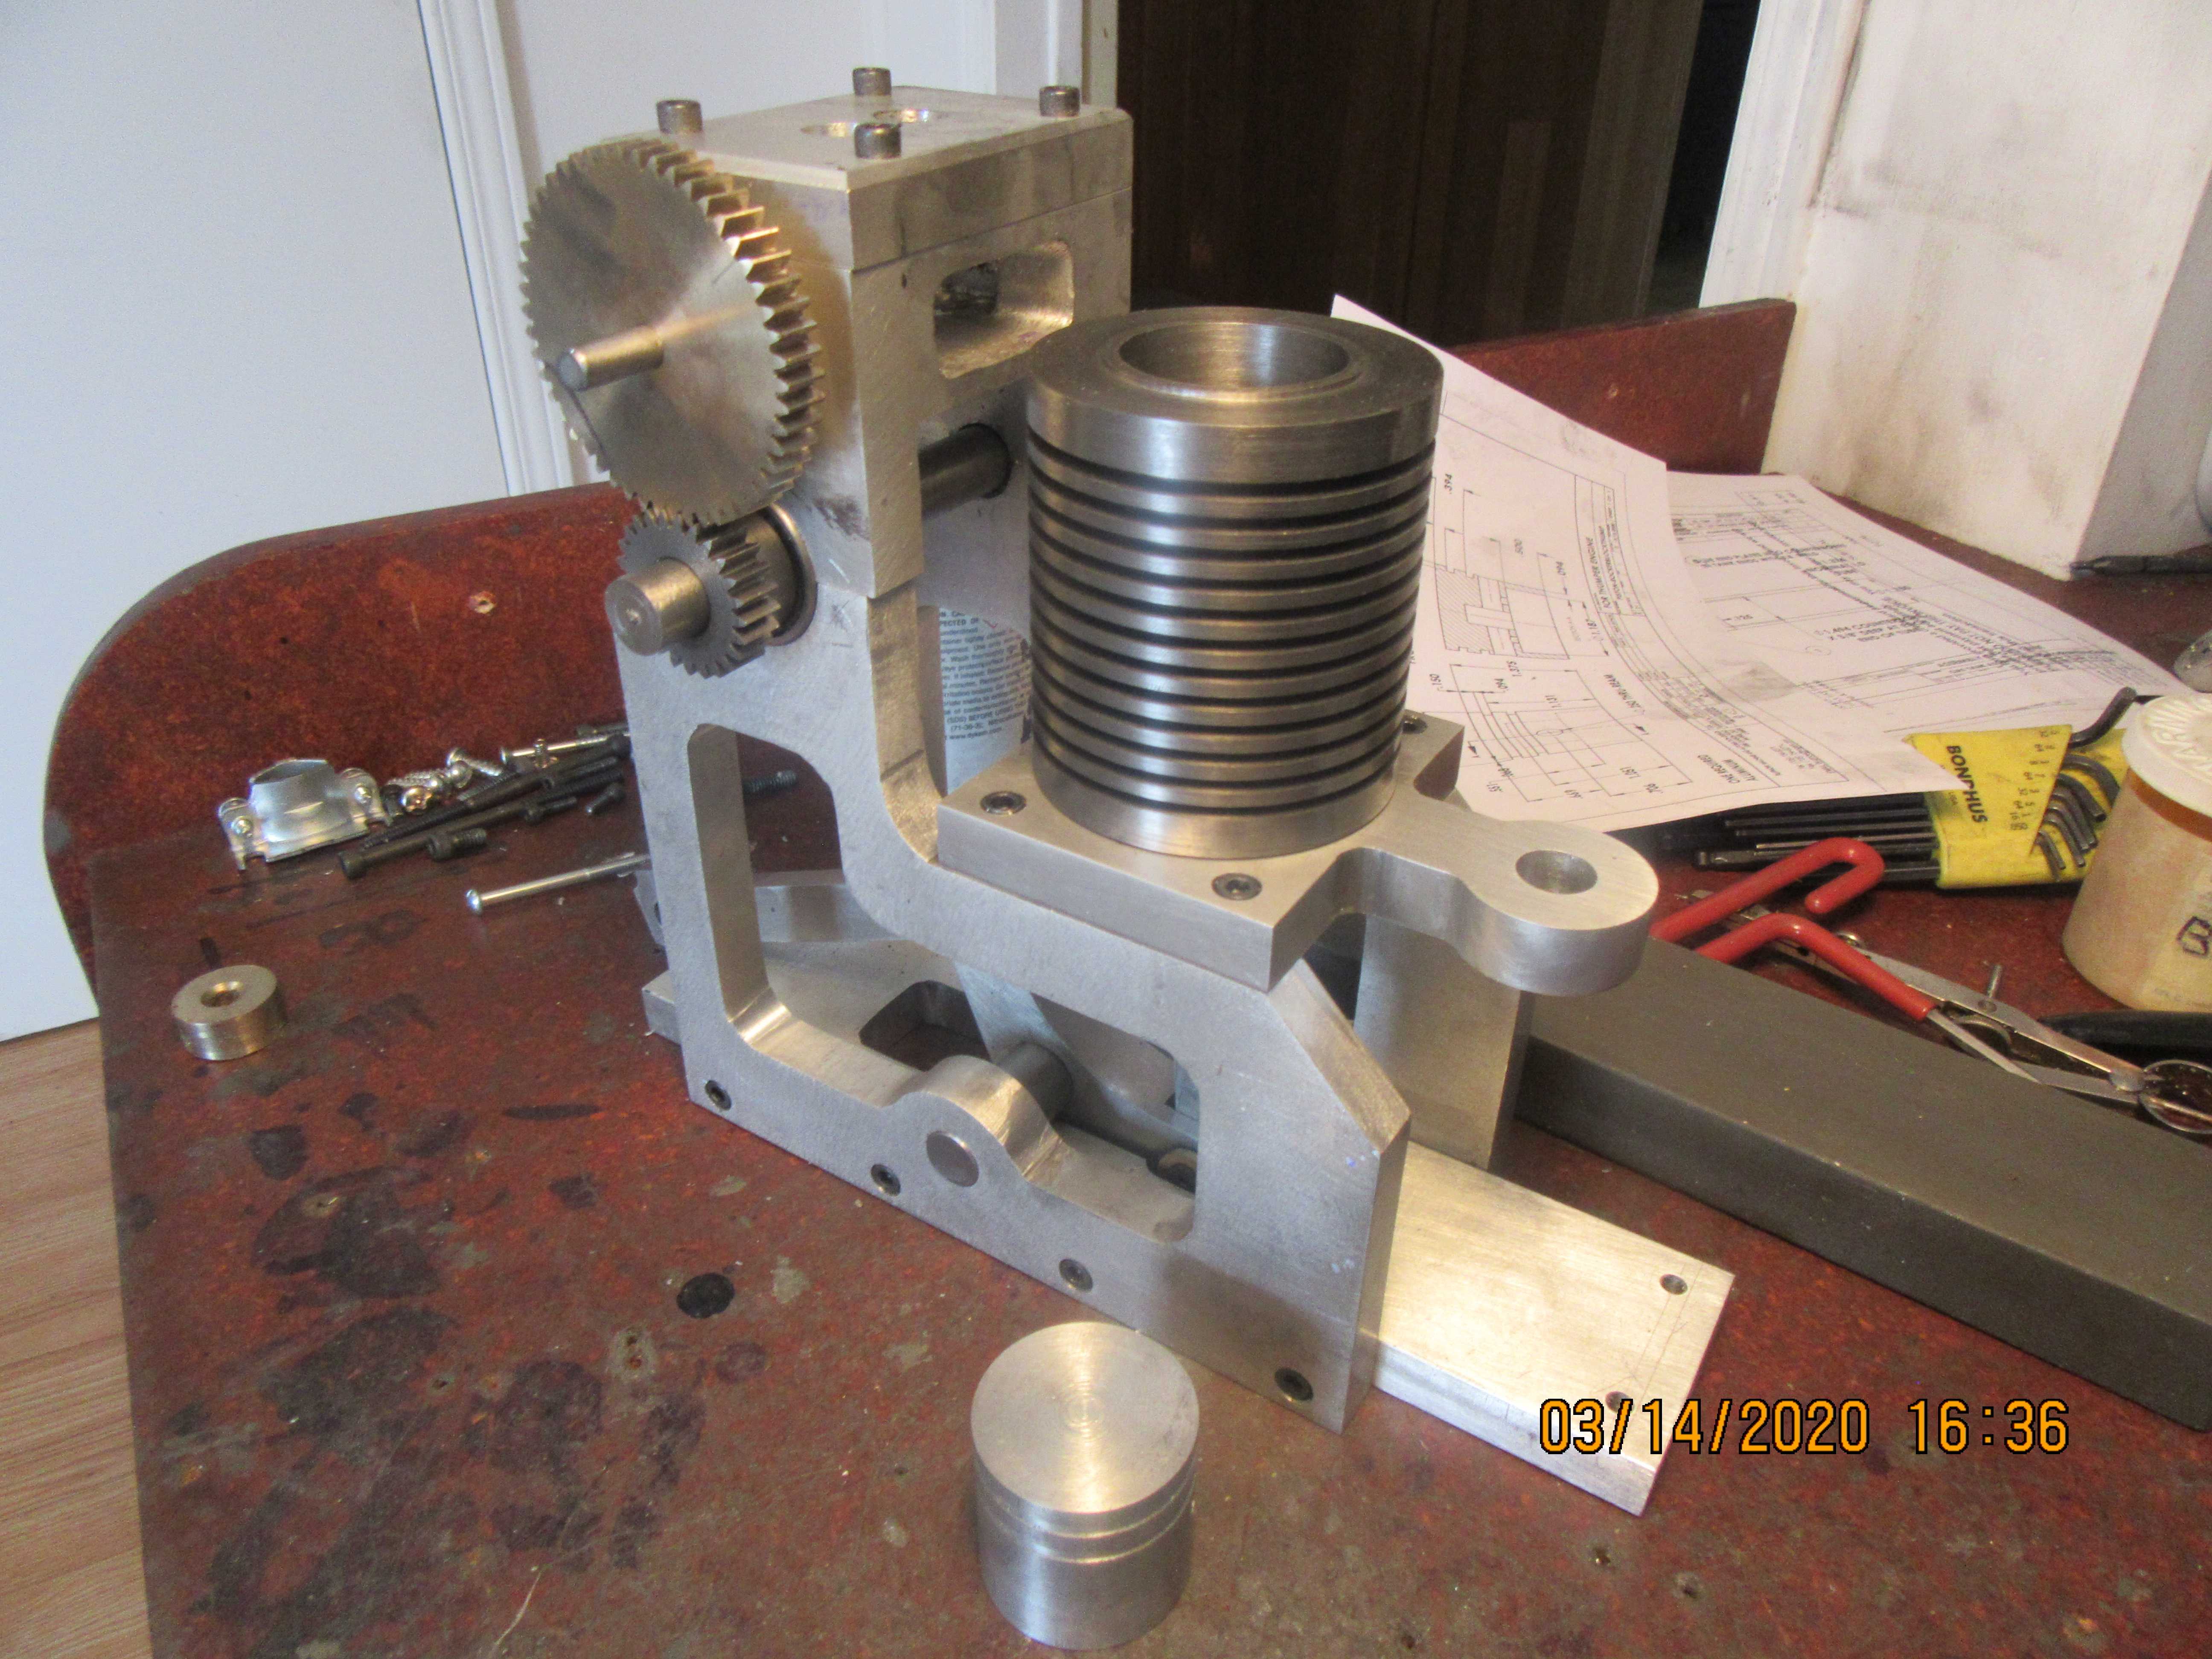
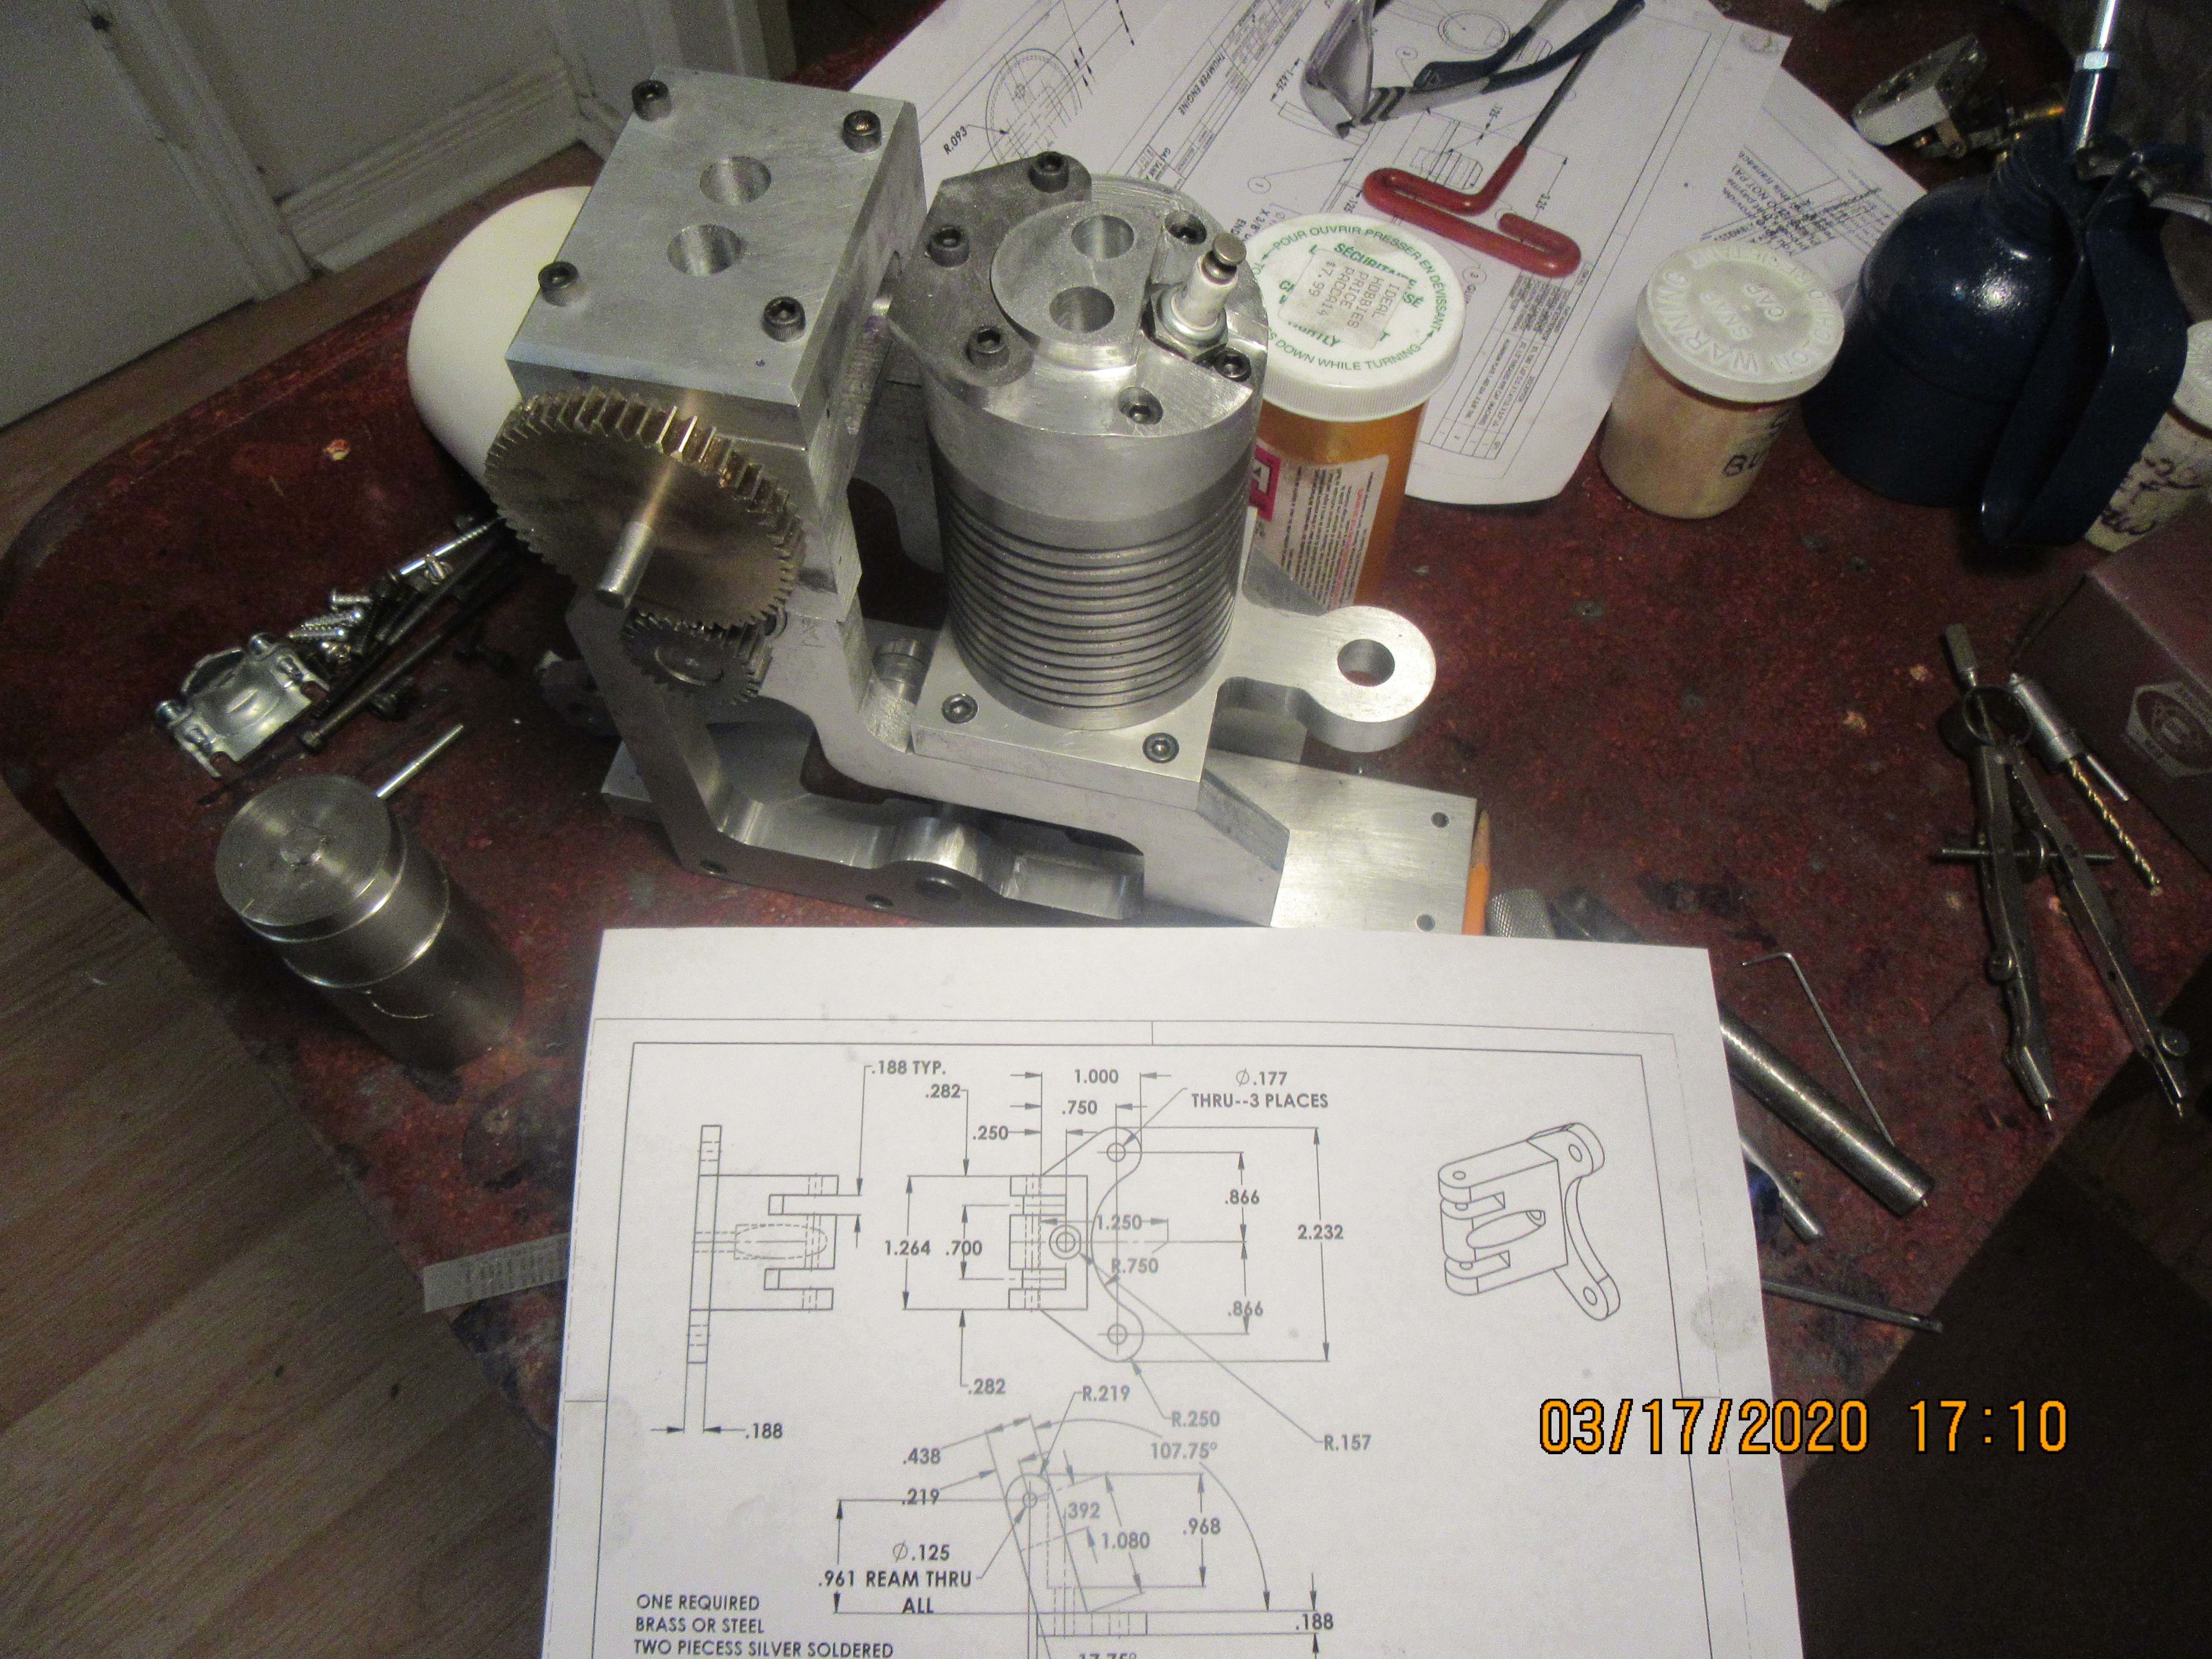
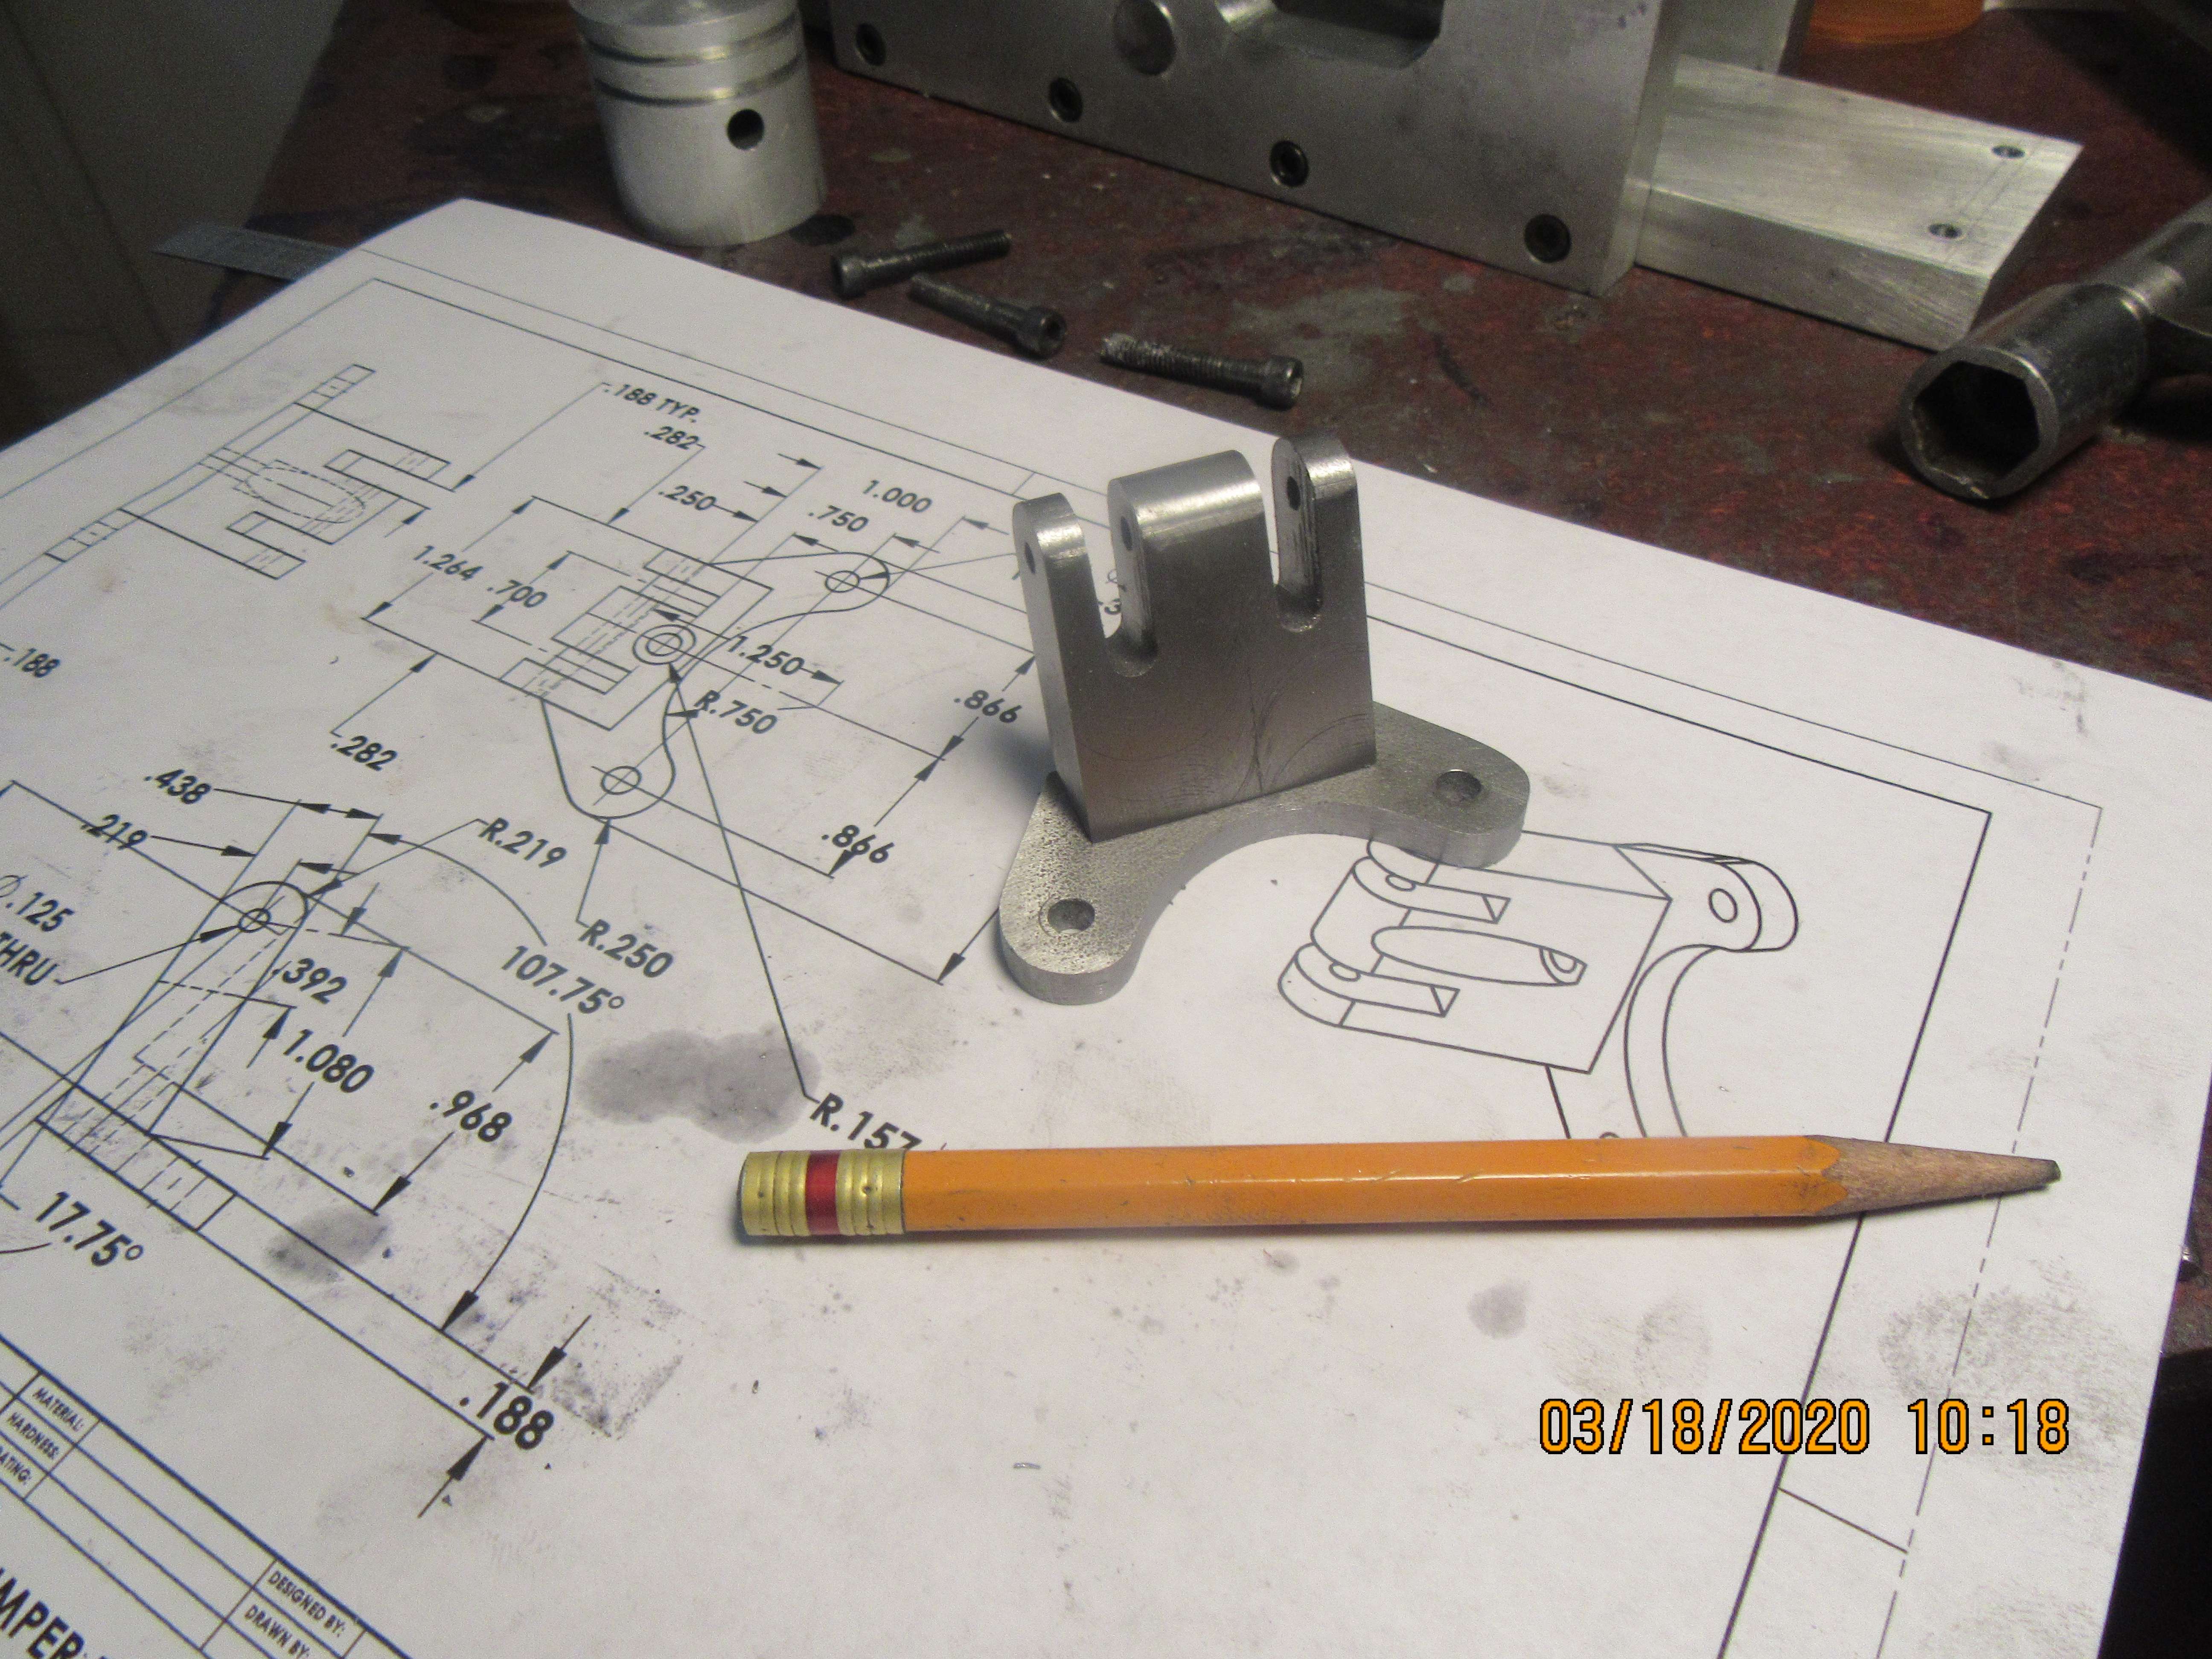
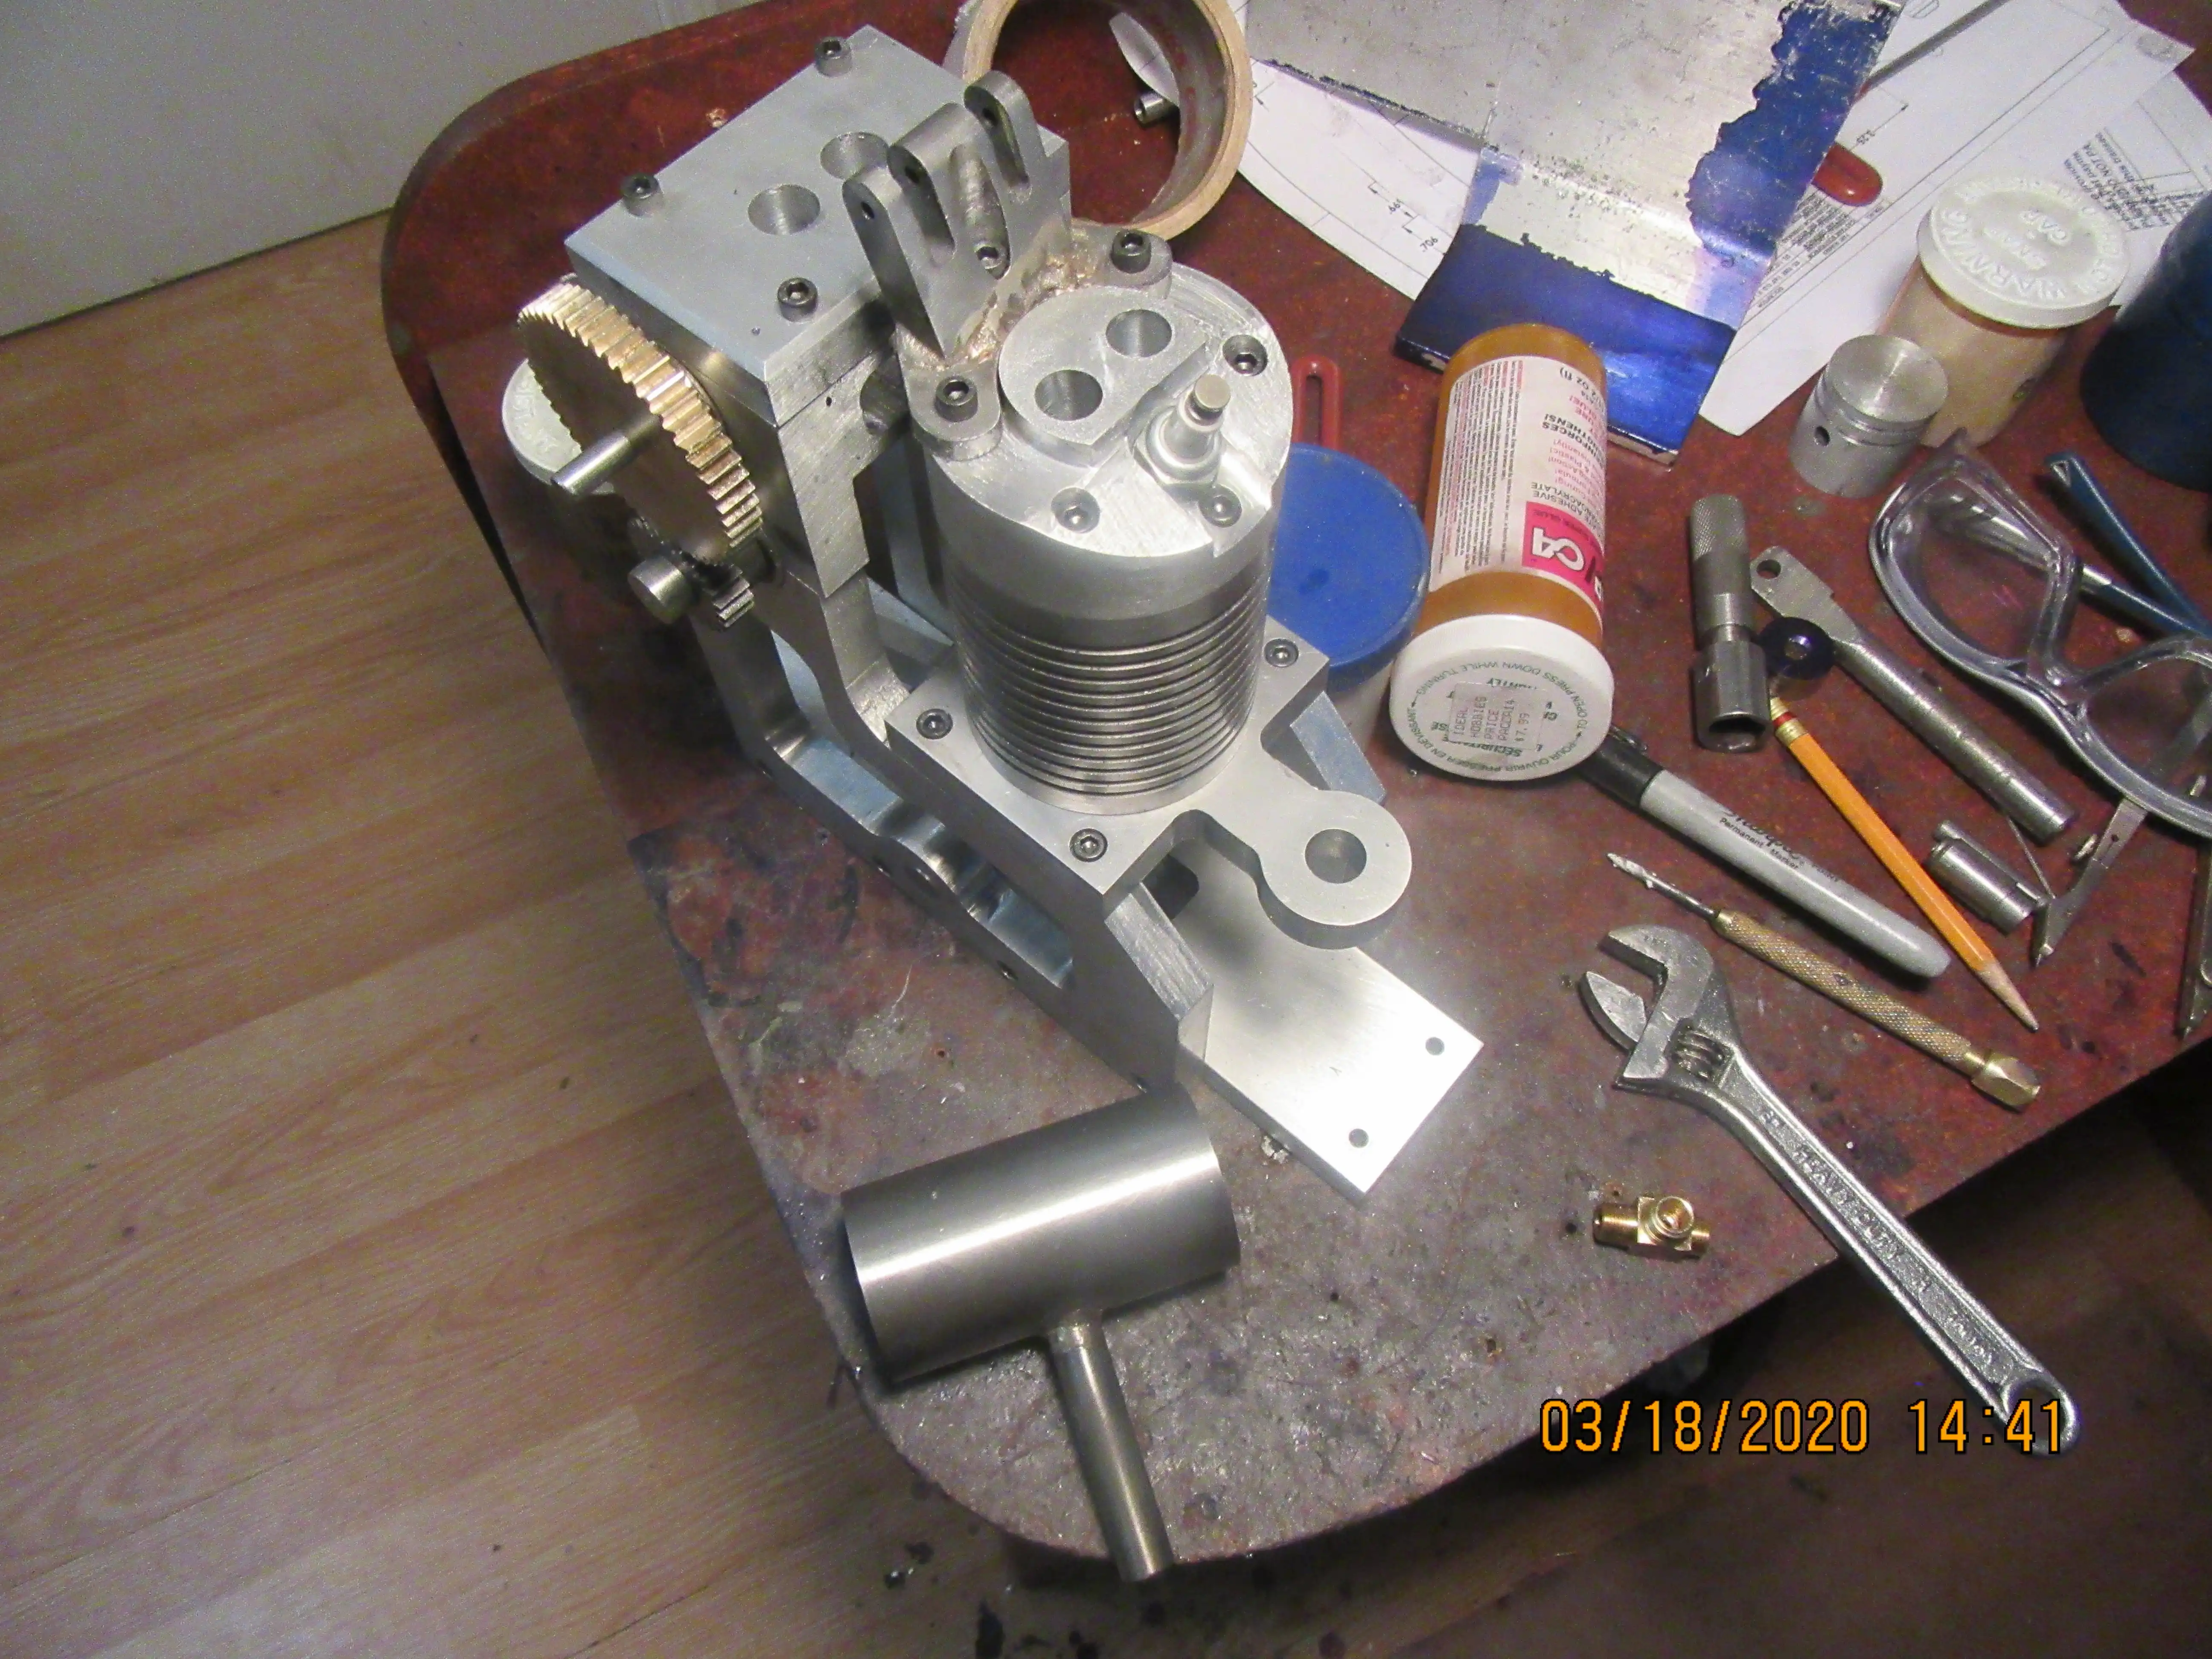
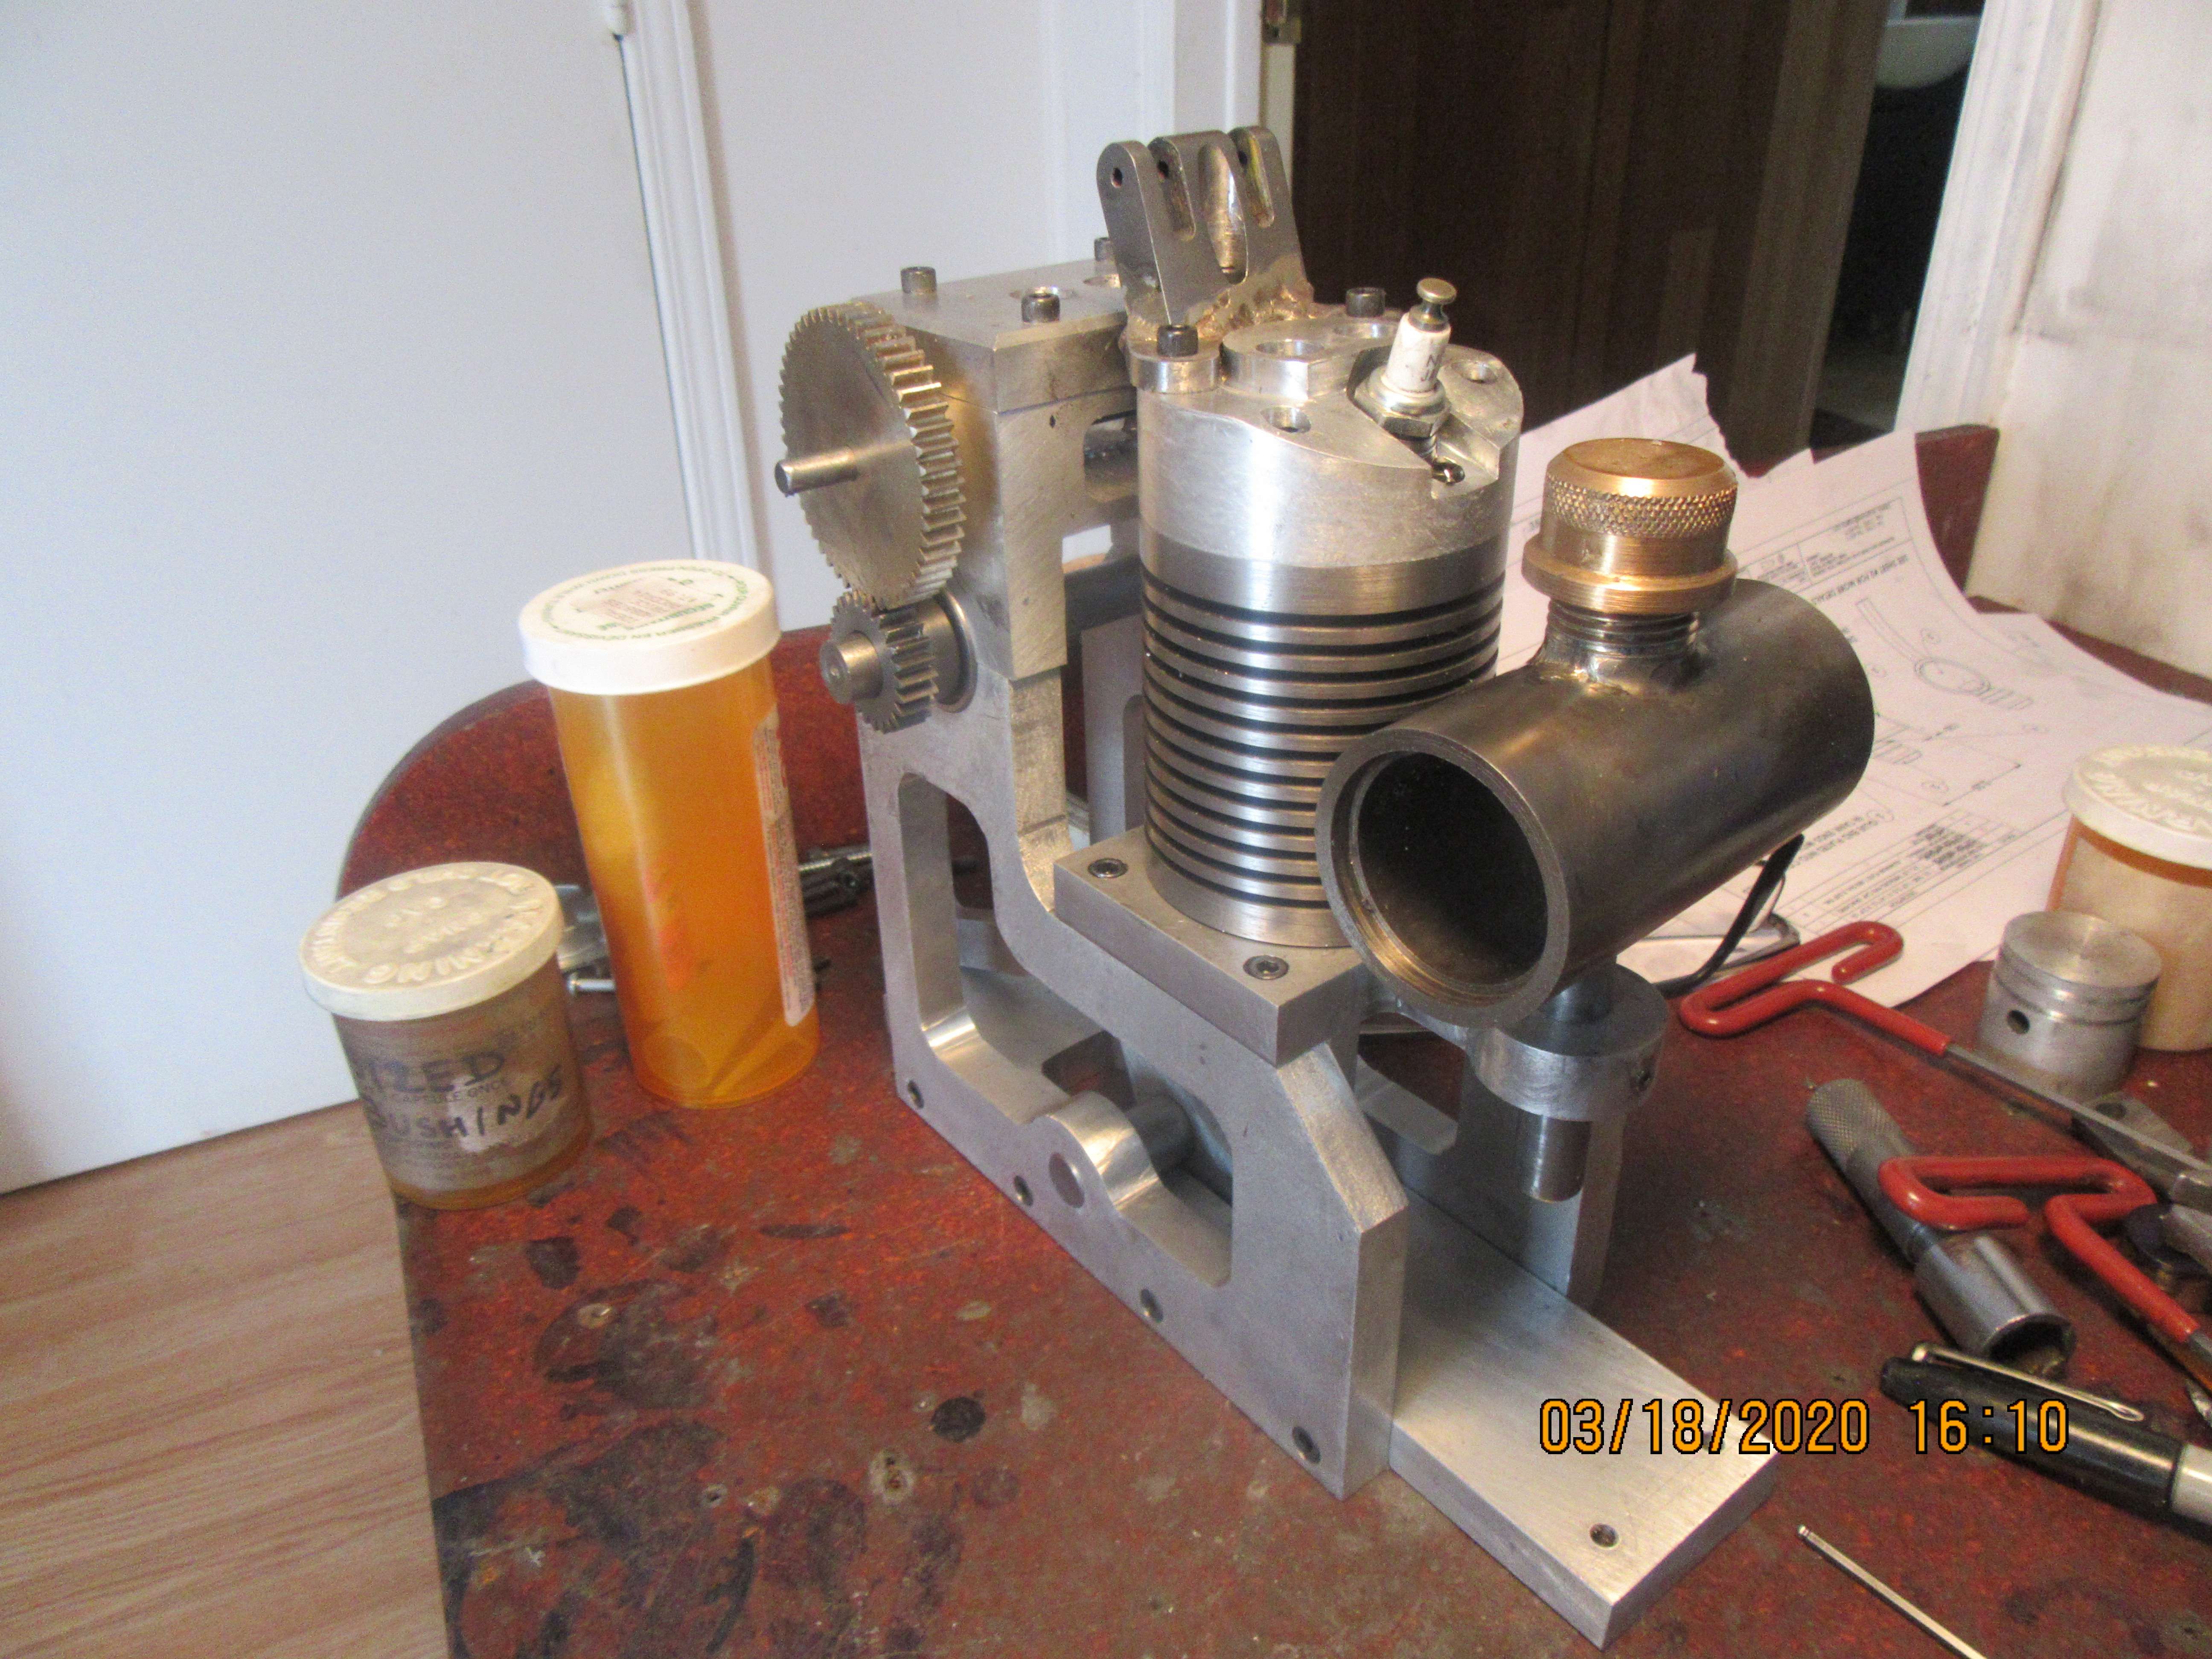
I am about 3/4 of the way through my building of the Henry Ford kitchen sink engine (my first IC engine from Mr. Ridenour’s plans) and already considering a design of my own.

My question to Brian, who has a significant amount of design experience is, does there exist a formula for determining top and bottom clearance in piston ring grooves for cast iron rings?

Just thinking ahead, and knowing of your successes, I thought if anyone knew, it’d be you! :)

Thanks in advance,
John W
 
The ring grooves cut into the piston were recommended by the person I bought the rings from. I have not had compression issues caused by rings in the past. Valves, yes, rings, no. I will let you know how my piston/cylinder sizing works out. This is only the second set of rings I have ever purchased. The first set went onto a lapped aluminum piston in a cast iron cylinder on my vertical hit and miss engine. Granted, hit and miss engines don't get very hot. I hear you. Your concern has ben registered.---Brian
 
a41capt---I don't personally know of a formula. I use the ring groove recommended by the manufacturer of the rings. Many of my engines have used a 1/16" cross section Viton o-ring. The piston groove for those would be 0.094" wide x 0.057" deep, and use only one ring per piston.
 
a41capt---I don't personally know of a formula. I use the ring groove recommended by the manufacturer of the rings. Many of my engines have used a 1/16" cross section Viton o-ring. The piston groove for those would be 0.094" wide x 0.057" deep, and use only one ring per piston.

Thanks Brian, that’s what I’m currently using from Leon Ridenour’s instructions. With a two ring setup, I’m hoping my minor deviation in ring groove width on the bottom ring (.002” oversized) won’t impact the compression enough to impact my getting it to run.

John W
 
Today we have a cylinder head.--And trust me, lads, there are some strange and wonderful set-ups involved with making this part. Everything came out like the drawing asked for, but there was a bit of tongue biting and butt clenching involved!!!
kJ7kKI.jpg
 
-Today I drilled and tapped both ends of the cylinder for #8-32 bolts, and happily everything bolts together properly. I honed the cylinder with my 3 stone brake hone, a total of 50 slow strokes end to end. I hone it dry with no lubricant. The piston was quite happy to start into the cylinder for about half it's length, then started to tighten up. I coated the piston with #600 grit aluminum oxide paste, and mounted the cylinder in the three jaw chuck on my lathe. I have a temporary handle which fits into the piston and is locked there by the wrist pin. With the lathe on it's lowest speed I began slowly working the piston into the cylinder about 1/8" at a time, ready to let go immediately if it "grabbed". When it started getting "grabby" I squirted a little #30 oil onto the piston and kept working it back and forth until it started to come out the other end of the cylinder. At that point I stopped, cleaned piston and cylinder with laquer thinners, then gave both a scrub with an old toothbrush and some dish detergent. When dry, the piston will fall thru the cylinder. If I put my hand over the end to seal it, the piston stops. This did NOT give a tight enough seal for the engine to run without rings. To run without rings, as my marine engine does, takes a much tighter fit and a much longer time lapping. I'm happy with the days work. I've had to give up taking my "Fat man's walk" in the local mall because of the virus. Yesterday I returned to my solitary walk in the woods for exercise. It is beautiful there, but we still have about a foot of snow in the bush, ---I'll be glad to see spring come.---Brian
4SRVKH.jpg

amWEhc.jpg
 
Today was cylinder day. The cylinder is made from cast iron. The piston does fit the bore---with a little persuasion. That is exactly what I wanted. Tomorrow I will run my brake cylinder hone thru the bore of the cylinder, and if I need to, will coat the piston with a bit of aluminum oxide #600 paste and lap the piston into the cylinder. I have ordered two compression rings from Debolt in USA.
gTFjao.jpg
Fatal error. Do not lap the cylinder with the piston. The piston surface is now contaminated with lapping compound and it cannot be removed without removing metal. The piston dia. should be about 2 thou. less than the cylinder dia. except for the piston head above the top ring which should be about 3 thou. less. to allow for thermal expansion. So, you might be able to salvage the piston by reducing the dia. on the lathe. However, not having the rings on hand makes it impossible to cut the ring grooves correctly unless you just lucked out. Dsage has it right.

WOB
 
looking good Brian.

WOB, Brian usually laps most of his pistons in (as far as I know from watching his other builds). but I don't think he uses diamond lap to do it. I think he has some clover which ill let him answer for sure but is just aluminum oxide (like sand paper sand) suspended in grease which I don't believe embeds (and I might be wrong) like the diamond lapping compound.

but I will let the experts correct me on all this. shoot I'm still learning to cut my first real cams (cheated on the Webster cam I built) so what do I know :)
 
Not one of my better days today. I had planned on making the rocker arm support. It is going to be made from two pieces of steel silver soldered together. I made the base first, then bolted it into position on top of the cylinder head to check the fit. Then things went astray---I picked out a piece of steel flat-bar, proceeded to shape it, drill it, mill it---and then I discovered that I was working with a piece of 1" wide bar, not 1 1/4". Misread my own drawing. Bah!! Humbug!! Will try that piece again tomorrow.
2PjcNn.jpg
 
Perseverance pays off.--A new day, a new part. It isn't welded yet. This is one of those situations where alignment is going to be very critical. I'm going to have to build a welding fixture to perfectly align the parts. The welding fixture may be more complicated than the part.
6ReNU7.jpg
 
Kind of a cheap and nasty welding fixture, but it will work to hold the parts in alignment while I silver solder them. I had designed something a lot fancier, but decided to go with something quick and nasty. Why didn't I bolt the pieces together?---Because I never thought of it. Where am I at with my TIG welder--I took it out of the box, had a look at it, seen that al the parts were there, read the manual, and sussed out a way to plug it into my existing 220 volt outlet. It is still winter here, and my main garage is not heated, so I've been deferring anything to do with the TiG until the weather breaks a little.
5V6fL3.jpg
 
Kind of a cheap and nasty welding fixture, but it will work to hold the parts in alignment while I silver solder them. I had designed something a lot fancier, but decided to go with something quick and nasty. Why didn't I bolt the pieces together?---Because I never thought of it. Where am I at with my TIG welder--I took it out of the box, had a look at it, seen that al the parts were there, read the manual, and sussed out a way to plug it into my existing 220 volt outlet. It is still winter here, and my main garage is not heated, so I've been deferring anything to do with the TiG until the weather breaks a little.

Simple is smart!

John W
 
That turned out very well. The alignment seems to be about perfect. You can see in the bottom of the picture that I am working on the gas tank. I have to solder in a filler neck and j.b. weld the ends into it.
7Ed3gW.jpg
 
That turned out very well. The alignment seems to be about perfect. You can see in the bottom of the picture that I am working on the gas tank. I have to solder in a filler neck and j.b. weld the ends into it.

Brian, a quick question if you have time. What carburetor design do you most commonly use? I’ve been looking at Chuck Fellowes’ design for an upcoming project, and wondered if you have an opinion?

thanks in advance,
John W
 
a41capt--The carb that Chuck Fellows designed works fine. It's a bit awkward if you want to change throttle settings because you have to turn the bolt in or out to do so. I took Chucks design and changed the throttle area a bit so you can go from idle to wide open in a 1/4 turn. I am attaching the change I made to chucks carb, and also a download for a carburetor that was designed by George Britnell---Brian
http://www.mediafire.com/file/cjgmg9kj2vcgy70/RUPNOW-BRITNELL_CARB.zip/file
http://www.mediafire.com/file/lflytaolejtjd5f/CHUCK_FELLOWS_CARB.zip/file

Thanks Brian, looking forward to your newest completed project running video!
 
I've reached the point where I'm running out of big parts to make. Today I will finish the gas tank. This leaves me with a handful of small parts---valves, valve cages, cams, lifters, lifter bushings, exhaust and intake elbows and ignition cam. Of course the one big part waiting in the background is the crankshaft. I haven't decided yet whether to make it a one piece or a "built up" style. I think I will make the rest of the pieces in order of "easiest first, most complicated last". I think the time has also arrived to make a new "George Britnell valve seat cutter". the one I made a few years ago has been just marvelous, but it is getting old and dull, and the valves on this engine are larger than any I've made before. Goodwife and I are self isolating, but this is going to wear pretty damned thin after a couple of weeks.
 

Latest posts

Back
Top