Thumper--a 1 3/8" bore i.c. engine

Home Model Engine Machinist Forum

Help Support Home Model Engine Machinist Forum:

This site may earn a commission from merchant affiliate links, including eBay, Amazon, and others.
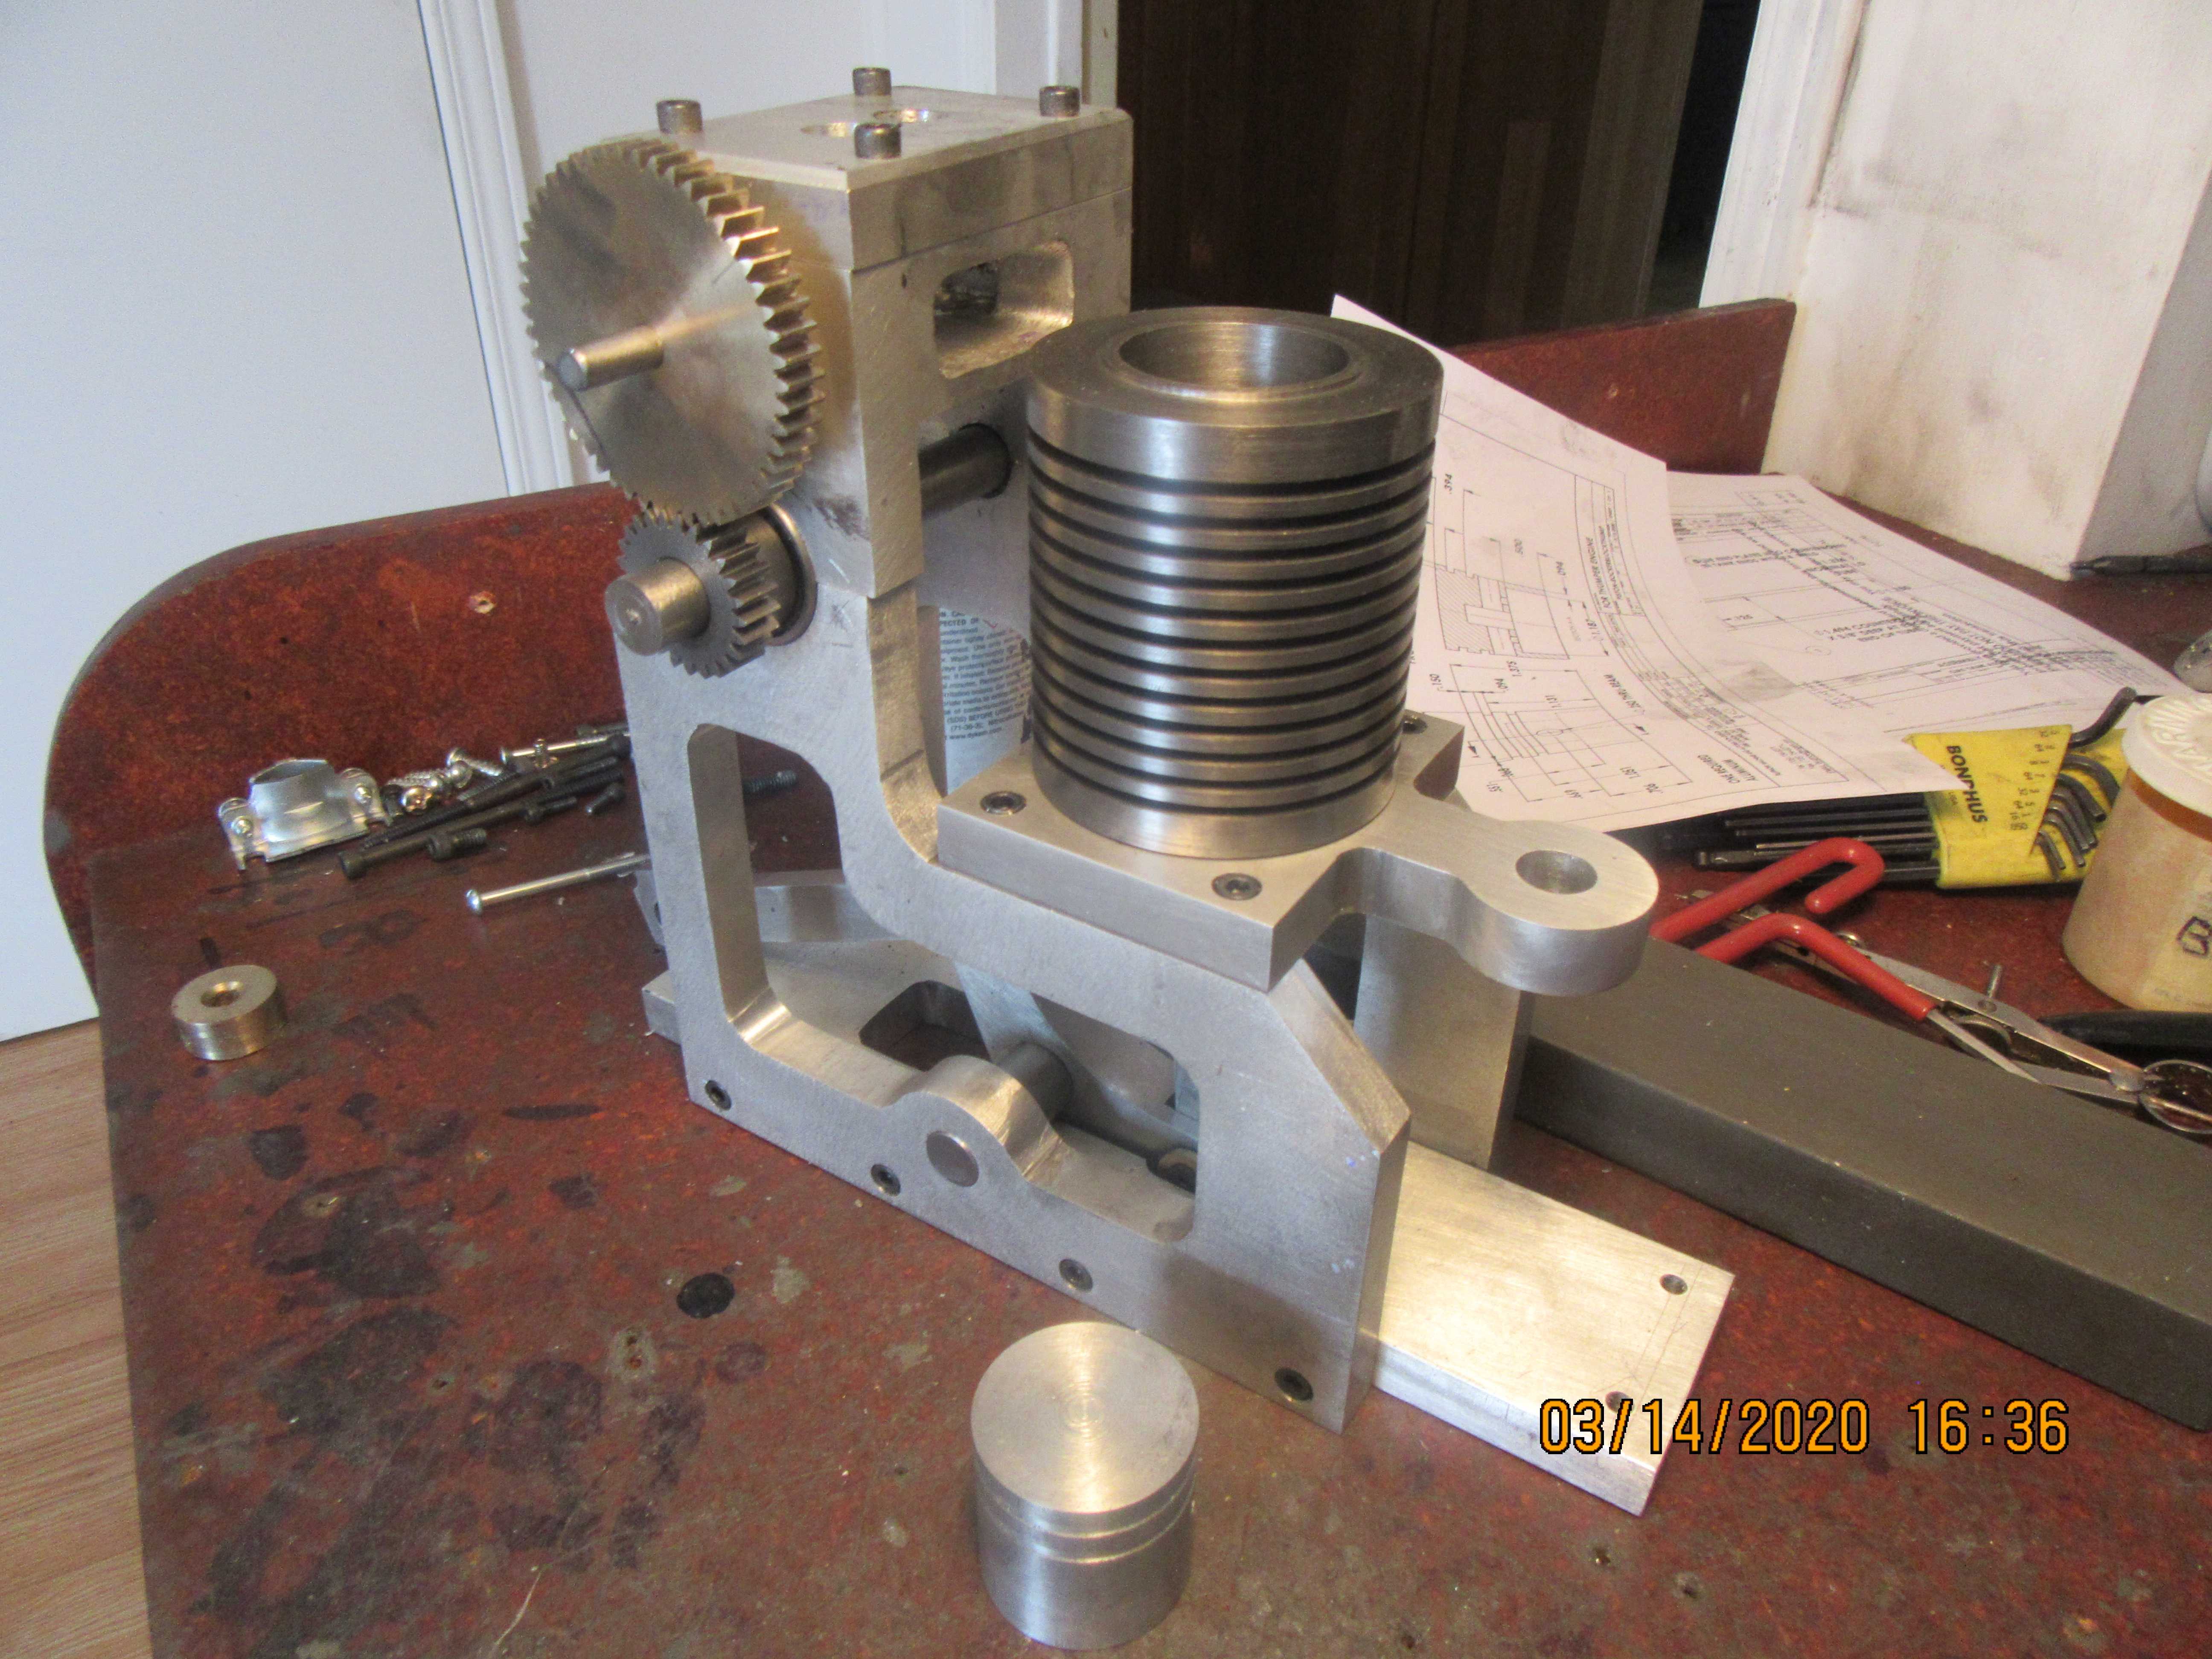
Brian, the engine is progressing nicely!

Sorry to hear that you are having trouble ringing Dave. I mean, getting rings from Dave. Or both. Wait, now I've confused myself ...

:)
 
Regardless of whether I go with 1 3/8" bore or have to change over to a metric semi equivalent 35 mm (in order to get rings), the gears won't change. I have the material on hand to make the small gear from mild steel, and the large gear from cast iron. I would rather make the large gear from brass, but it's gotten too spendy $$$ for my blood.
 
I just sent an inquiery to Debolt about his rings. There is nowhere on his order form to say that you are Canadian, so I sent him an email.
 
On the link I sent I think it says to go to the home page for info on "International" orders but there it says for overseas orders. I'm sure he'll get you straightened out with the correct shipping. Call if he doesn't answer the email.
Keep us posted.
 
I've just had one of those King Midas in Reverse days.---Everything I touched today has turned to crap!!! As a consequence, I don't have any nicely machined gears to show you.--On the plus side of things, I found a nasty old chunk of brass that was big enough to make the blank for the large gear. I have company coming to my little shop tomorrow, so I have to stop machining for the day and go into housekeeping mode. My shop and office look like a rats nest caught in a hurricane.
mBdXhN.jpg
 
Today was a much more satisfying day than yesterday. This morning I hosted a meeting of myself and two other gentlemen who's interests lay roughly in the same direction. One fellow is an engineer who operates a steam excursion train out of Huntsville in the summertime (about 70 miles north of where I am), and the other chap is from Wasaga beach and has a background in model trains and all things electronic. A fourth guy lives in Toronto and couldn't make it up to Barrie today. After they left, I set yesterdays gear blanks up on the mill and turned them into real gears. They seem to fit just fine where they are intended to.---In other news---Barrie got it's first case of Corona virus today, a man in his fourties who just returned from a trip to Germany. This scares me. They say it kills mostly old guys. Damn---that's me. I'm an old guy!!!
89LHIp.jpg
 
I decided today to make the support which is the pivot for the rocker arms a different way. I have changed it to a flat plate with two guide bushings for the lifters, and made up a different piece (colored grey in the picture) which attaches to the top of the cylinder head with three of the head bolts.
XCPn6J.jpg
 
The way I had it originally, it was made totally from aluminum, and would have required a ton of machining. I do not currently have anything set up to weld aluminum. The way I have it now it is just a piece of flat plate with some holes in it. The new support I show can be made from 2 parts silver soldered together, using either brass or mild steel, or a combination of the two materials.
 
I had wondered if you were planning to mill the original all from one piece - that would definitely be a lot of work and a lot of swarf. As for welding aluminum ... my new welder can do it (as can yours, I think?), but my first few attempts have been, shall we say, not yet ready for prime time!
 
I had wondered if you were planning to mill the original all from one piece - that would definitely be a lot of work and a lot of swarf. As for welding aluminum ... my new welder can do it (as can yours, I think?), but my first few attempts have been, shall we say, not yet ready for prime time!

Remember that aluminum requires 10 to 30 percent more heat to weld it. Additionally, even one day’s worth of oxidation can wreak havoc with your welding, as the melting point of the oxide is higher than the melting point of the aluminum itself, which means you could blow out your aluminum before the oxide melts!

As a fantastic conductor of heat, that increased amperage is necessary because the heat runs away faster than a Tokyo resident fleeing Godzilla! Keep your arc as short as you comfortably can, keep the cleaning (electrode positive) to about 35% and 65% penetration (electrode negative) and scrub the weld site with a new (dedicated) stainless steel brush as late in the prep process as possible before welding!

Before you move to pulse welding, get used to controlling your heat with the pedal, and remember that “stacking dimes’ is pretty, but not necessarily the best penetrating or strongest weld.

Good luck, and the only way you get better is burning rod and laying down beads.

John W
 
Brian:
Now that you have your new TIG machine give TIG brazing a try. It takes a lot less heat than silver soldering (no need to get the whole part red hot - heat is confined to the work area) and no clean up of the tough flux. It takes a bit of practice to not melt the part metal (as you do with welding). I used Silicon Bronze rod which is a bit pricey but cheaper than silver solder.
 
TIG brazing is something else that I still need more practice on. Mind you, I have done it successfully, particularly on a couple of cast iron repairs, but in both cases I got a bit hot and melted some of the CI into the braze. The result was hard as a rock, but I was lucky enough not to have any cracks.

One thing to be aware of - maybe obvious to others, but at first I thought it would be like regular brazing or like soldering, where the braze / solder will wick into the joint. That is not the case with TIG brazing - it lays on the surface and makes a strong joint, but does not wick into the joint.
 
Today yielded a new top plate which bolts to the top of my cam box, and a 1 3/8" diameter piston. The piston has had everything done on it that can be done on my lathe. Tomorrow it will spend a bit of time with my mill and rotary table to get finished up.
0w3CG6.jpg

gJKZaw.jpg
 
Today was cylinder day. The cylinder is made from cast iron. The piston does fit the bore---with a little persuasion. That is exactly what I wanted. Tomorrow I will run my brake cylinder hone thru the bore of the cylinder, and if I need to, will coat the piston with a bit of aluminum oxide #600 paste and lap the piston into the cylinder. I have ordered two compression rings from Debolt in USA.
gTFjao.jpg
 
Brian: Unless you have received the rings already you have the cart before the horse.
The cylinder needs to be EXACTLY the diameter of the OD of the rings. So you should be waiting until you know what that diameter needs to be (measured). Otherwise the rings will not be round when they are inserted in the cylinder (little to no compression).
Also the piston work should be down the road a bit since you are buying rings. I see you have cut the ring grooves already. Those should be cut with a depth according to the rings ID for a few thou clearance at the back. And a width within about 1 thou of ring width (thickness?)
Then the piston should be a few thou less than the diameter of the cylinder since the aluminum will expand faster than the cast iron. (possible seize up). Not lapped to fit.
I'm just mentioning it because this may be the reason you have had problems with compression in the past.
 
Last edited:
Back
Top