TB3 - Cam Follower

Home Model Engine Machinist Forum

Help Support Home Model Engine Machinist Forum:

This site may earn a commission from merchant affiliate links, including eBay, Amazon, and others.

kvom

Well-Known Member
HMEM Supporting Member
Joined
Jun 4, 2008
Messages
3,285
Reaction score
630
This part requires a tiny ball bearing; these cost a bit less than $6 each from Mcmaster Carr or MSC. Before I order 14 of them, can anyone suggest another source that might be cheaper?
 
Thanks for the heads up. I will check it out.

In other "breaking news" I visited Cedge today, and we went by Travers. I picked up a 3/6" 5C square collet for turning the pushrod nuts.
 
Kvom:

Just curious: is a special collet like 3/6 more pricey than 1/2? :big: :big: :big:

Cheers, Joe
 
Didn't you know? All measurements revert to double denominators when working with SQUARE collets. ;D

Cheers,

BW
 
I ordered the ball bearings from the source Gail recommended: $1 each and $1.69 shipping for the lot. Thanks!

Yesterday in shop class I had a chance to experiment on two of the parts.

For the pushrod, I cut a number of lengths of 1/8" brass rod to slightly longer than what was called for by the plan. I then clamped a 1/16" corner rounding mill into a QCTP cutter with one of the flutes setting horizontal. Then with a rod clamped into a collet, I used the cutter to round the end into a hemisphere. This seemed to work well, once I got the cutter aligned with the center of the rod. I also found that, contrary to instinct, that I had to do the cut using the cross slide rather than the carriage. If I advanced the cutter into the end of the rod along the X direction, the rod would bend. I managed to finish about 8 of the these in a limited time. Once I get all of them domed, I'll part off to length and thread the other end.

I then tried to make some of the nuts using 3/6" square brass rod and the square collet I bought on Wednesday. I used a thin carbide grooving tool to round off the leading shoulder and then to part the nut. Before any turning I drilled the bar with a #36 drill. The only issue I found at that point was that the nut broke off before the pating tool broke through the hole, leaving a cylindrical burr. Afterwards I put the nuts "gently" into a vise with soft jaws and threaded them with a 6-32 tap. In most cases the tap broke off the burr, and I could then clean up the edge with a file. I managed to make about 5 of these before the start of the regular class work.

I didn't have the camera with me, but will try to take some pics next time.
 
Some nuts:

large.jpg
 
I had some "free" time on the mill at class today and started on the pushrod bearings. I had a 12" length of brass bar, but as the vise is 6' wide cut it into two pieces. Using a 1/2" end mill I milled both pieces to the correct dimensions, then used the same mill to carefully cut the square notch along the length.

The next step will be to cut the bars into .5" pieces and drill the holes. The instructor suggested that we could mount a slitter onto the horizontal mill and then would not need to mill the sides of the parts where they were cut off. The next time we get a free period it would be interesting to try it. In any case the bandsaw or a hacksaw will work if needed as I have plenty of material for tret.

I also milled bras bar to dimensions for the cam follower, and will need to cut it into individual parts before further milling.
 
kvom .............. I hadn't realised how tiny these parts were until you posted the last couple of pictures :eek: blimey .......... hope your eyesight is good ;D

Thanks for that ;)

CC
 
I would like to know why he needs a vise that "6 feet wide" for such small parts? ::) :eek: :big: :big: :big:

I know fat figure syndrome when typing. ;D

Regards,
Bernd
 
Last night I made some progress on the pushrod bearing and the cam follower. I had previously machined the brass bars to the correct cross section, and this time I cut them into individual pieces.

Were I doing this at home, I would have needed to use a hacksaw to slice them somewhat oversize. However, being in the school shop I had the opportunity to learn to set up the Cincinnati horizontal mill with a slitting blade. Once the blade was mounted on the arbor and the vise was trammed along the x-axis, the process was as follows:

1) With the bar in the vise resting on parallels, extend it beyond the end of the vise jaws so that the proper length is beyond the outer edge of the cutter. For the bearing I used a 1/2" parallel held against the blade to judge the cut (tried to go a hair long). For the follower I set an adjustable parallel to .625 for the same use.

2) Tighten the vise jaws, turn on the arbor motor, and feed the brass into the cutter with the x-axis handwheel. Cutter was set to 300 rpm.

3) repeat until 15 pieces of each were cut off.

The cut edges are sufficiently smooth for the purposes of the engine. One end of each piece has a small curled burr that needs to be cut off. Since each piece is a few thousands oversize I will probably clean up the edge with an end mill.

Thursday I plan to finish the bearings by drilling the 3 necessary holes in each.

large.jpg
 
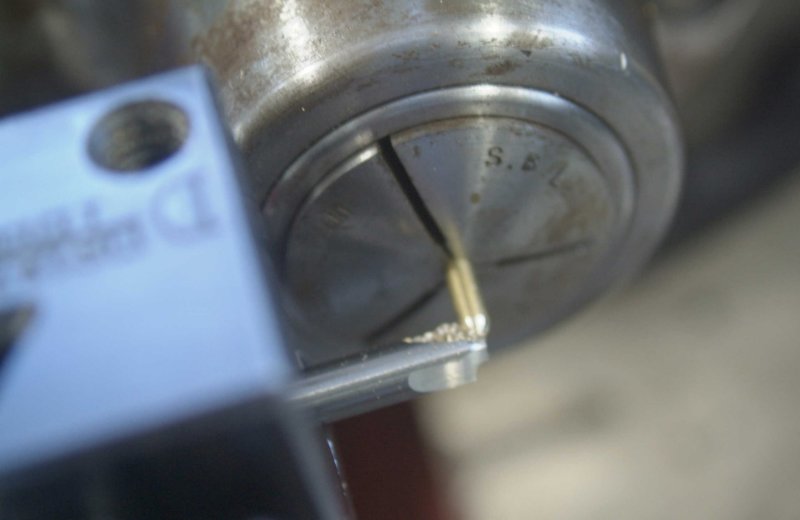
I spent last night's shop session in "production" mode, drilling holes in the push rod bearings and cam followers. After indicating the location of the corner between the vise jaw and the stop, I was able to get into "chuck, drill, move to other hole, drill, unchuck, repeat". I think that doing that as a pro would be tedious real fast.

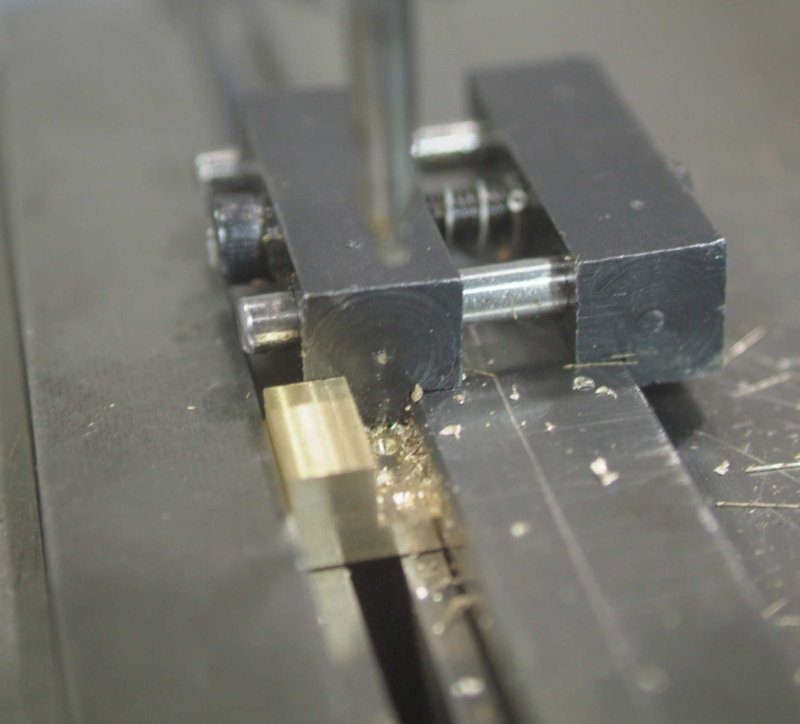
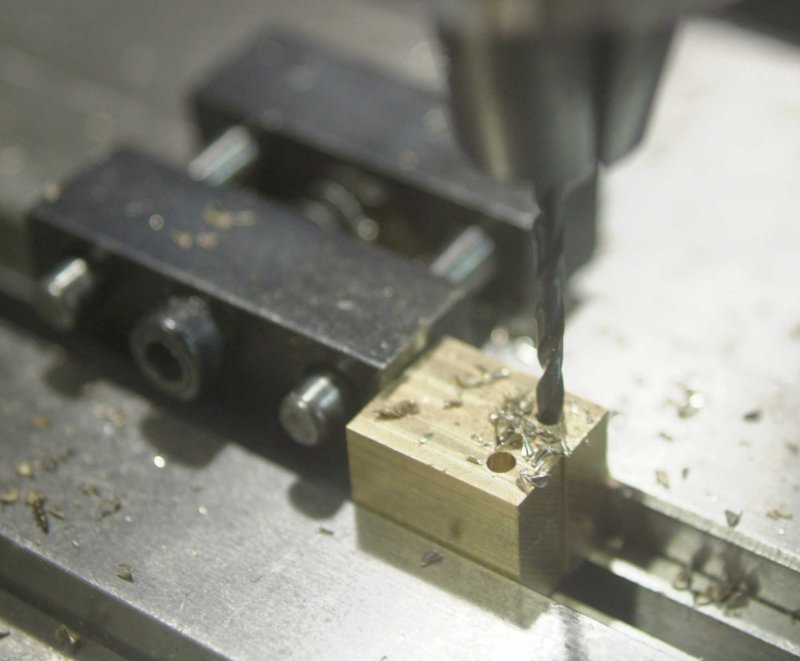
Here's the setup for the spot drilling pass. For the through holes I had to remember to move one parallel out of the way. ::)

large.jpg


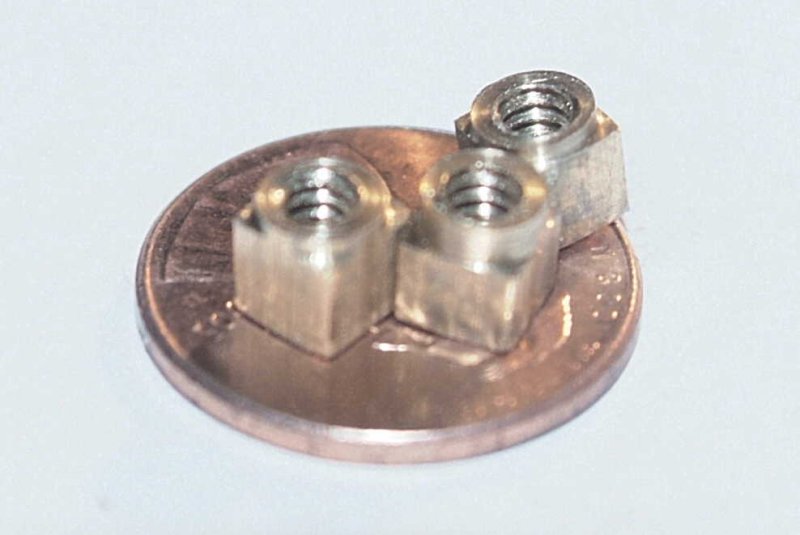
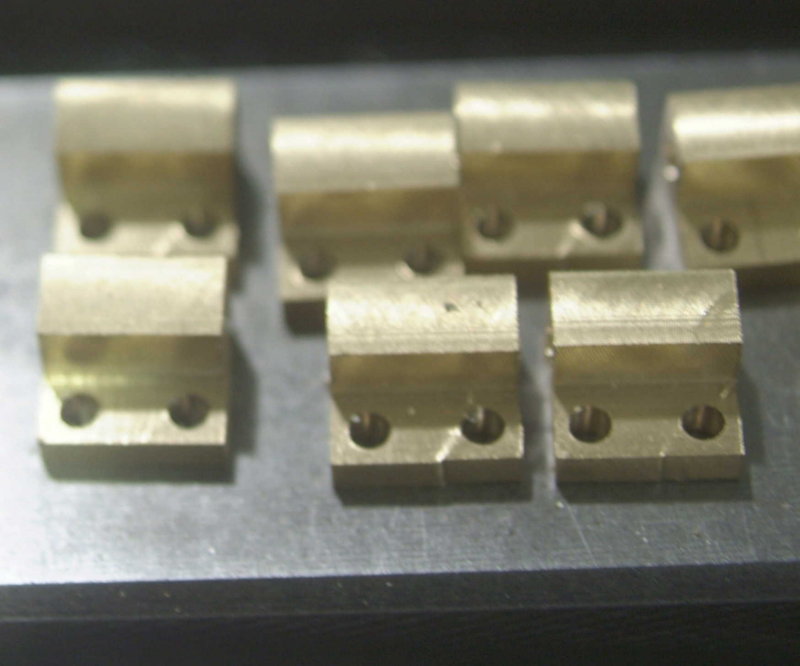
45 holes later, I had my little crop lined up:

large.jpg


The plan says to ream the horizonal hole, which needs a sliding fit with the pushrod. However the rods don't fit. I assume the previous builders lapped their rods to obtain a fit, but that doesn't sound practical for 15. I recently got a set of graduated reamers, and plan to try a #30 next session. That adds .003 to the diameter.

I also made some progress on the cam followers. The plan requires two threaded through holes. Rather than drill these after the profile is milled, I just pre-drilled them; this will eliminate any clamping problems later.

large.jpg


I had two pieces in the vise at a time, as the vise stop is wider than one piece.
 
Putting out a lot of nice pieces, great work!
 
I reamed the pushrod hole in the bearing with a #30 reamer, and now the 1/8" rod slides freely. So I have 14 pushrod bearings ready for assembly. ;D Hope to finish the other parts "real soon now".
 

Latest posts

Back
Top