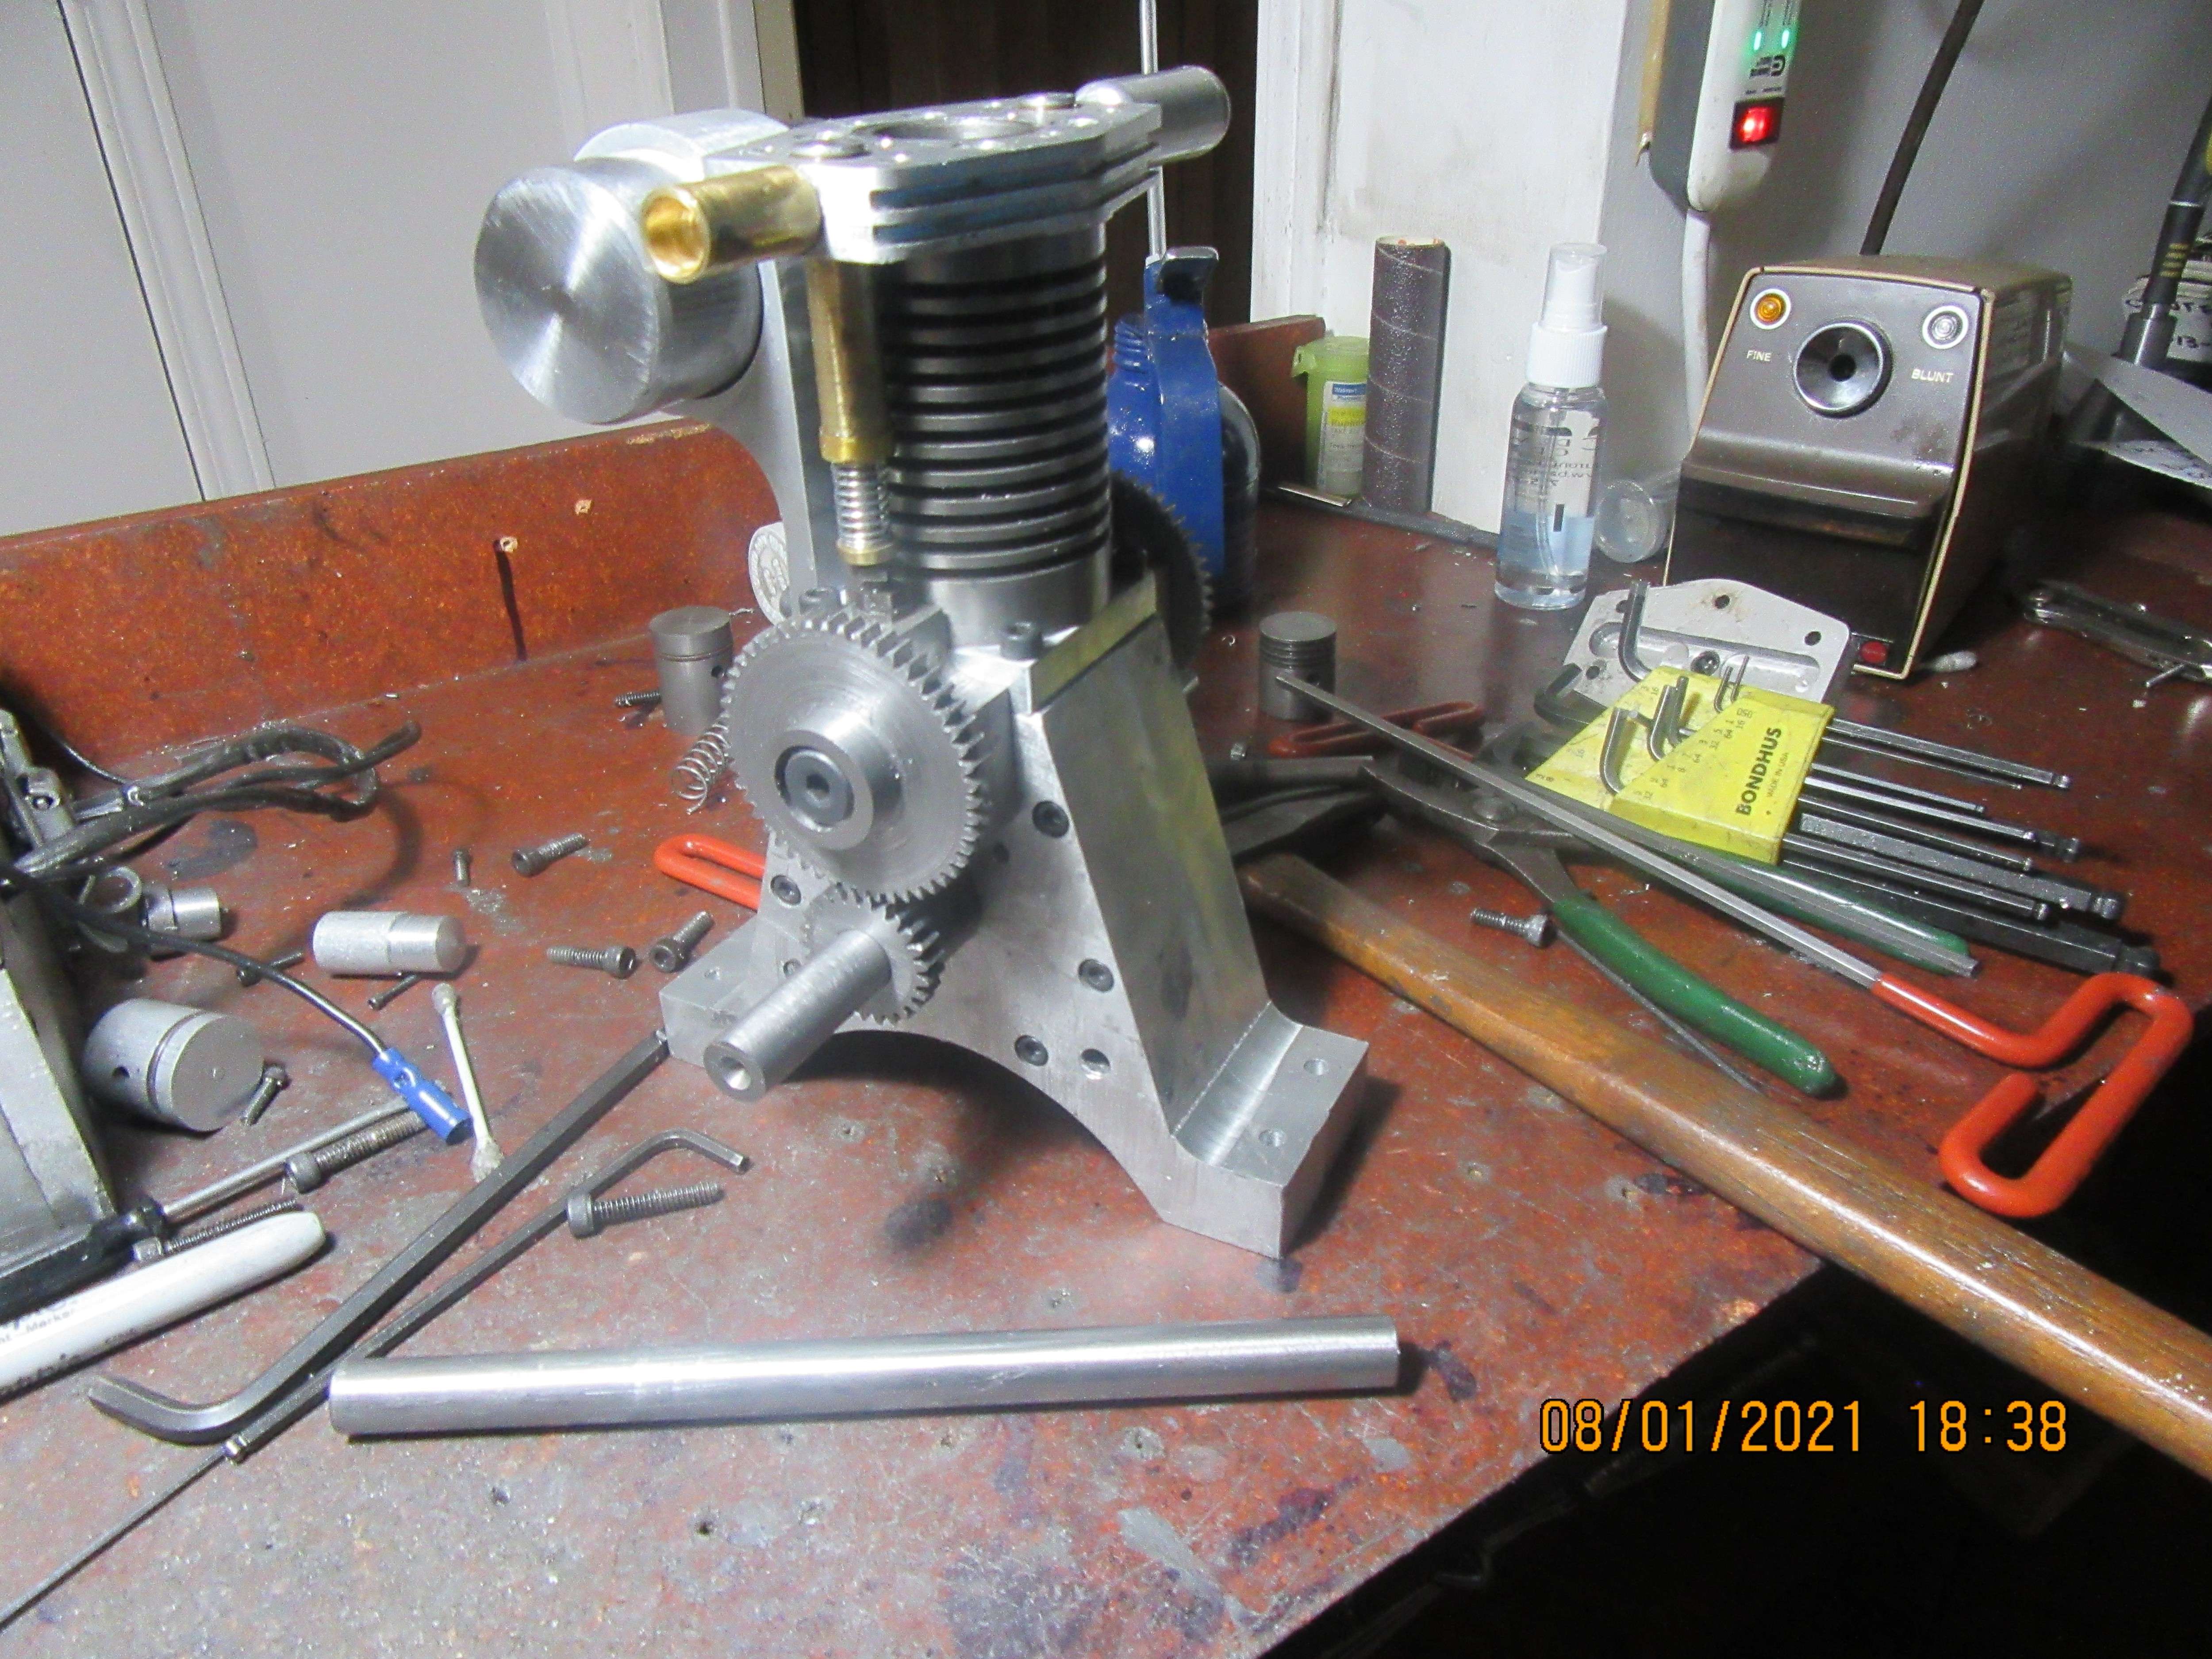
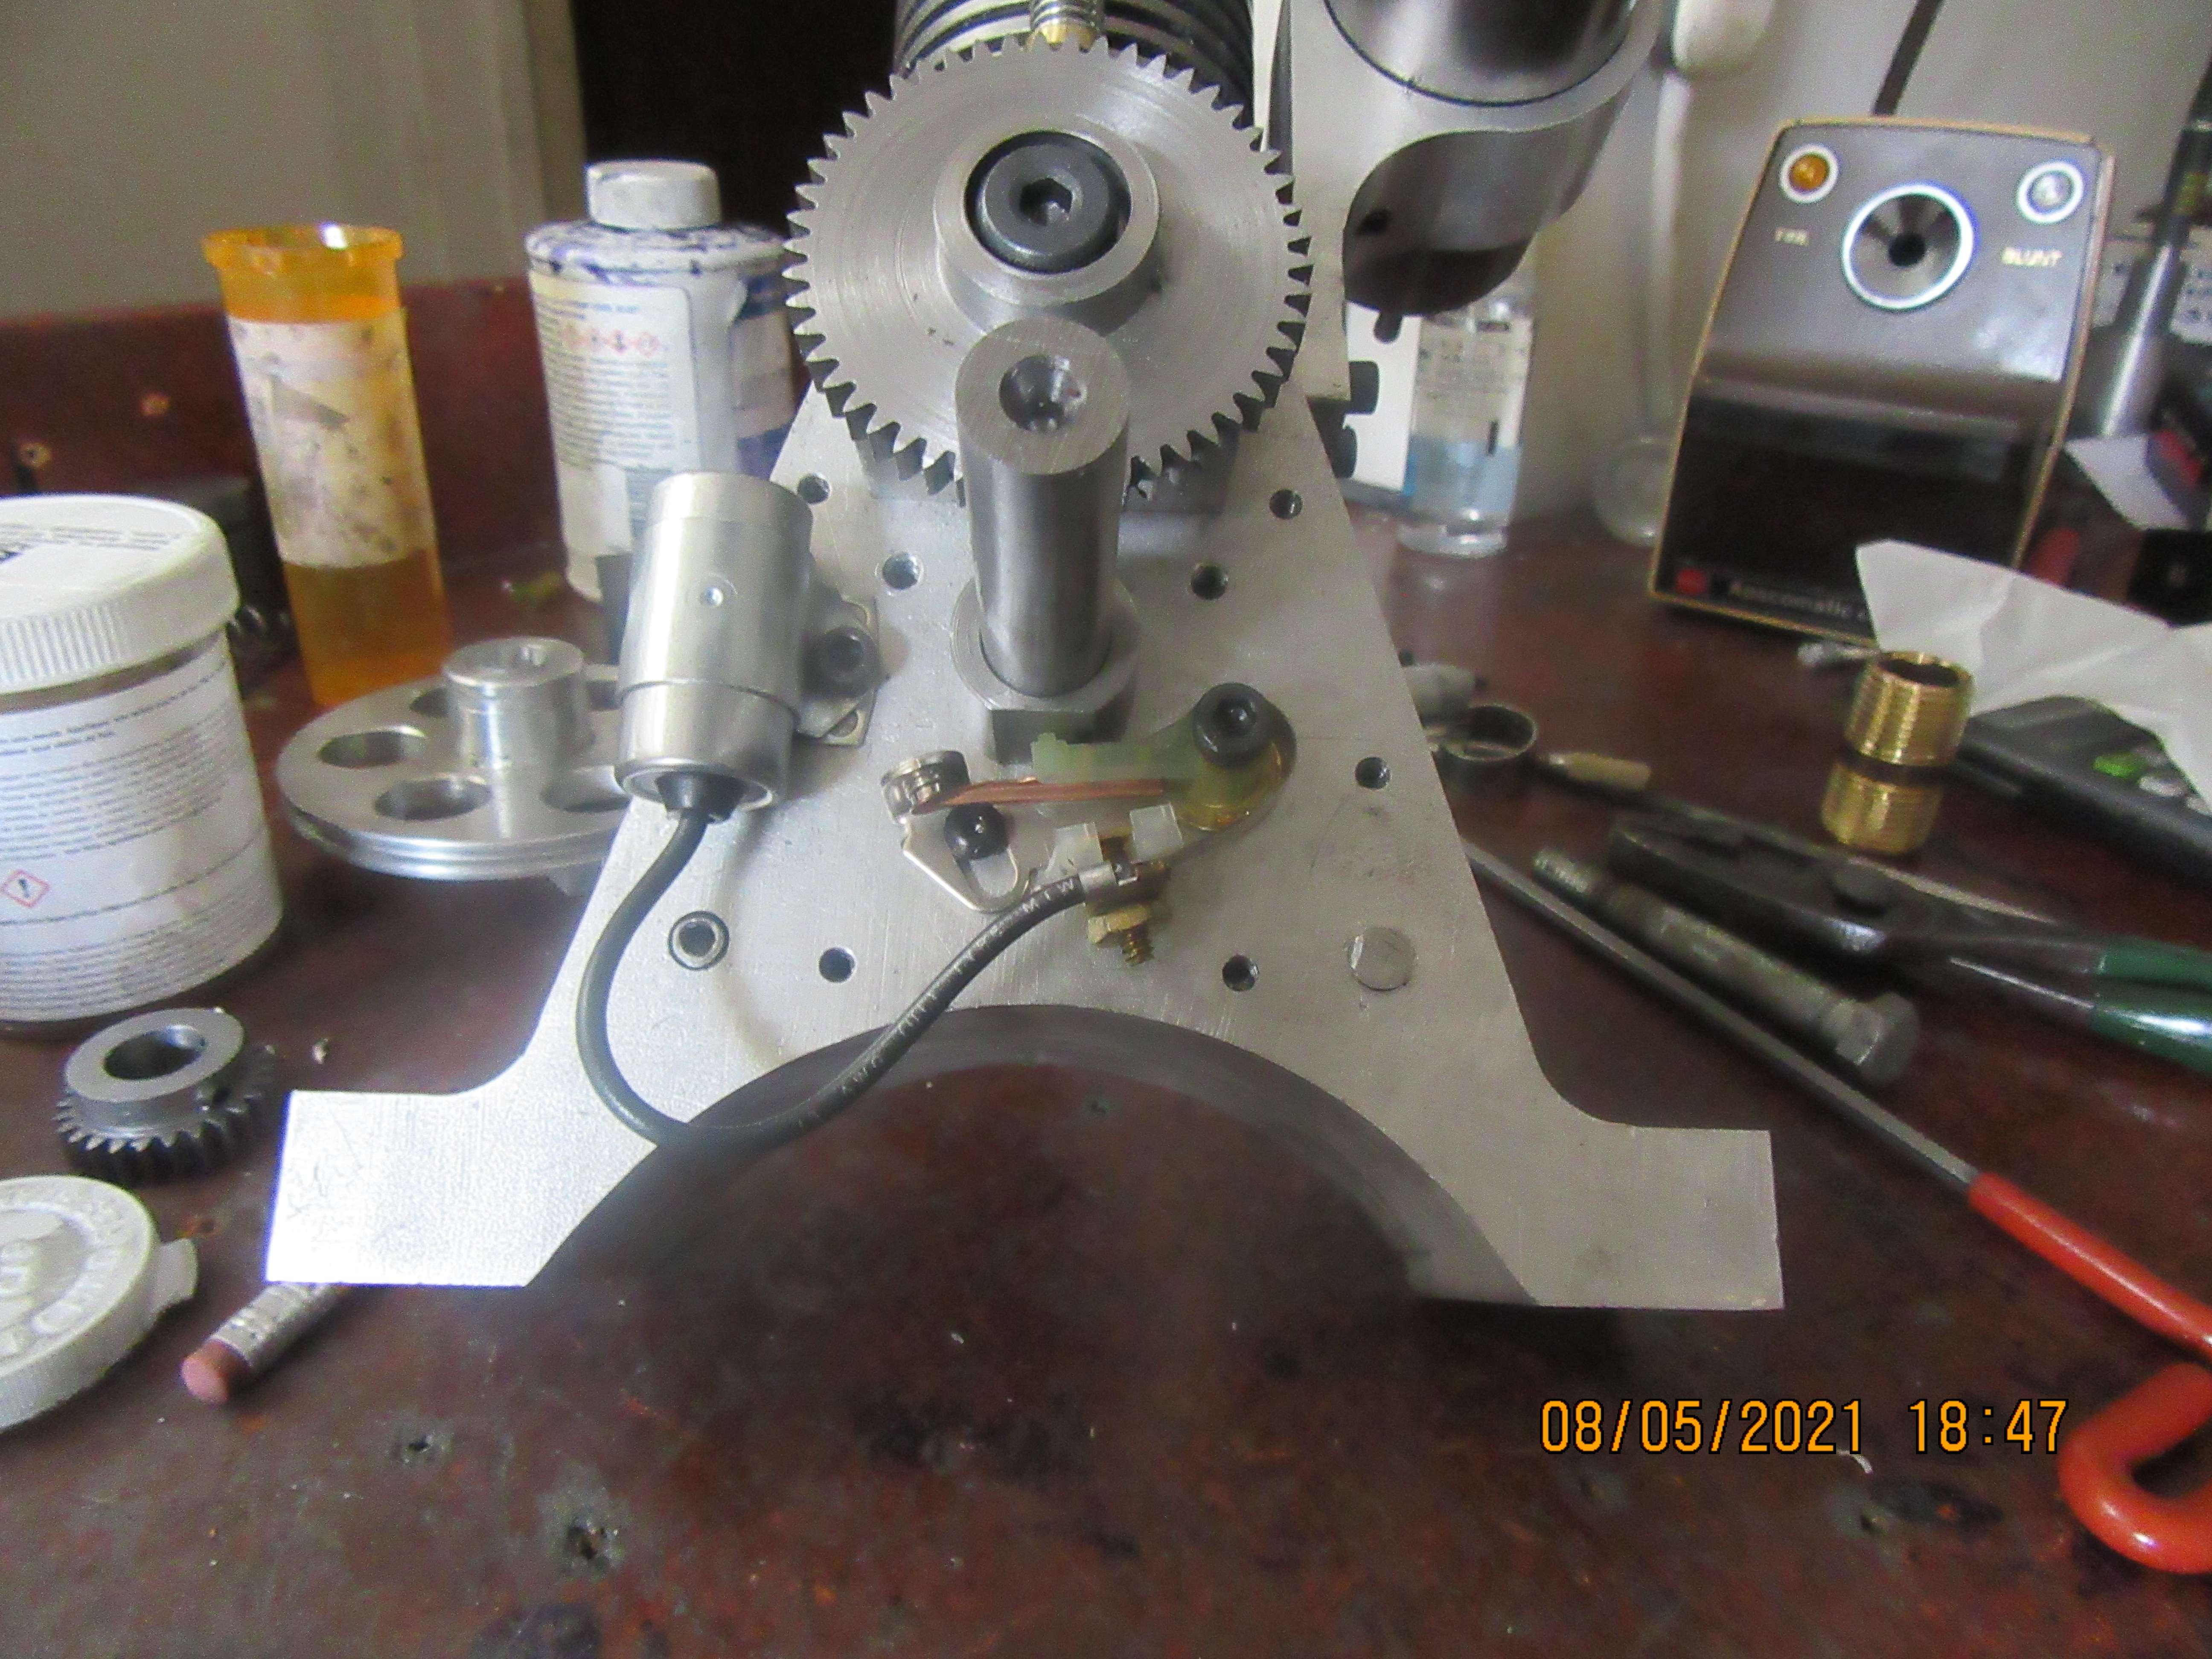
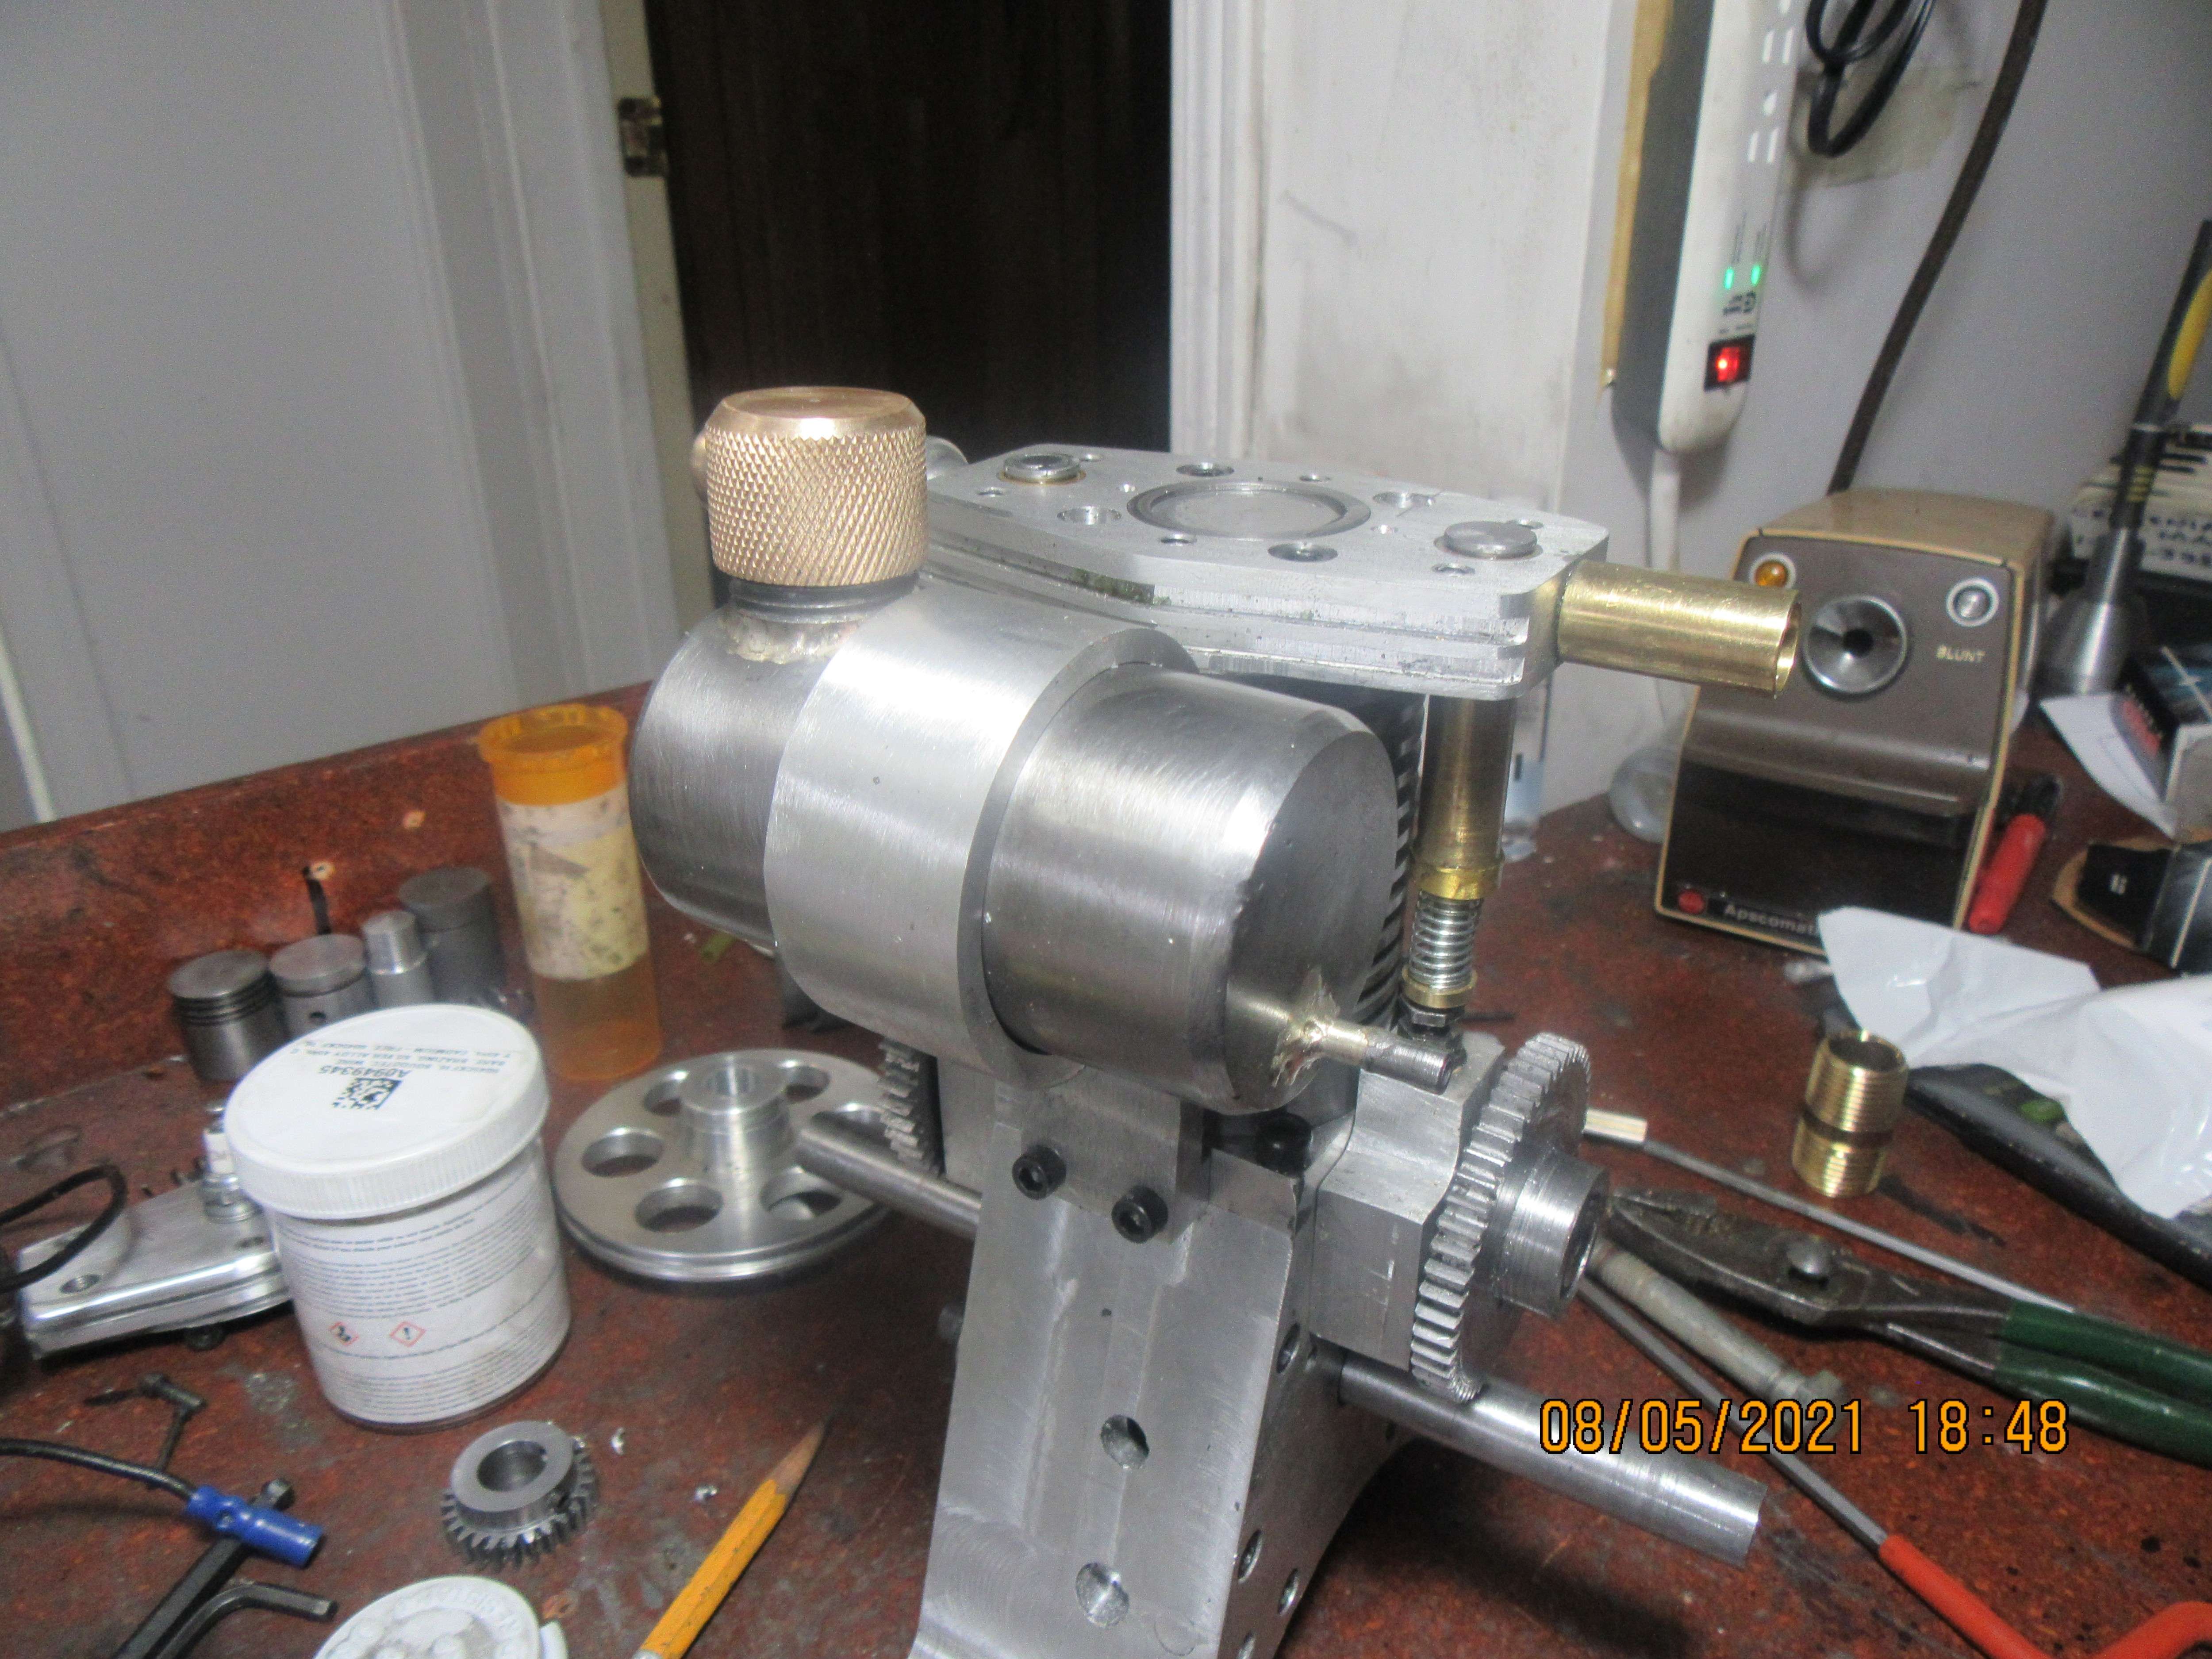
Crankshaft is in, dummy shaft is out. Crankshaft turns easily, nothing crashes. This is always a milestone event for me, because there are so many tolerances that can add up to cause some kind of internal interference with the crankshaft. I'm not going to put keyways in until I'm absolutely sure what I'm doing for flywheels. If I was rich instead of good looking, I'd buy a pair of flywheels, but at $35 each American, plus the difference in our dollars, plus tax, plus shipping, I'd be paying $100 for two flywheels.


")