
Super Tigre G32 1cc diesel - a 5cc version
- Thread starter Ramon
- Start date


Ramon said:Hi guys - good to hear from you. It's not about recieving praise Jason, just that as with the Waller engine when you sit here and take the time to put a lot of pics and text up if theres no feed back it makes one wonder if it's being seen as overdoing things - I'm never quite sure how to re-act - to continue or back off a bit ???.
Regards - Ramon
Topic: Super Tigre G32 1cc diesel - a 5cc version (Read 3275 times)
") but if I can I will. My only involvement with T/R was through the very low key 'Mini Goodyear' event (my wife Sue was the pilot) for a few years and a very short foray at that time into vintage. I can't help with the Super Tigre but I do have a set of CAD drawings (currently being updated) for the ETA Mk1 and 2 should you be interested
but if I can I will. My only involvement with T/R was through the very low key 'Mini Goodyear' event (my wife Sue was the pilot) for a few years and a very short foray at that time into vintage. I can't help with the Super Tigre but I do have a set of CAD drawings (currently being updated) for the ETA Mk1 and 2 should you be interested
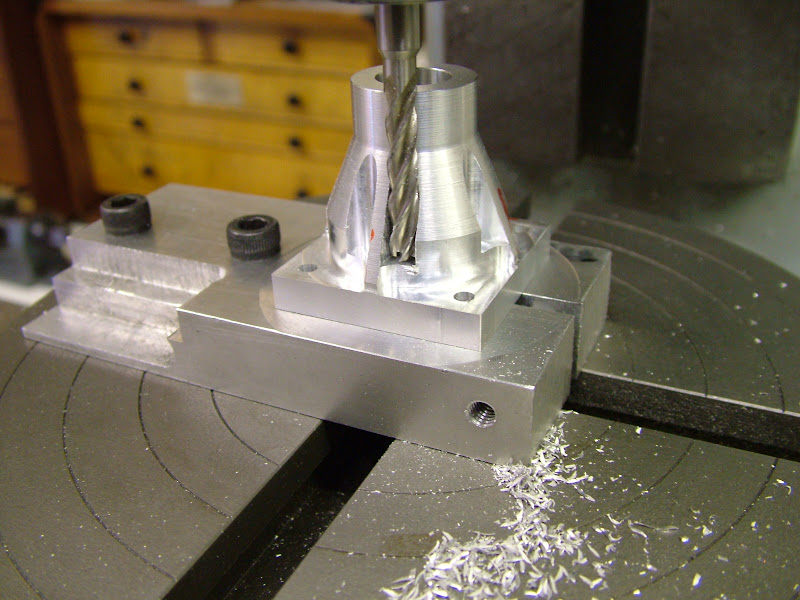
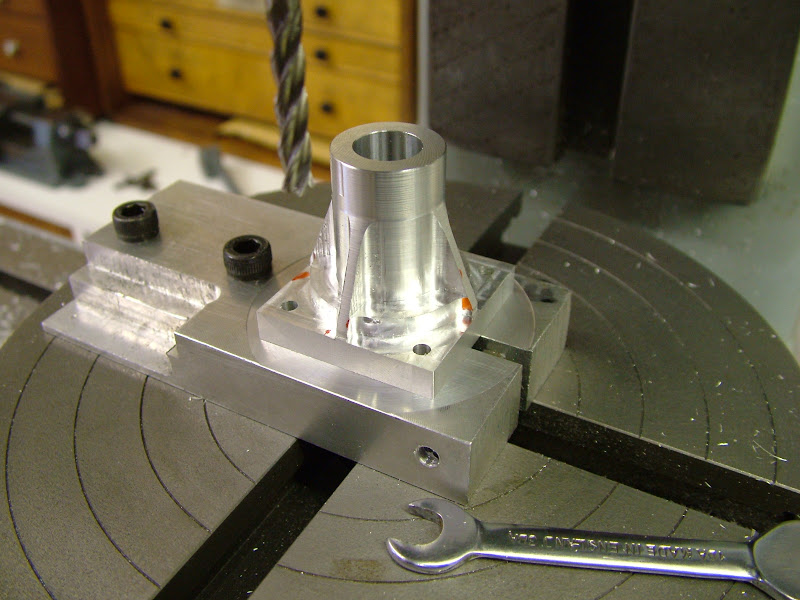
These milling ops were the 'roughing' using a 3/16 cutter - tomorrow it will all get repeated with a 4mm for finishing
) to see the way of things on here but I take note of what you say so will heed the counsel Bogstandard said:So for roughing out, 3/16" (approx 4.8mm), then finishing off with a 5mm cutter, only taking off 0.2mm (0.008") for final skim.
Enter your email address to join: