Super Newbie - Elbow Engine UHMW, HDPE.

Home Model Engine Machinist Forum

Help Support Home Model Engine Machinist Forum:

This site may earn a commission from merchant affiliate links, including eBay, Amazon, and others.

Novian

Well-Known Member
HMEM Supporting Member
Joined
May 30, 2011
Messages
135
Reaction score
4
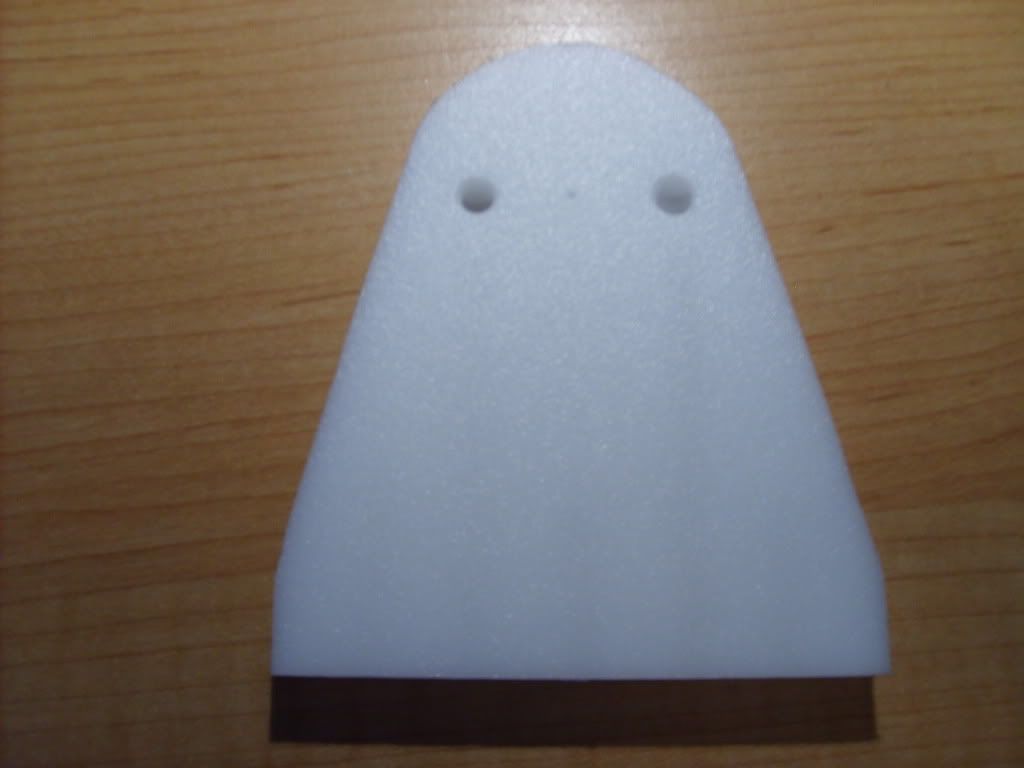
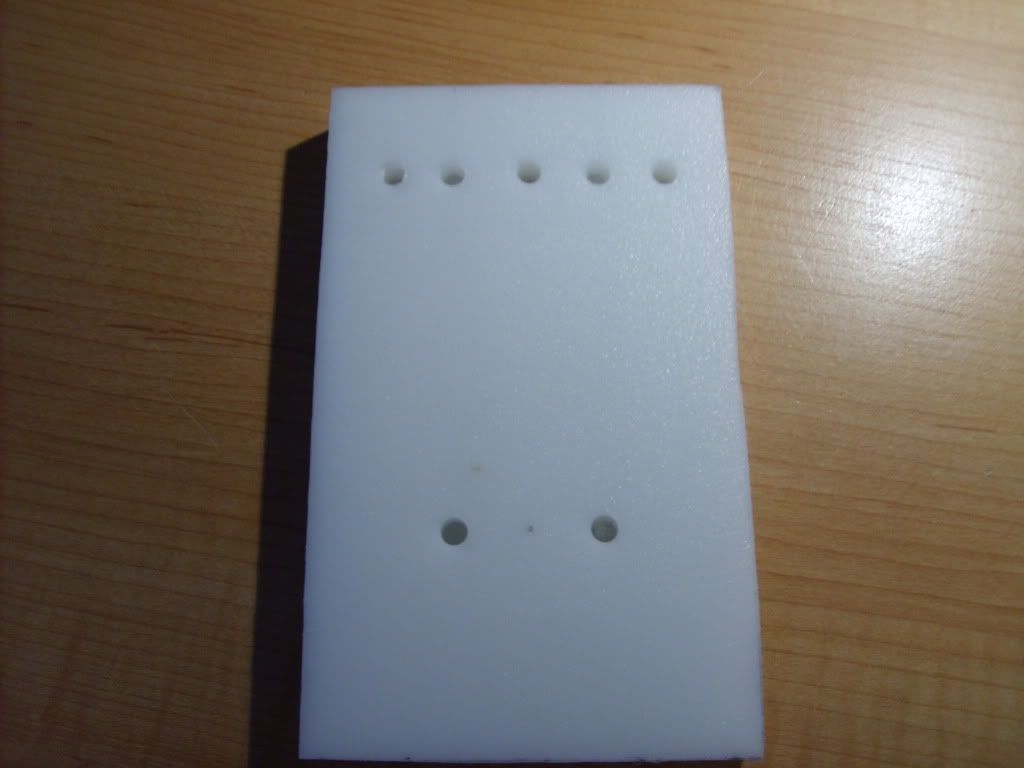
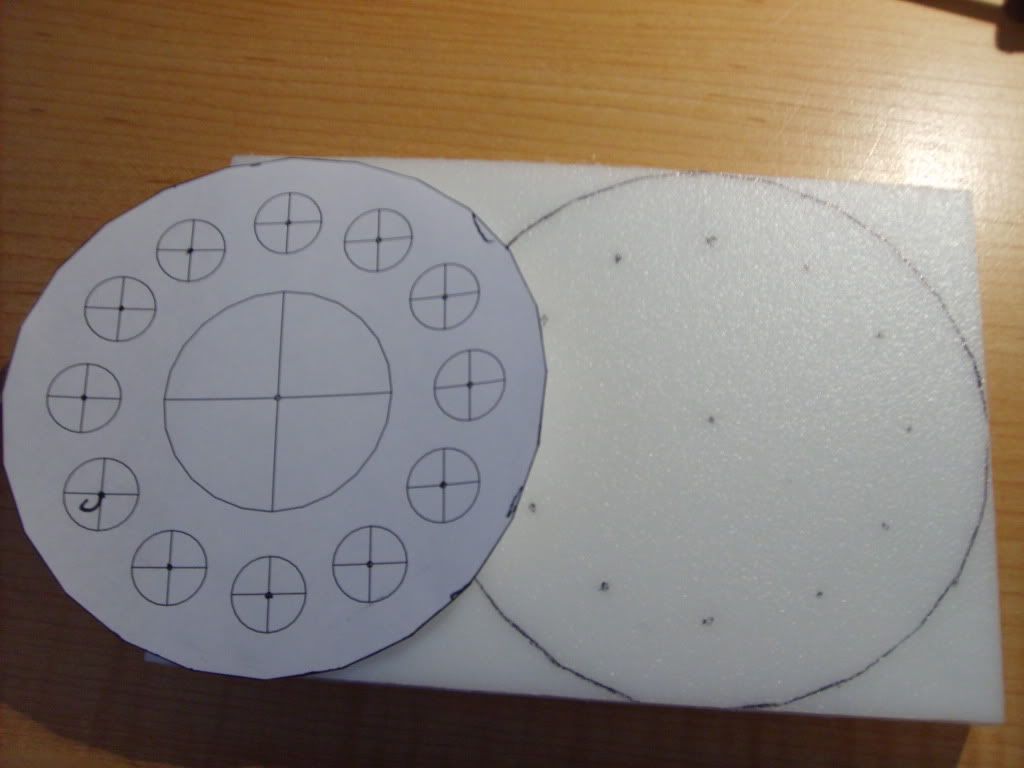
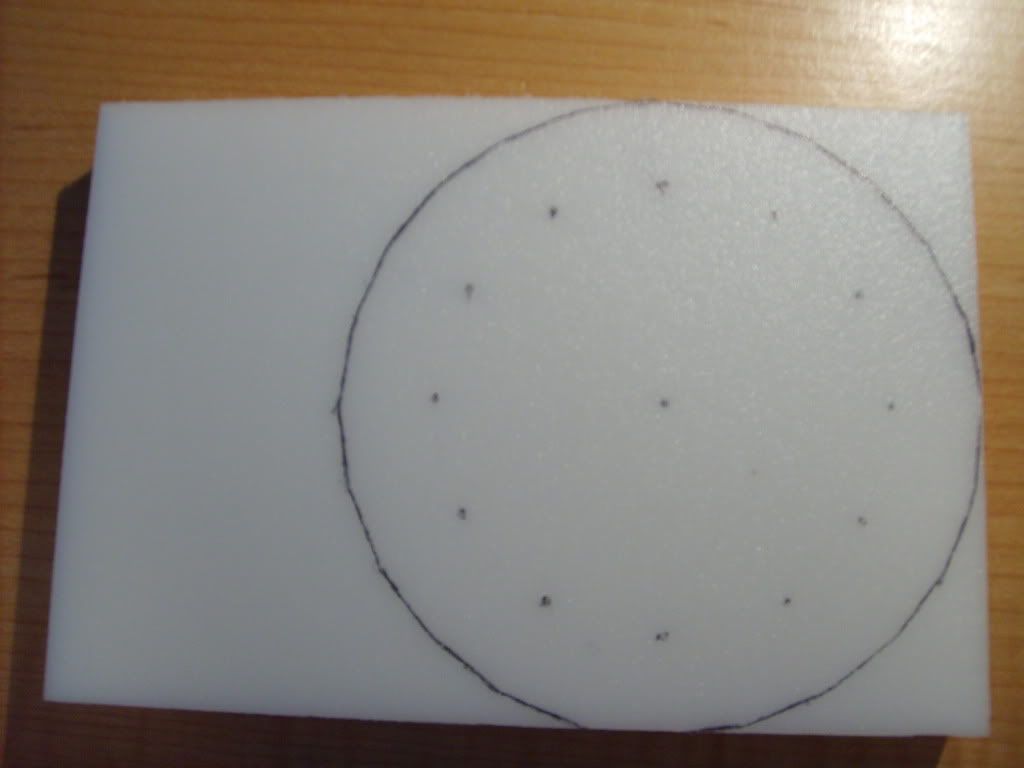
Decided i wanted to try to make an elbow engine. I don't have tools right now to machine metal, but i do have wood working tools. I picked up some industrial grade plastics which have an extremely low coefficient of friction. Since plastic is made from oil, and this plastic that i have is very slippery, i don't think I'll have to use oil for it. UHMW also is resistive to chemicals, and does not absorb moister, so i wont have to worry about expansion.

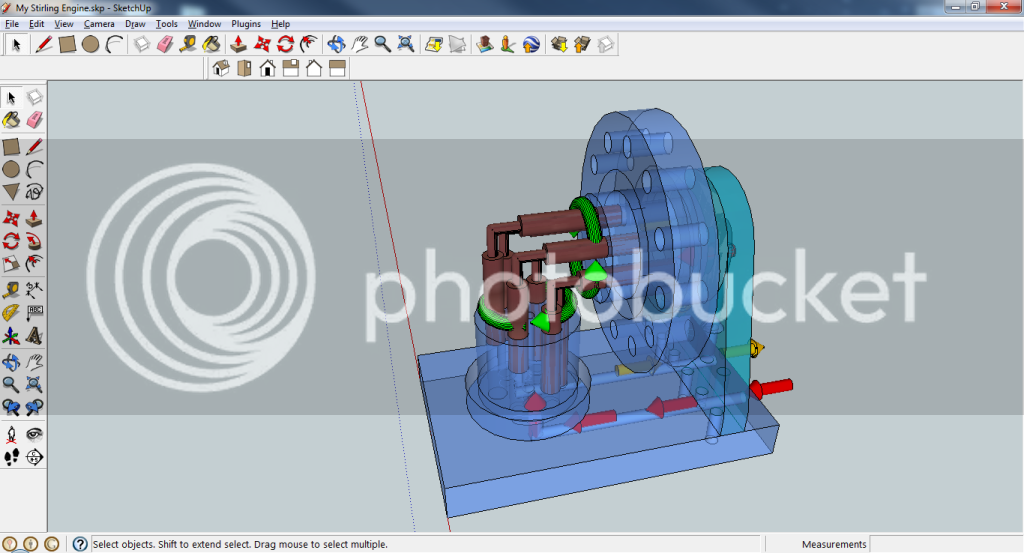
I Like the look of a 6-elbow engine compared to the 3 elbow version. I've seen 5-elbow engines aswell but I dont think the engine requires an odd number of elbows to work.

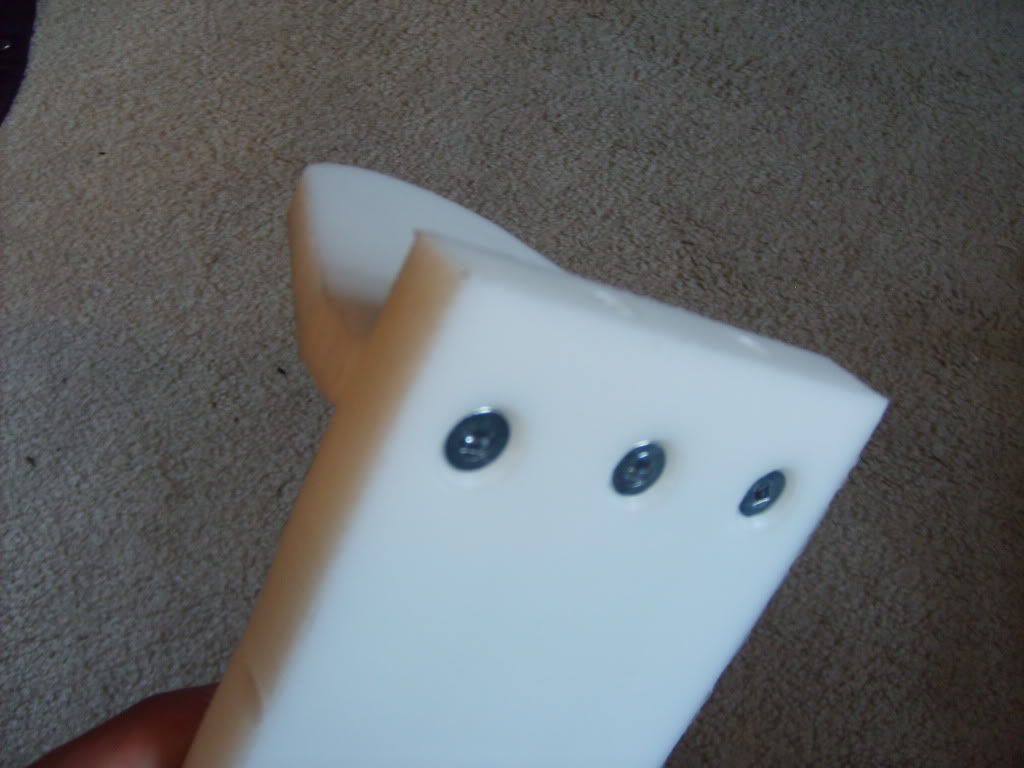
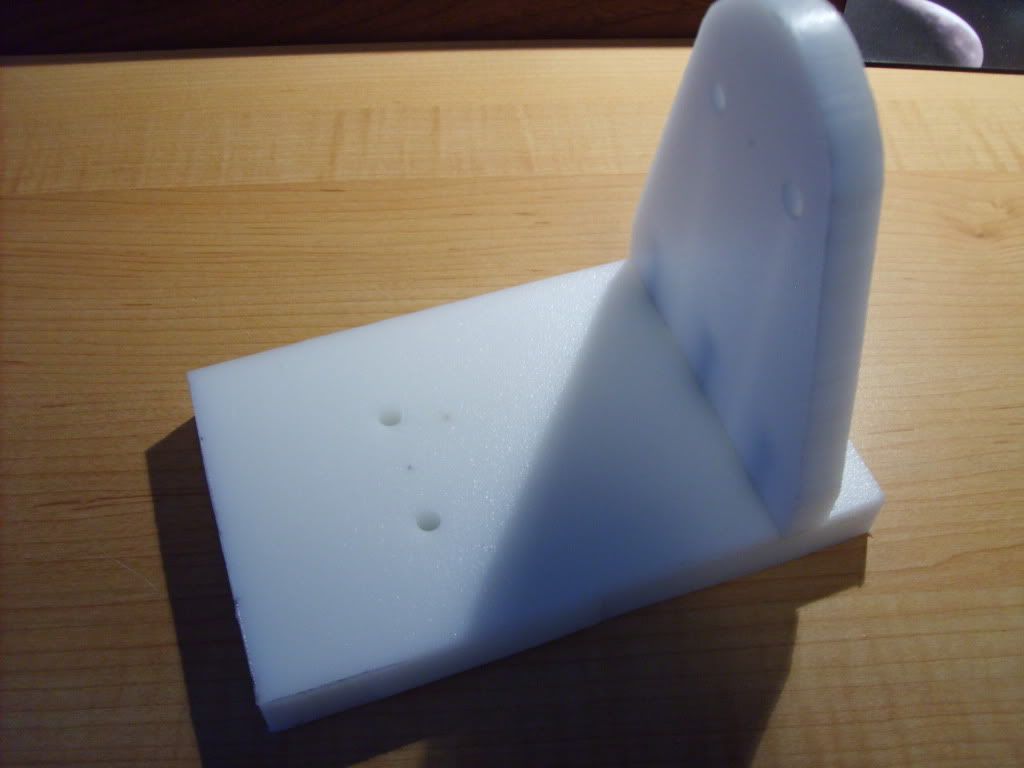
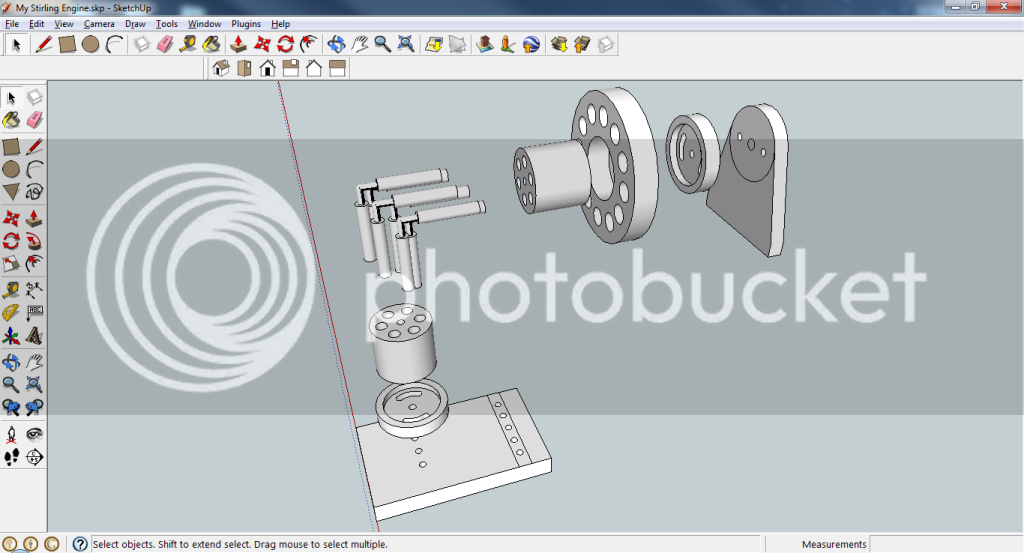
I'm going to construct the elbows the same way Arnold did with his engine.
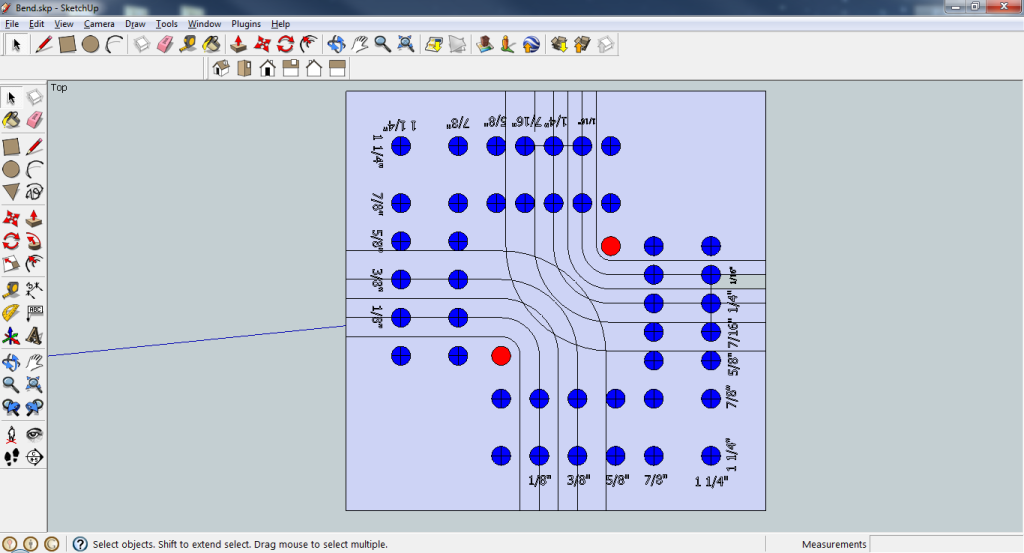
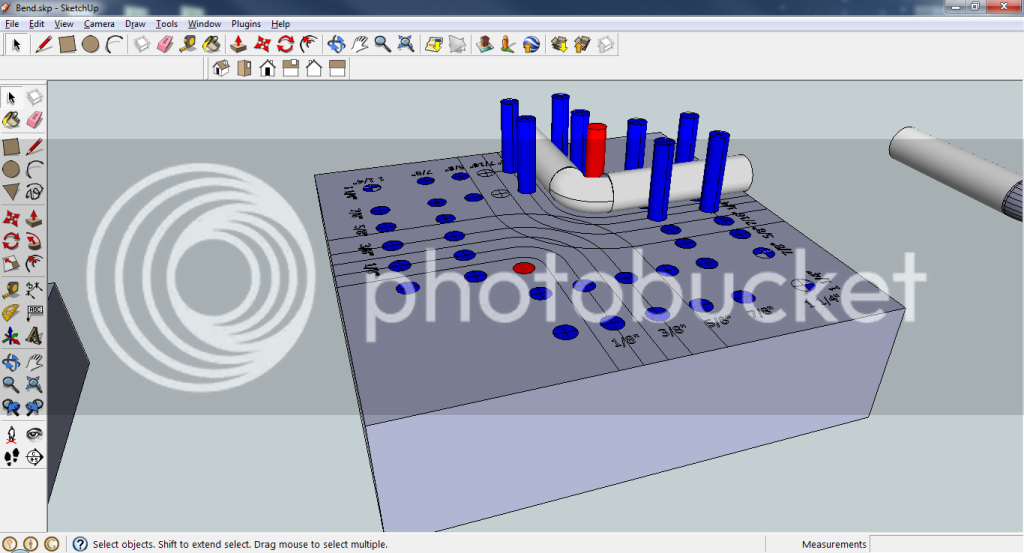
d20e86ca.png

5b6f5730.png

449843a2.png

8f4c5a16.png


Tools available:

- Drill Press.
- Bandsaw with metal cutting blade (wood blade was kinked).
- Chopsaw.
- No lathe.
- No mill.
- Square.
- Ruler.
- Wood cutting Forstner Bits.
- Counter sink bit.
- HSS Drill bits.
- Bolt Cutters.
- Table top grinder.


Will be going to Harbor Freight to buy mini lathe chuck for my mini cnc machine i'm almost finished. Might pick up one of their cheap metal lathes.
 
I cut out the vertical peice from 1/2" thick UHMW sheet. Drilled the holes, and then cut out the profile last. I also tapped holes to be able to mount to the base.

188b2169.jpg

08907030.jpg


The plastic shop didnt have stock in the 2" and the 2 1/2" Rod that i needed. To order it in from the manufacturer, and the minimum amount would be 12" of each, it would cost me $40 total...UGH!. Looking for other suppliers in the area that might have stock. I did buy 3/8" and 1/4" rod for the elbows; so i can work on that next.
 
Has anyone a connection with short piece UHMW PE?

Plastics Unlimited in Worcester Massachusetts may have what you want. You may want to try them anyway....

Keep at it! Your knocking it down.... ;D

Dave
 
Hopefully i'll be the first person to build a successful engine using not-so-accurate tools. Reading some of the threads on the completed machines have taught me that this engine can be quite finicky, and that everything has to be perfect, but already it is far from perfect.

Drew out Fly wheel pattern, cutting it up using a bandsaw, not going to be anywhere near precise as what a lathe will do, but i'll have to make do. :D

Twelve Pistons; Twelve Holes.
c0940e89.jpg

dd3f25ad.jpg
 
Indexing the holes for the pistons will be tough. You may want to match drill them together, so any error is duplicated in the other part and hopefully cancelled out......but I haven't built this engine....say guys, who has ?

Dave
 
Hi,
It will be tough without a lathe but it surely can be done.
I`ll be following your build with great interest, keep the pics coming!

Norberto
 
Wow thanks, i appreciate your guys' interest. I'm planning of drilling the cylinder holes into the rod, and then cutting the piece in two.
 
That is probably very wise.

NOW

I'm assuming you have a drill press?....if so have you checked it for squareness?

I can explain a simple way to at least check squarness without a lot of equipment....like do you have a coat hanger? ;D

Dave
 
I think it's square, can't remember if i checked it when i put the chuck on it. Yes, i do have a coat hanger, wire ones and plastic ones.

To bend the plastic rod for the elbows, i made up this guide that i can use in the future too. It wont be nearly strong enough to bend metal, but it will clamp the plastic in place while it cools (The people in the plastic shop said that if i slowly heat up the rod, it will keep it from bubbling and becoming mis-shapen).

e0ef87be.png

9fe7866d.png


The arced lines are where could cut a small grove in to hold the plastic in place while it shapes the arc of the rod.
 
Cut a piece of coat hanger and straighten it out with your hands. Grind a point on one end..about 30 degrees...nice and sharp.

Bend the coat hanger into a Z shape ( you may need to cut the length down a bit depending on the size of your DP. ) and mount it in the drill chuck loose. The offset in the Z should bring the point to the very edge of the table in all four quadrants.

Cut some writting paper into small squares and put one on each corner...or in 4 diametrically opposed sides if its a round table like mine.

Now between the chuck and some manipulation with your hands, move/bend the "Z" such that it just, and I mean JUST grabs the first piece of paper off the corner. LOCK your adjustments, and don't move anything now other than rotating your drill chuck.

Now turn your spindle to the other pieces of paper....does the spindle move them?...or does it go over them?

If it moves them, carefully drag the piece of paper under the point and FEEL how much it drags...compare this drag with the other 3 positions on the table....they should all feel the same

Adjust the table swivel as required...if you don't have a table swivel.....well, at least you know how far out your are!


Though very crude, this technique with get you within oh .005" or better over the size of the table

If you really want to push this, try using ZIG ZAG smoking paper.... ;D NO NOT FOR THAT REASON

The paper is precisly .0008/.0010. Makes for cheap feeler guage...This will get your much closer still


Dave


steamer said:
Cut a piece of coat hanger and straighten it out with your hands. Grind a point on one end..about 30 degrees...nice and sharp.

Bend the coat hanger into a Z shape ( you may need to cut the length down a bit depending on the size of your DP. ) and mount it in the drill chuck loose. The offset in the Z should bring the point to the very edge of the table in all four quadrants.

Cut some writting paper into small squares and put one on each corner...or in 4 diametrically opposed sides if its a round table like mine.

Now between the chuck and some manipulation with your hands, move/bend the "Z" such that it just, and I mean JUST grabs the first piece of paper off the corner. LOCK your adjustments, and don't move anything now other than rotating your drill chuck.

Now turn your spindle to the other pieces of paper....does the spindle move them?...or does it go over them?

If it moves them, carefully drag the piece of paper under the point and FEEL how much it drags...compare this drag with the other 3 positions on the table....they should all feel the same

Adjust the table swivel as required...if you don't have a table swivel.....well, at least you know how far out your are!


Though very crude, this technique with get you within oh .005" or better over the size of the table

If you really want to push this, try using ZIG ZAG smoking paper.... ;D NO NOT FOR THAT REASON

The paper is precisly .0008/.0010. Makes for cheap feeler guage...This will get your much closer still


Dave

Wow thanks, very interesting, but wouldn't using a machinist's square be better? Just stick a piece of bar stock in the chuck, and check it like that? I'll try it out tomorrow and see what happens.
 
Hi

;D Nice work!

Like Steamer said, check your drill press for squareness - this engine does not tolerate anything out of square ;)

Drilling the cylinders before cutting is the way to go - and mark them to remember the orientation before cutting them apart; going for more cylinders will make things a lot harder to get lined up and running later on.

How are you going to finish the cylinder bores ? - they need to be smooth as silk, otherwise things are just going to jam up all the time...

Good luck with your build Thm:

Regards, Arnold
 
arnoldb said:
How are you going to finish the cylinder bores ? - they need to be smooth as silk, otherwise things are just going to jam up all the time...

The thing I've found with UHMW, is that the cut edges are more slippery than the non cut edges, so i'm hoping that will be smooth enough.
 
UHMW is a nice material and machines well though it does require a lot of deburring. A good sharp reamer should do well on the cylinder bores. I am more concerned about how close you can hold the 90 degree bend in the pistons but it may work out fine. Just from what others have said, this seems to be one of the most critical aspects of this engine. I am following along with interest and wish you the best.

Bill
 
AssassinXCV said:
Wow thanks, very interesting, but wouldn't using a machinist's square be better? Just stick a piece of bar stock in the chuck, and check it like that? I'll try it out tomorrow and see what happens.


Yes it might be depending on the size of the square...but I was under the impression you didn't have any metal working tools. Additionally, make sure the piece of bar stock is straight and has no run out, or you may make it worse, not better

Dave
 
b.lindsey said:
UHMW is a nice material and machines well though it does require a lot of deburring. A good sharp reamer should do well on the cylinder bores. I am more concerned about how close you can hold the 90 degree bend in the pistons but it may work out fine. Just from what others have said, this seems to be one of the most critical aspects of this engine. I am following along with interest and wish you the best.

Bill

Bill
Your absolutely right....but he has one thing going for it....UHMW PE is flexable....it may "flex" it's way through some squareness error....getting the pistons to fit,as you stated, without burrs will be real tough....

Dave
 
Back
Top