Stuart Twin launch Build (sort of)

Home Model Engine Machinist Forum

Help Support Home Model Engine Machinist Forum:

This site may earn a commission from merchant affiliate links, including eBay, Amazon, and others.

GaryK

Well-Known Member
Joined
Mar 19, 2013
Messages
73
Reaction score
80
I found a great deal on a Twin launch with reversing gear on ebay a couple of weeks ago.

I would imagine that the build has been posted many time before so what I'm going to do is to document things I assume that I have done differently than most.

So far I have completed the sole plate and main bearing caps. Nothing special or unique in machining them.

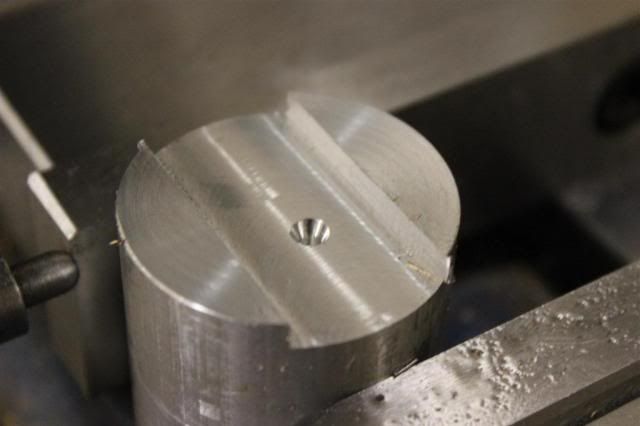
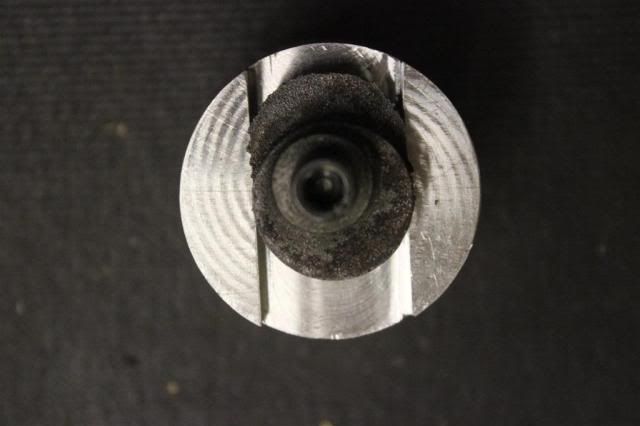
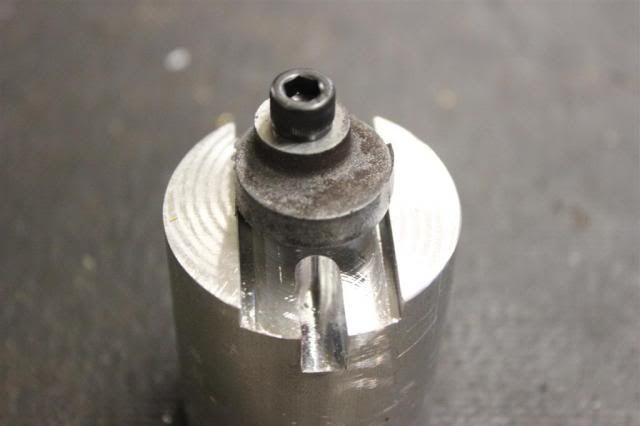
What I will start with is the eccentrics. Most people use a 4 jaw chuck from all the posts I have seen. I'm going to do it differently. I'm going to make a little fixture and turn them in my 6 jaw chuck. The fixture will just be a 1.5" diameter piece of aluminum machined on each end to hold the different parts of the eccentrics.

I will start that with the next post so if you are interested stay tuned.

Gary
 
The first thing I did with the castings was to square both ends. This will allow it to sit flat.

Then I indicated in the hub for drilling.

TL-001_zps0c57b57a.jpg


I centered and drilled a .250" hole which will be a tight fit for the 1/4"-20 screw I will be using.

TL-002_zpsa2b0405b.jpg


Then I took my 1.5" diameter piece of aluminum and cut a slot in one end the diameter of the unmachined casting. Then drilled and tapped a hole for the screw.
To get the eccentric centered in the fixture I had to drill the hole .132" down from center and .048" to the right.

TL-003_zps797c6a88.jpg


Here you can see the part to be machined in the center of the fixture.

TL-004_zps1f384c23.jpg


Then I cut a small 1/4" slot to give myself room to use my calipers.

TL-005_zpsb37b835c.jpg


And here it is with one of the eccentrics turned.

TL-006_zps64dd98df.jpg


Then I just used a piece of bar stock and screwed the part to it to turn the hub diameter and the eccentric to width.

TL-007_zpsa0eb0786.jpg


The other end of my fixture is basically the same as the other end except the slot is narrower since the first eccentric's diameter has been turned to size. Also the hole is opposite the other end and a counter bore to accommodate the hub.

And here you can see the other eccentric completed. I just needed to use the mill to cut the part down to proper width.

TL-008_zps14d01c4a.jpg


Then I also drilled out the hole and reamed it to .312".
Here you can see the finished product.

TL-009_zpsc4a5c7b2.jpg


Now I can use this fixture over and over again without having to think about it anymore.

I figure that the time I would have spend indicating the parts in the 4 jaw chuck was the same spent on the fixture. Plus I believe this method will give me a more precise
part.

TL-010_zpsd8721fdc.jpg


That's it for now.

The crankshaft is next. The unit that was supplied in the kit was too far out of tolerance to use so I will be making one from a solid piece of material.

Until next time.

Gary
 

Latest posts

Back
Top