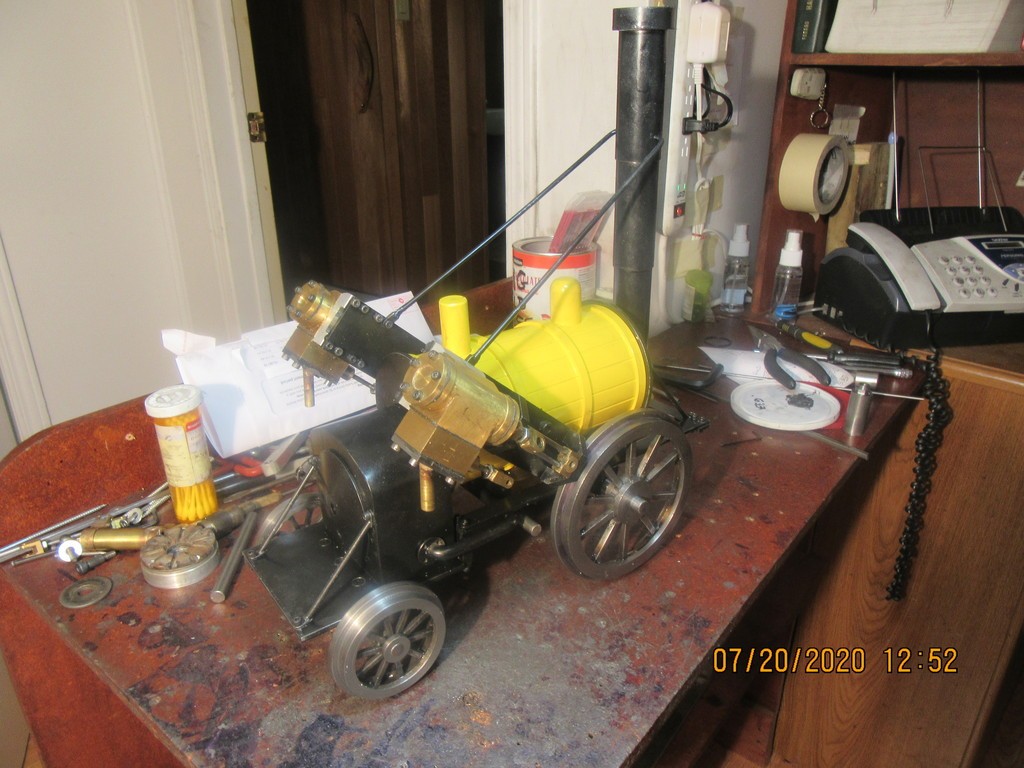
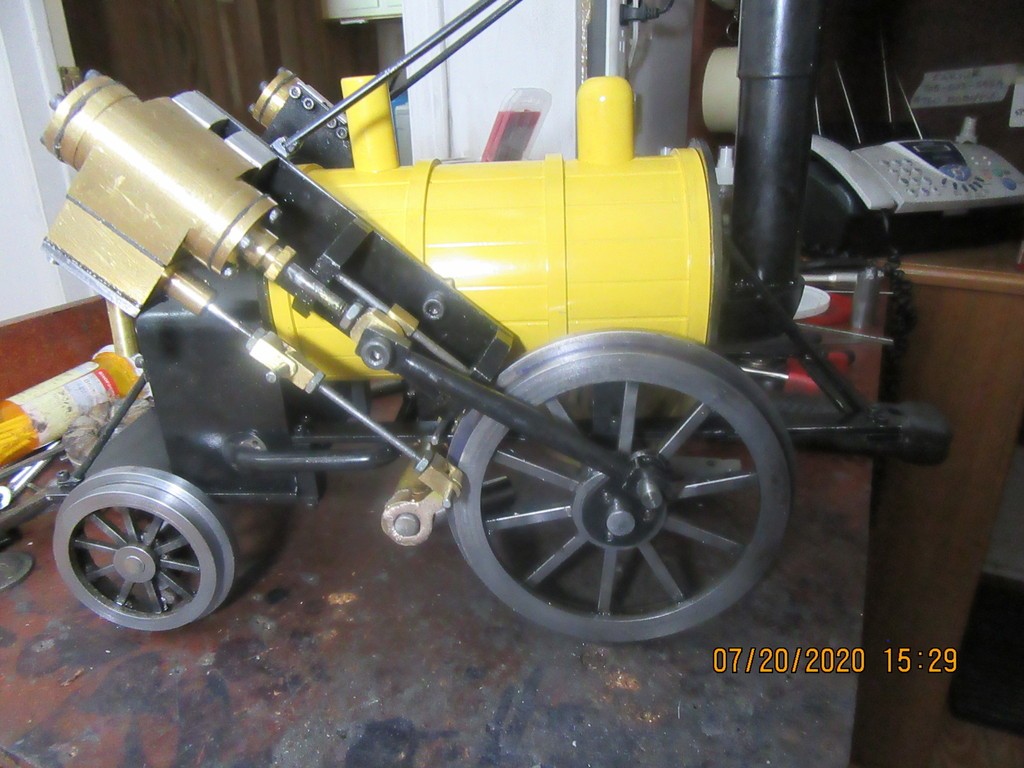
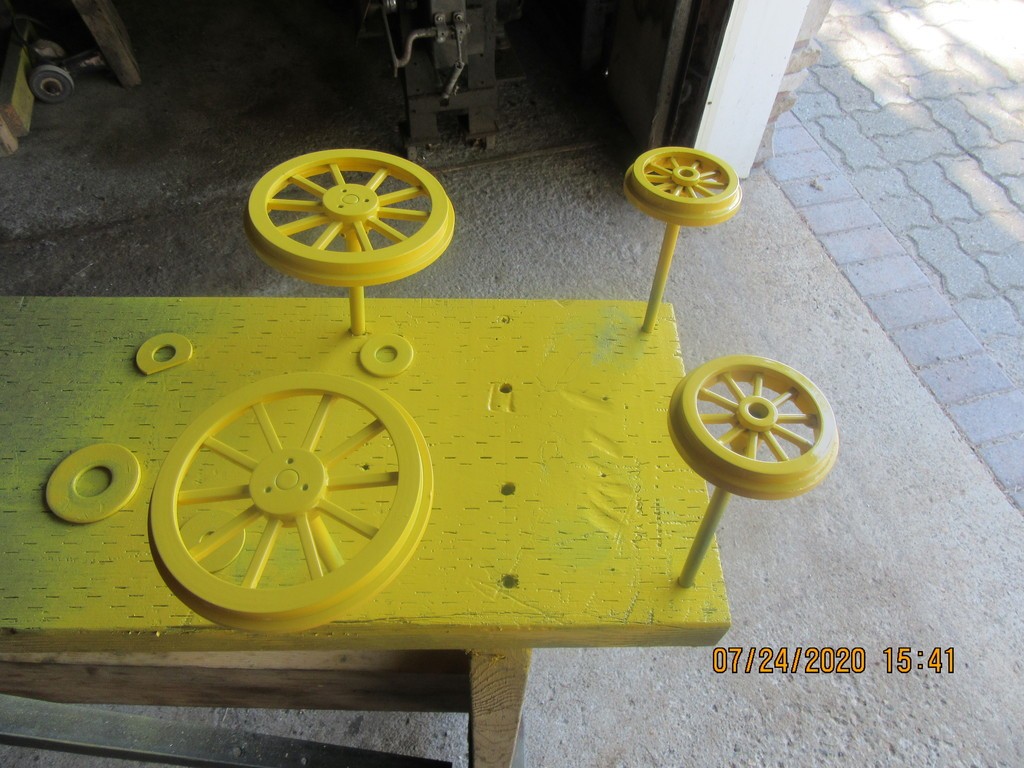
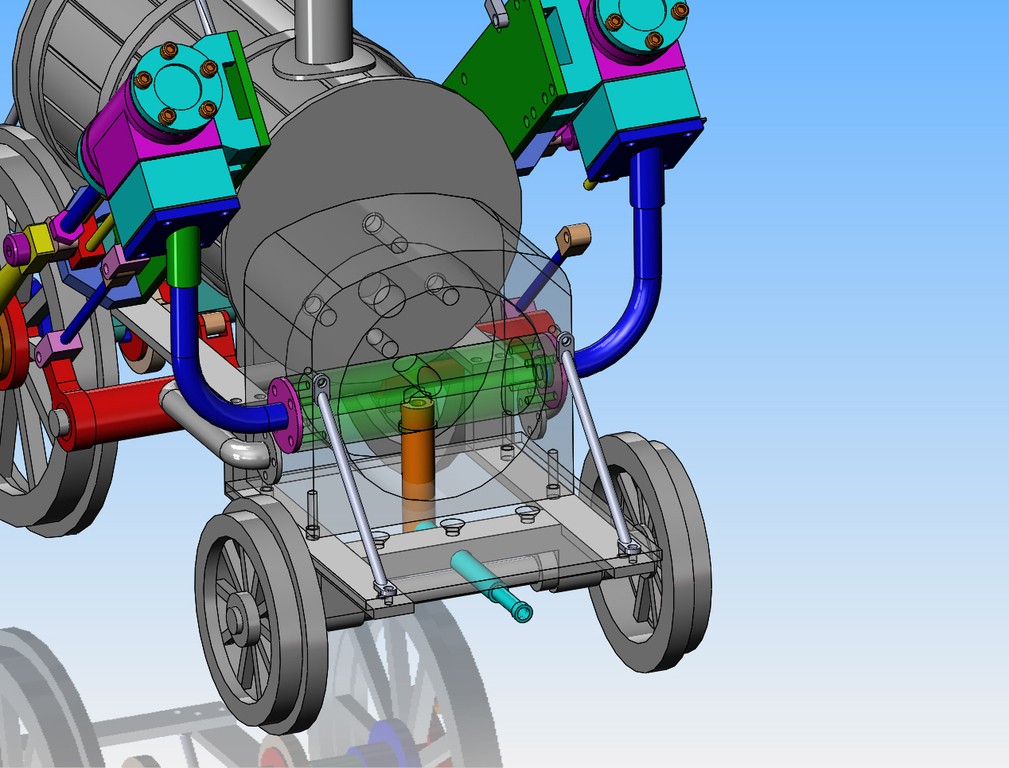
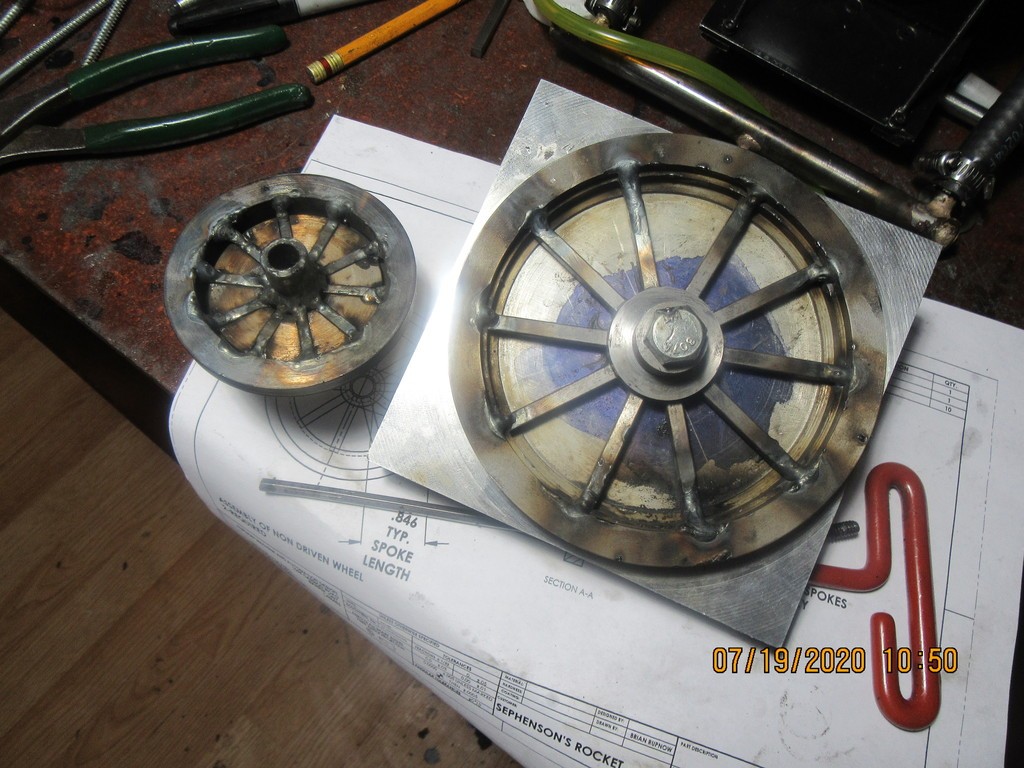
I have discovered something that is a problem, and I have a solution for how to solve it. No matter how much care is taken with the jigs and set-up, there will end up being visible "wobble" when the wheel is rotated on the center hole in the hub. This can be addressed by taking "truing cuts" from the outer edges and sides of the wheel as the wheel rotates if the wheel is supported on an "axle" which fits into the hole in the center of the hub.
I was just in the process of doing that, when I had a thought. I would strongly recommend that anyone who sets out to build fabricated wheels like this, put a bore thru the hub center 1/16" less than what it will end up being. This lets you build a fixture which accommodates the smaller center hole. Then when the wheel is removed from the jig, set it up in the lathe so that the chuck is gripping the outer diameter of the wheel, and that it is rotating "true" with no visible wobble or run-out. Then re-bore the center hole in the hub to the correct size. That is much easier than trying to re-machine the outer diameter and sides of the wheel to make it run true.


")