Hi All
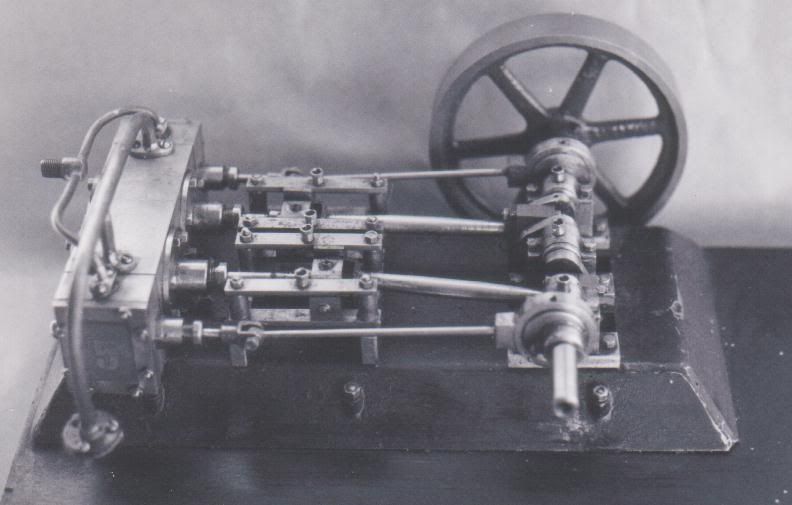
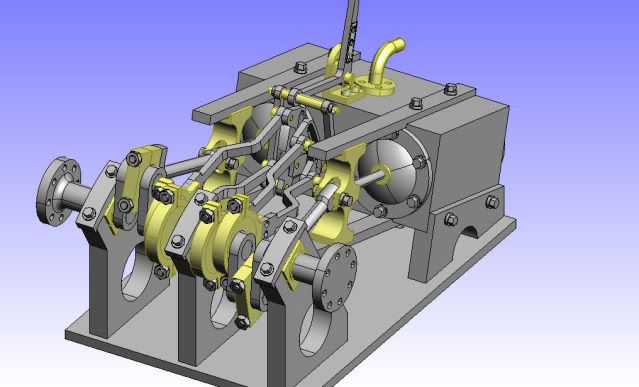
Now my next project is finished in the virtual world, now I have to go to the shop and see if I can make the pile of material tranform into something that will look like the digital form.
Any comment is welcome before I start cutting metal
Mogens
Now my next project is finished in the virtual world, now I have to go to the shop and see if I can make the pile of material tranform into something that will look like the digital form.
Any comment is welcome before I start cutting metal
Mogens
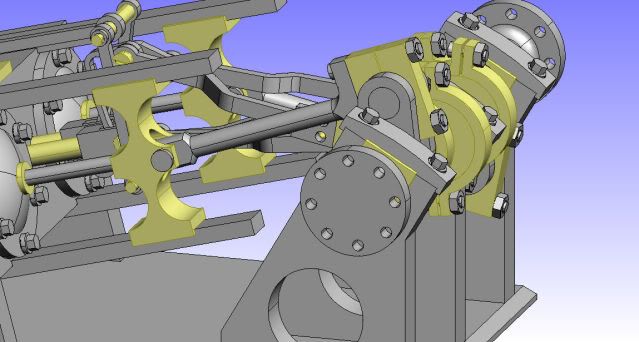
") - A nice feature when working in 3D, you can simulate all movements during constuction
- A nice feature when working in 3D, you can simulate all movements during constuction