Steam engne 001

Home Model Engine Machinist Forum

Help Support Home Model Engine Machinist Forum:

This site may earn a commission from merchant affiliate links, including eBay, Amazon, and others.

Divided He ad

Well-Known Member
Joined
Mar 21, 2008
Messages
549
Reaction score
2
Well the time has come to get me boots wet!

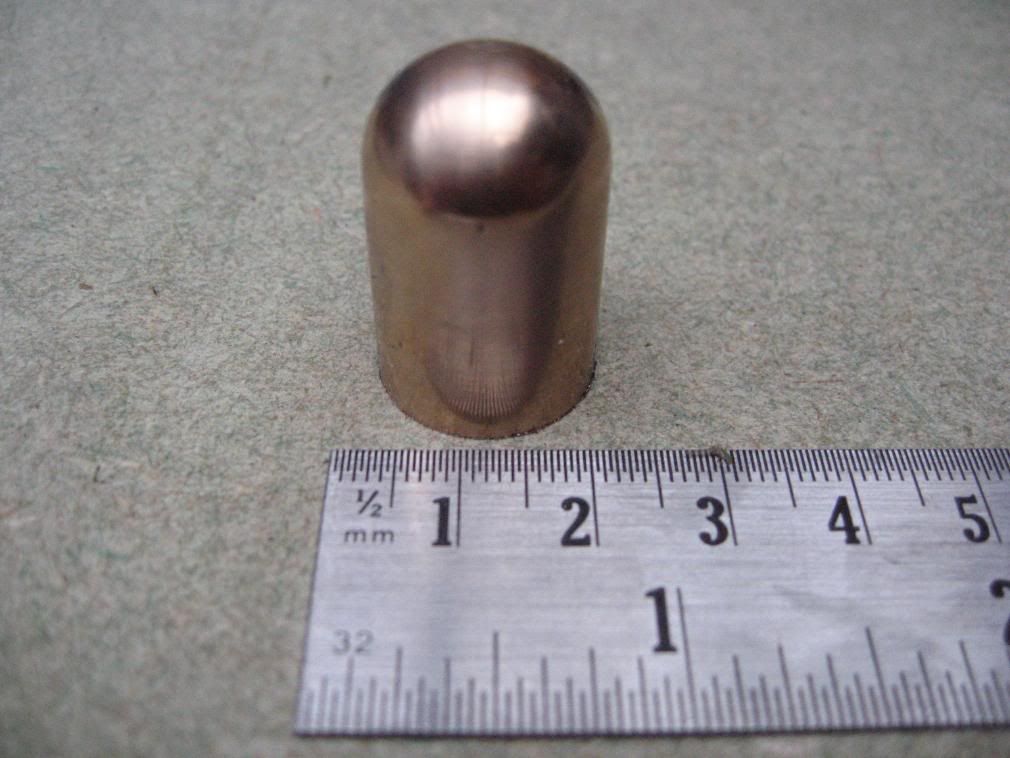
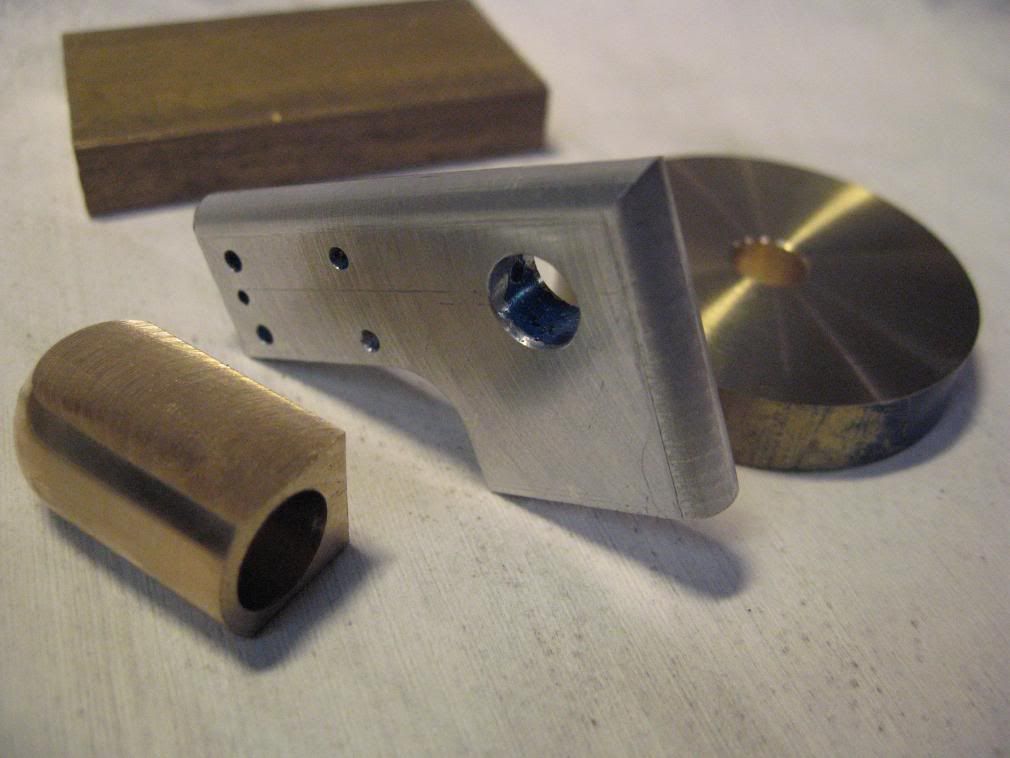
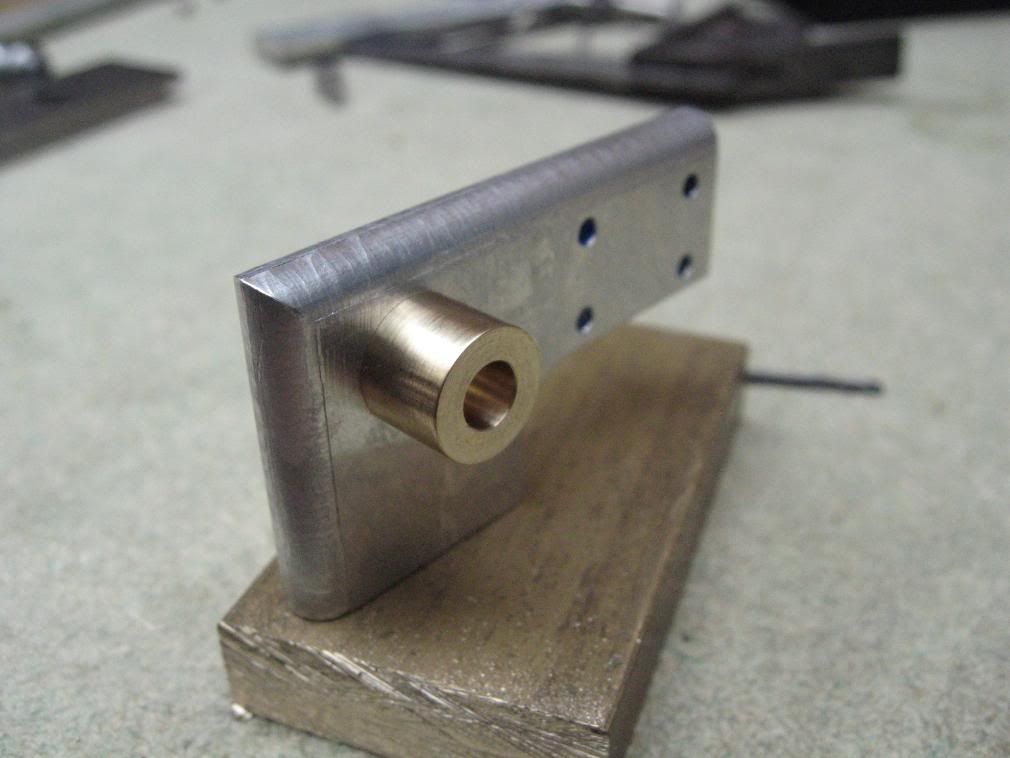
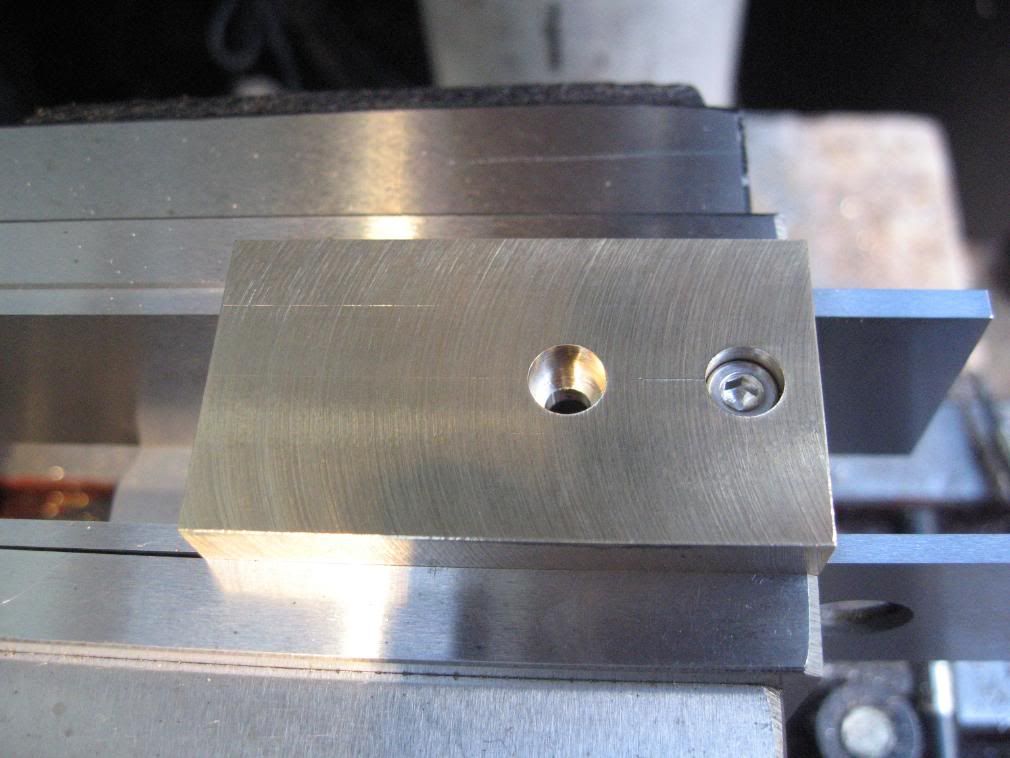
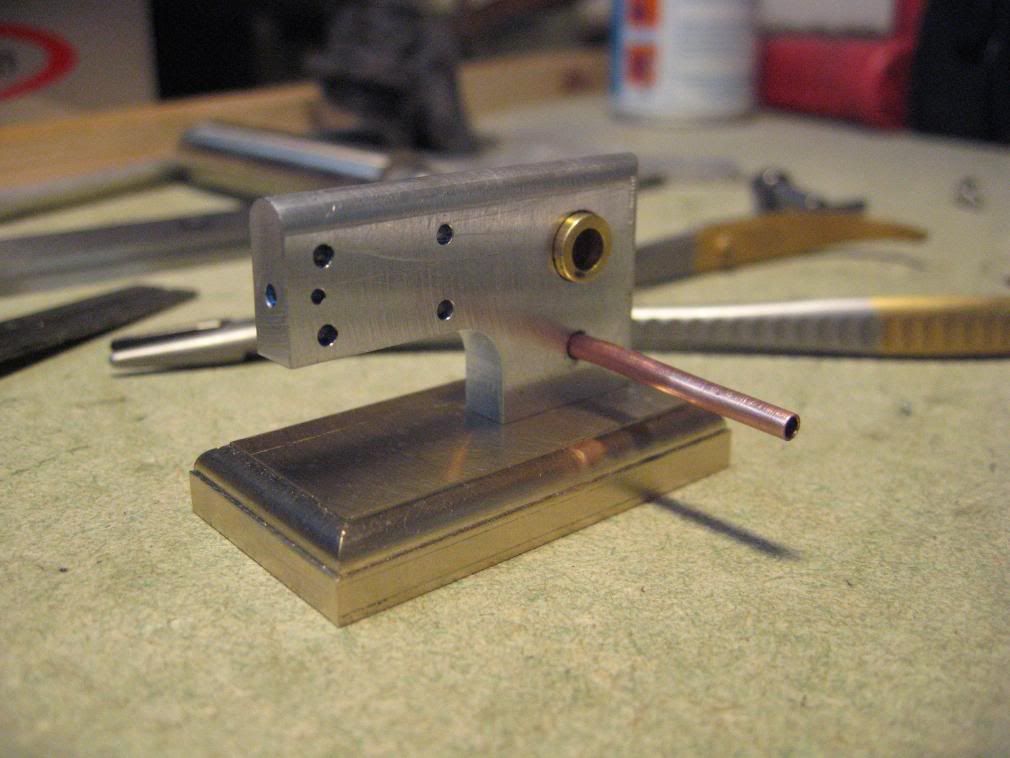
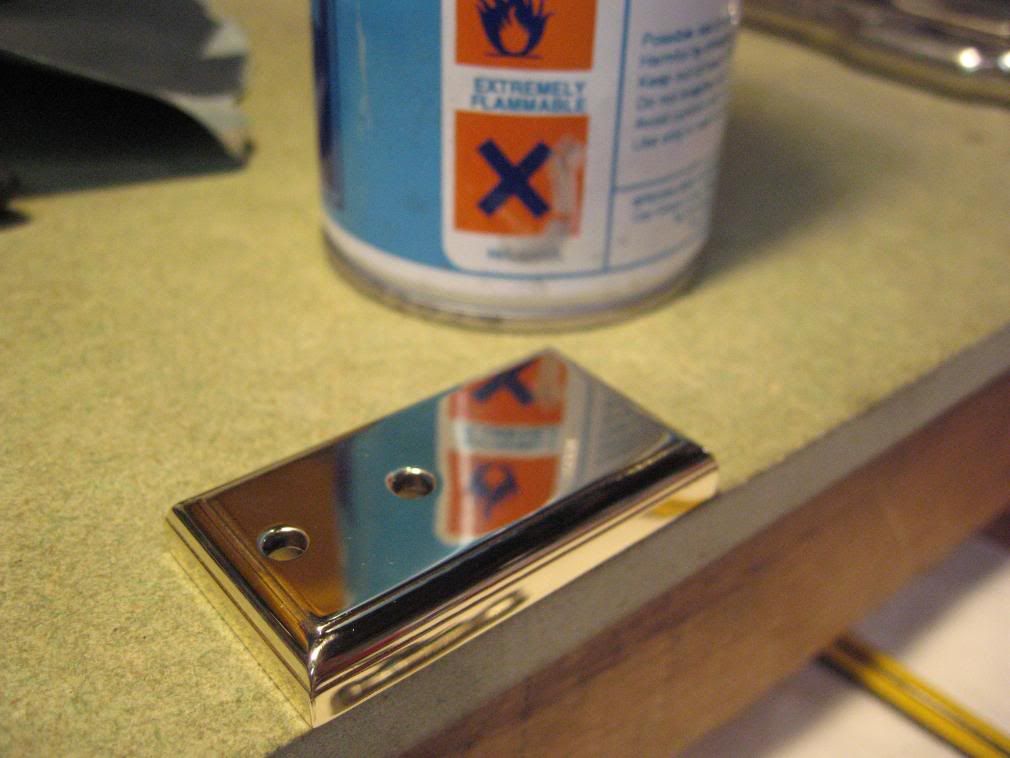
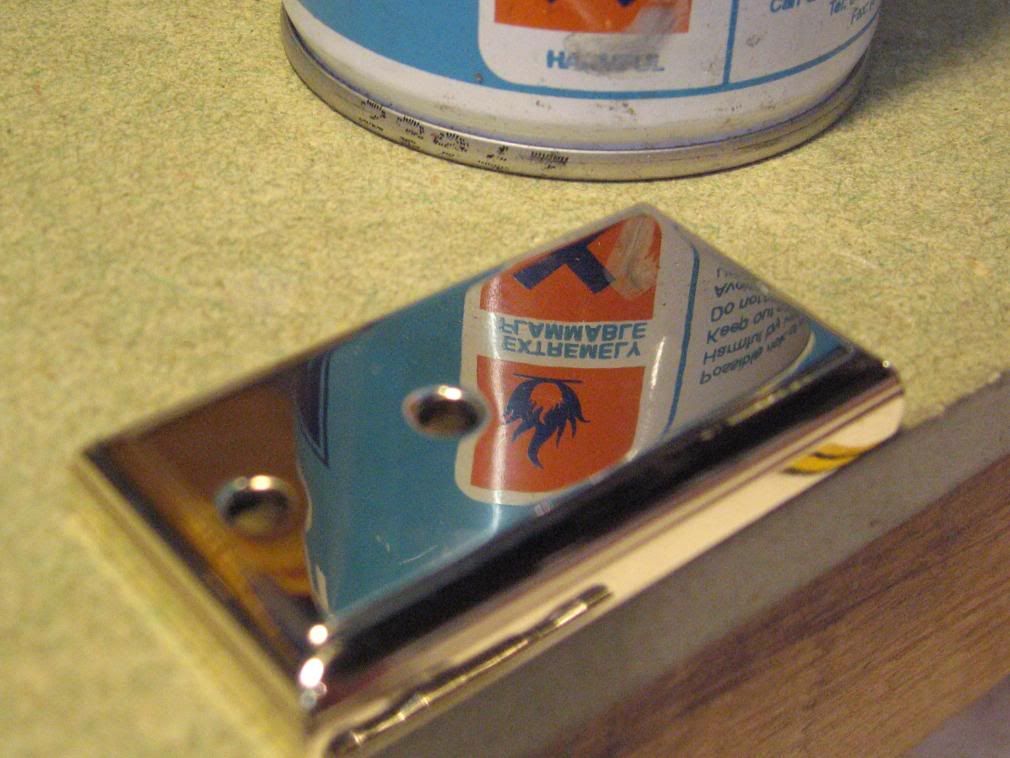
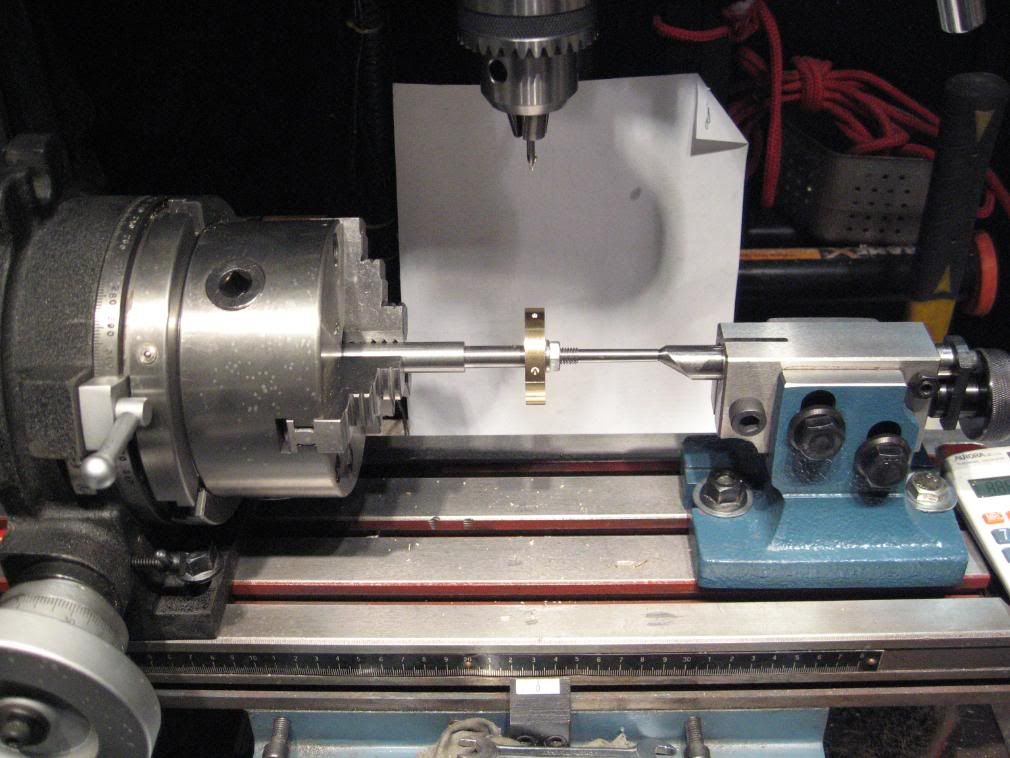
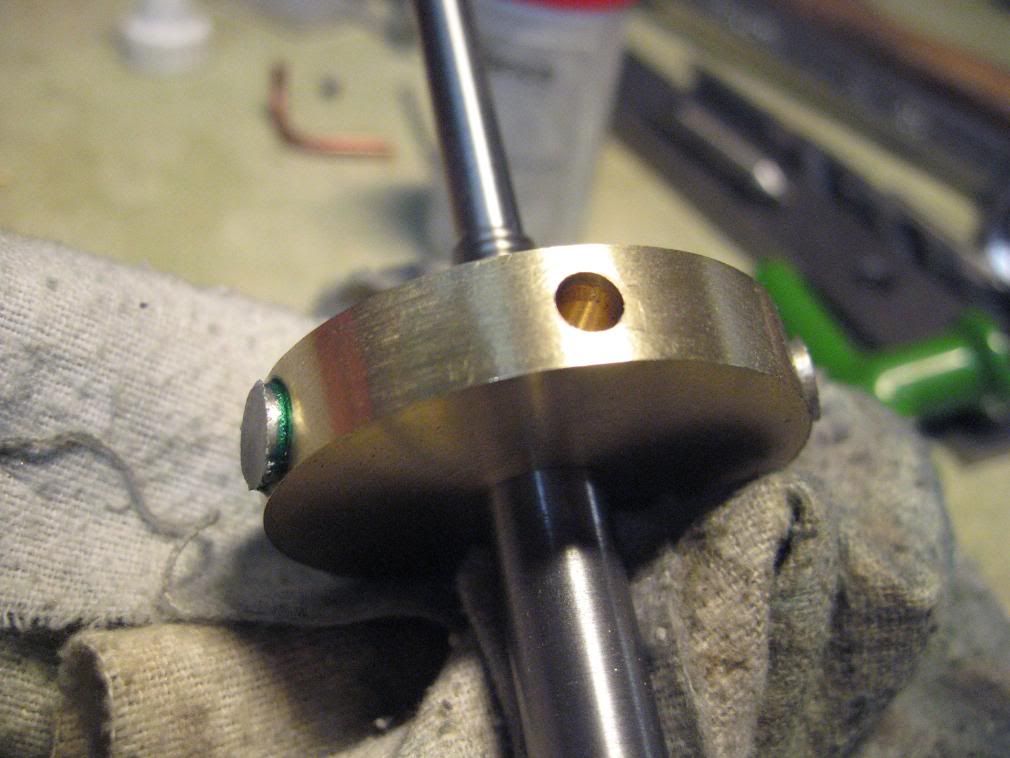
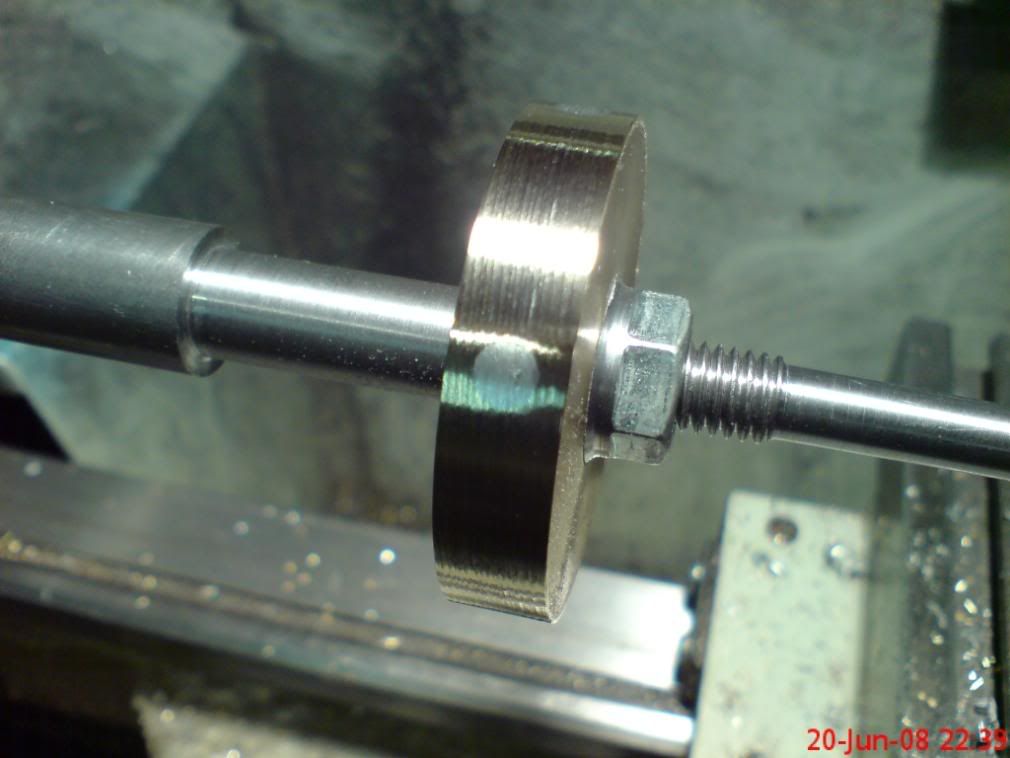
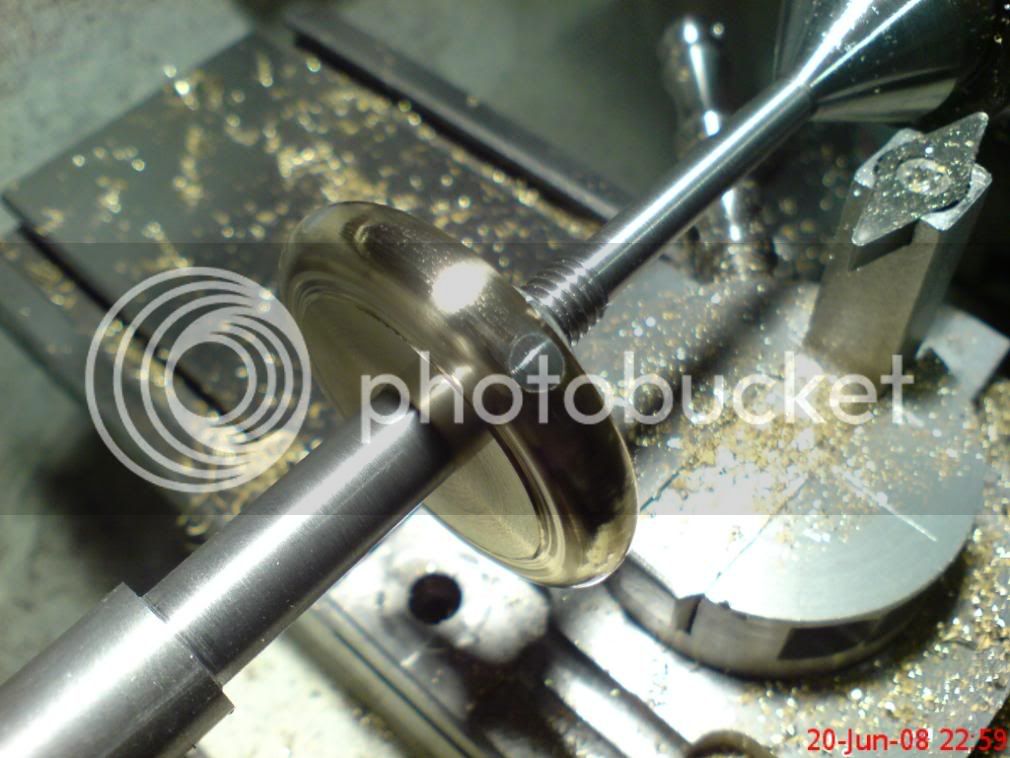
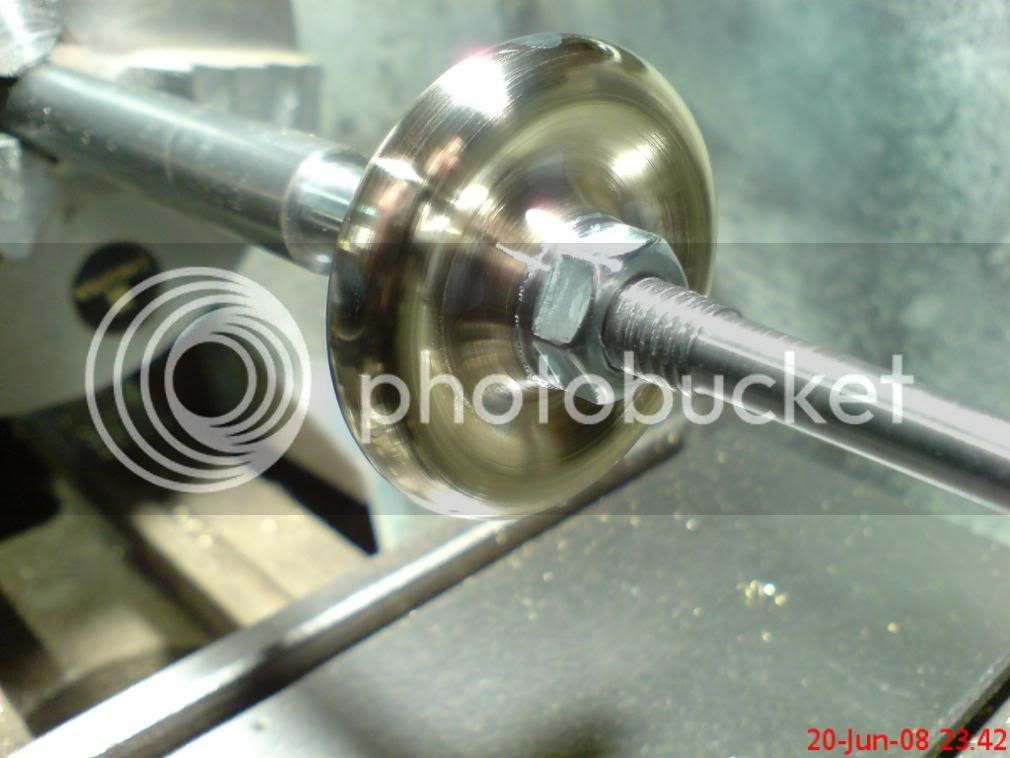
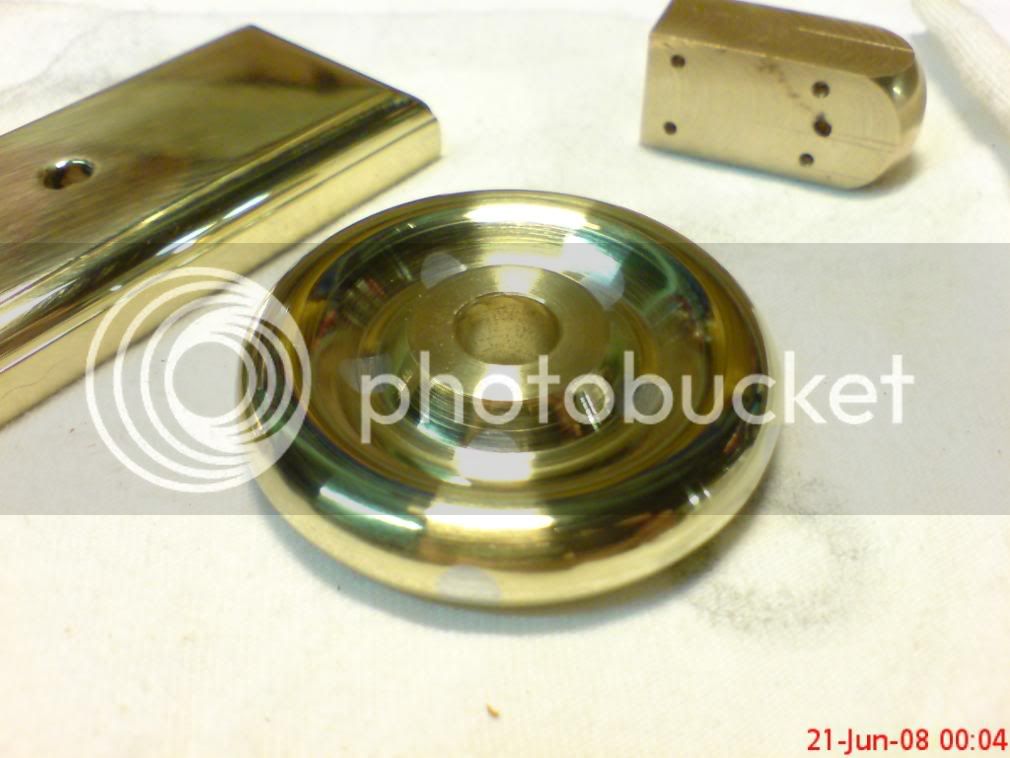
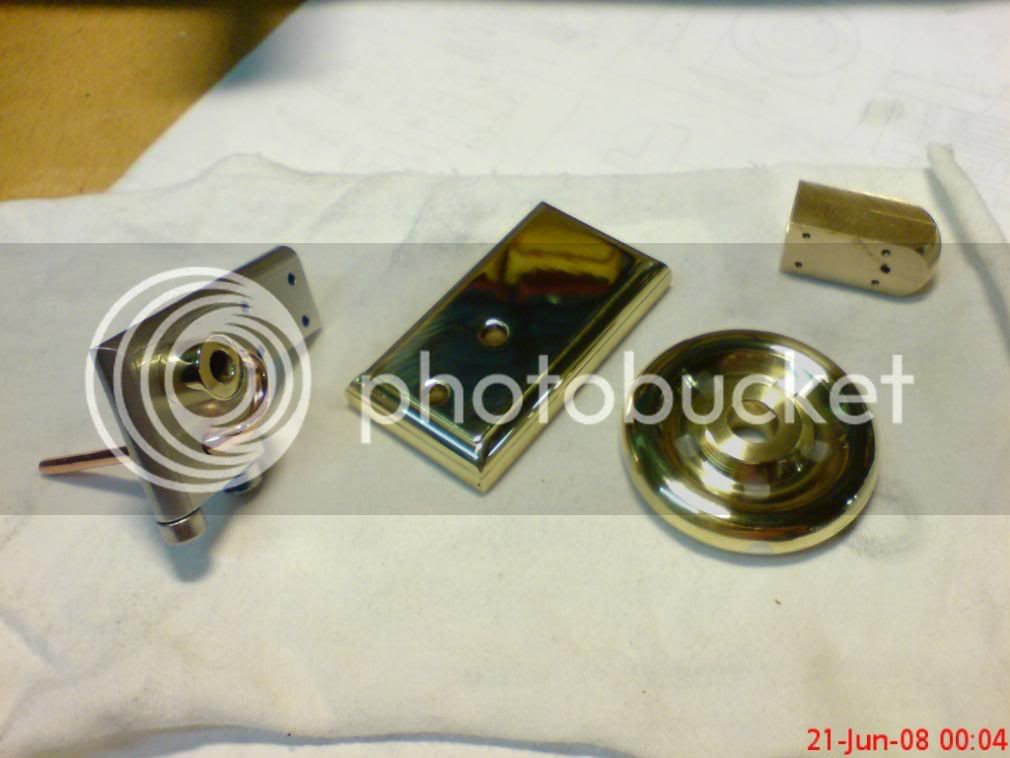
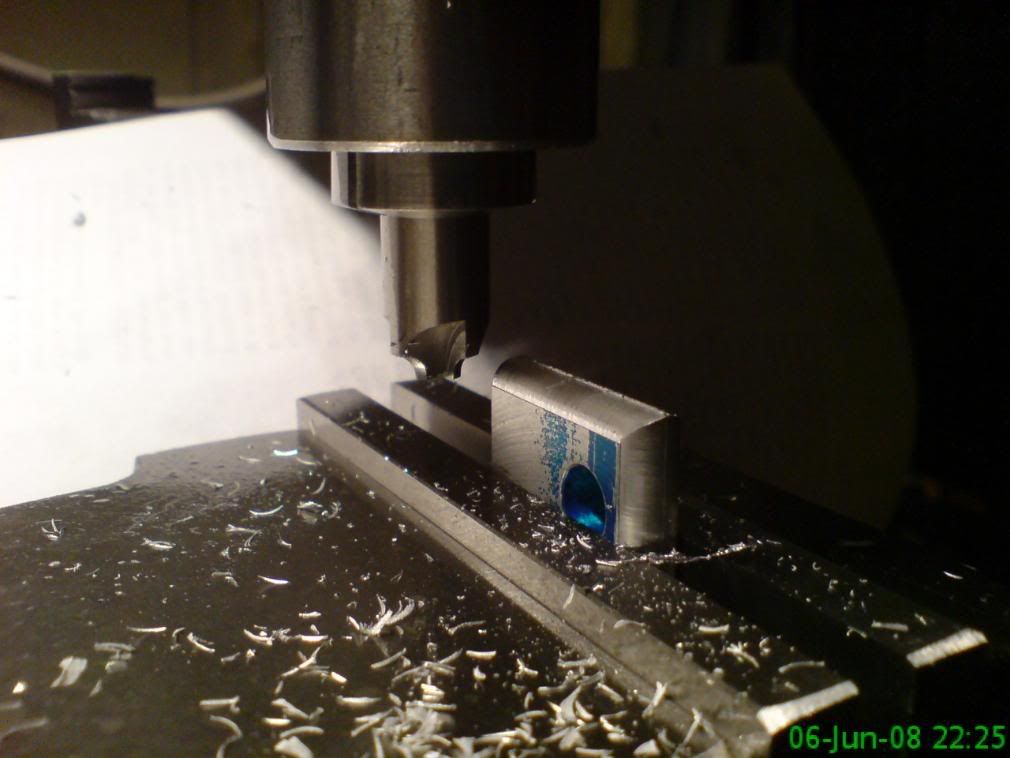
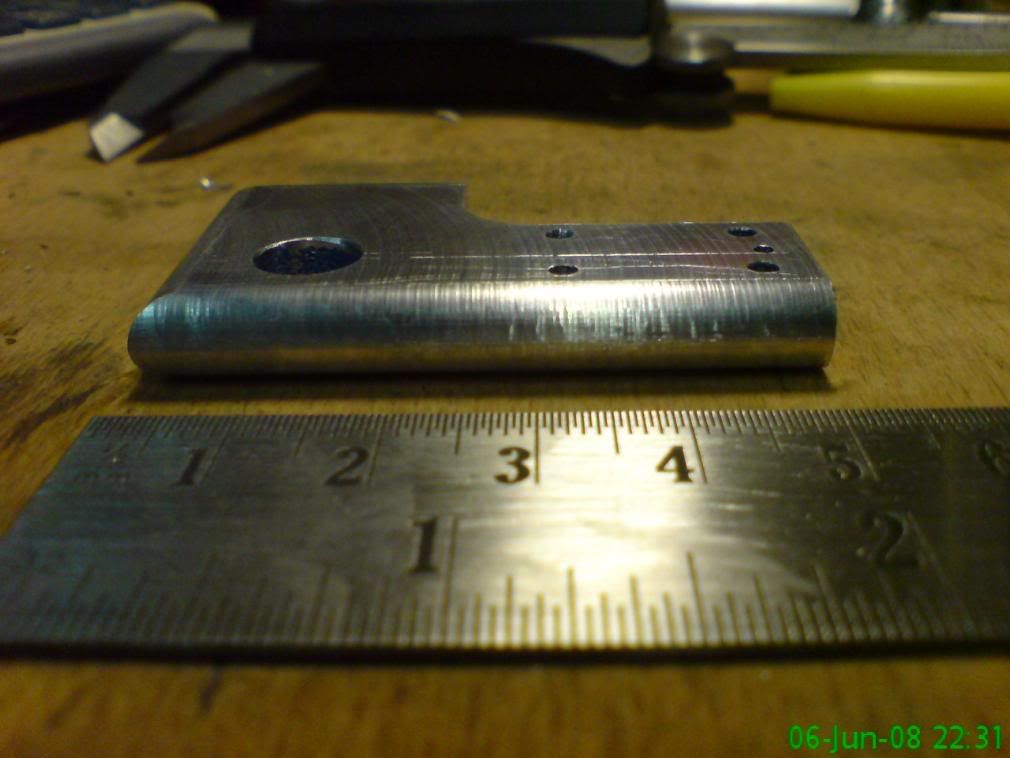
Here are a few photo's of my attempt to follow some plans to make a steam engine (even though it'll run on air for a little while first ;D )


DSC01721.jpg


DSC01727.jpg


DSC01733.jpg


DSC01736.jpg


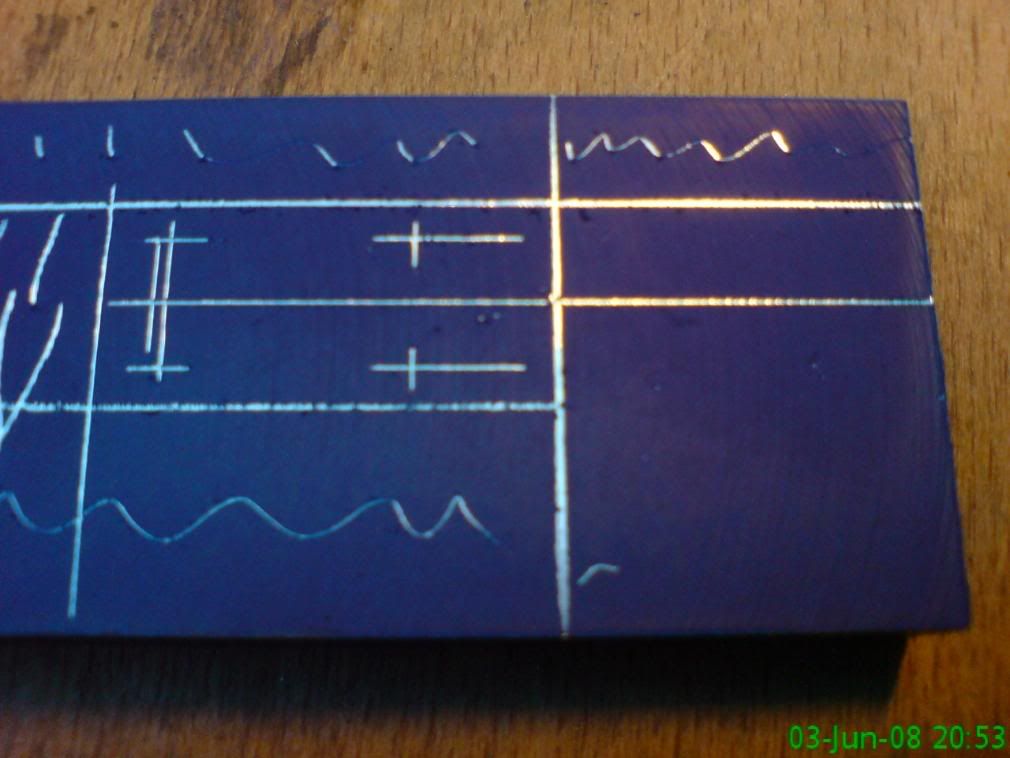
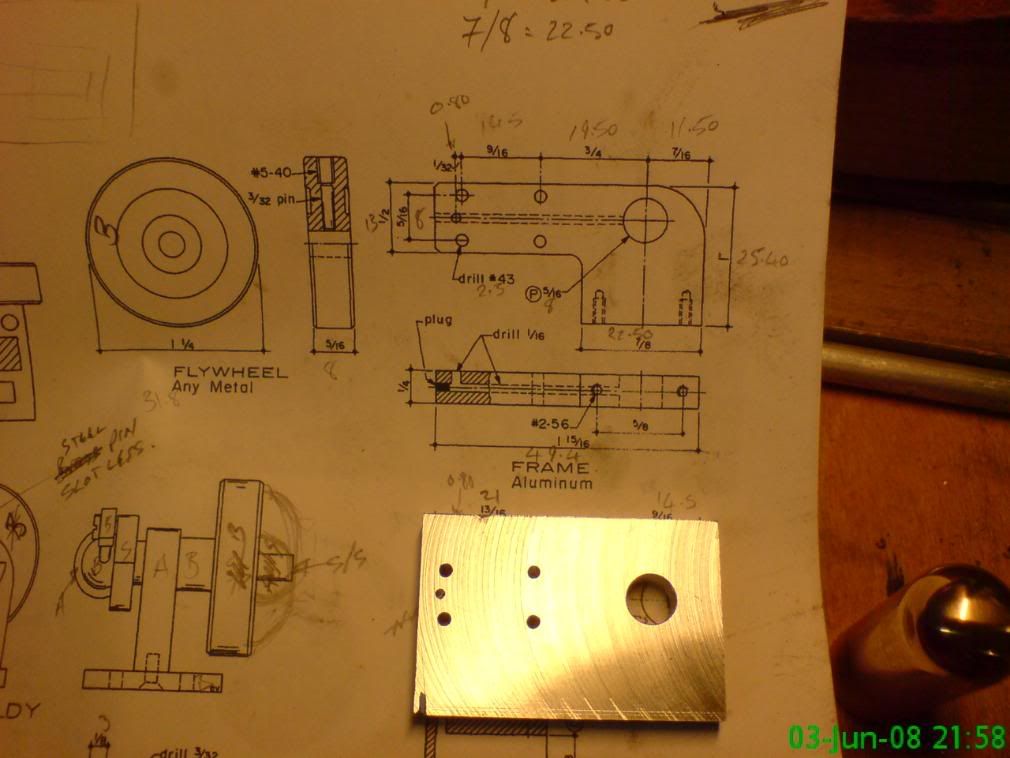
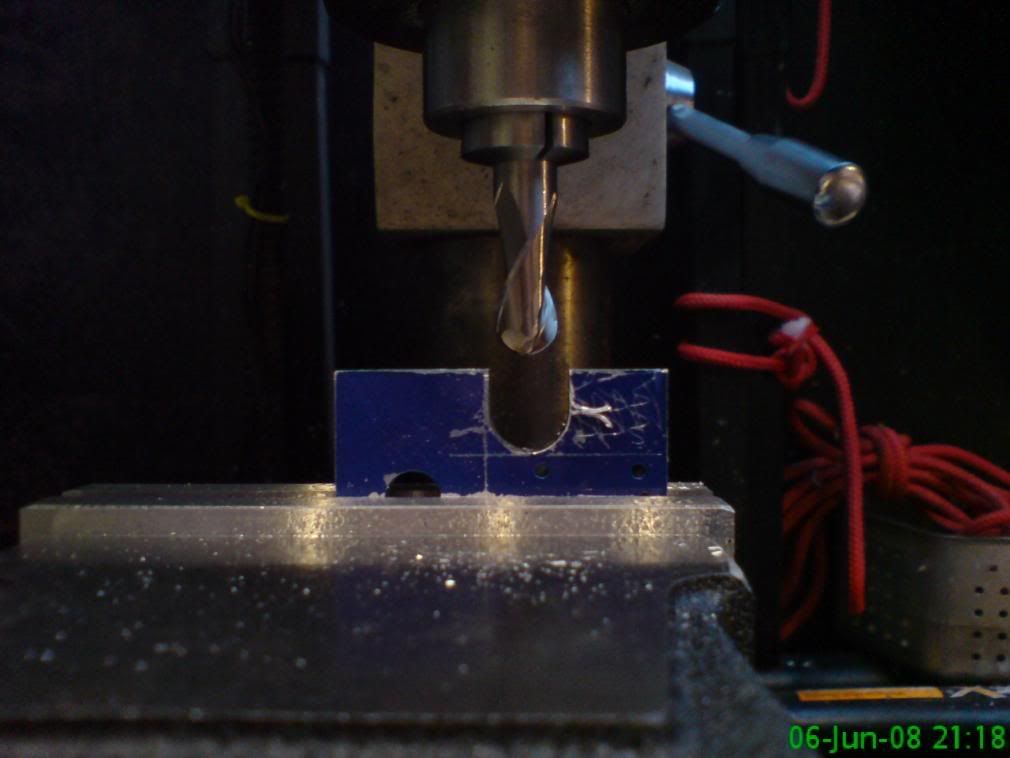
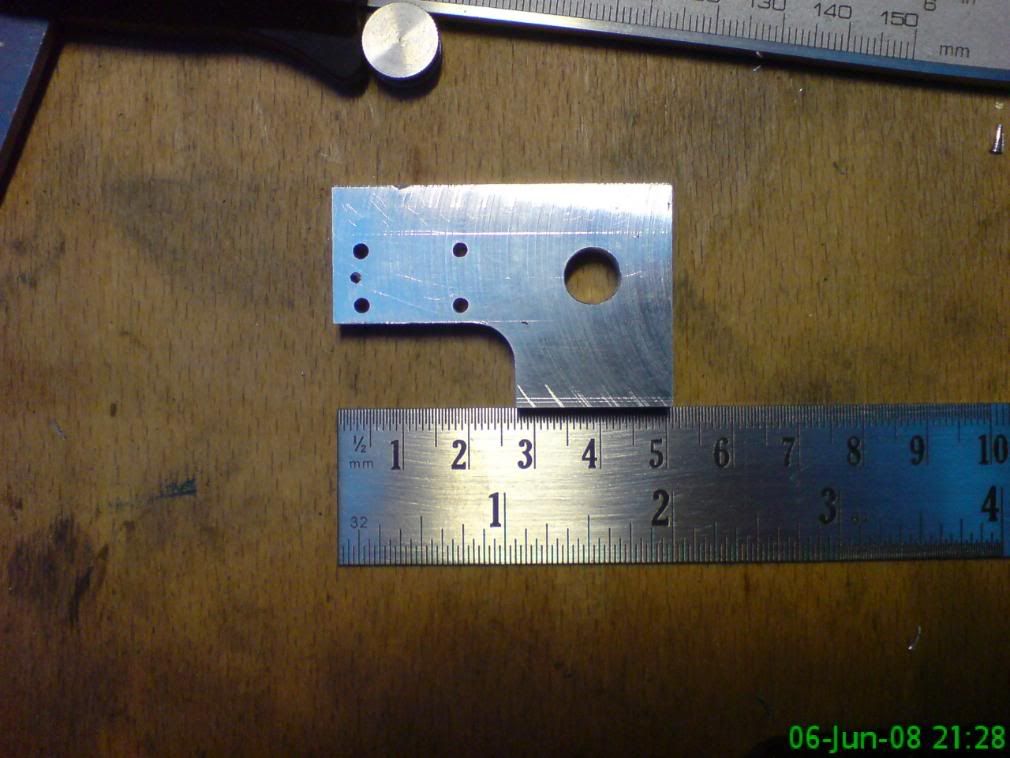
Obviously I can't stick to the plan exactly... Something in me just says 'style it!!' so I am styling it a little... but the heart of the plan is staying intact ;)

DSC01743.jpg


DSC01746.jpg


That's pretty much it for now... I haven't been in the shop for 6 days!!!!!!!!!!!! :eek: I can't believe it, I've just been too busy and too tired to know I'd work safely. (you can see from the pic' dates... Too busy to even post this any sooner!)

But tonight I'm back in there and going to enjoy every minute of it ;D
 
I like the squiggly lines in the layout blue that show the material to be
cut away.

How stupid would you have to be to mill away the wrong area?

That is a rhetorical question.
If ANYONE answers it while pointing their finger at ME I'll be very upset!
smiley9.gif


Looking good!
Keep us updated!!

Rick
 
Ralph Da Blingmeister,

At last, starting to get the first one in production, lookin' good.

With you being a slight novice at this engine game, please accept a bit of advice.
If you are going to put big roundovers on corners, make sure it is not going to affect the transfer of air to/from the cylinder at full swing. That roundover looks very close to the ports. Unless of course you have allowed for it, then just give me the old time salute.

Keep up the piccies.

John
 
Thank you for the interesting and varied praise! ;D :big:

Eric, I try but often fail...Then try again ;D

Rick, The squiggly lines... from a dad who is in the building trade... always marked excess wood that way! (and I would often mill the wrong area without them! ::) )

John, The cylinder is fixed, the only port is the little one in the middle, I also allowed 3.20mm (1/8) of extra material on the top edge so that the curve never encroached into the cylinder area shown on the plan ;)

Good to know you were looking at the pic's closely ;D

I've been in the shop for a little while tonight ... Spent an age making my cylinder then almost had a heart attack when my 1.6mm drill bit snapped in the port !!!!!! :eek:

I have managed to remove it with the aid of my super carbide jawed mini pliers and I believe it salvageable :-

Here are a few pics....

IMG_4157.jpg


IMG_4160.jpg


IMG_4165.jpg


The snapped drill bit removed from the cylinder .... few!!
IMG_4170.jpg


A close up of the damage.... salvageable only realy because the cylinder is fixed (using 4 retaining screws)
IMG_4176.jpg


The parts so far, Main body, cylinder, unfinished flywheel and unmachined base.
IMG_4183.jpg


Thats it for today. Busy all weekend.... Hopefully get some time on it over next week?


Ralph.
 
rake60 said:
....
If ANYONE answers it while pointing their finger at ME I'll be very upset!
Rick

**points his finger at Rick and then runs like hell**
 
Looking really great there, Ralph. Can't wait to see the finished product.
 
For steam engine 001 thats looking great Ralph. In fact if it was steam engine 100 it would still be looking great !!!
Its sometimes difficult not to sound patronising but it is truly inspirational to see such a careful methodical approach combined with creative flair. I can see your investment in cutters at Harrogate is already paying dividends and your machining of rounded edges has inspired me in the design of a pedestal base for my current project.

Like everyone I look forward to future episodes of your build.

John S

 
Sorry about that Ralph,

I had forgotten you had told me about the piston.

Gob shut, just admire your progress.

Jhn
 
Did you back off the cutting edge of the drill Ralph?? drilling bronzes an all that?
Regards Ian.
 
Thank you Kevin, neither can I ! :D

John S, Yes the cutters are being well employed ;D They make curves much easier to produce.
Happy some of my testing and trying out has helped inspire someone else to have a go too.... The base is a good experimental piece, usually easy to re-make if you don't like the outcome ;)

John, feel free to say all you like... if you hadn't said it someone else might have... Question now answered for all who may have thought similar ;D


Ian, It was a good drill for brass... I have read all the posts on bit prep and also have been instructed by John (BS),
I think it was a little miss calculation that led to the snap.... lesson learned... GO FASTER! New drill bits on order sadly it was the bit required for the tapped holes I need and I haven't drilled them yet :(


Ralph.
 
rake60 said:
I like the squiggly lines in the layout blue that show the material to be
cut away.

How stupid would you have to be to mill away the wrong area?

That is a rhetorical question.
If ANYONE answers it while pointing their finger at ME I'll be very upset!
smiley9.gif


Looking good!
Keep us updated!!

Rick

When marking out in wood I do that all the time, saves me cutting on the wrong side of the line and yes I have cut on the wrong side that's why I now put the squiggly lines.
 
Good to know the squiggly line is no longer in decline, with our efforts this rare breed of off cut marking can be stabilised and reintroduced to the wild... :big:


Well on with the show, a little more time in the shop this afternoon.... Till 23:30 !!! well I get lost in there some times! ;D

A few bits done whilst waiting for my new drill bits and some other supplies.

The camshaft bearing (not finished).
IMG_4226.jpg


The base.
IMG_4235.jpg


IMG_4246.jpg


An arbour for the flywheel was also made (I have a plan ;) ).
IMG_4249.jpg


Then I started playing with the design... I didn't like the air inlet pipe position.
IMG_4270.jpg

I thought I'd have it out the front under the crank.
IMG_4274.jpg

I left enough pipe to play with upon final assembly.
IMG_4279.jpg


And then finally I decided that I should finish one part this evening (well I think it is finished?!).
IMG_4282.jpg

IMG_4283.jpg


I think that's enough for one day ;D (I think I'd better get some sleep! ::) )


Ralph.
 
Wow! That's a brilliant shine. What did you use?

Now I'm intrigued. Can't wait to see how this turns out.
 
Kevin,

it's quite simple really... you talk really nicely to Bogstandard and he tells you ever so nicely how to do it ;D
Maybe since John is tearing his hair out unable to hack much metal till his new machines arrive, he might write a post on it? you never know?... I could write it but I don't think I know enough to do it well! :-\

I suppose it depends on if John reads this to get the nudge?! ;)


Eric,

Thank you... It's not finished yet though!! ::) (I'm looking for a good runner though.... Else why would I bother!? )


Ralph.
 
John has got the nudge.

Ralph, when I showed you how to do the basics, it took about 15 minutes. To put that into words would take many hours, and would send the readers to sleep with my monotone descriptions.
What I will do though, is point you in the right direction, and hopefully Ralph has read this article as well. It is an attempt by Caswell to show how to buff and polish correctly, of course, using their products, but I am sure others could be used to just as good an effect.

http://www.caswellplating.com/buffs/buffman.htm

You can download a pdf file from the top of the page, which is basically what they have displayed for you to read.
This article gives you the basics involved, and as you can see by the results, Blingmeister Ralph has picked it up rather well.

Anything further advanced from this article is gained purely by experience.

Do take note of the direction you feed the part to the wheel when doing certain operations.

I hope this helps.

John
 
John, I'm sure that anyone who wanted to know how to gain such a skill to add to their arsenal would read your monotone description, all be it in small parts between short bouts of narcolepsy leaving the imprint of their keyboard on their face!! ;D

It would take a while to type out a description.... I might set up my camera stand and make a short vid next time I bling.... erm polish a part for my engine?

maybe That would be useful? I might have to put a big disclaimer on it first though... you do get your hand mighty close to the chuck! (you've got to respect the chuck!!) and it has that nasty habit of trying to remove the object being polished and throwing it into the lathe bed!!! :eek:

I'll have to think about it ? ?


Happy new avatar john... Does it signify new machinery? Have you got it sorted?


Ralph.
 
Ralph,

Good point, buffing and polishing can be rather dangerous no matter whether you use a lathe or a dedicated machine, and all the relevent precautions must be taken. When I showed you, you now realise why I use only a collet chuck.

Just moving up in the world a bit, it is my generic English coat of arms.
My old one hopefully will be back soon.

Bogs
 
Well, this evening I got in from work and promptly fell asleep!! ::) Apparently that's what happens apparently as you get older?

When I woke up I had my tea and decided it was time to try a little flywheel turning....


I had already drilled the flywheel and fitted five ali' plugs into it...
IMG_4287.jpg


IMG_4294.jpg


I left it for a few days to allow the stud lock (used as an additional precaution) to set 100%.
Then I started off this evenings work...

DSC01765.jpg


DSC01766.jpg


DSC01768.jpg


I finished this evenings session of shop stress relief with a bit of emery shaping and a quick polish ;D
(It's not finished yet but it won't look too far from what it does now)

DSC01774.jpg


DSC01776.jpg


So this is where I'm up to...

DSC01775.jpg


A bit of precision stuff to do over the next week or so, that should be interesting! ;D


Ralph.


Latest posts

Back
Top