stevehuckss396 said:They will be available when It fires up and I know for sure it works.
Carb only $10
Engine, carb, display base, gas tank, radiator, etc! $50
Blower, drawings for the complete conversion $30
Does this sound fair? I don't want to gouge anybody but i do have a ton of work into them. I don't know!! I really don't know.
I for sure would be very interested for that price, running or not running, it wouldn't matter. Definately put me down for a set.
Loving this thread
Mick
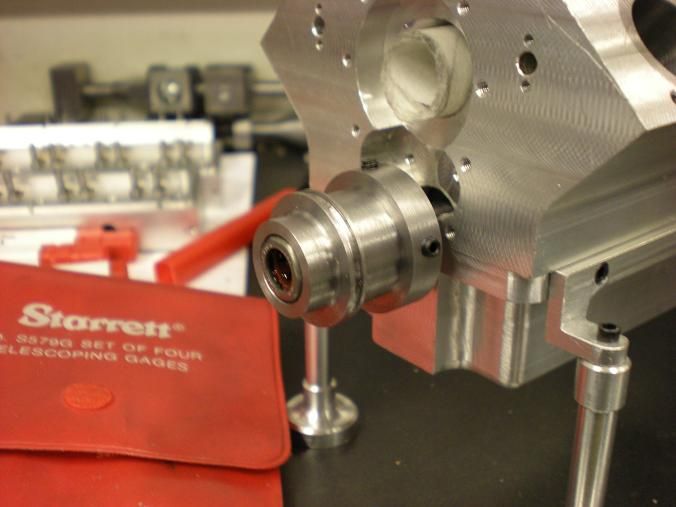
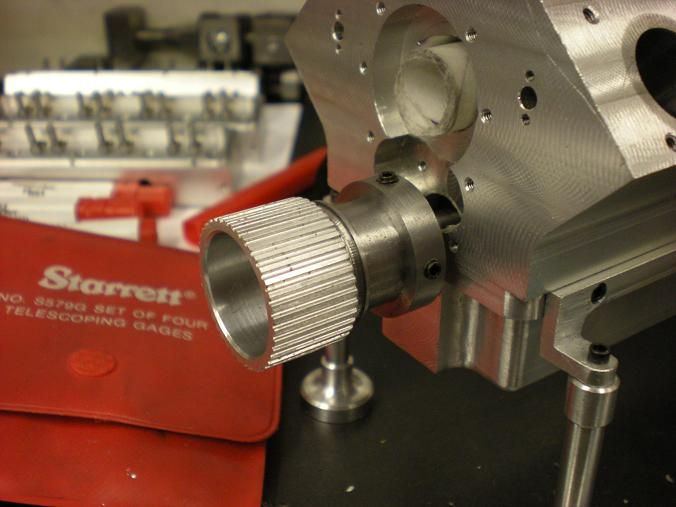

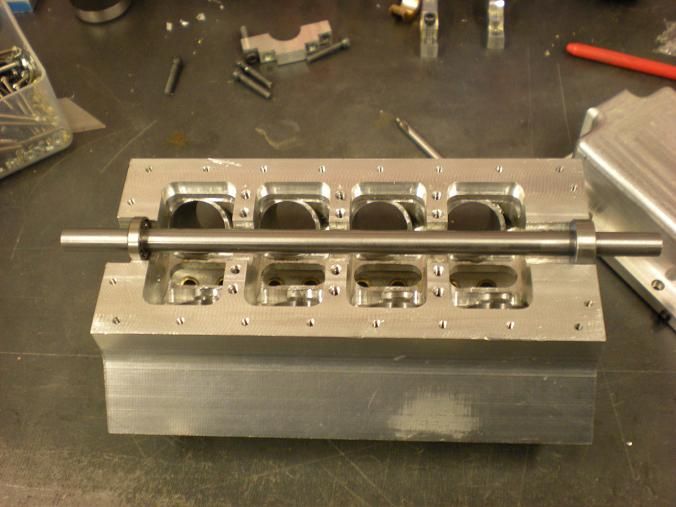
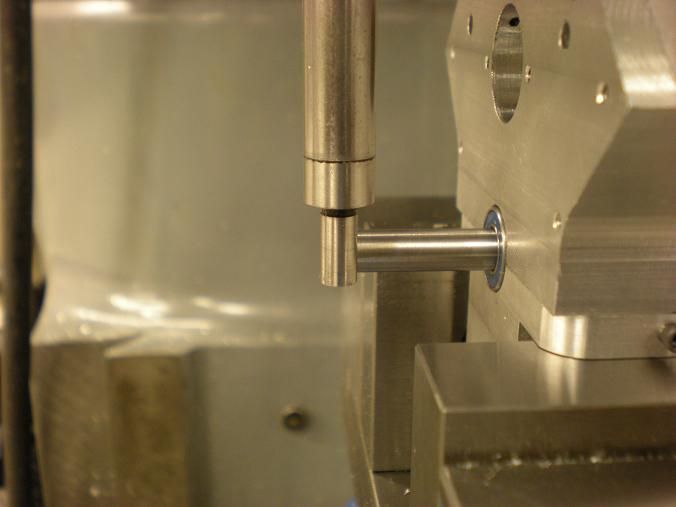
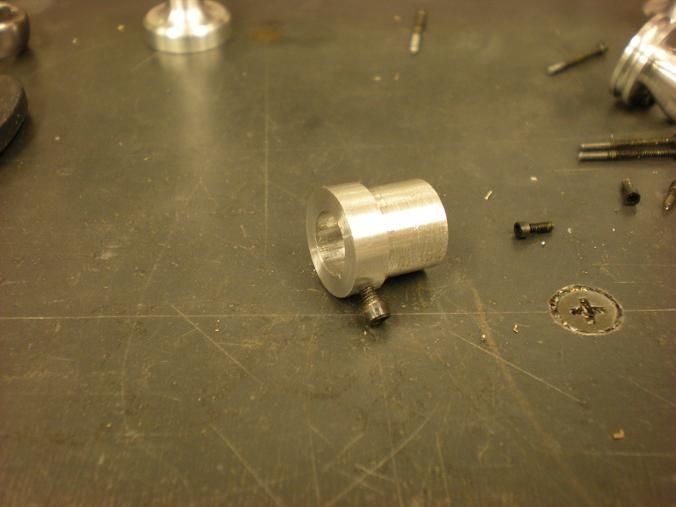
") I have adulterated all manners of SHCS to make them fit, you can even turn them into conventional cap screws if needed. I am sure you will figure this out. :bow:
I have adulterated all manners of SHCS to make them fit, you can even turn them into conventional cap screws if needed. I am sure you will figure this out. :bow: