Small V8

Home Model Engine Machinist Forum

Help Support Home Model Engine Machinist Forum:

This site may earn a commission from merchant affiliate links, including eBay, Amazon, and others.
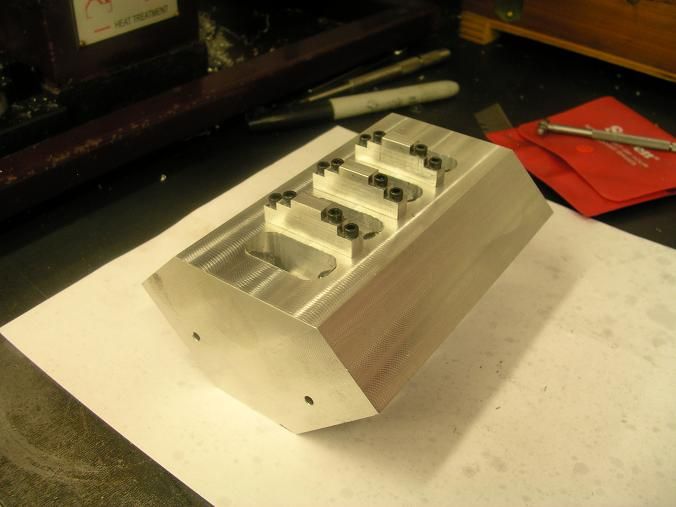
Now that the heads are completed we are back to the block. The repaired spot looks good.


The block now has water passages. I like using a key cutter for the jackets

DSCN2186s.jpg


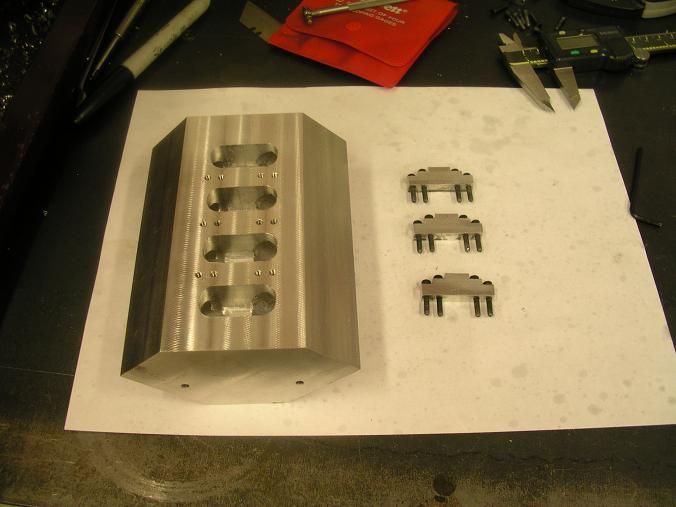
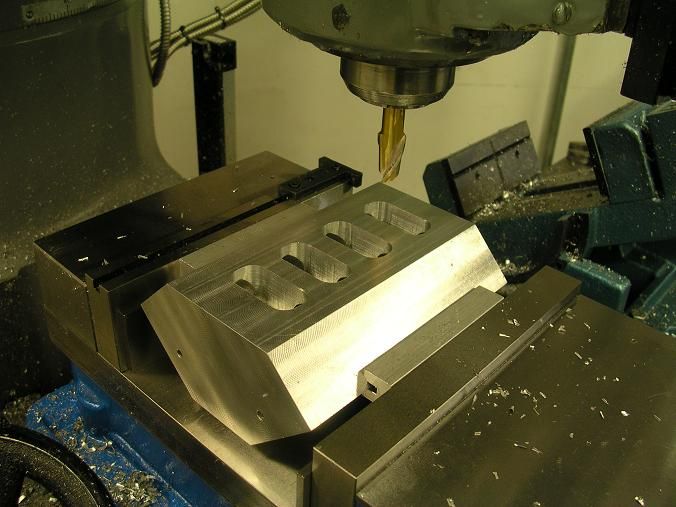
The block is now cut to size top and bottom.

DSCN2188s.jpg


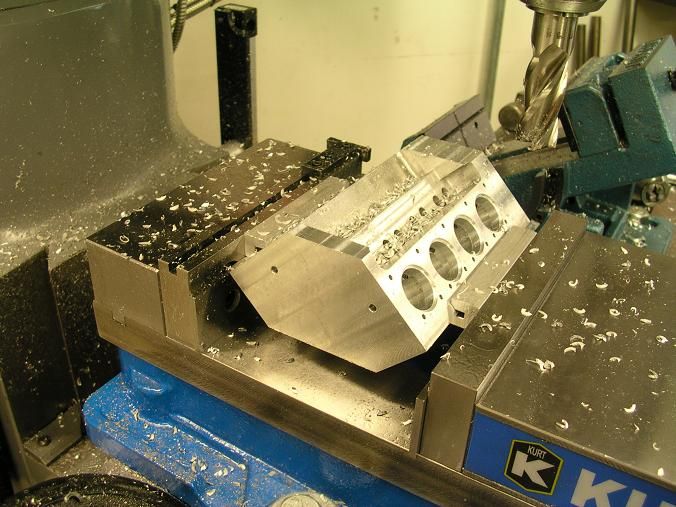
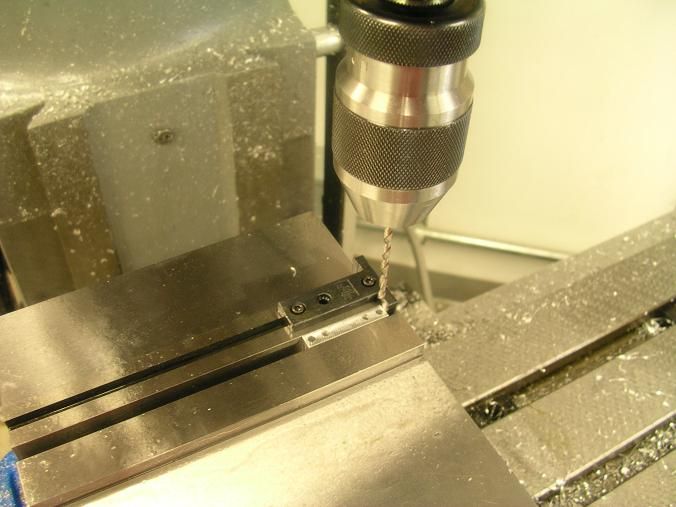
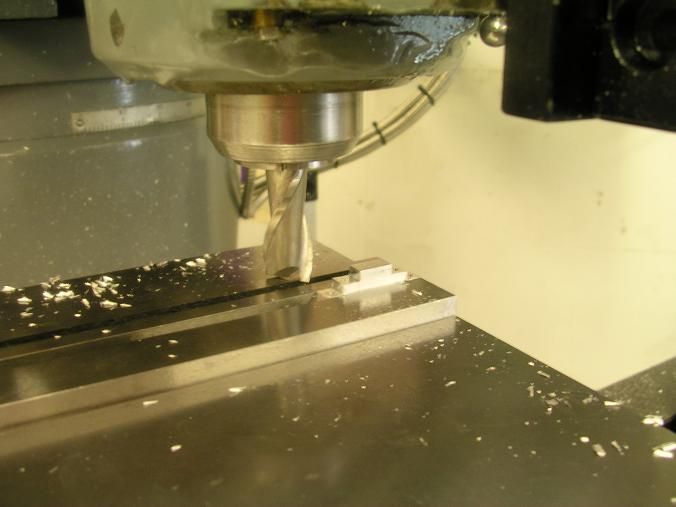
And the pockets are roughed in. Now I need to drill and tap the main cap holes, make the main caps, and bolt them on so i can machine the bottom.

DSCN2187s.jpg
 
thanks for updates Steve :D
I cannot wait for the next post ;D
 
Hi Steve

Just wanted to let you know that I also find you project adsolutely fantastic to follow
 
Hey stevehuckss396. I was wondering if you sell digital designs??.
Amazing what you do!
 
Beautiful handywork, on your engine, great setups, a good learning thread. ;)

side Note:
I bought a tilting vice a few months ago, I see yours has the V-groove on the fixed jaw also, mine came with the groove on the fixed jaw too, and I thought someone assembled it to the wrong jaw, so the first thing I did was switch the jaw plates so the V groove was on the moveable jaw, so I can indicate the vice using the fixed jaw.

Didn't realize until now, (seeing yours) that there suppose to be on the fixed jaw. (I guess).

 
Thats looking awesome Steve!.....I'm a watching! ;D

Dave
 
Had a chance to get the main bearing supports done. Took a skim cut on a 1.375 inch long piece of aluminum.

DSCN2190s.jpg


Spot drilled the holes with a center drill and drilled thru. Had a wise old sage tell me to always drill the mating surface of any piece. It takes a bit longer that way but I have never had trouble with misaligned holes.

DSCN2192s.jpg


Cut the steps in the bolt surfaces. Instead of the old cut and measure I tried something different. I took half the width of the bump in the part and half the diameter of the cutter and added that together. Found the center of the piece. Moved over the calculated distance and just mowed right thru. Moved over to the other side of the part the calculated distance and mowed my way back. The part measured .0015 larger than the print. Close enough for this guy. I will be doing that again.

DSCN2195s.jpg


Drilled and tapped the block

DSCN2197s.jpg


And now the bottom is ready to complete. The main caps are .250 wide and the finished width will be .212. The caps will be cut to thickness as the pockets are completed so they match perfectly. Then they will be number punched so I cant mix them up.

DSCN2199s.jpg
 
Is that jaw stop a standard Kurt accessory?

If so I have GOT to get me one of them!

That block is very sexy Steve......awesome build as usual.!

Dave
 
steamer said:
Is that jaw stop a standard Kurt accessory?

Hi Dave.

Yes it is a standard Kurt accessory. Here is a clip from KBC's catalog.

Extended length work stop assembly,
suitable to use with 4" & 6" jaw on outside.
Part No. 1-5721-WSRLE46 (Kurt's # is WSRLE46)
Our Net Price $20.00


If you don't have a fixed jaw with the groove in the top that can be had for another 38 bucks.
 
Wow, 4 bolt main. Thats turning out to be quite a stout little beastie.

Well Done Thm:

Kel
 
Back
Top