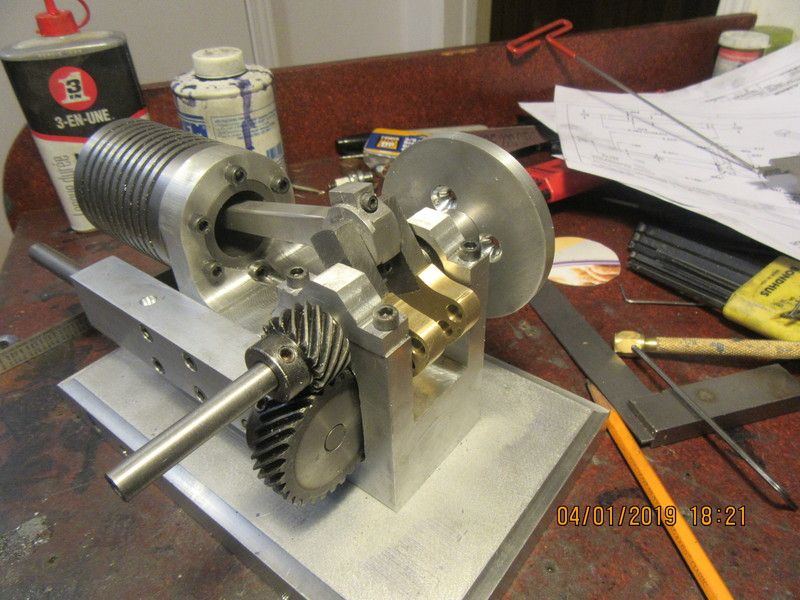
Sideshaft i.c. Horizontal engine

Home Model Engine Machinist Forum

Help Support Home Model Engine Machinist Forum:

This site may earn a commission from merchant affiliate links, including eBay, Amazon, and others.
Brian
Don't you mean your mother is 98 years young. I lost mine a few years back and I still miss her loving arms and always the sparkle in her eyes when I came around. You are one lucky man, just love her.
Nelson
 
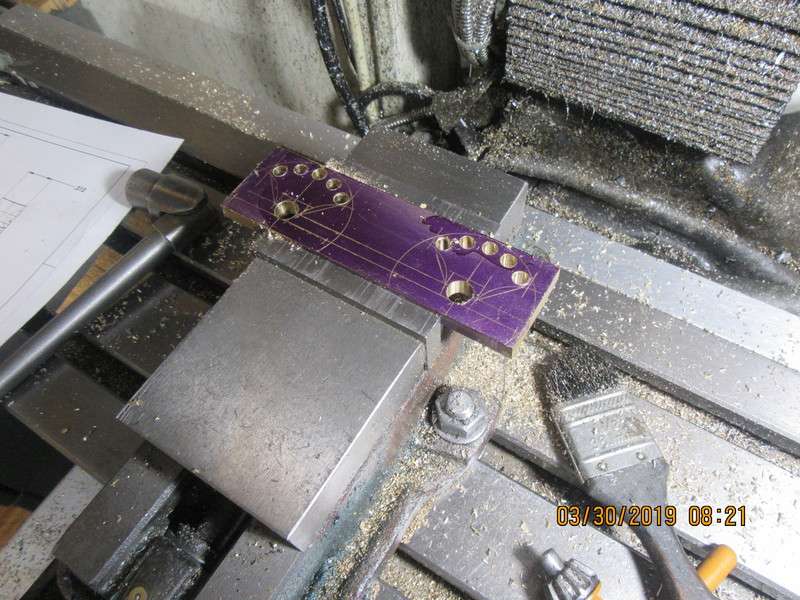
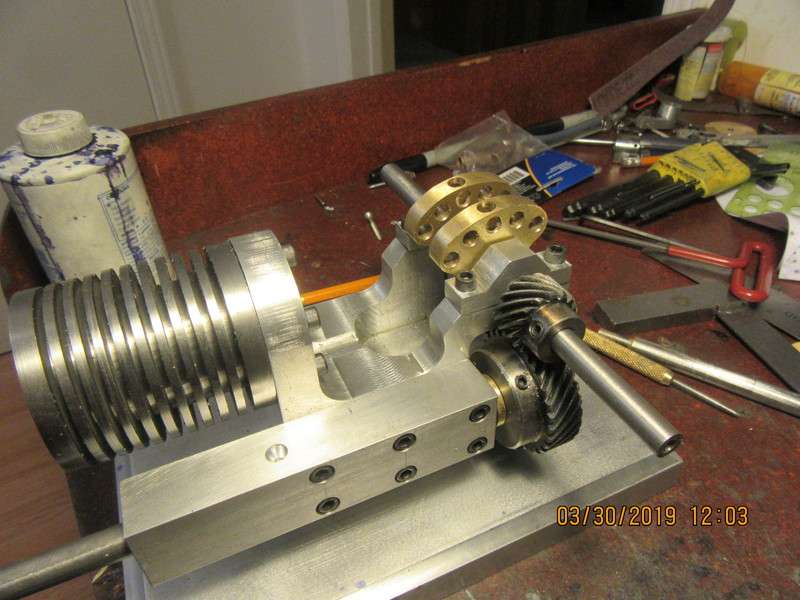
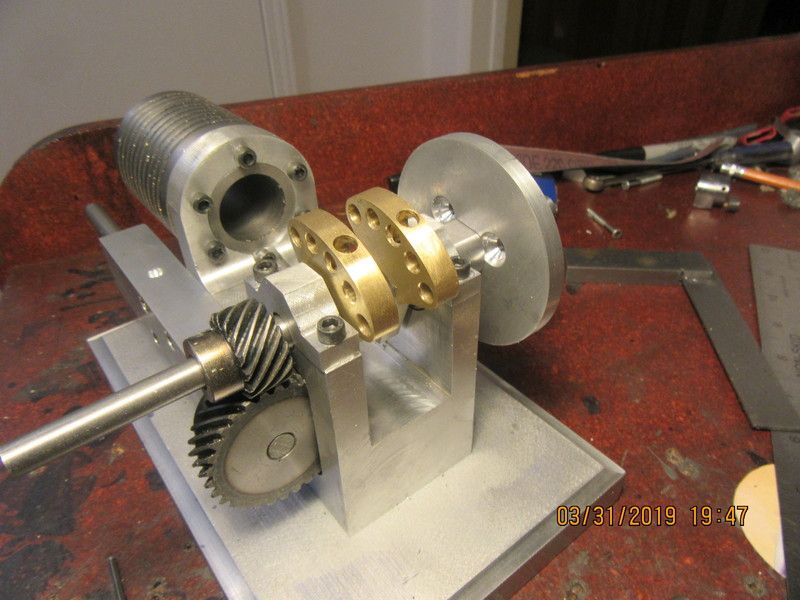
And now you know how I spent my Saturday morning. There is nothing really difficult about counterweights, but there is a lot of fussy set up. They look nice in my opinion, and they clear everything when the crankshaft is rotated.
HpTBjh.jpg

ftPaHn.jpg
 
Hi Brian, nice work. What supplier did you source the cast iron from for the cylinder?

Peter
 
Barrie Welding right here in Barrie. I have two companies that stock and sell steel plate, angle, bar, etcetera. My other company is A to Z Metals, again right here in town.---Brian
 
Not a whole lot to show today. I had to drive down to Orangeville with my pickup truck and move some furniture for one of my kids. When I got home this afternoon I decided I should do something, so the engine now has an ignition cam and the large o-ring pulley that fits on the crankshaft to drive the cooling fan. I haven't put the groove into the o-ring pulley yet, because I don't have anything to bolt it to, to mount it in the lathe. Once I get the flywheel for that side done, I will drill and tap the holes in one side of the hub, mount the pulley, and then turn the groove.
It74jC.jpg
 
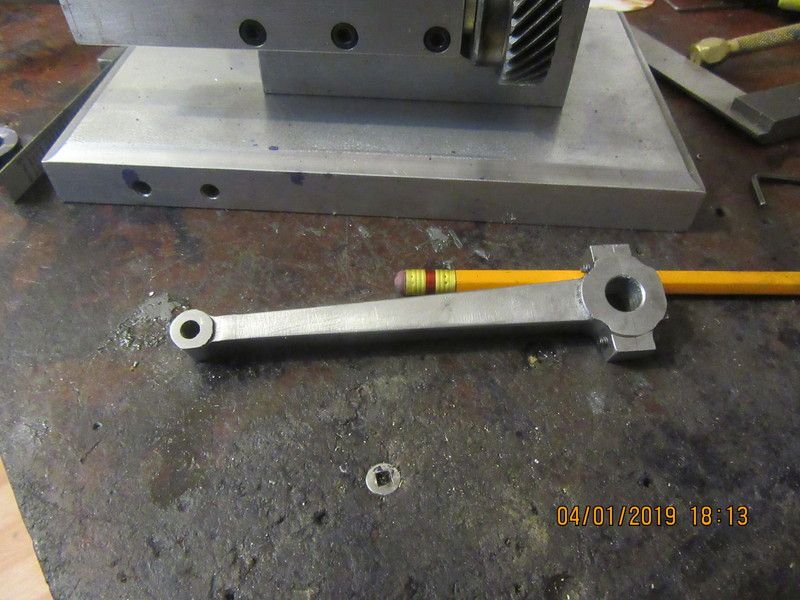
If someone told me they spent a whole day machining a con rod, I would accuse them of being a slacker. However--I spent from 10:00 this morning until 5:00 this evening making this one from bar stock. Why so long?--Jeez, I don't know, but it did. Maybe I'm slowing down in my old age.
XcDBGd.jpg

q9t01U.jpg
 
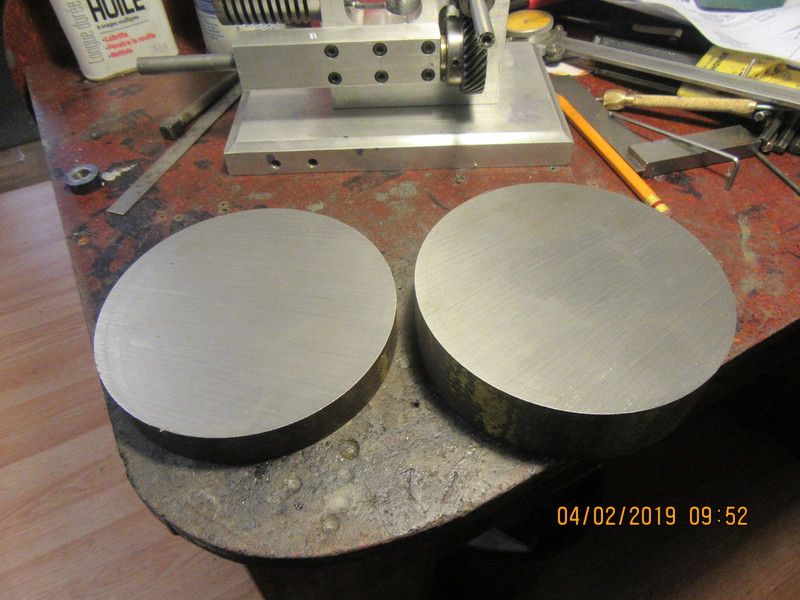
Today has been declared "Flywheel Day". I have two slices of 5" diameter cold rolled which cost me $25 in total. there is going to be a ton of machining in these, so I expect tomorrow and possibly the next day also to be "flywheel days".
ESQJfG.jpg
 
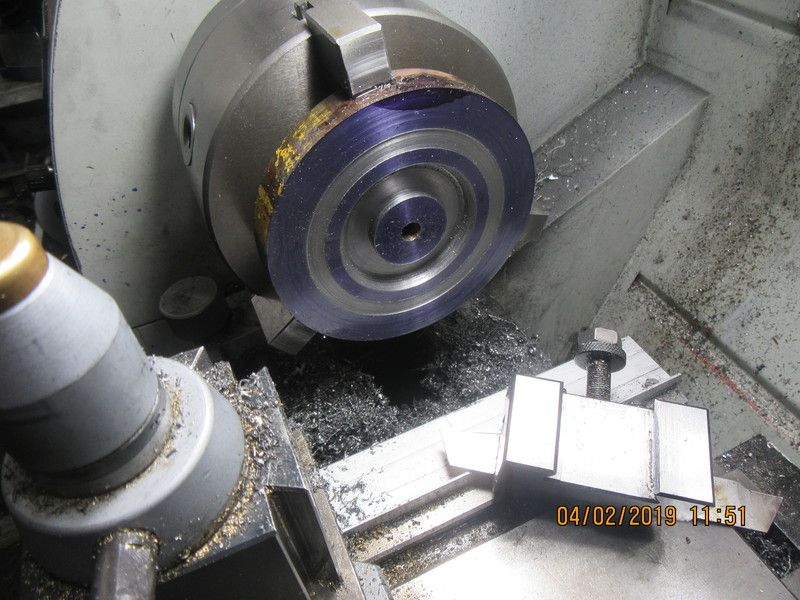
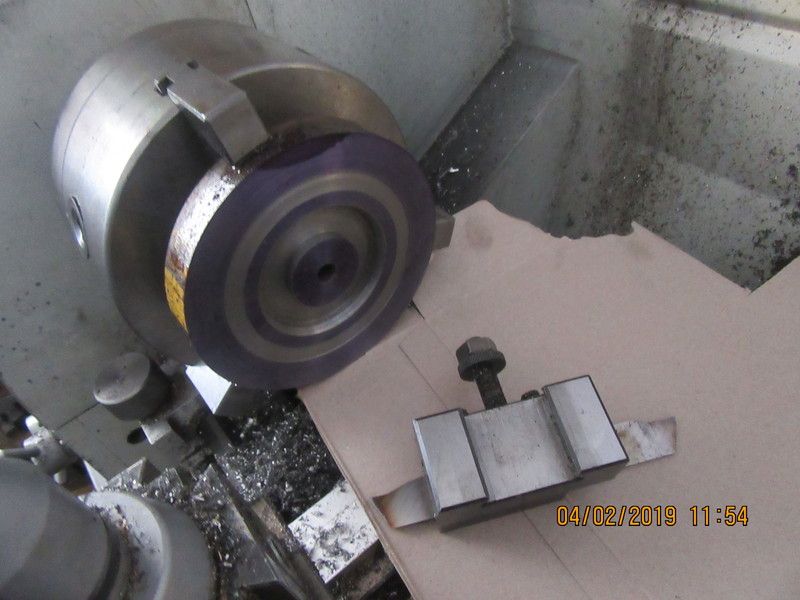
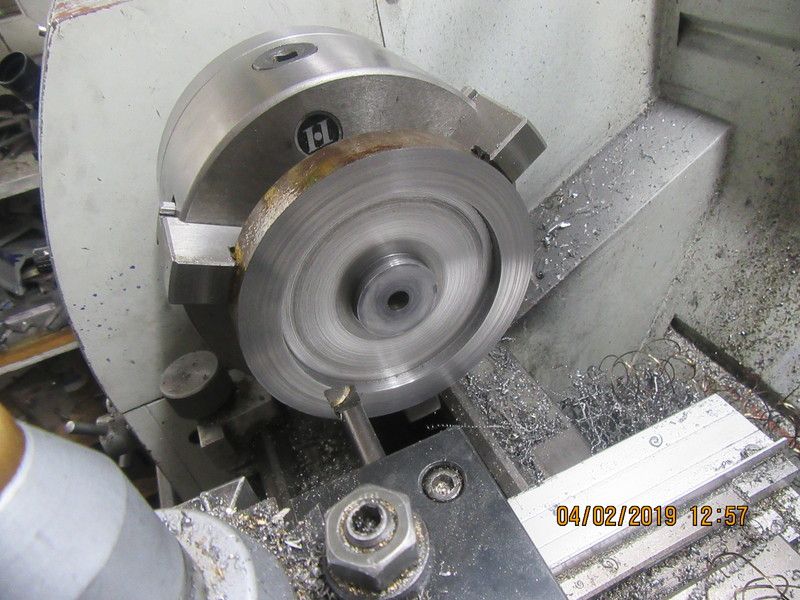
This is the first set-up for machining. The entire face has been machined to take off 0.030" because the pieces are cut 13/16" wide and I want the finished flywheel to be 3/4". the center hole has been drilled and reamed to finished size. The cavity in the face has been machined to full depth closest to the hub using a 0.120" wide cut-off tool. This is a time consuming operation, as you have to plunge 0.010", then traverse until the slot is about 0.400" wide, and keep repeating that. The slot is made 0.400" wide to allow my smallest brazed carbide boring bar to enter the slot. I will show it in the next post. I have lightly machined what will be the outer limits of the recess in the side, just to give me a visual when I begin to use the boring bar.
The outside diameter of the flywheel hasn't been touched yet. The cut off tool has been ground to have some of the "heel" removed so it doesn't rub on the side of the flywheel when taking the plunge cuts. So far, it is the only tool I have used.
iJAmxW.jpg

m2WM0n.jpg
 
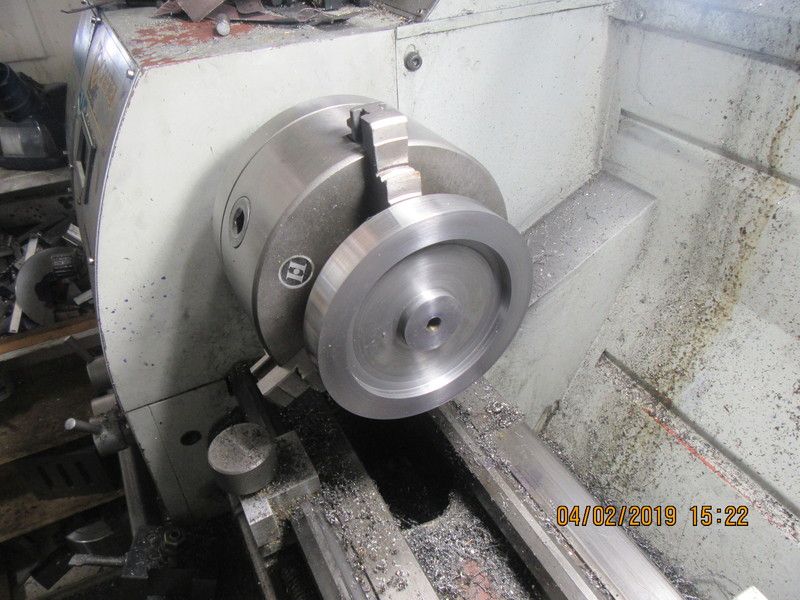
The second machining step involves using a brazed carbide boring bar mounted in the toolpost. I find that what works best for me is running the lathe about 170 rpm and advancing the tool into the pre-made slot about 0.010" at a time, then cranking out towards yourself until the tool reaches the maximum diameter that you want the cavity to be. Every time I do this I vow that I'm going to make an adjustable stop so that I don't have to watch the dro so closely. After the boring tool had reached the bottom of the slot, I removed it and did a clean-up pass with a HSS tool to remove any ridges. Then I used strips of 180 and 250 grit garnet paper (which I buy on a roll) to clean up my tool marks a little more. This side is finished now, so I can flip the flywheel around and repeat this on the other side. The o.d. of the flywheel hasn't been touched yet.
ft6neO.jpg
 
The last step, after the recess is machined in both sides of the flywheel is to hold the flywheel in place by expanding the chuck jaws inside the outer rim, and machine the outside diameter to a nice finish. The last steps of course, will be to put in the "lightening holes" and a couple of set screws and a keyway.
HilWJ0.jpg

O0Q1LX.jpg
 
I looked in my broach kit for the appropriate broach for a 3/8" hole, and I see that some ham fisted bugger has broken my 3/32" broach!! Then I went online to search for a replacement. Happens they have them at Fastenal. Hey!!! my kid works at Fastenal.-C'mere kid!!!--Can you get one of these things for me?--Sure Dad.--Somebody up there loves me!!!
 
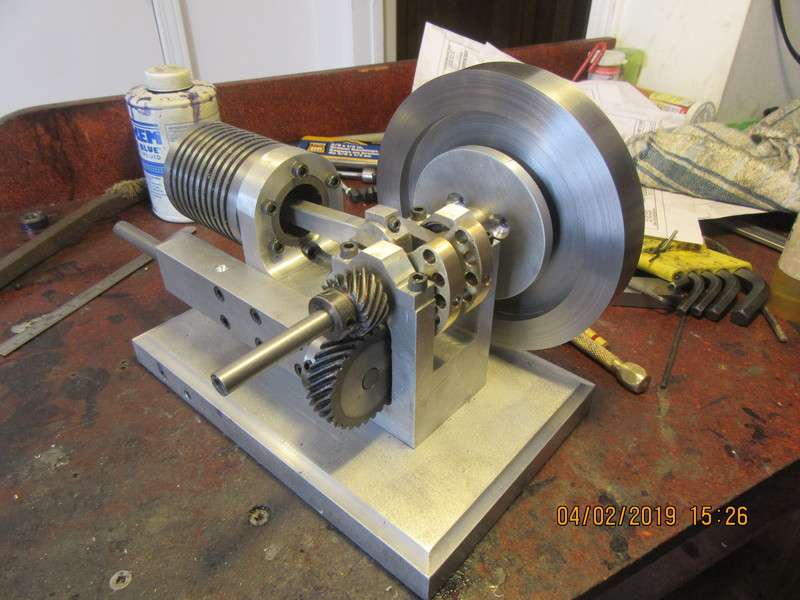
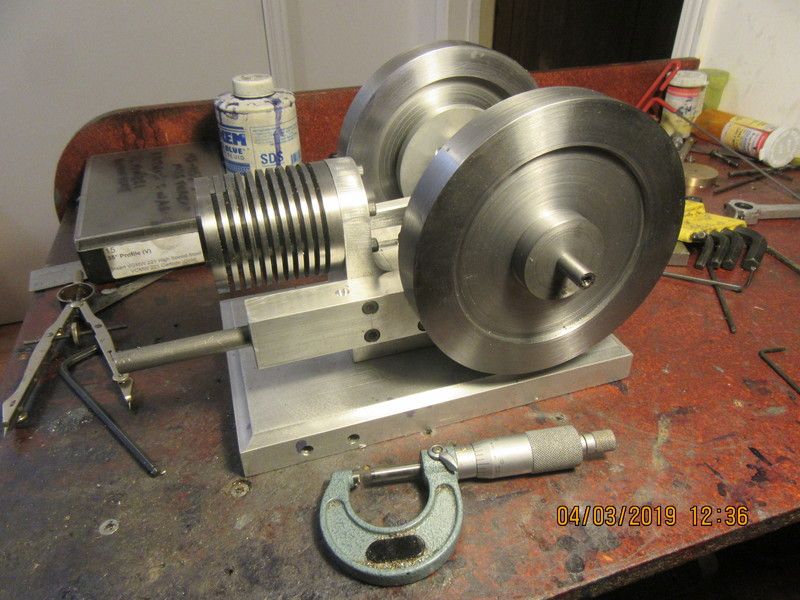
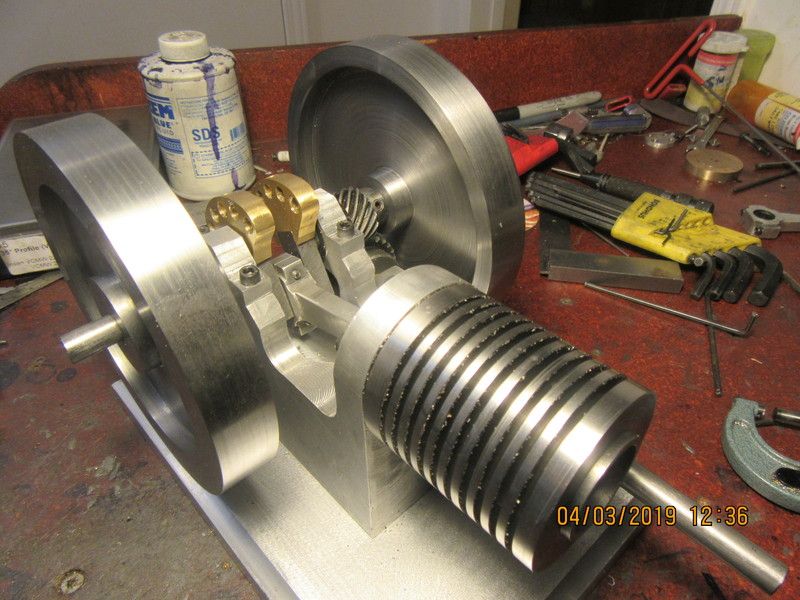
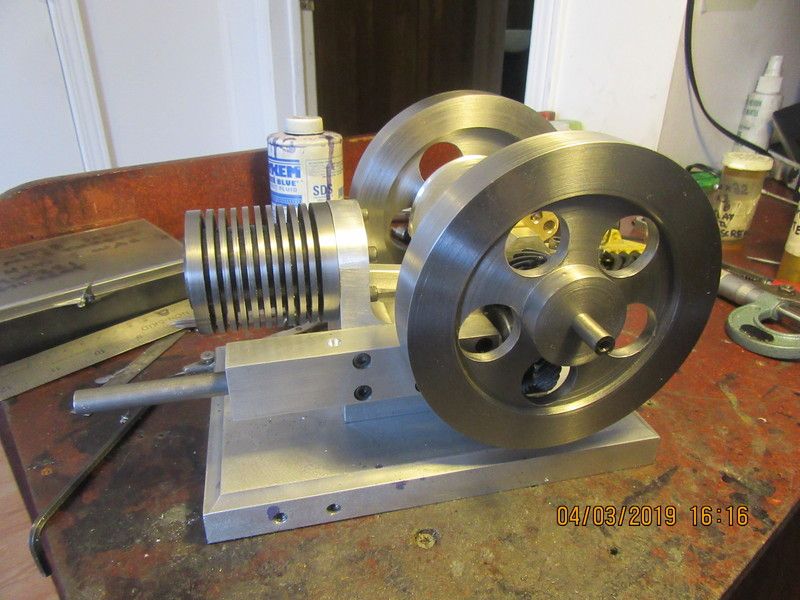
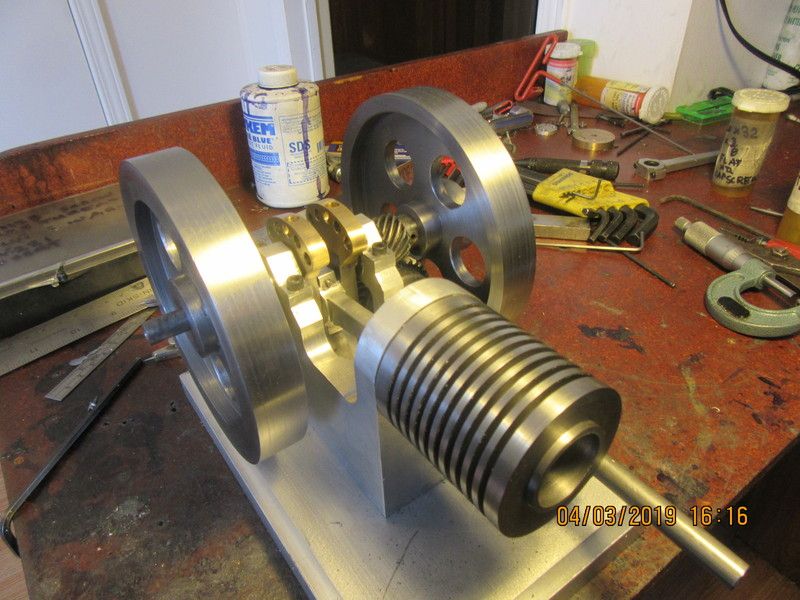
Both flywheels are turned now, but still need cosmetic holes, keyways, and set screw holes. You can see in the pictures how I kept both flywheels equally spaced about the center of the cylinder. This required a very large cavity in the gear side flywheel, but it clears the large helical gear by about .025", which is what I had planned.
hZP7SL.jpg

UidhvV.jpg
 
Once the holes are drilled in the flywheel webs, they really start to come to life. I can't do much more on them now, until I get a new broach.
daKVYu.jpg

5SHjDh.jpg
 
Back
Top