DICKEYBIRD
Well-Known Member
- Joined
- Sep 27, 2007
- Messages
- 653
- Reaction score
- 45
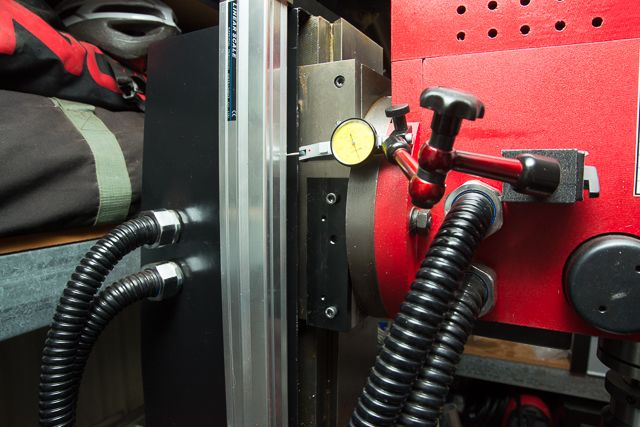
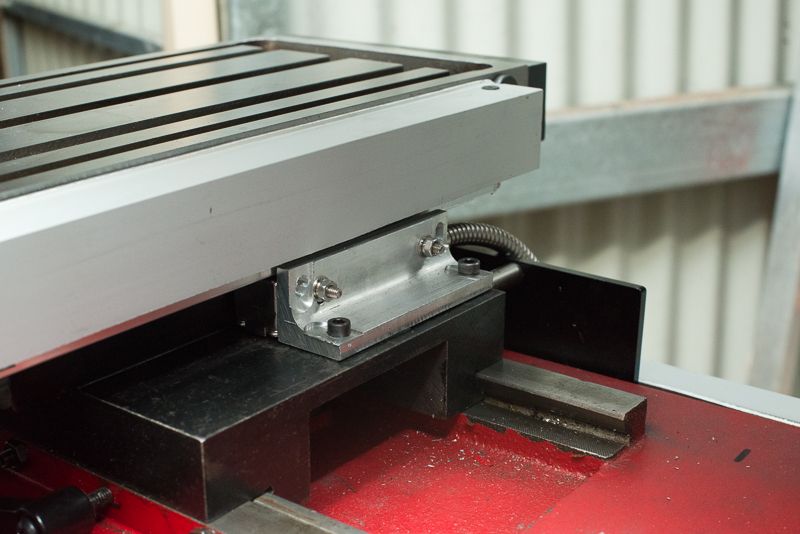
Im trying to make a couple decisions on a DRO for my Sieg X3 mill. Apologies in advance for duplicate-posting this on several of my favorite forums but Im hoping someone has been through this already and has some good advice. Id like to pull the trigger today before my tightwad alter ego steps in & shuts me down.")
#1 - Im going with either the mTECH DRO3M or the TDS-3i LCD package from http://www.thedrostore.com/ Whats the difference other than the latter being $30.00 higher? Im on a tight budget but obviously $30 more isnt much.
#2 What scale lengths to get? Ive found only 2 specific notes about the X3 on the web. One says
X axis 350mm
Y axis 150mm
Z axis 450mm
These exact lengths are not available from the drostore.com.
The other says
X axis 320mm
Y axis 170mm
Z axis 420mm
These exact lengths are available from the drostore.com.
Anybody have any first hand experience they can share?