Not my design Rod! I just plundered the images when I was searching for ideas on convenient ways to move machinery. I've been searching like a madman, but for the life of me I cannot find the original post at all. I have a habit of marking good things to return to them later, but it's gotten lost somewhere along the way!
Good luck with the ute mate, I have a hilux myself, and loooove it, so I can feel your pain!
cheers, Ian
Yes they are a good car Ian, I play with a few bits and pieces for them on my web site
http://www.vehiclemods.net.au/index.php
Hmm, I was wrong it was a shattered pinion in the rear diff.
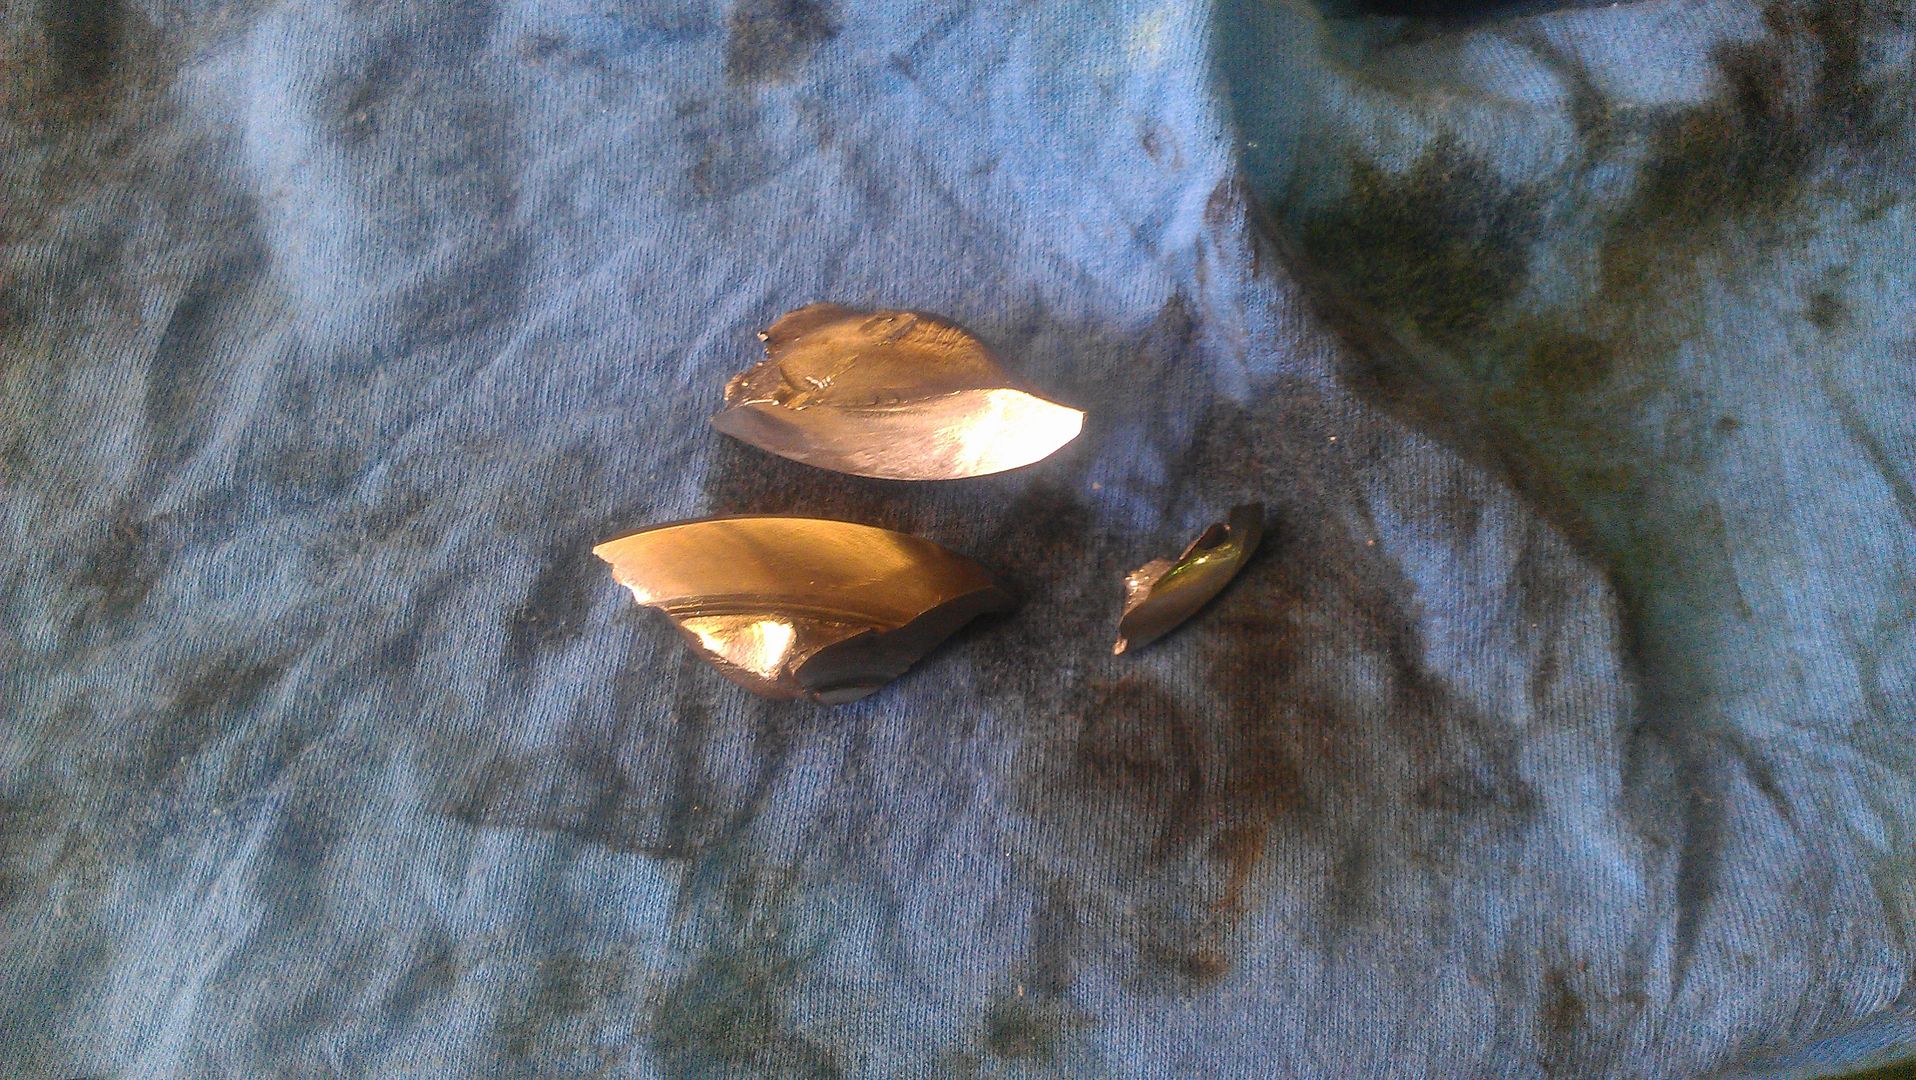
Hopefully Insurance will cover this. The mechanic said it was impact damage whilst the vehicle was stationery which is consistent with when this:
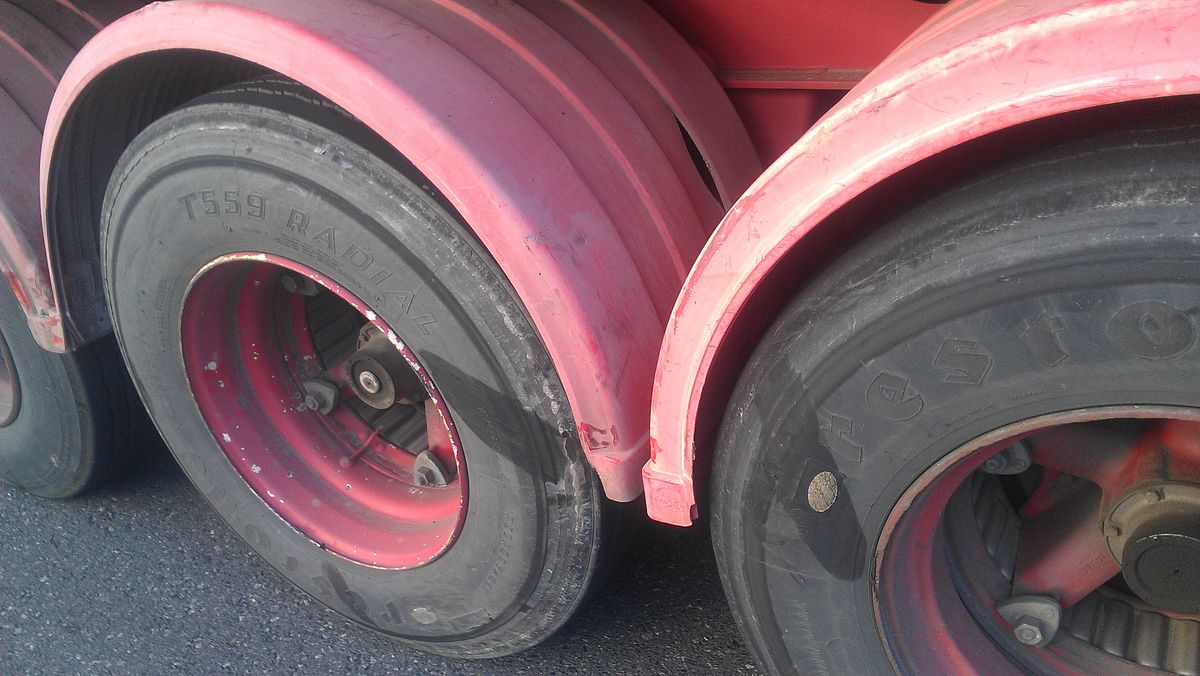
Did this to me
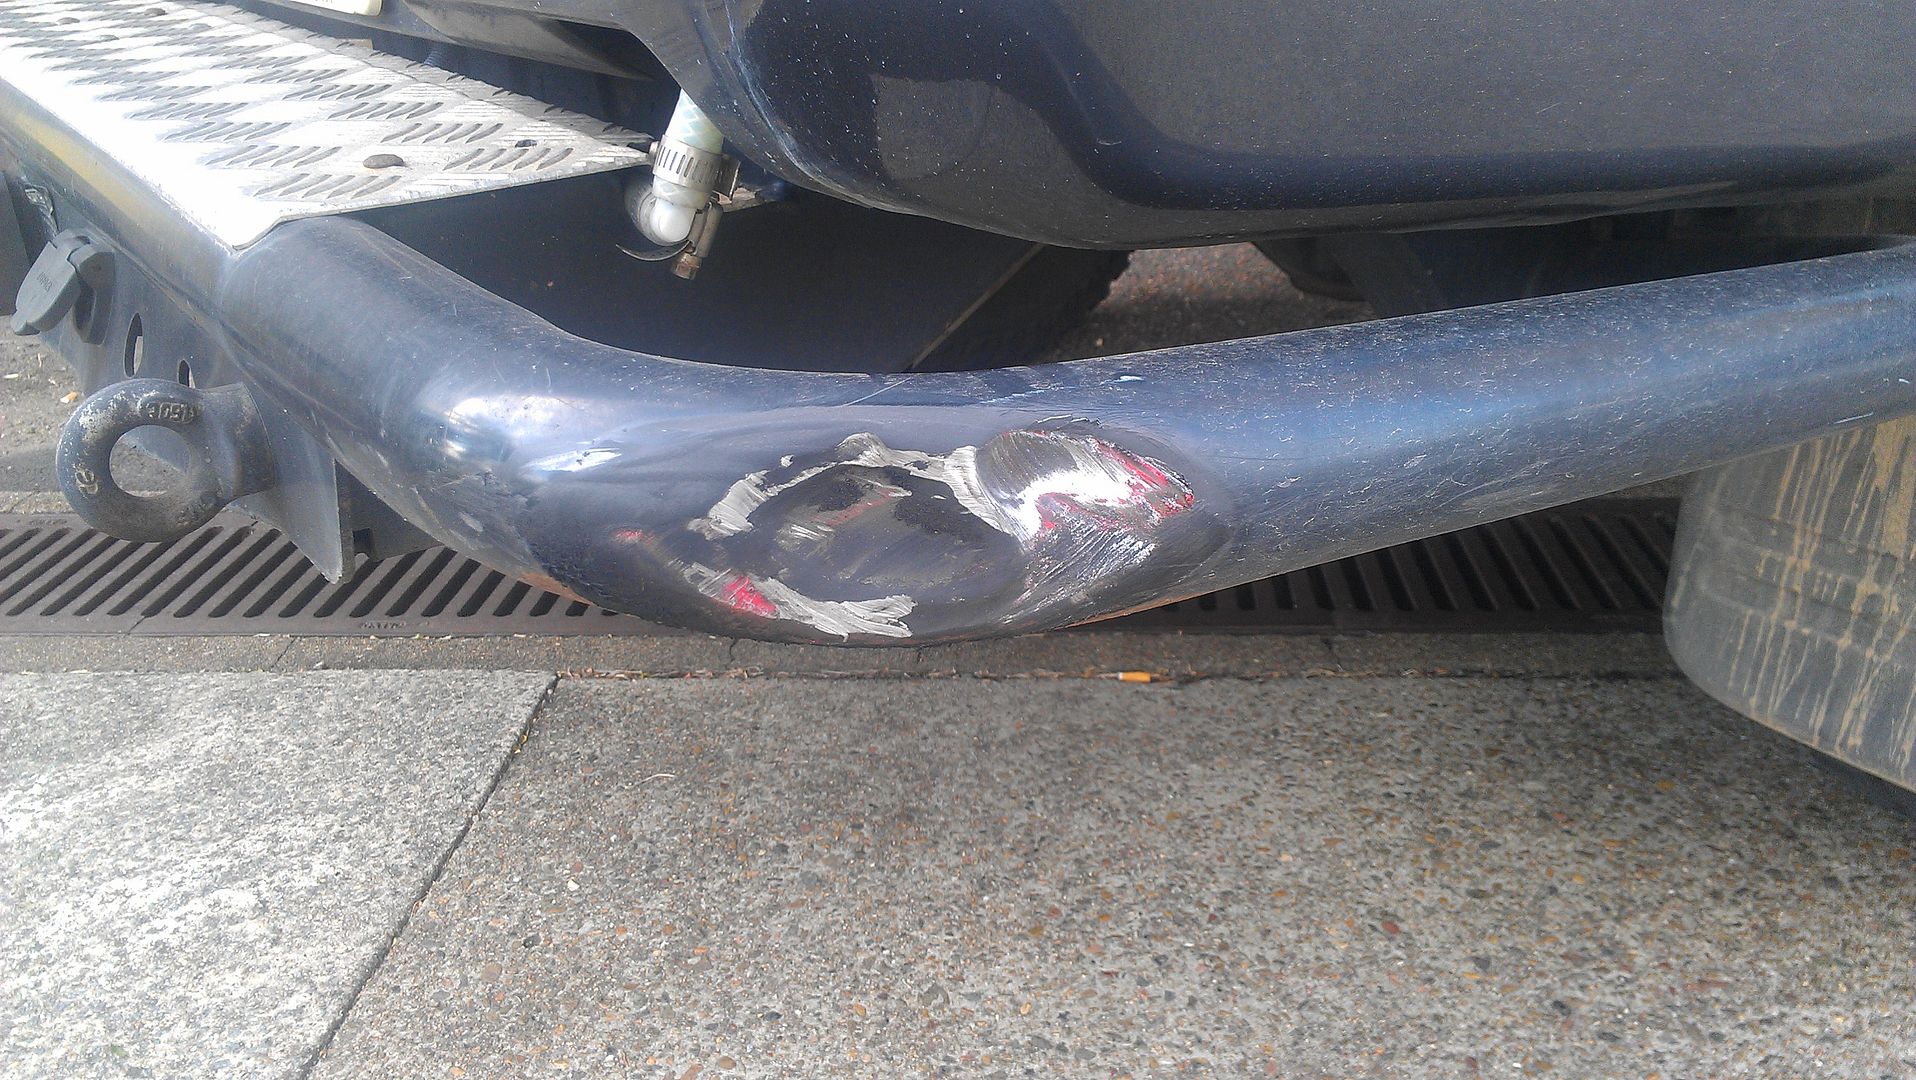
last week.
It has not been a good couple of weeks as last Friday my alternator went which cost e $900 in repairs. I almost got to the Auto electrician but walked the last 200 metres after it stopped dead!
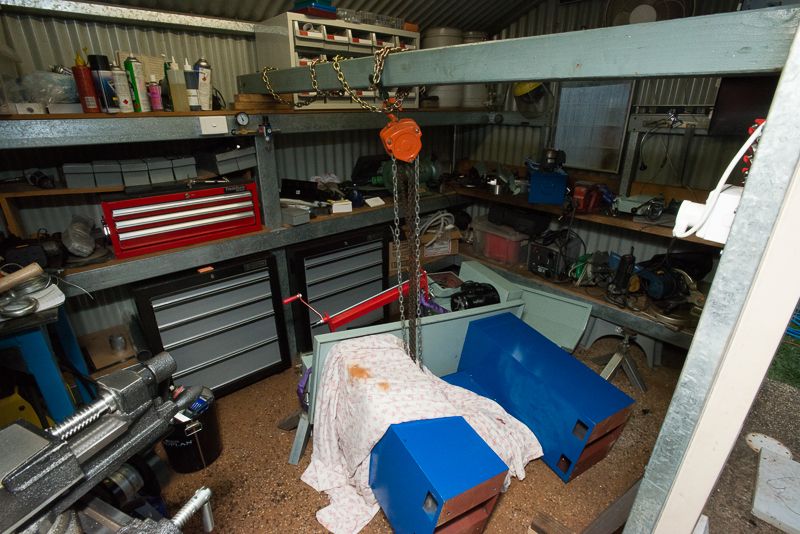
Anyway, Here are some better photos instead of my phone ones.
Setting up to lift it with snatch blocks, slings and an engine leveller
Not enough lift, so had to rearrange things
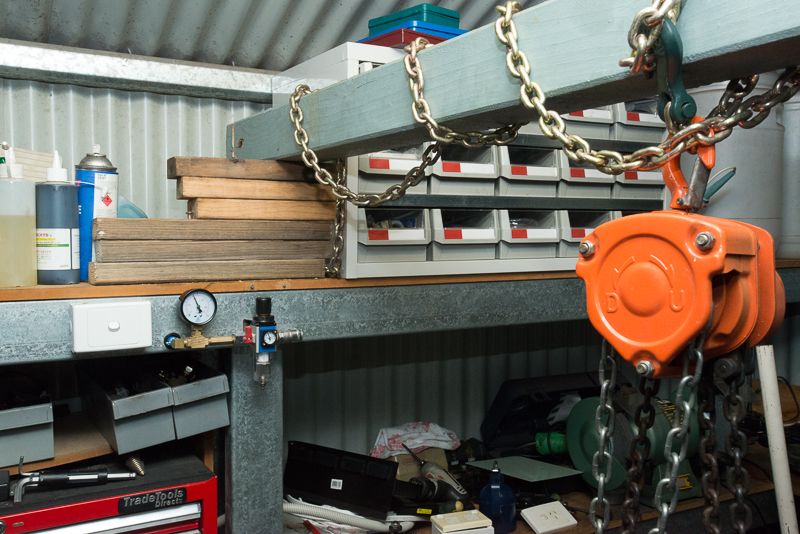
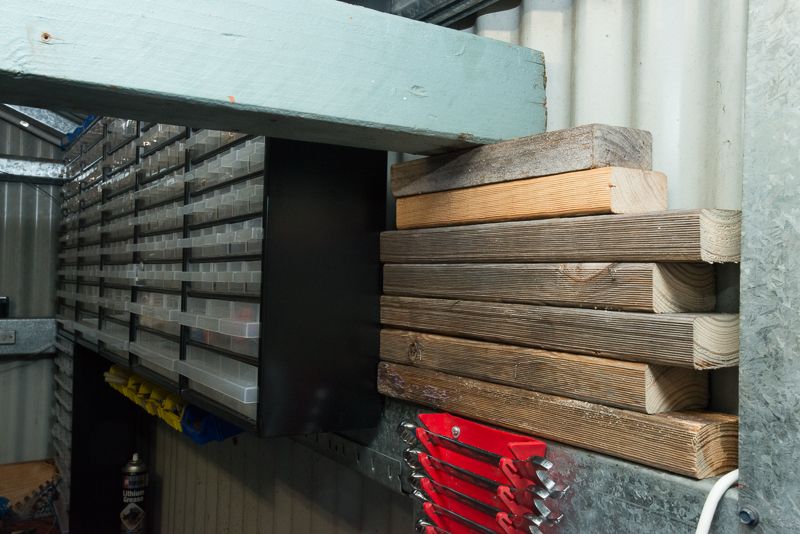
I think I had room for one more block on the second side but the stick of timber I had ran out.
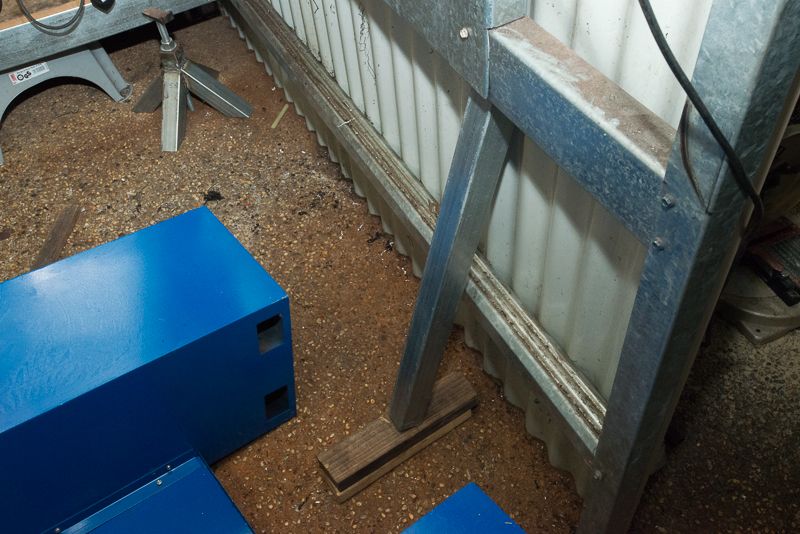
And a prop I added just in case
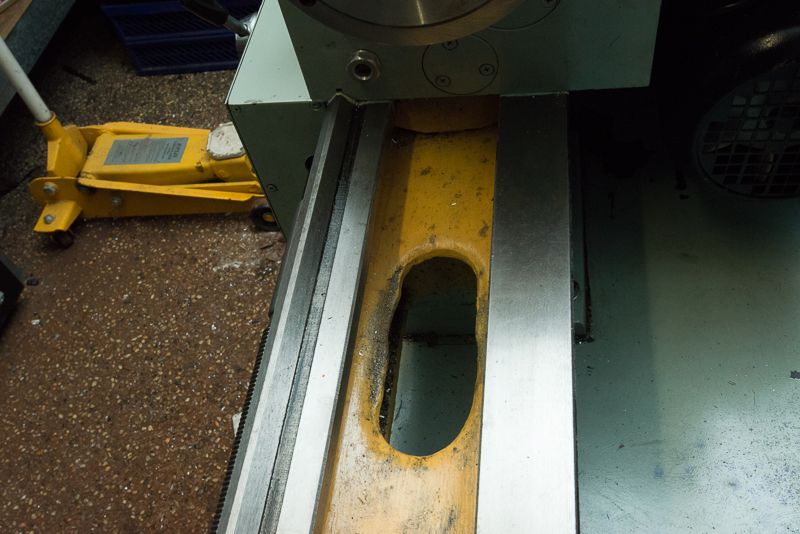
Sorry, I had removed the slings before I thought to take photos but I ran the slings around the headstock base and poked the ends out this hole so it could straighten up when lifted.
Finally upright
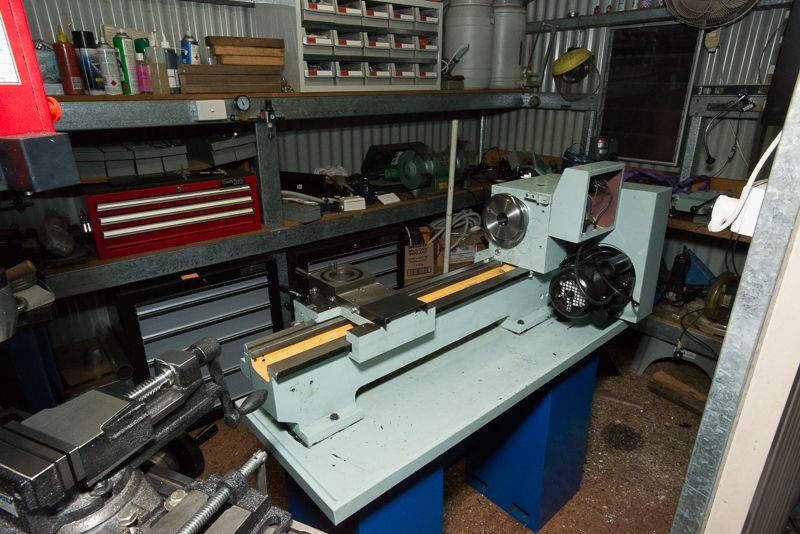
And some of the damage
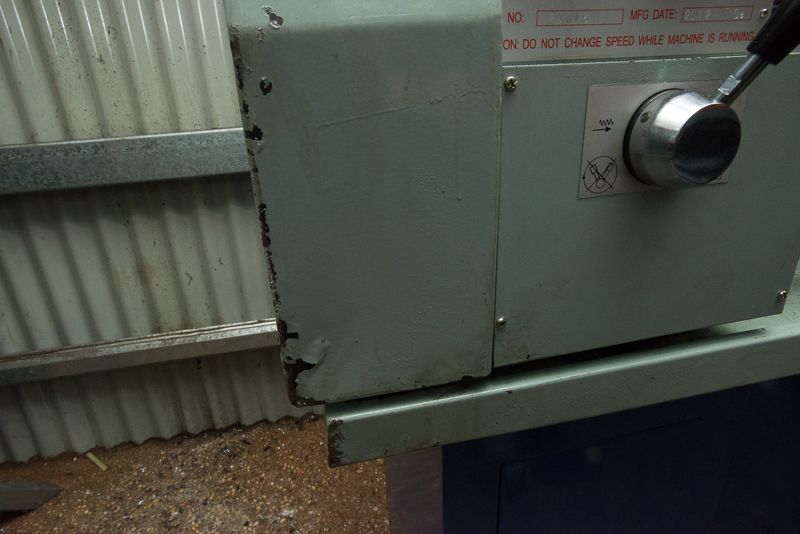
I did not notice initially that the control box had a bit of a lean backwards and that was because the mounting holes had bent out but a hit with a hammer flattened the dimples back down.

While I had it off, I decided to add a few more holes to it.
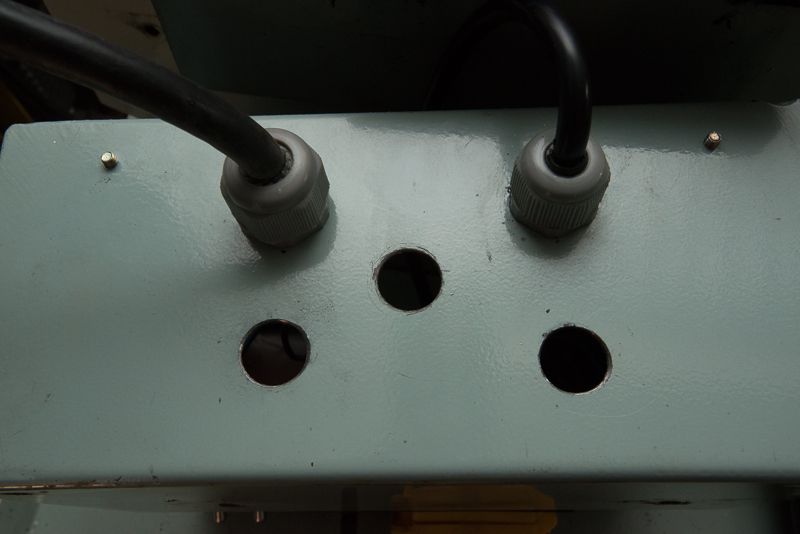
and mount a couple of switches
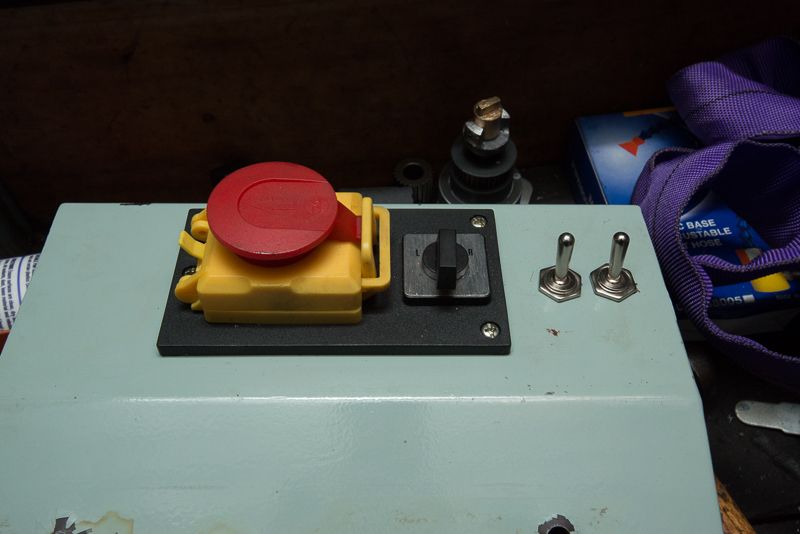
And rounded up three different coloured extension leads and threw half of each away
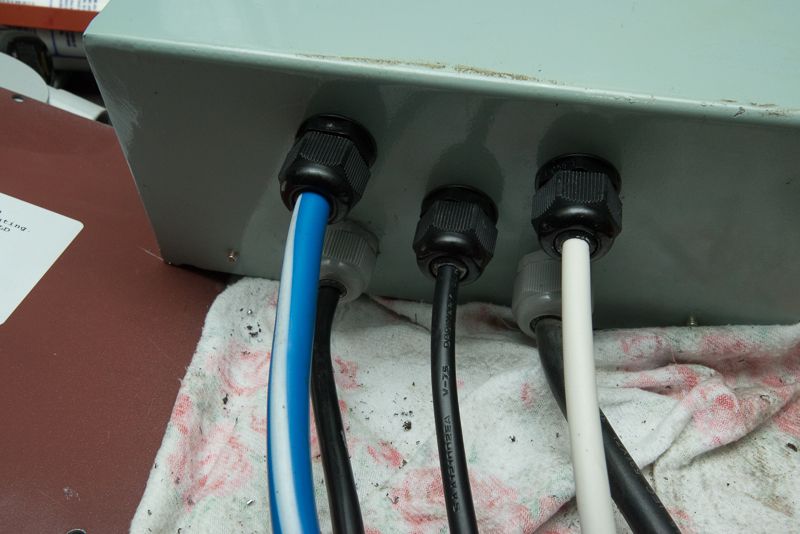
The grey cable glands are the originals and now I have three colour coded power outlets.
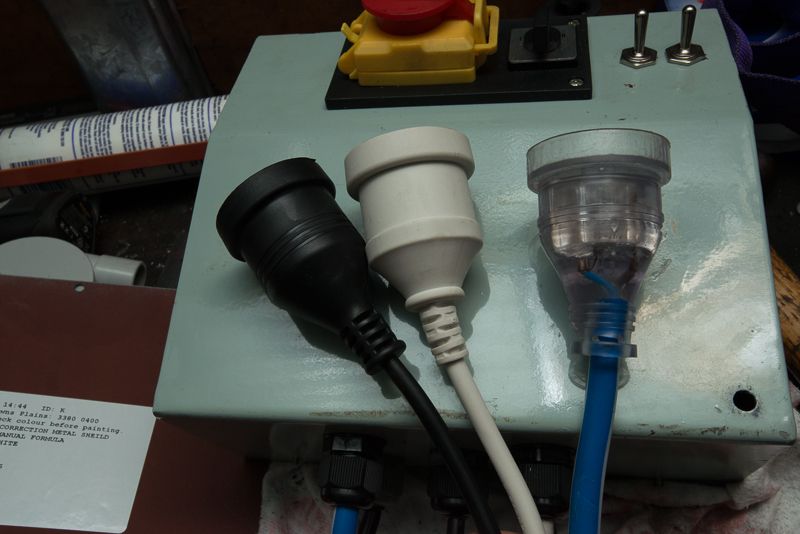
The two switches are for coolant and work light. The third is for a DRO but I was not planning on having a switch on it.
I will pull everything off this control box and give it a coat of paint. I took the back plate of the control box to Bunnings and they mtched the grey paint pretty well and I stuck the sticker with the paint codes onto the inside of the control box cover so it is there for next time.
I have also purchased a replacement drawer unit for this one but need a vehicle to bring it home
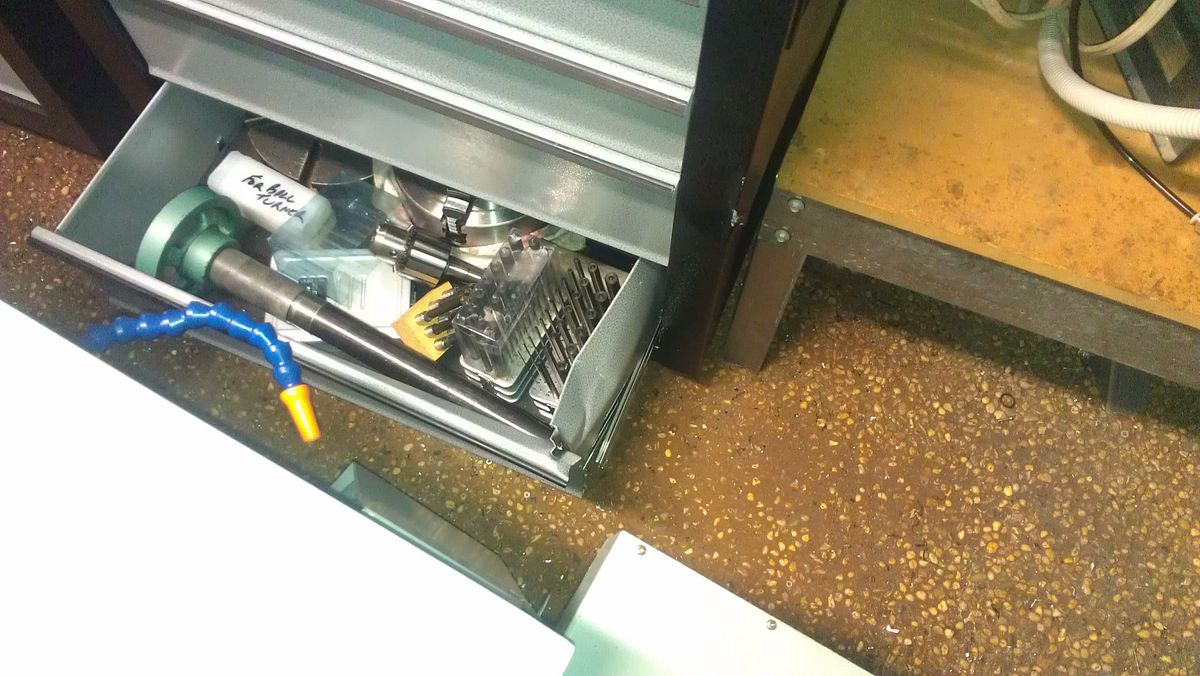
I've had a couple more ideas about what to do with the stand in relation to drawer units. It is hard to get clearance for the coolant pump and of course the coolant drain from the drip tray needs to get past the cabinets too. I am going to browse through TradeTools tomorrow and see what I come up with. One idea is to use the 4 good drawers from the busted unit, the other is to use a small 3 drawer tool box as one of the drawer units so that there is heaps of clearance behind it to mount the coolant pump.
Incidently, I had a chance to play with it briefly with some water, it does not take long to empty the tank!


