Someone queried a while ago as to a Double Rocker, so why not a Quad
Getting time to build something, so to aid in my trip to the nut house a Quad Rocker seems just the ticket for the ride. Havent a clue if the idea will even work but what the heck . . . Its a work in progress, making it up as I go along
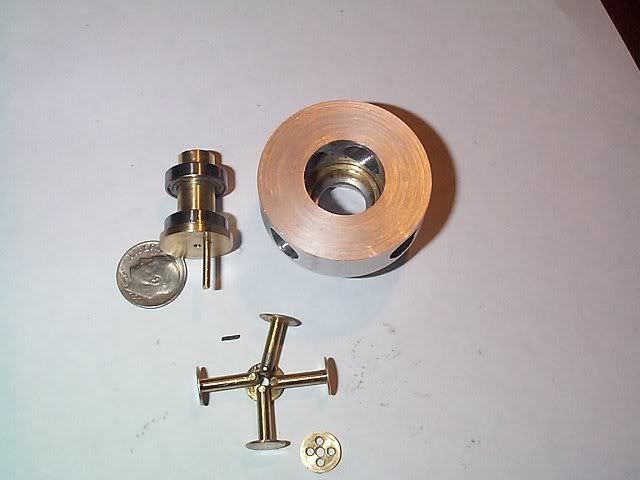
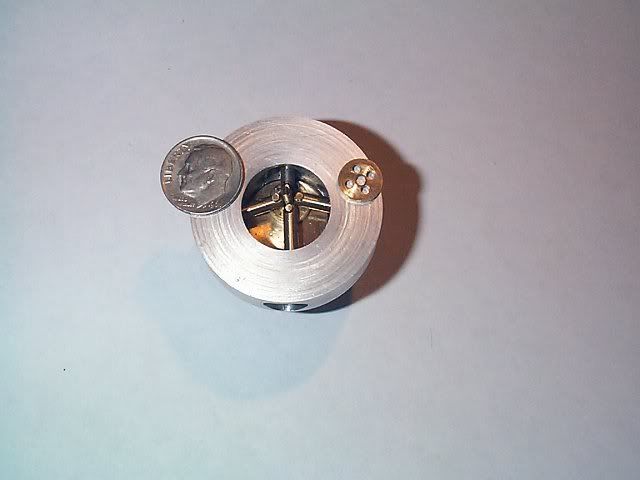
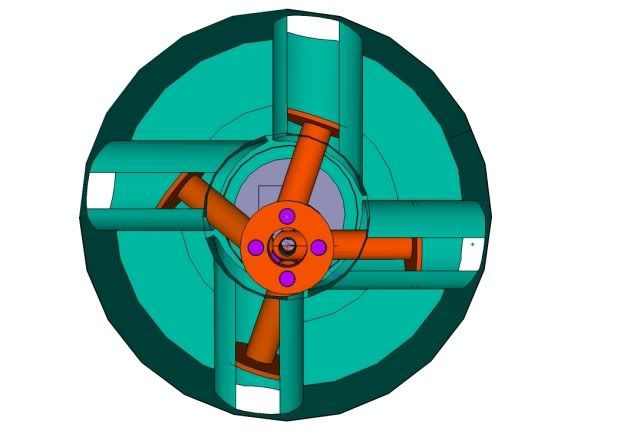
The idea is roughly as shown, simple rotary Rocker type action.
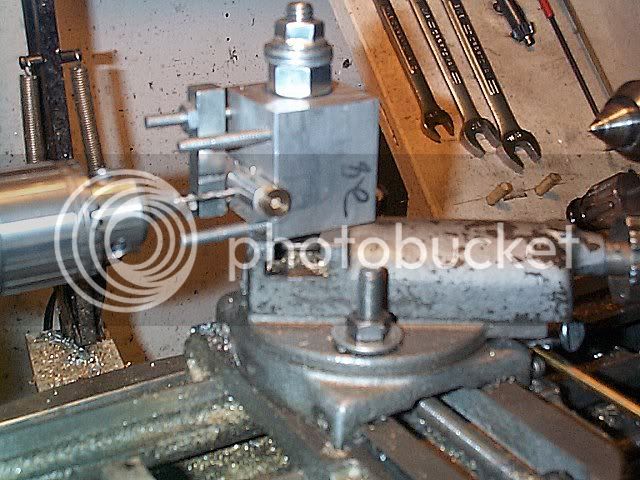
Found a piece of stock and carved out the main body. Drilling what will be the cylinders sorta taxed my brain cell till I came up with this contraption. Only have this ol AA109 so may look a tad odd.
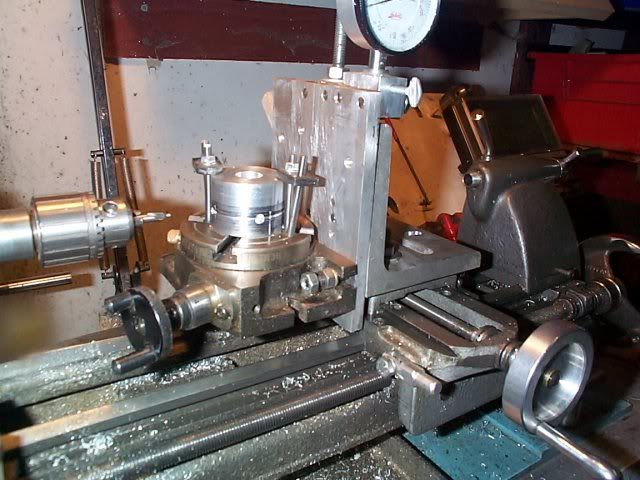
Once the body was centered up on the little RT the side was found using a 0.250 edge finder. Cranked it over 1/2 the dia. of the body which just happened to be the spot for the cyl centerline as its to be 0.125 off center. Used a spot drill to mark the hole then drilled it up a tad under the final size of 0.375. Used a short 0.375 reamer to bring the bore to size. This done 4 times at 90 degree intervals.
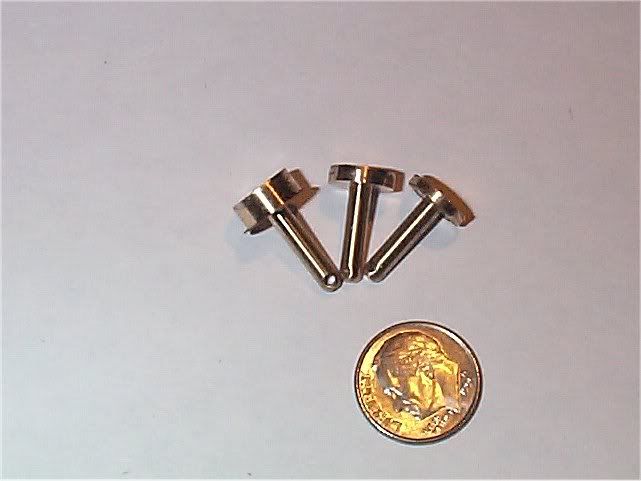
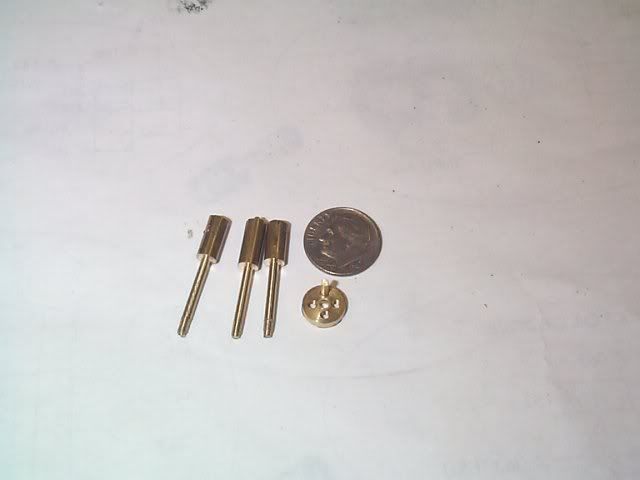
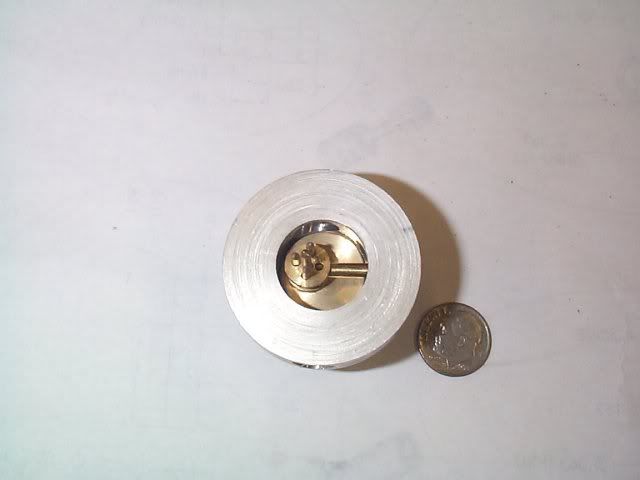
Time to work up a crankshaft and what will be the conecting rod pieces. I dont know how you all center things up, guessing the equiptment is better as I went round and round getting that piece of brass centered. Finally came to the point of tapping was moving it more than needed so resorted to just shimming one side a bit to get to a total runout of +\- 0.003. Best I could do.
Drilled the little holes that will be the crank pins. Why? What the heck its fun even if I'm clueless.
Shall see what tomorrow brings
Robert
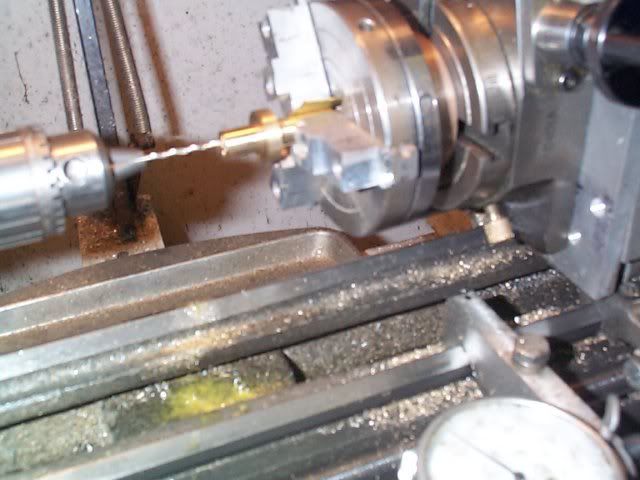
") Just an op of sticking the piece into the hole butted up against the face and drilling the hole. The jig holds the bit in place to drill the hole clean thru the com rod
Just an op of sticking the piece into the hole butted up against the face and drilling the hole. The jig holds the bit in place to drill the hole clean thru the com rod