


rangerssteamtoys
Well-Known Member
- Joined
- Jun 2, 2008
- Messages
- 138
- Reaction score
- 2
I got this idea from this website http://www.firedragon.com/~kap/Educator/
The burner design is a simple yet ingeniously easy and good way to fire a boiler.
Today I learned about 3 new talents
Welding: Ok, my dad did most of it But I made the cam for the engine
Brazing: This I need to know because of my boiler, it will be brazed with 45% silver brazing solder.
Anealing: I had to do this to bend the copper tubing
OK, now to the burner.
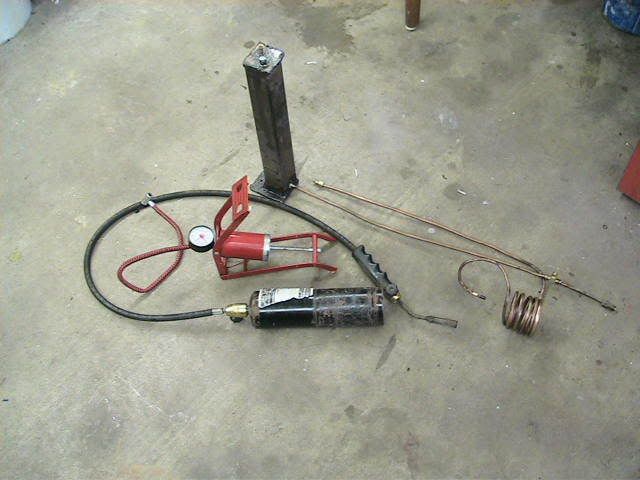
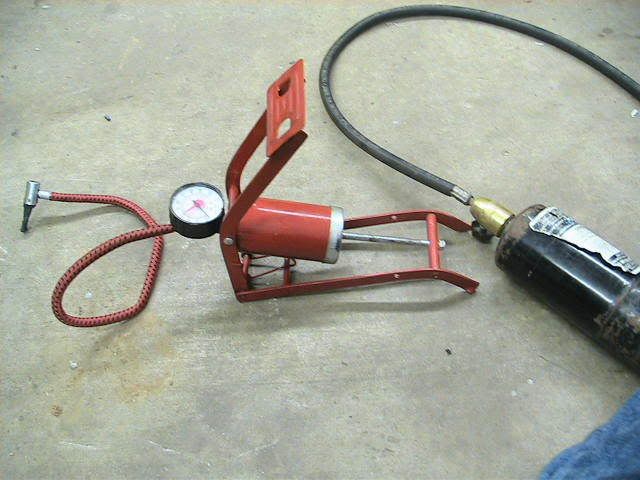
Here is the complete layout, now for all the details. The propane torch is the Pilot light for the main burner.
This is the burner, it has a super small nozzle that will shoot out the oil vapors once they have been heated in the coil of tubing.

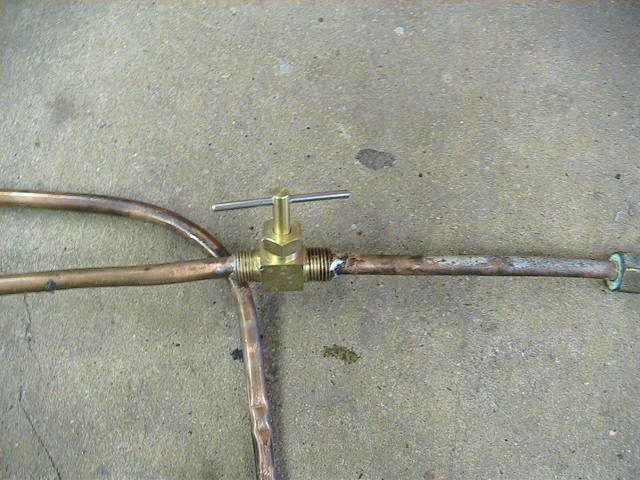
This needle valve was for my old burner but now it serves as a oil flow/ pressure valve.
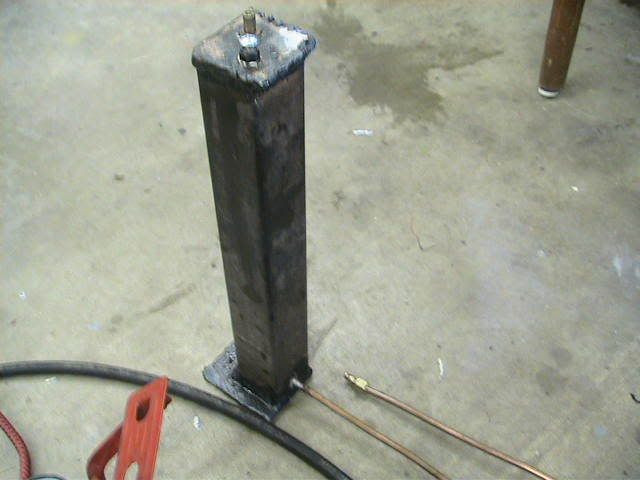
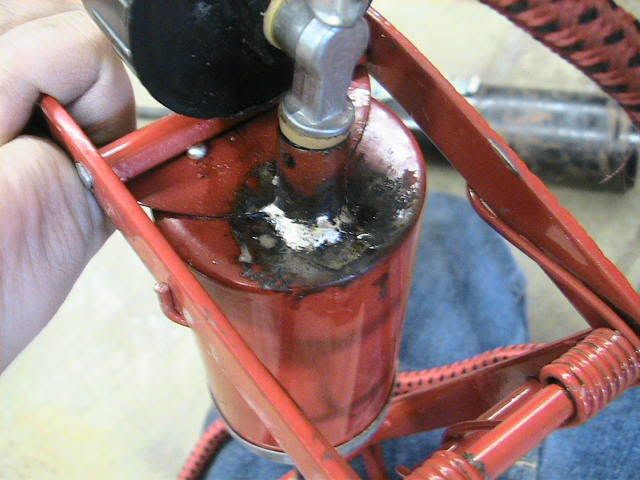
This is the oil tank, a 2"by 2" steel square tubing. My dad stick welded the ends on. I will fill it with 1/2 oil and 1/2 pressurized air.
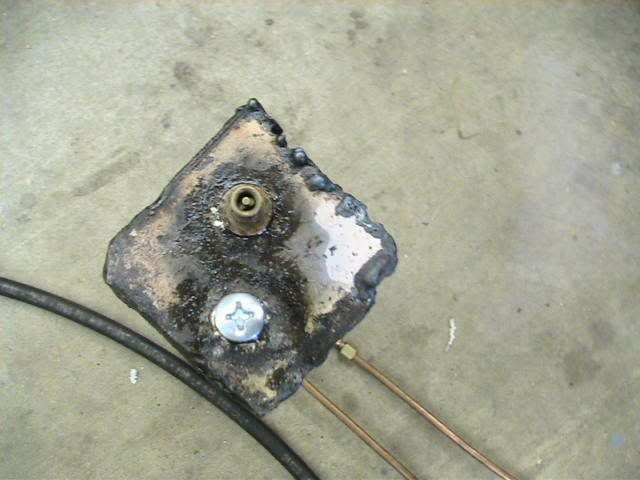
Here are the fittings on the tank, a valve steam from a tire for air pressure. The bolt is for filling with oil
This air pump was broken, well with my soldering skills I re soldered the broken bit. I got this pump for free from some concrete working guys, they broke it and were going to throw it out
Heres a close up of the broken bit, its the most important part.
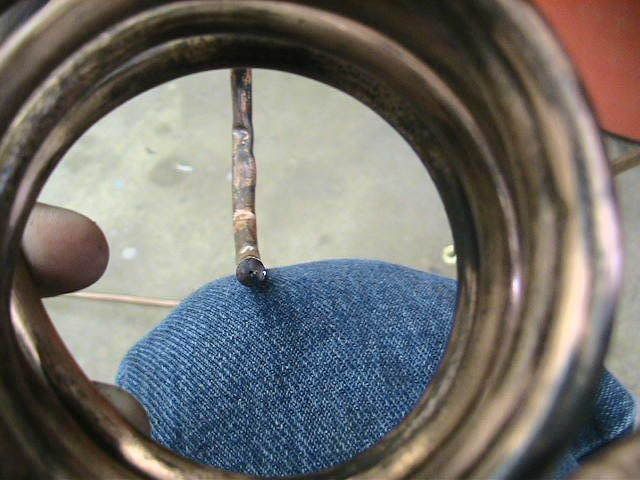
This is the nozzle, its a mig welding tip. Its where the wire comes out the end of the gun. Its a .023 size hole :shock:
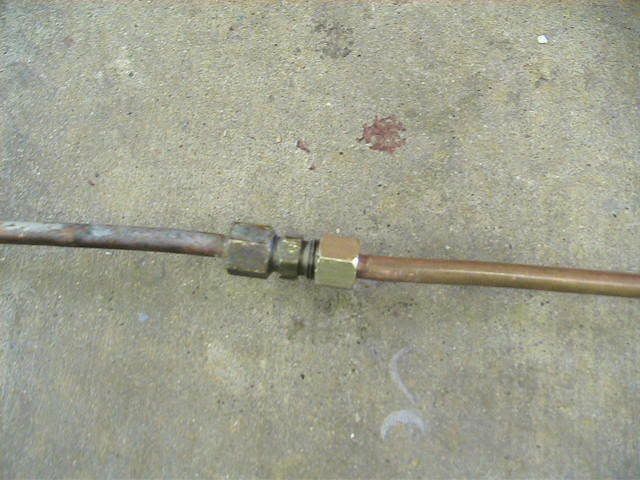
At last the compression fitting that holds everything together.
This is how I believe that I light it,
1 prime the burner with oil, I dont want carbon to build up in the tubing. :shock:
2 light the pilot, just light the torch and hold it near the nozzle and the preheater tubing.
3 pump up fuel pressure, with the foot pump of by some other means :lol:
4 light the burner, I open the needle valve a crack and wait for the fire
5 Basically done, just let the burner heat up before puting alot of fuel through it.
I believe that oil will give me good heat out put with low weight to energy ratio, also its HARD to light if it leaks somwhere. Unless the oil is hot that is. Motor oil and waste veggy oil are good canidates, easy and cheap.
The burner design is a simple yet ingeniously easy and good way to fire a boiler.
Today I learned about 3 new talents
Welding: Ok, my dad did most of it But I made the cam for the engine
Brazing: This I need to know because of my boiler, it will be brazed with 45% silver brazing solder.
Anealing: I had to do this to bend the copper tubing
OK, now to the burner.
Here is the complete layout, now for all the details. The propane torch is the Pilot light for the main burner.
This is the burner, it has a super small nozzle that will shoot out the oil vapors once they have been heated in the coil of tubing.
This needle valve was for my old burner but now it serves as a oil flow/ pressure valve.
This is the oil tank, a 2"by 2" steel square tubing. My dad stick welded the ends on. I will fill it with 1/2 oil and 1/2 pressurized air.
Here are the fittings on the tank, a valve steam from a tire for air pressure. The bolt is for filling with oil
This air pump was broken, well with my soldering skills I re soldered the broken bit. I got this pump for free from some concrete working guys, they broke it and were going to throw it out
Heres a close up of the broken bit, its the most important part.
This is the nozzle, its a mig welding tip. Its where the wire comes out the end of the gun. Its a .023 size hole :shock:
At last the compression fitting that holds everything together.
This is how I believe that I light it,
1 prime the burner with oil, I dont want carbon to build up in the tubing. :shock:
2 light the pilot, just light the torch and hold it near the nozzle and the preheater tubing.
3 pump up fuel pressure, with the foot pump of by some other means :lol:
4 light the burner, I open the needle valve a crack and wait for the fire
5 Basically done, just let the burner heat up before puting alot of fuel through it.
I believe that oil will give me good heat out put with low weight to energy ratio, also its HARD to light if it leaks somwhere. Unless the oil is hot that is. Motor oil and waste veggy oil are good canidates, easy and cheap.