Myford ML7 refurbisment and upgrade

Home Model Engine Machinist Forum

Help Support Home Model Engine Machinist Forum:

This site may earn a commission from merchant affiliate links, including eBay, Amazon, and others.
Thanks Bob,

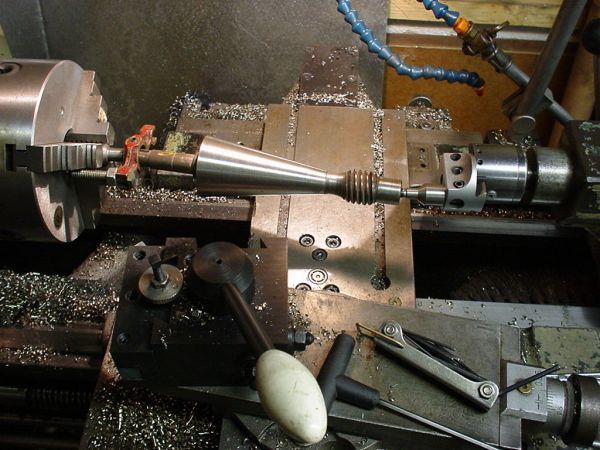
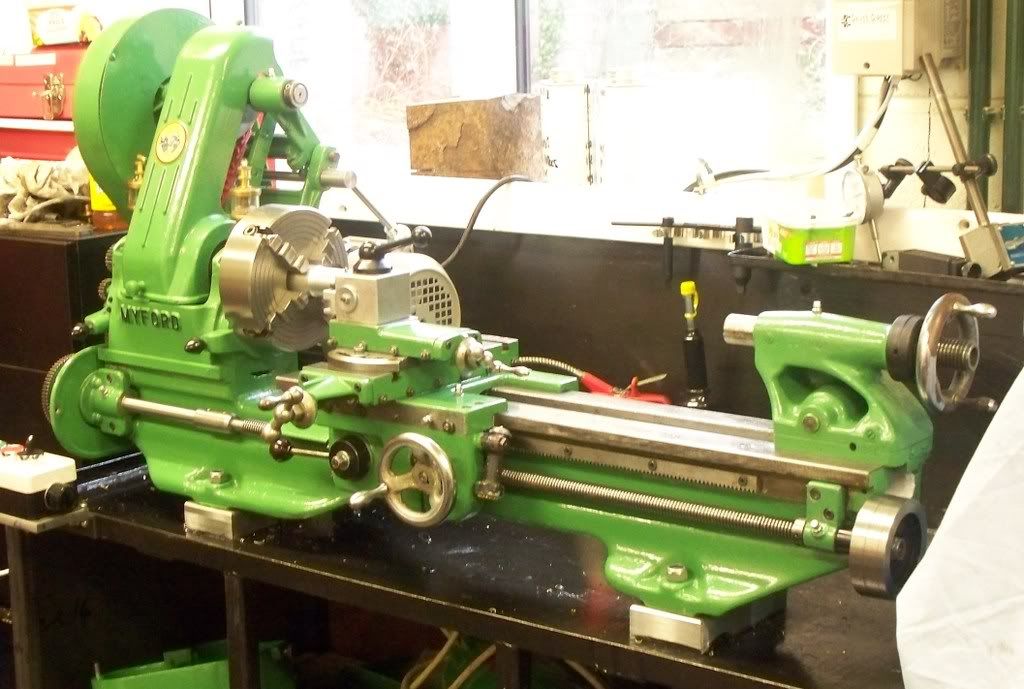
Well this post should end my contributions to the refurb/rebuild. Today I actually started to do work on the lathe after setting her up to run as true as possible. I added a little packing under the tailstock end and got to within a thou" so that will do me!

steveupaladderandmyfordfirstreal-1.jpg


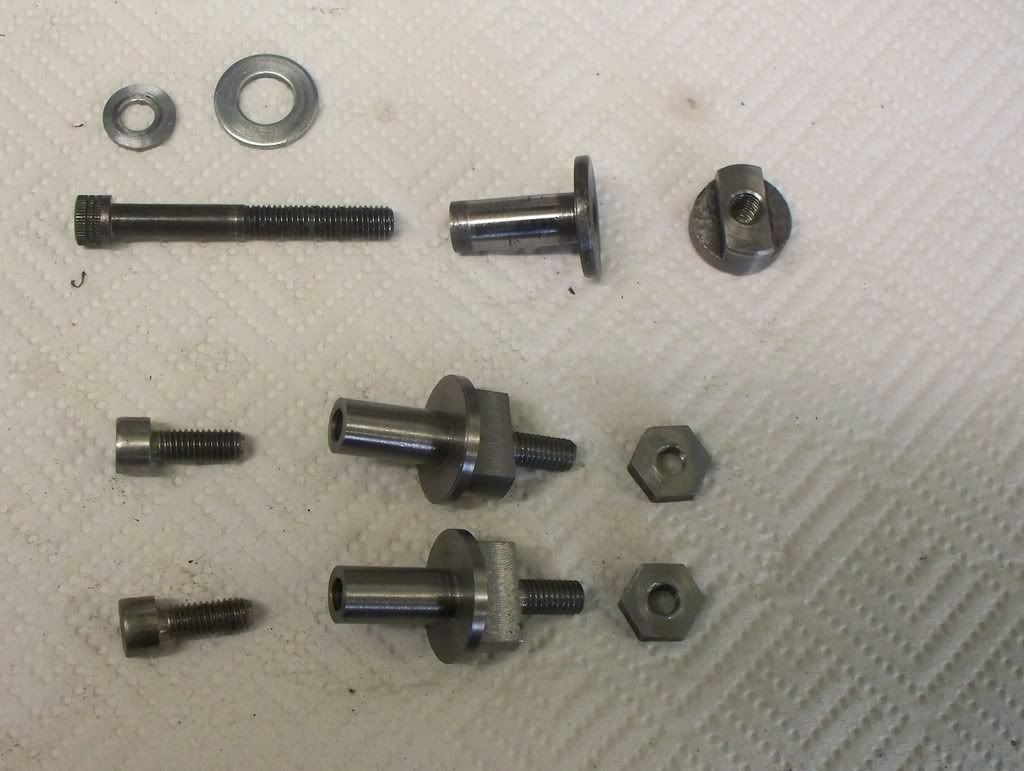
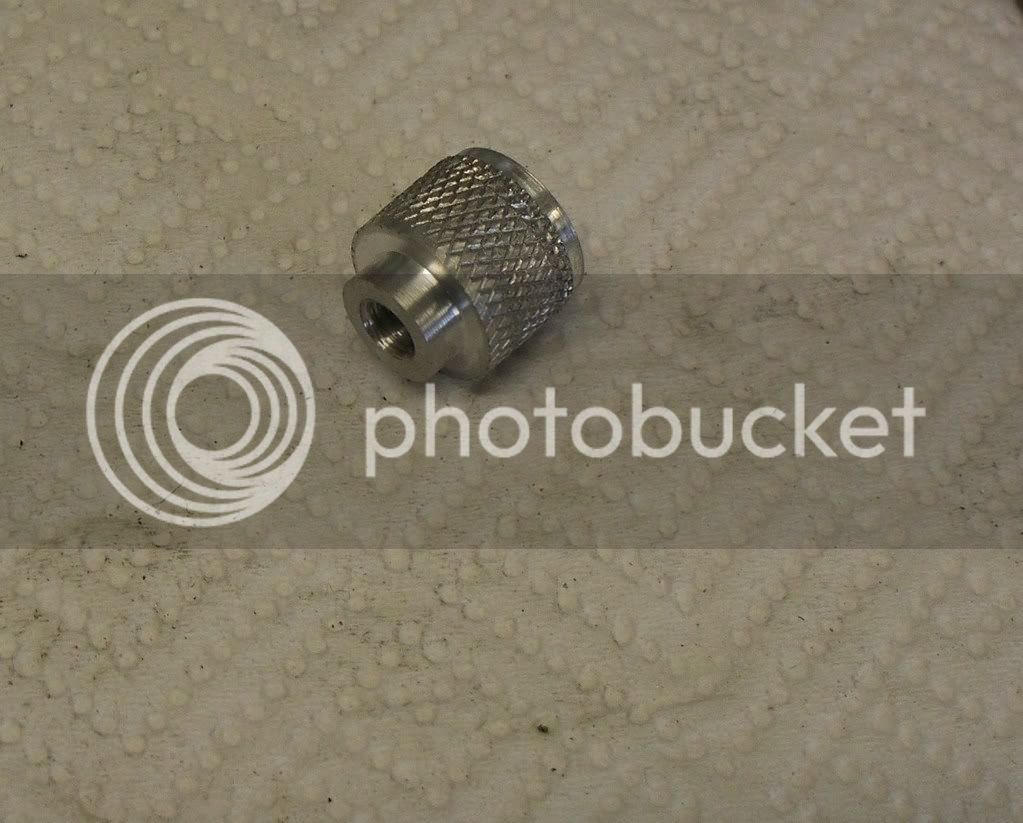
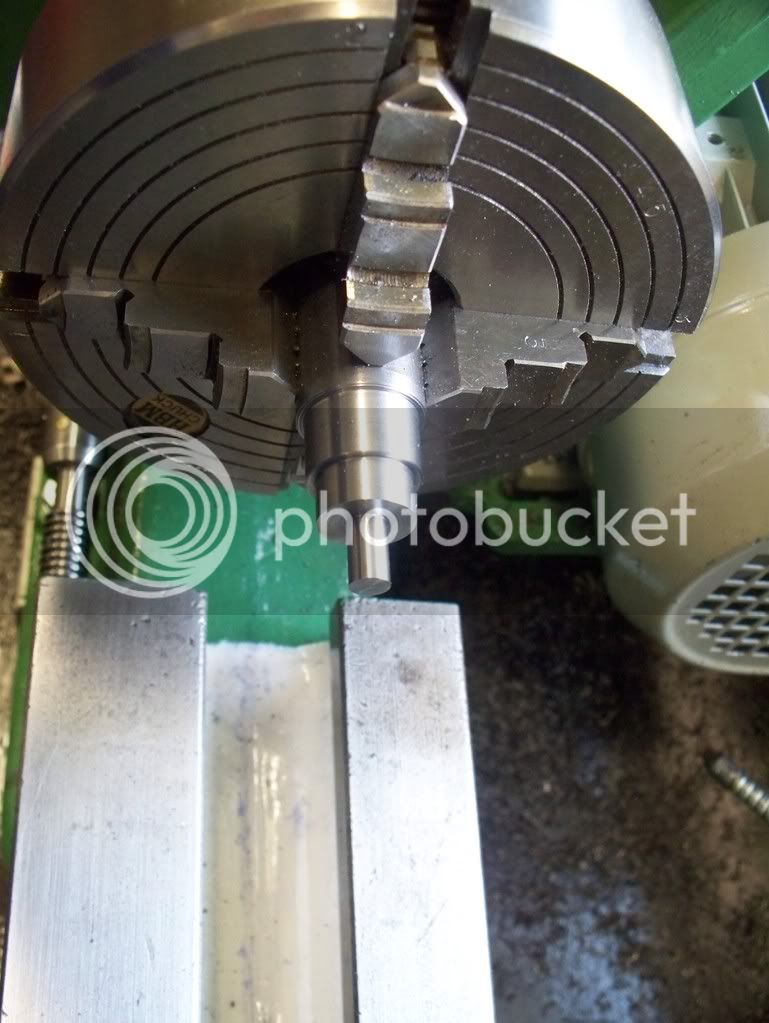
I have decided to make the two studs for gears to sit on, and this is the first work to be done on her. It was quite interesting really since this is the first ML7 I have used. I keep making comparisons to the ML10 I had and have to admit that some of the ML10 features are better than the ML7. For instance the noise from the tumbler gears on the ML7 means I now know why they offer non metal gears. Also the method of holding the top slide seems poor to me especially when trying to set up the top slide to run parallel to the work. On the ML10 the tool post itself was part of the cross slide and it truly pivoted around its centre. I am thinking of trying to replicate this sort of feature on the ML7, will let you know how I get on (or when!).

myfordrefurb25022009006.jpg


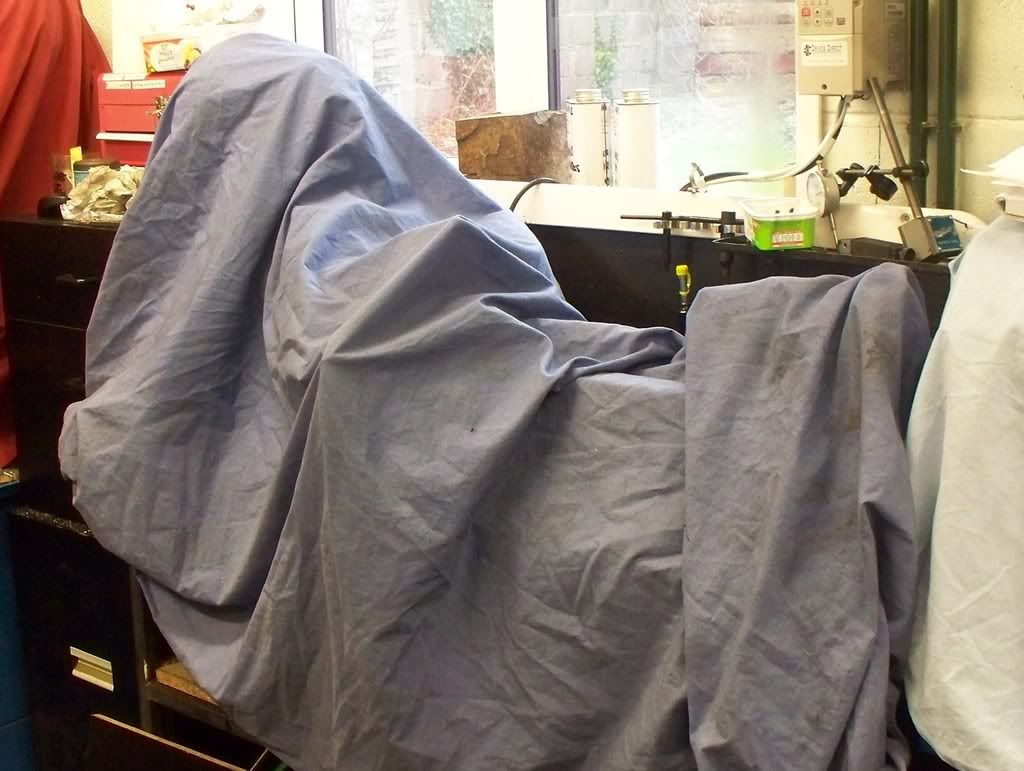
And here is the last picture.............shes been put to bed...................

myfordrefurb25022009007.jpg


Or is that where I left the wife!!! :big:

 
Aren't you going to hate to get it dirty? :bow:

Chuck
 
Congratulations MM
May your marriage be a fruitful one. :big:
BR
 
Many thanks Chuck and BR. I managed to get out in the workshop this morning and decided that I would make a couple of gear studs to replace the silly design of my originals, along the style of my Myford ML10.

myfordgearstud28022009007.jpg


Anyway I was very pleased with the performance of the lathe and turning true when on the leadscrew. I checked the shaft castings to see if any bearing was running hot, but all were cool enough and everything stayed where it should so came away very pleased. No doubt theres a ton of bricks ready to land on my head somewhere.......

I am not impressed with the tailstock although it seems to be correct when centre drilling and drilling. Very coarse feeling when turning the thread and its something I will have to address. I may even have a go at making a new threaded part.......but not quite now. I want to get back to building the Seal 4 cylinder petrol engine. But thanks for all your support.
 
Mike I built this forum as a learning place for home model engine building
machinists. A step by step refurbishing of a machine to do that is a bonus
I never dreamed of!

Thank you for the thread! :bow:
No machine will ever be perfect. If it were the kid flipping burgers at
McDonald's could run it with a 10 minute training session.

Congratulations of the results of your efforts.
Beautiful work on the refurbishment!
Now it's time to grease her up, get er dirty and put er to work! ;)

Thanks again for the walk through thread!

Rick

 
Wow Rake, your too kind. I getfar more from your forum than I ever give back! Thanks though. Mike :-[
 
I managed to save myself around £30 by making the two studs on which the gears sit. The bonus is I made them on the refurbished lathe. Which I think is neat. Sort of self healing......

The studs didn't take too long to make and very little drama occurred with the benefits of the variable speed motor showing through. Once the turning was completed it was over to the milling machine and the two flats milled. Then back to the lathe and fit them. For the first time for me, there wasn't any mistakes (well none that show!) and all worked well. The photo below shows the old type at the top and the two new studs underneath.

myfordgearchangestudsfinished010-2.jpg


Now I will be able to change gears without removing the whole fittings. As a thank you for giving me no problems I thought I would make the lathe a small piece of 'bling' and made a new knurled keep nut for the gear casing.

myfordgearchangestudsfinished010320.jpg
 
Hi Mike

:bow: :bow: :bow: :bow: :bow:

I have read with great enthusiasm the whole of your thread on rebuilding process, as rick says, " to have a complete rebuild on here is a great bonus" I like the way you have done the idler gear studs, I have a perfecto (ML2/4 copy) and you have given me the encouragement to make new ones for mine. Thanks for that. But most of all for the whole documentation process.

Kind regards

Malcolm

 
Thank you Malcolm your too kind.

If the project has done one thing for me then its to take away the 'mystery' I have had over lathes. When you come to think of it its just a very large set of castings! Once I got my head around that I enjoyed the whole project and certainly would consider doing it again (although not for a while!).
 
Greetings Old fruit. I find your refubishment project of great Interest. I would severly recomend you try for or make an extended cross slide. I used to make extended cross slides for Hercus lathes total about 15 off. I never had a Hercus always wanting bigger capacity. But there was always a demand for same. Very handy to bolt things to ie milling attachment, rear parting tool holder, taper turning attachment. Most shops now run to a Mill of some sort but if I can find it a Taper Turning Attachment that does not require the attaching of the cross slide screw. The is from th MSM&EE here in Melbourne. Invented by a bod by the name of Kirby.
Keep up the good work. 4-6-4
 
Use a cheap import Chinese boring head.

taperturning1.jpg


This way the taper turning attachment isn't related to one lathe, it can be moved about from machine to machine and even serve duty as a boring head ;)

Or even as a ball turner 8)

JS.
 
Hello 4-6-4 thanks for your post. An extended cross slide is on my list if things to do/find. I have 'feelers' out in several places to find a GOOD one. I have used one chap who sells used Myford parts but he doesn't commit himself to their quality. One item sent was not much better than the one it replaced. I suppose if you go the 'second' hand route then this is going to be the norm.

John, your taper turning only goes to show you are an engineer with much experience. I would have been worried to death just seeing that cone go around! When I machined the leadscrew I found it ever so off putting seeing the threads speed towards the chuck!

Only years spent doing the job would relieve that apprehension for sure. Its photo's like yours that really make me think 'outside the box' as it were. Thanks for that.
 

Latest posts

Back
Top