Wagon173
Senior Member
- Joined
- Dec 4, 2012
- Messages
- 129
- Reaction score
- 32
So I got the launch engine from LMS for my second build. So far it has turned out pretty simple, minus still not having all of the right machine tools yet. I think I'm going to continue the series of engines from LMS until I'm done with them and that should give me a strong base of experience to move on to bigger and better things. It's nice to have the guess work taken out of it with a construction manual with the build plans.
Here's the kit.
And here's the work so far...

Hopefully I'll have some more to put on here pretty soon.
Here's the kit.
And here's the work so far...
Hopefully I'll have some more to put on here pretty soon.
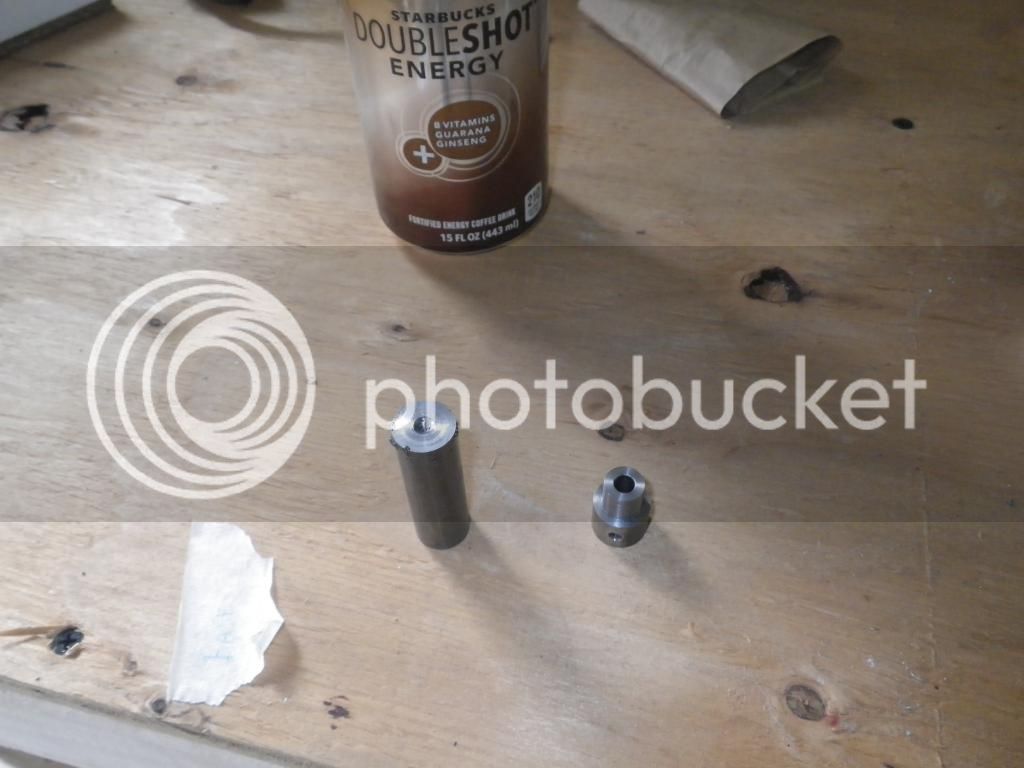
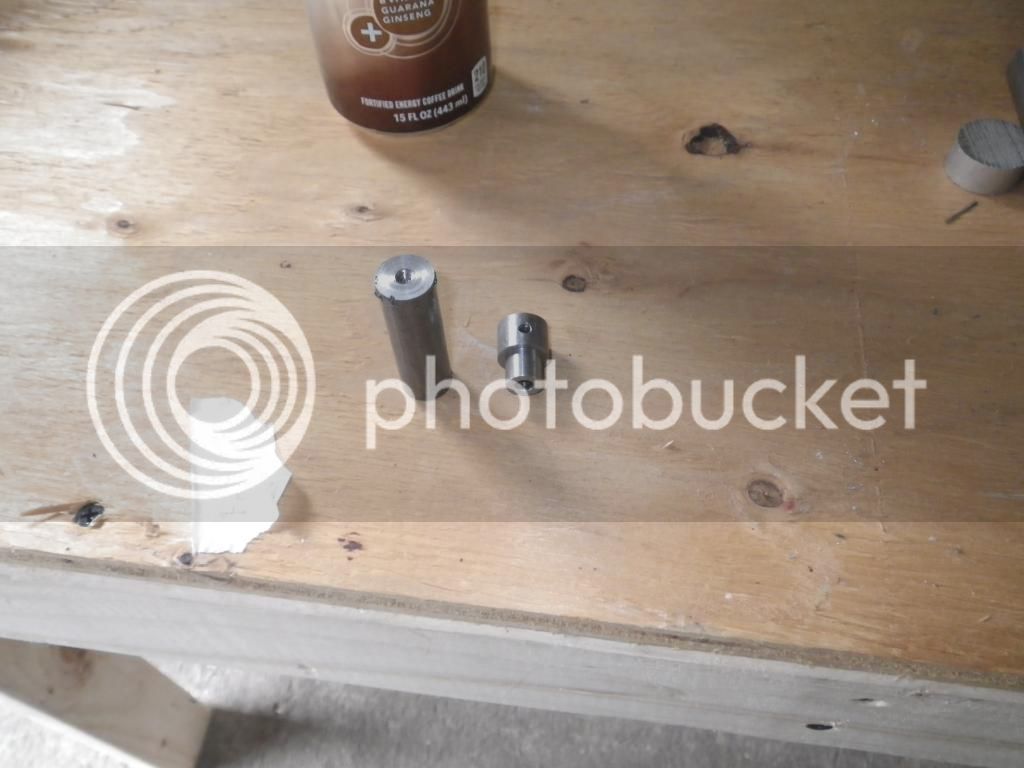
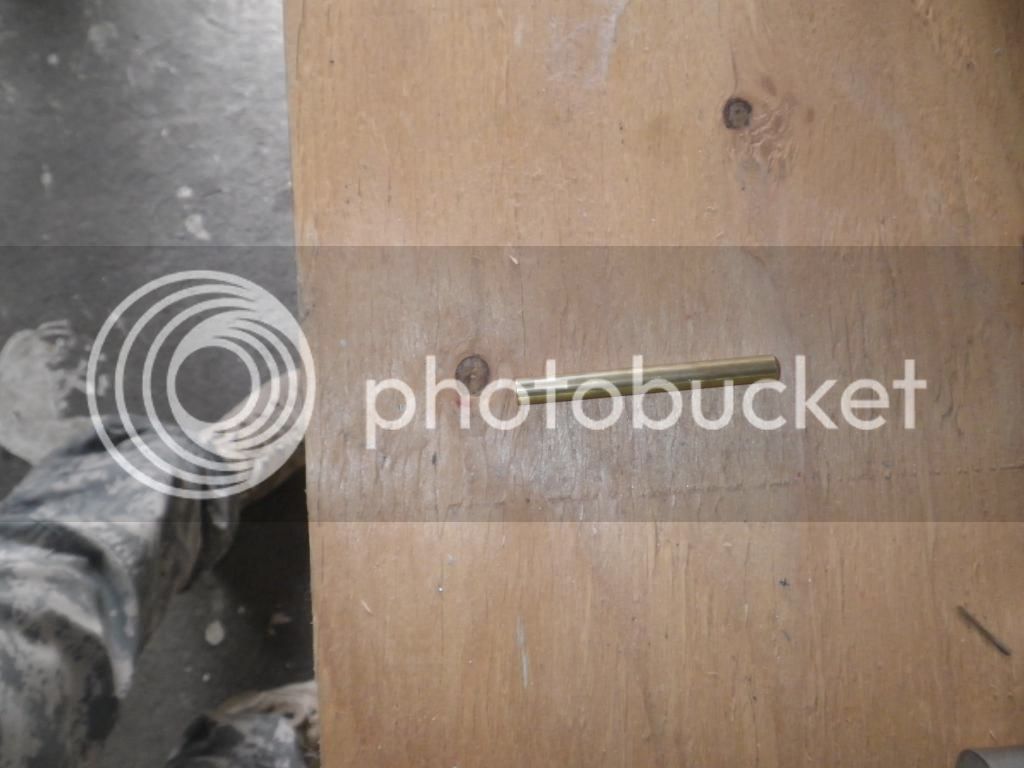
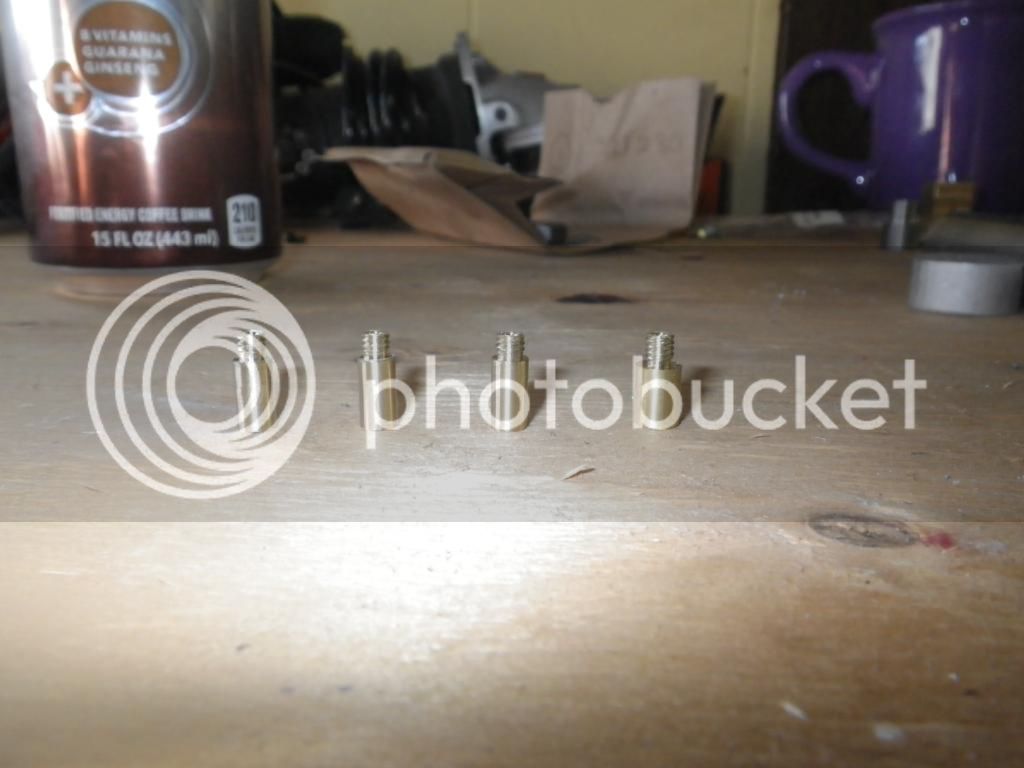
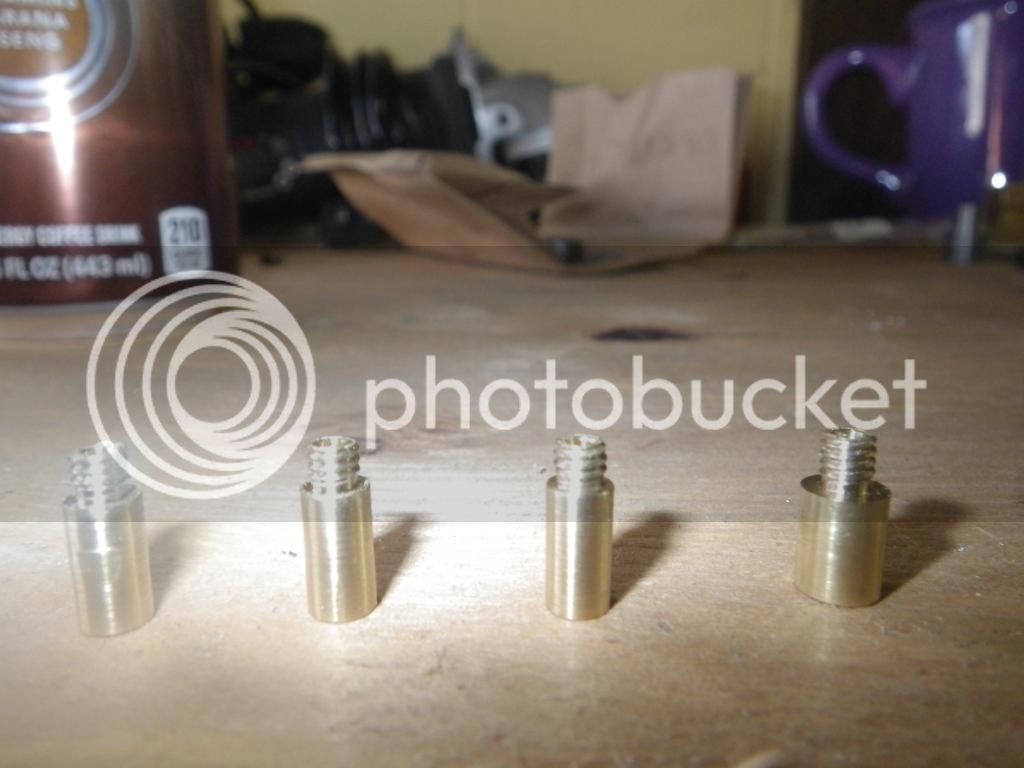
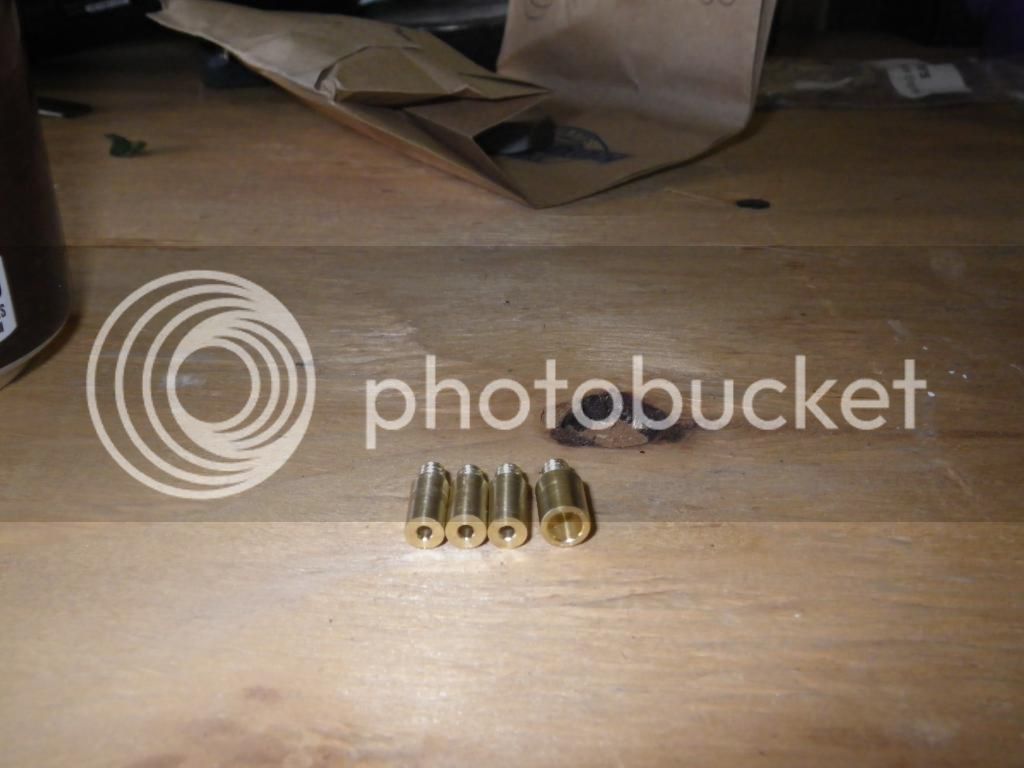
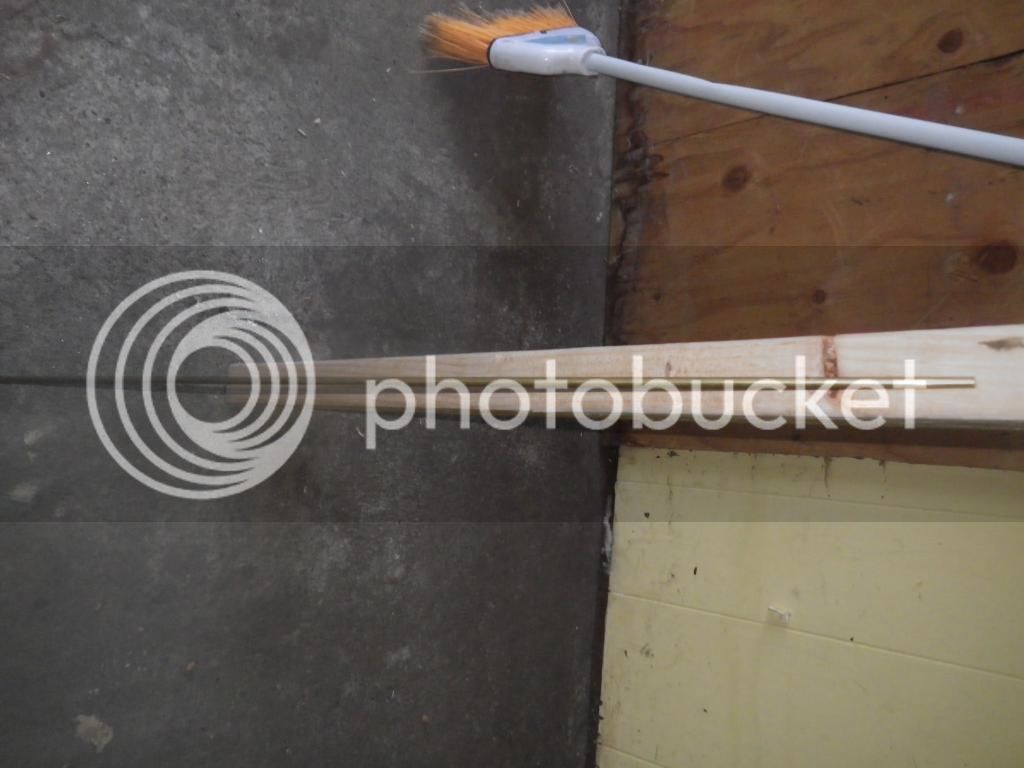
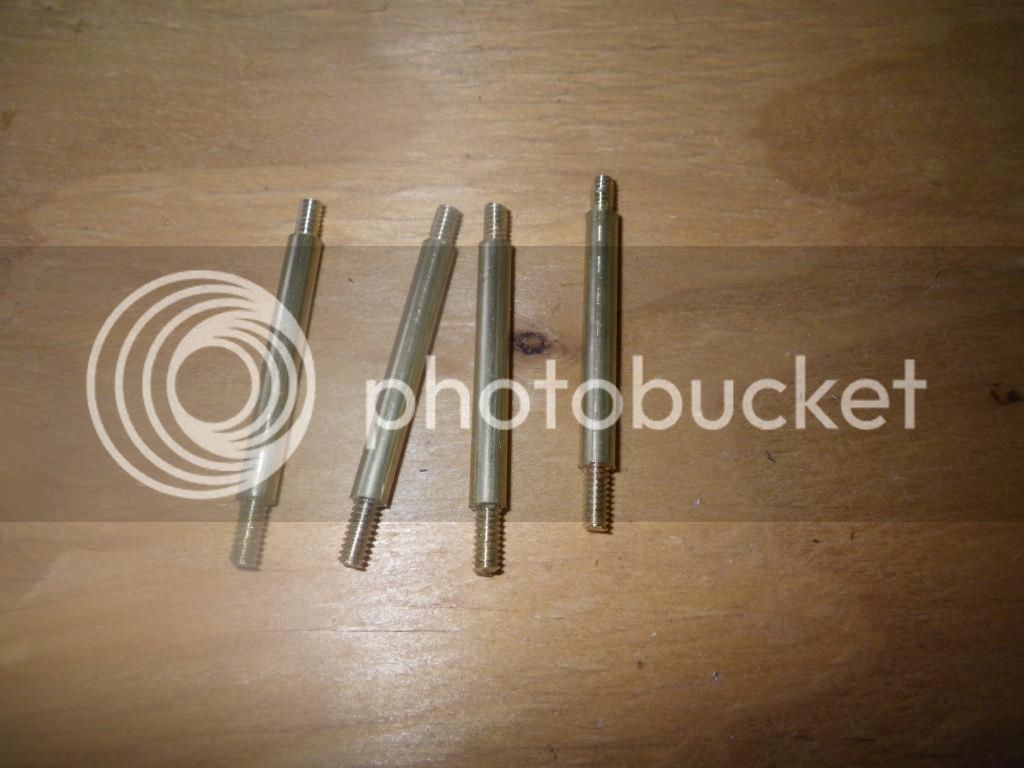
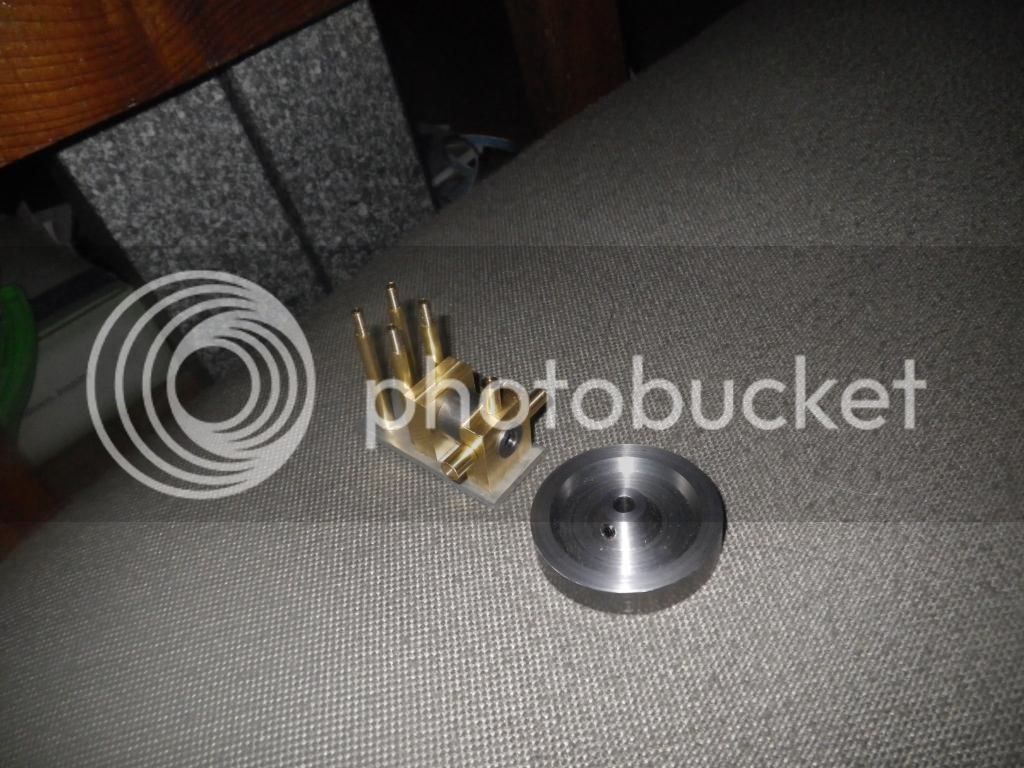
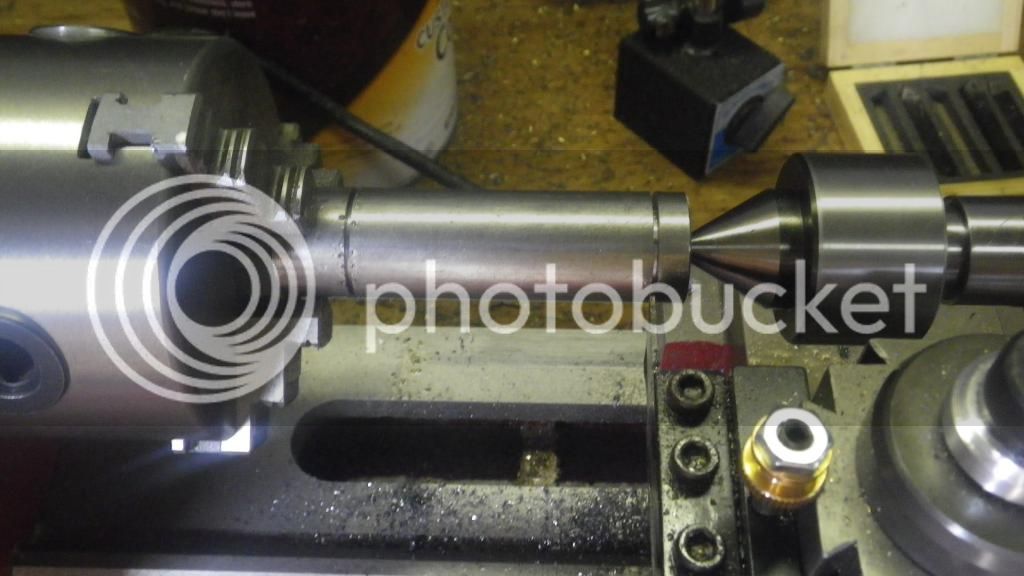
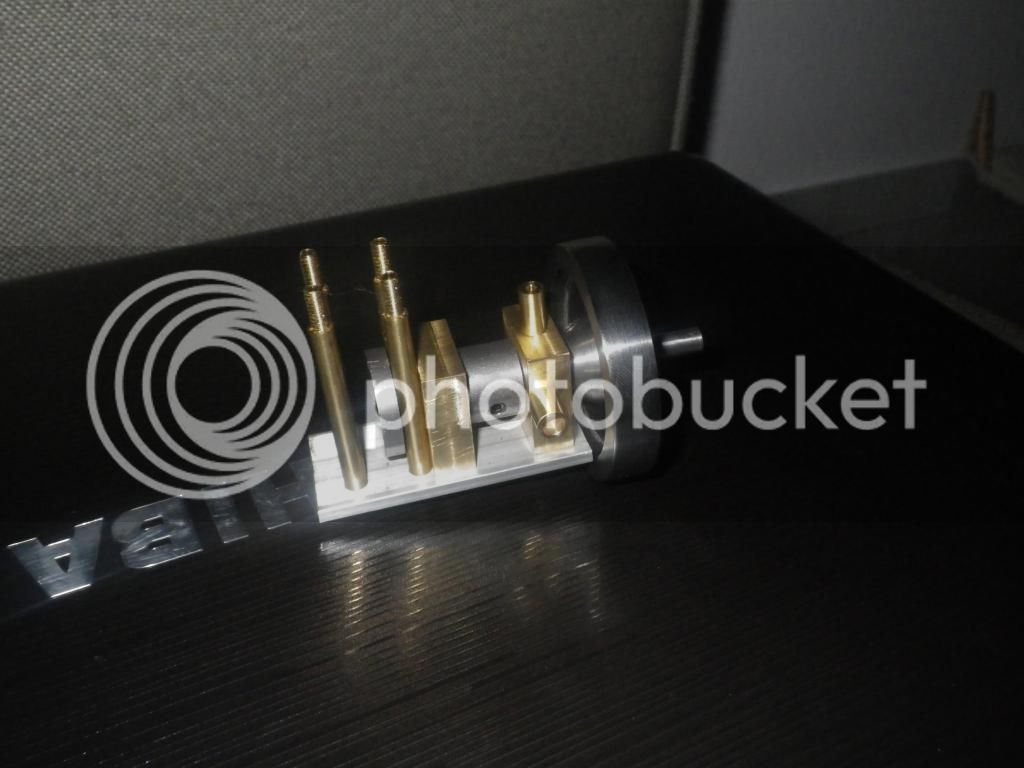
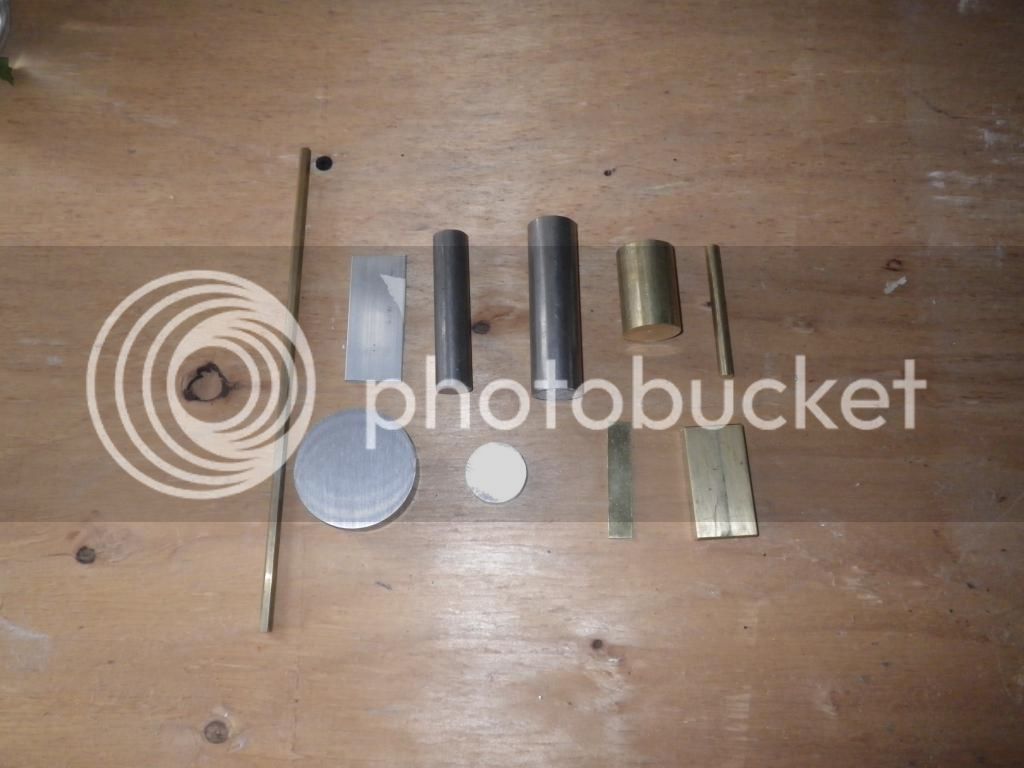
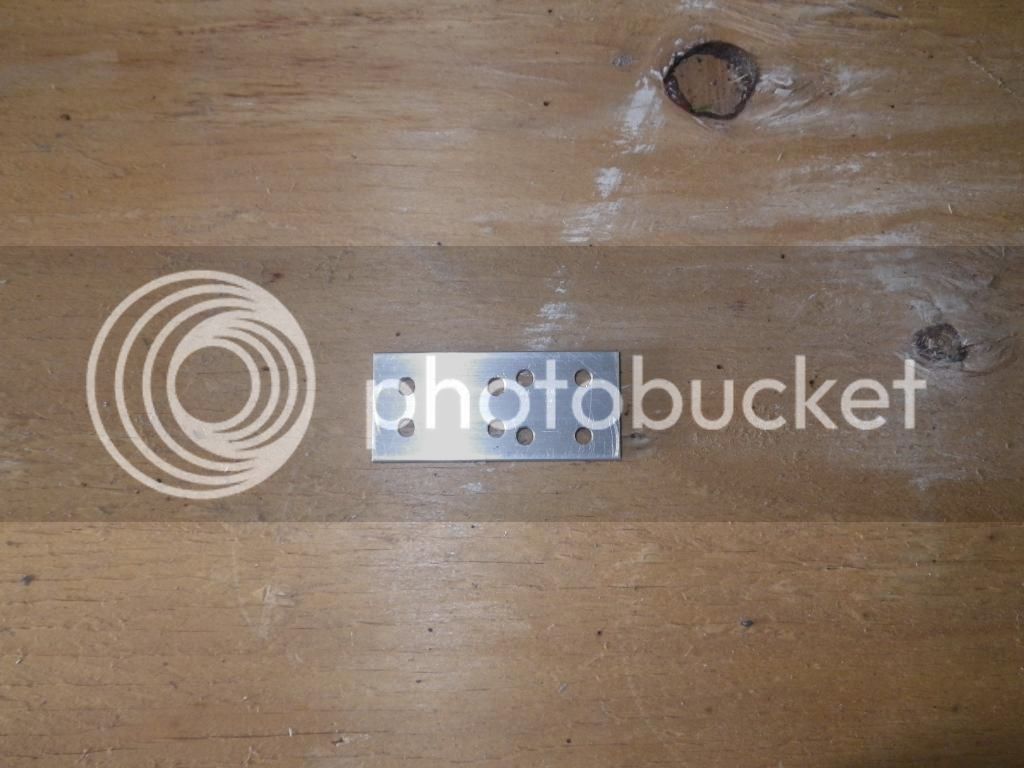
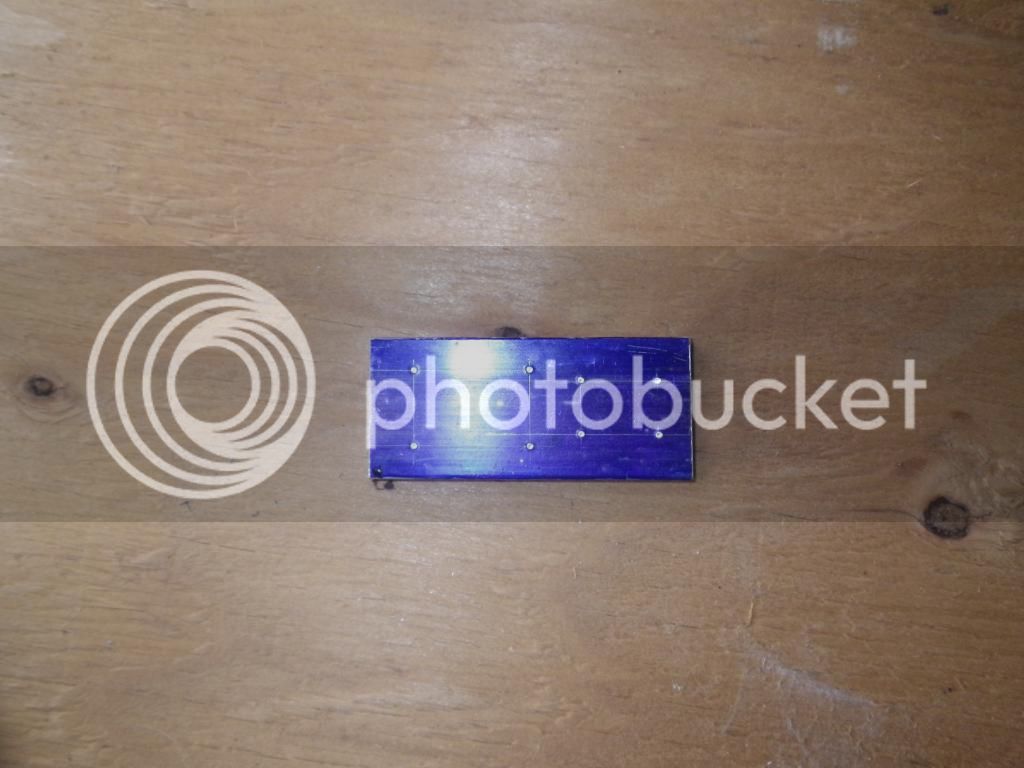
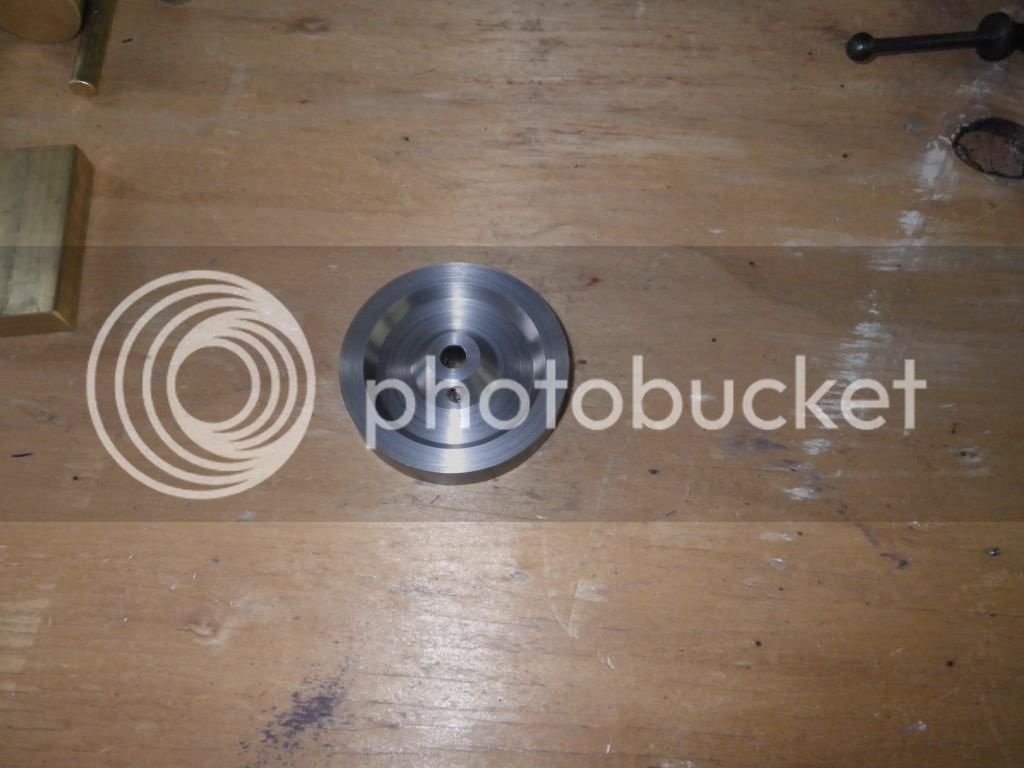
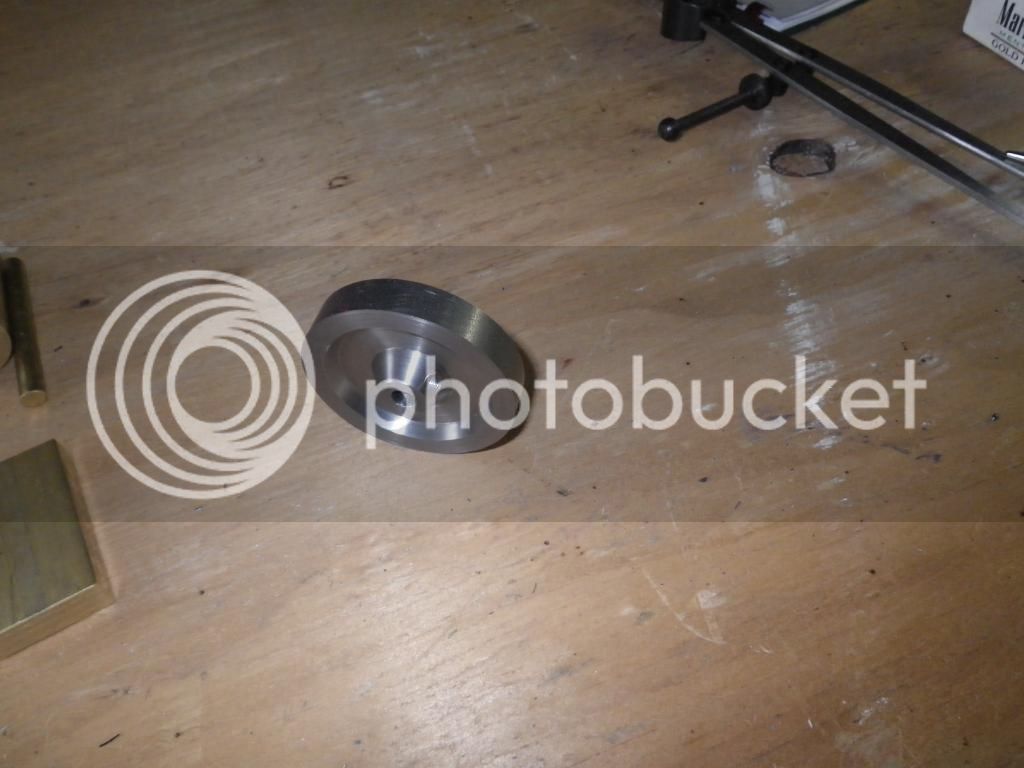
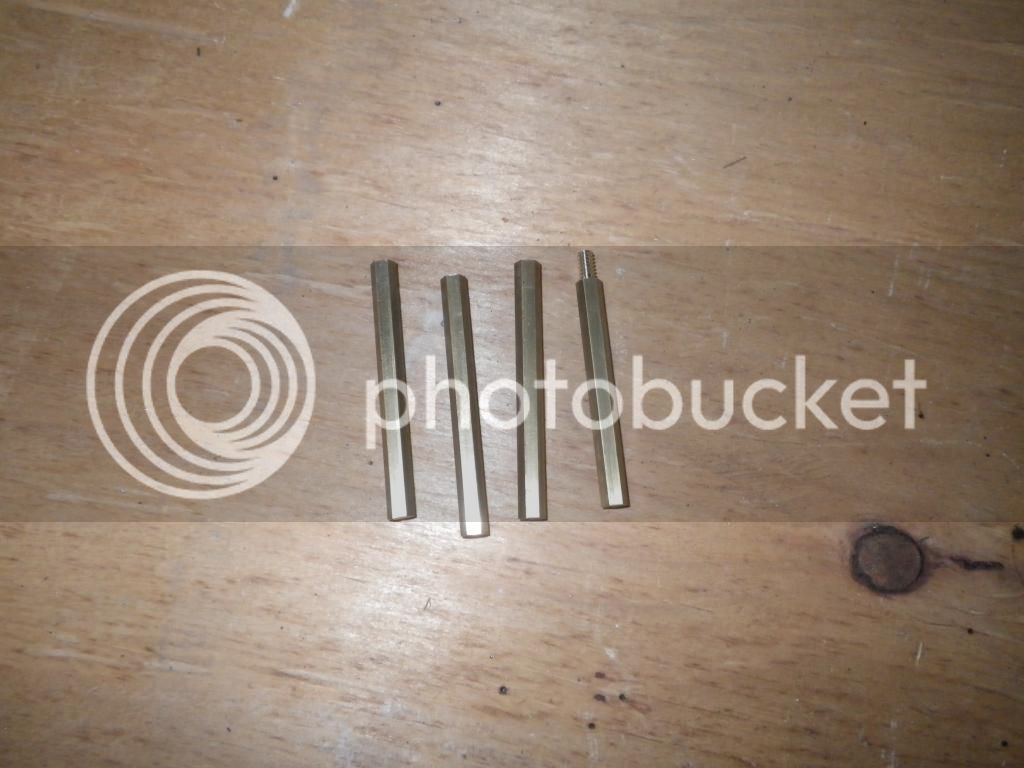
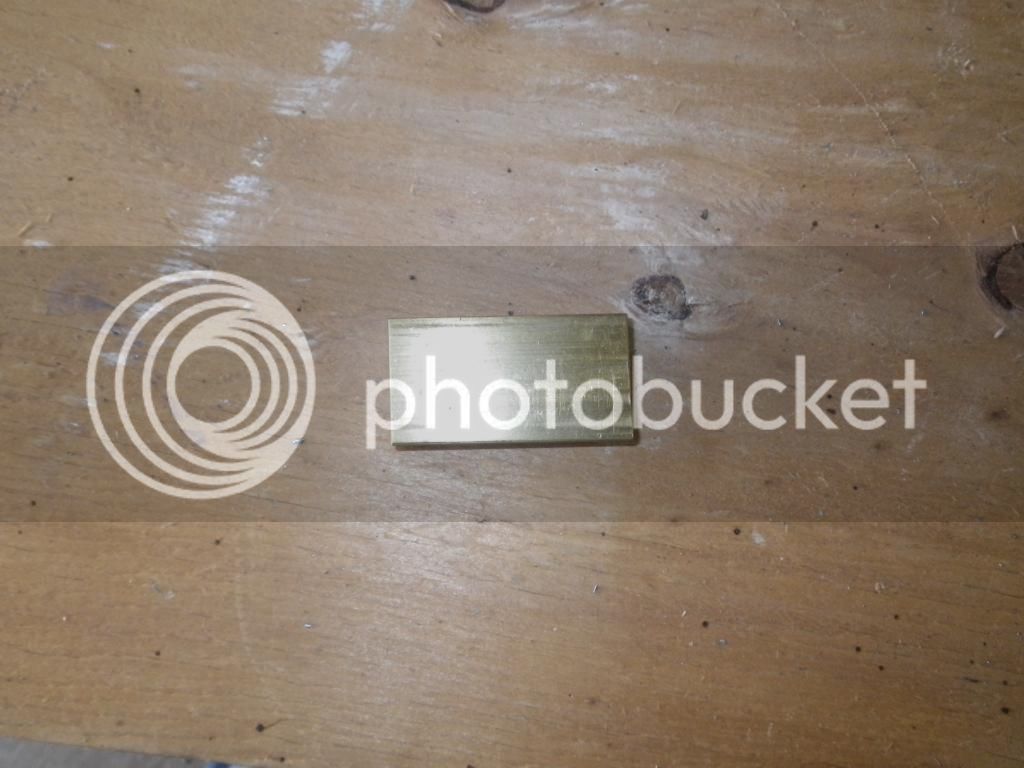
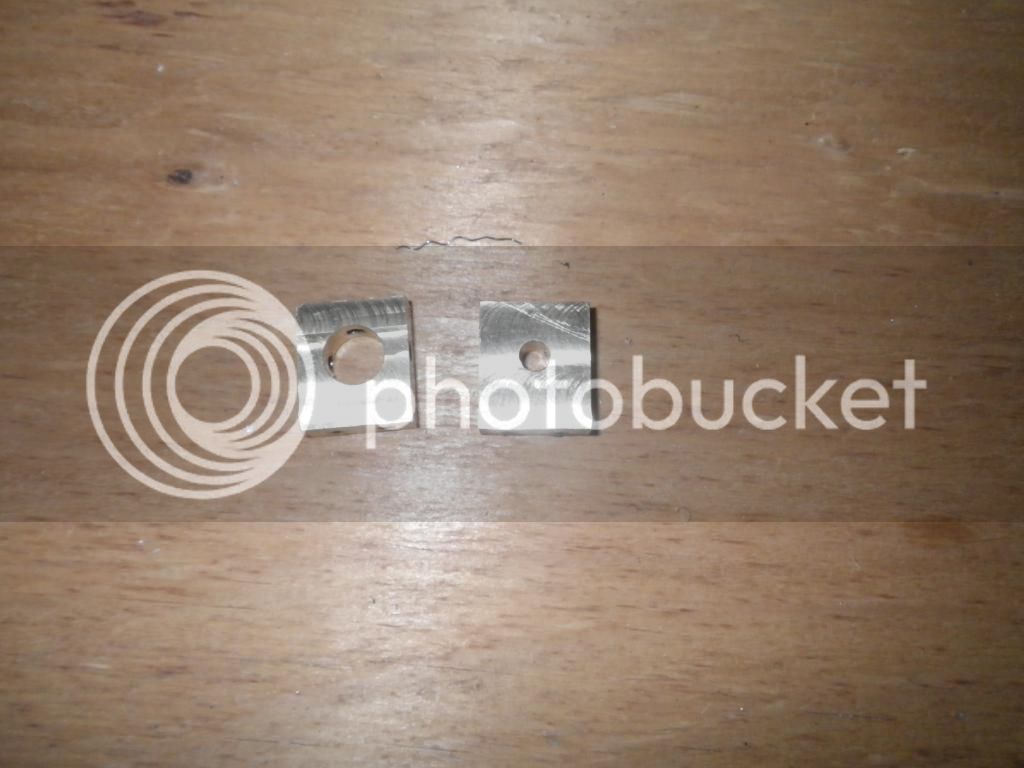
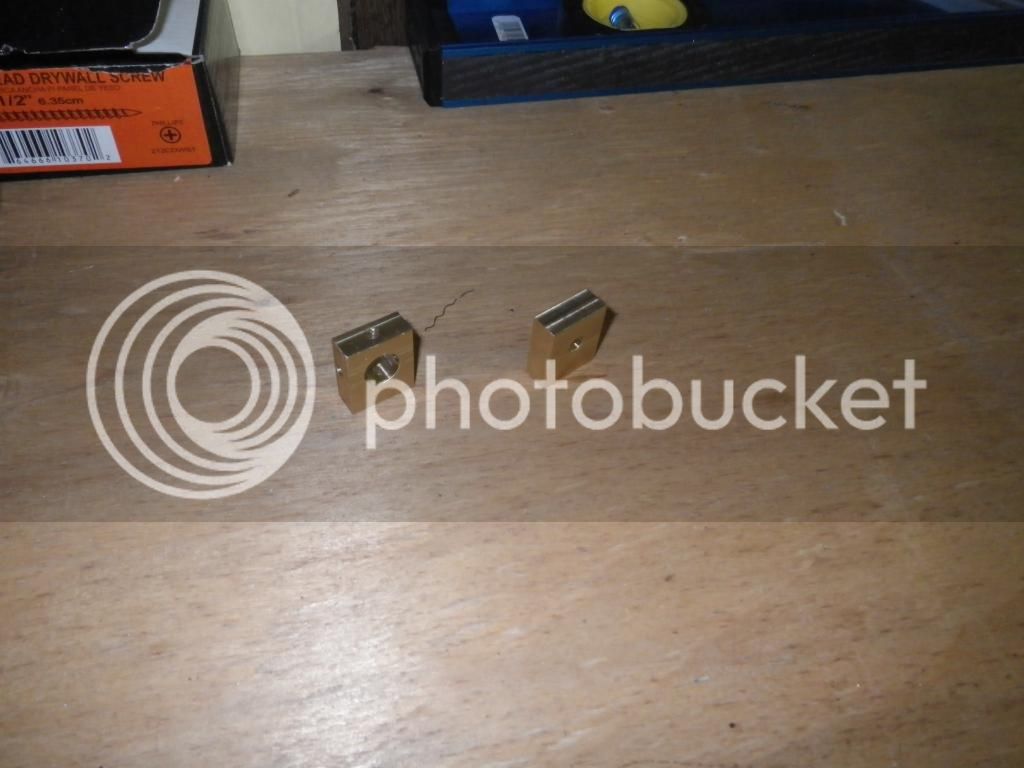
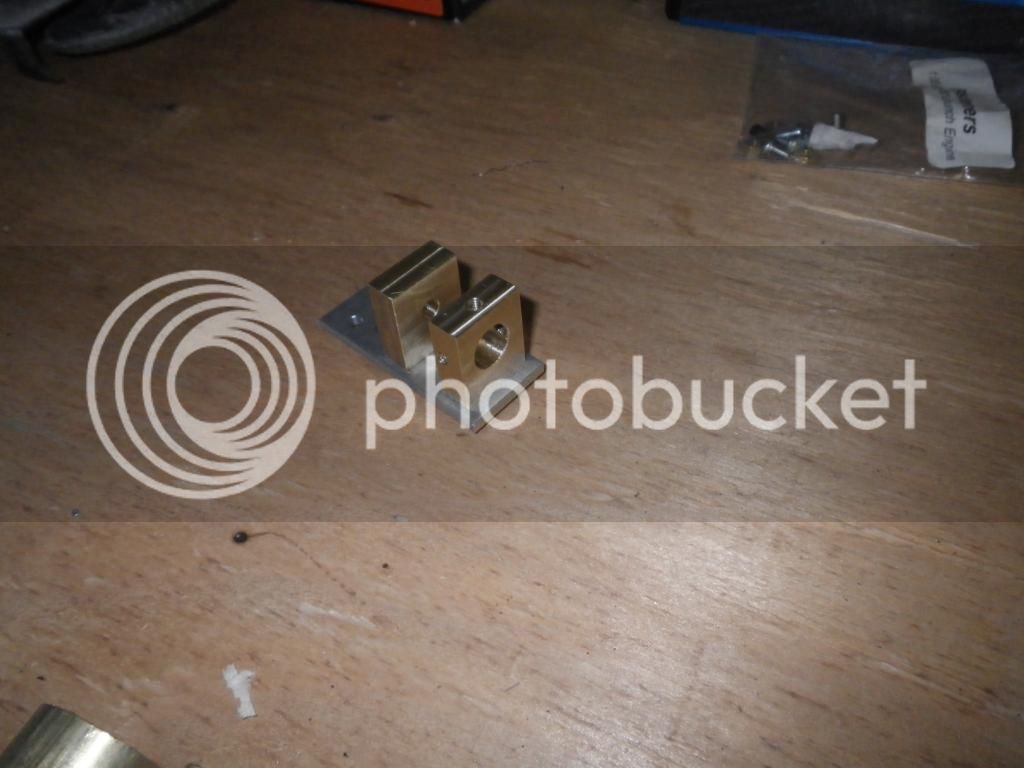
") I got all the valve ports done. I finished most of the rotary valve. I did have a bright idea since I don't have a rotary table that I might be able to use the milling attachment to mount my dremel with a saw blade in it and chuck the valve in my lathe and using a protractor to get a good idea of the rotation. Has anybody ever done this before? Are these engines cranky if you're a degree or two off? Anyway, ironically enough, the day after replying to one of tin's threads about harbor freight tools on how there were some good ones there but that their taps and die sets were crap, I used (you guessed it) a harbor freight die on the pillar since i didn't have another 6-36 (I believe) one and it basically just chewed up the end. I didn't want to pay or wait for shipping so I went to the hardware store and got ahold of some cheap brass stock they had laying around as well as a decent die. Here are some of the pictures. I'll try to remember to take one of the jacked up pillar even though it's not one of my more proud moments. On a high note redoing all of them actually motivated me to figure out a neat quick profiling trick for people who don't have a DRO or in my case a broken dial on the compound so I guess it wasn't all a loss!
I got all the valve ports done. I finished most of the rotary valve. I did have a bright idea since I don't have a rotary table that I might be able to use the milling attachment to mount my dremel with a saw blade in it and chuck the valve in my lathe and using a protractor to get a good idea of the rotation. Has anybody ever done this before? Are these engines cranky if you're a degree or two off? Anyway, ironically enough, the day after replying to one of tin's threads about harbor freight tools on how there were some good ones there but that their taps and die sets were crap, I used (you guessed it) a harbor freight die on the pillar since i didn't have another 6-36 (I believe) one and it basically just chewed up the end. I didn't want to pay or wait for shipping so I went to the hardware store and got ahold of some cheap brass stock they had laying around as well as a decent die. Here are some of the pictures. I'll try to remember to take one of the jacked up pillar even though it's not one of my more proud moments. On a high note redoing all of them actually motivated me to figure out a neat quick profiling trick for people who don't have a DRO or in my case a broken dial on the compound so I guess it wasn't all a loss!